


本期教程用最原始的方法手动导入项目所需Jar包。手动导入会存在Jar包版本冲突等很多问题,建议直接下载使用。在公众号【C you again】后台回复“Jar”自行下载,若不能正常下载,请在后台私信。

将下载好的Jar包复制到WebContent–>WEB-INF–>lib文件夹下,然后选中所有Jar包–>鼠标右击–>Build Path–>Add to Build Path。
完成以上基本步骤后,接下来就是SSH整合的关键步骤了。
首先在项目的WebContent–>WEB-INF下的web.xml文件中加入以下配置,如果没有web.xml文件就需要自己新建一个。
<?xml version="1.0" encoding="UTF-8"?><web-app xmlns:xsi=“http://www.w3.org/2001/XMLSchema-instance”
xmlns=“http://java.sun.com/xml/ns/javaee”
xmlns:web=“http://java.sun.com/xml/ns/javaee/web-app_2_5.xsd”
xsi:schemaLocation=“http://java.sun.com/xml/ns/javaee http://java.sun.com/xml/ns/javaee/web-app_2_5.xsd”
id=“WebApp_ID” version=“2.5”>
test.jsp
contextConfigLocation
classpath*:application.xml
org.springframework.web.context.ContextLoaderListener
CharacterEncodingFilter
org.springframework.web.filter.CharacterEncodingFilter
encoding
utf-8
CharacterEncodingFilter
/*
springMvc
org.springframework.web.servlet.DispatcherServlet
contextConfigLocation
classpath*:springmvc.xml
1
springMvc
/
完成web.xml的配置后,在前面建好的resources文件夹下新建application.xml,具体解释看文件内部。
<?xml version="1.0" encoding="UTF-8"?><beans xmlns=“http://www.springframework.org/schema/beans”
xmlns:xsi=“http://www.w3.org/2001/XMLSchema-instance”
xmlns:context=“http://www.springframework.org/schema/context” xmlns:tx=“http://www.springframework.org/schema/tx”
xsi:schemaLocation="http://www.springframework.org/schema/beans
http://www.springframework.org/schema/beans/spring-beans-3.1.xsd
http://www.springframework.org/schema/context
http://www.springframework.org/schema/context/spring-context-3.1.xsd http://www.springframework.org/schema/tx http://www.springframework.org/schema/tx/spring-tx.xsd">
<context:component-scan base-package=“com.cya”/>
<bean id=“propertyConfigurer”
class=“org.springframework.beans.factory.config.PropertyPlaceholderConfigurer”>
classpath*:dbconfig.properties
<bean id=“dataSource” class=“com.alibaba.druid.pool.DruidDataSource”
destroy-method=“close”>
<bean id=“sqlSessionFactory”
class=“org.springframework.orm.hibernate3.LocalSessionFactoryBean”>
${hibernate.dialect}
${hibernate.show_sql}
${hibernate.format_sql}
${hibernate.hbm2ddl.auto}
classpath*:hibernate.cfg.xml
<bean id=“transactionManager”
class=“org.springframework.jdbc.datasource.DataSourceTransactionManager”>
<tx:annotation-driven transaction-manager=“transactionManager”/>
接着在resources文件夹下新建springmvc.xml,代码如下:
<?xml version="1.0" encoding="UTF-8"?><beans xmlns=“http://www.springframework.org/schema/beans”
xmlns:xsi=“http://www.w3.org/2001/XMLSchema-instance”
xmlns:context=“http://www.springframework.org/schema/context”
xmlns:mvc=“http://www.springframework.org/schema/mvc”
xsi:schemaLocation="http://www.springframework.org/schema/beans
http://www.springframework.org/schema/beans/spring-beans.xsd
http://www.springframework.org/schema/context
http://www.springframework.org/schema/context/spring-context.xsd
http://www.springframework.org/schema/mvc
http://www.springframework.org/schema/mvc/spring-mvc.xsd">
<context:component-scan base-package=“com.cya.controller” />
<mvc:annotation-driven />
<bean id=“multipartResolver”
class=“org.springframework.web.multipart.commons.CommonsMultipartResolver”>
同上面的步骤,继续在resources文件夹下新建hibernate.cfg.xml、dbconfig.properties、log4j.properties三个文件。
hibernate.cfg.xml文件:
<?xml version="1.0" encoding="UTF-8"?>dbconfig.properties文件:
#database connection config
jdbc.driver = com.mysql.jdbc.Driver
jdbc.url = jdbc:mysql://localhost:3306/test?characterEncoding=utf-8&useSSL=false
jdbc.username = root
jdbc.password = root
#hibernate config
hibernate.dialect = org.hibernate.dialect.MySQLDialect
hibernate.show_sql = true
hibernate.format_sql = true
hibernate.hbm2ddl.auto = update
log4j.properties文件:
Set root logger level to error
log4j.rootLogger=INFO, Console, File
Console appender definition
All outputs currently set to be a ConsoleAppender.
log4j.appender.Console=org.apache.log4j.ConsoleAppender
log4j.appender.Console.layout=org.apache.log4j.PatternLayout
log4j.appender.Console.layout.ConversionPattern=%d{ABSOLUTE} %-5p [%c{3}] %m%n
#log4j.appender.Console.layout.ConversionPattern=%d{ABSOLUTE} %-5p [%c] %m%n
File appender definition
log4j.appender.File=org.apache.log4j.DailyRollingFileAppender
log4j.appender.File.File=spring.log
log4j.appender.File.Append=false
log4j.appender.File.layout=org.apache.log4j.PatternLayout
log4j.appender.File.layout.ConversionPattern=%d{ABSOLUTE} %-5p [%c] %m%n
至此,所有的整合步骤已经完成了,最后的目录结构如下所示,接下来就是设计测试用例了。

完成上述步骤后,接下来就测试下整合是否成功吧!
在src–>com.cya.entity下创建Person.java实体类
package com.cya.entity;
public class Person {
private int id;
private String name;
private int age;
public int getId() {
return id;
}
public void setId(int id) {
this.id = id;
}
public String getName() {
return name;
}
public void setName(String name) {
this.name = name;
}
public int getAge() {
return age;
}
public void setAge(int age) {
this.age = age;
}
}
在resources下新建mapping目录,用来保存所有的数据库映射文件。mapping目录下创建映射文件:Person.hbm.xml,具体配置如下:
<?xml version="1.0" encoding="utf-8"?>自我介绍一下,小编13年上海交大毕业,曾经在小公司待过,也去过华为、OPPO等大厂,18年进入阿里一直到现在。
深知大多数Java工程师,想要提升技能,往往是自己摸索成长或者是报班学习,但对于培训机构动则几千的学费,着实压力不小。自己不成体系的自学效果低效又漫长,而且极易碰到天花板技术停滞不前!
因此收集整理了一份《2024年Java开发全套学习资料》,初衷也很简单,就是希望能够帮助到想自学提升又不知道该从何学起的朋友,同时减轻大家的负担。
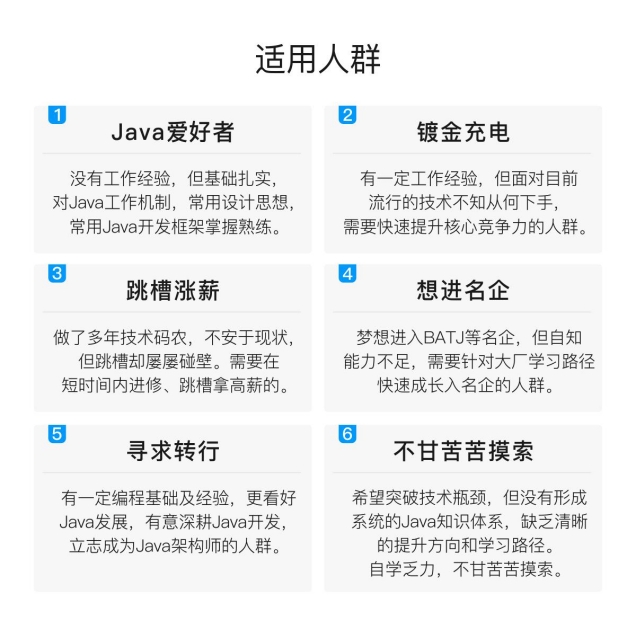

既有适合小白学习的零基础资料,也有适合3年以上经验的小伙伴深入学习提升的进阶课程,基本涵盖了95%以上Java开发知识点,真正体系化!
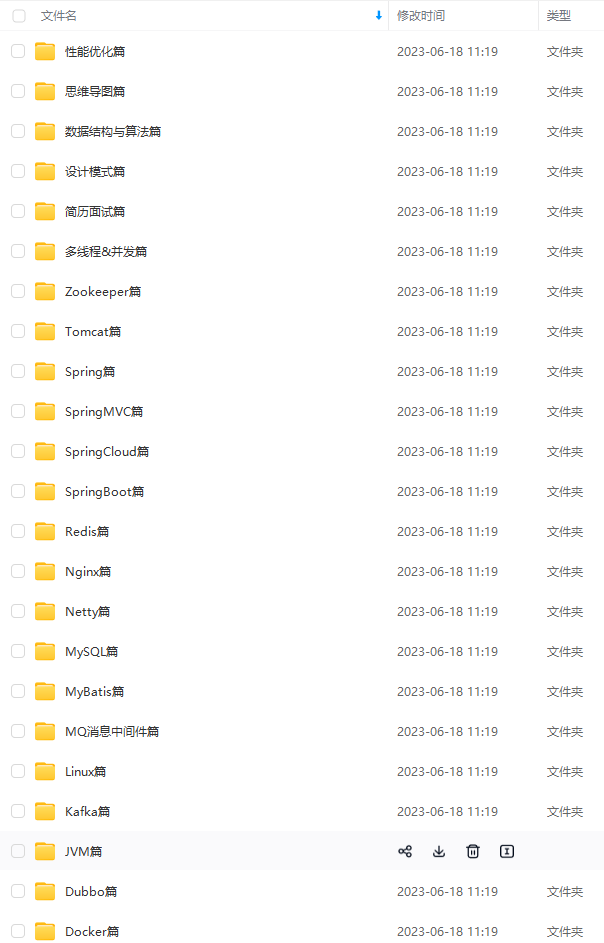
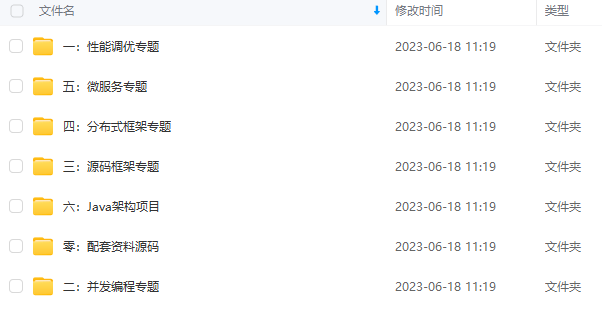
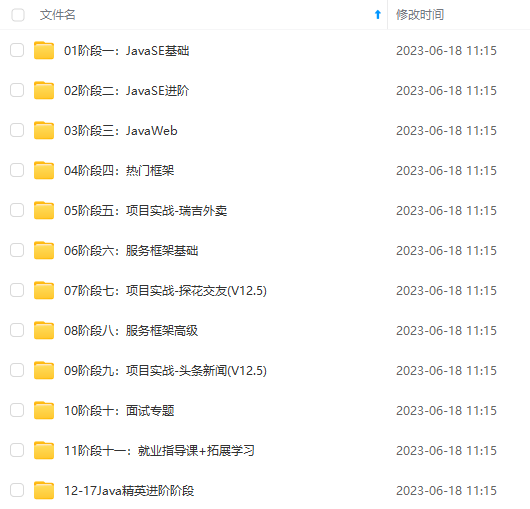
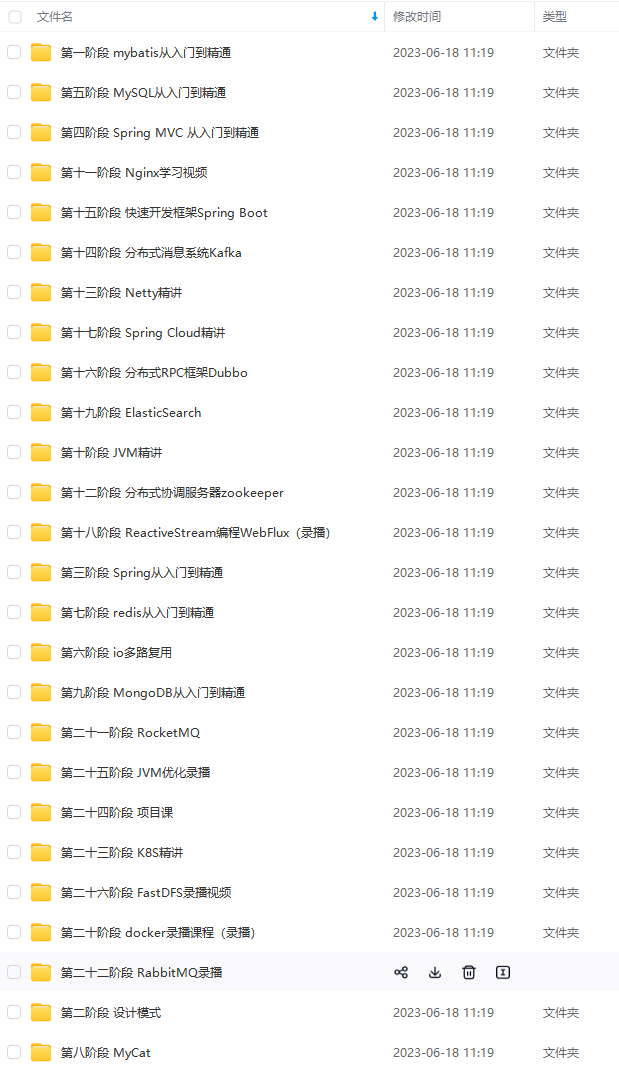
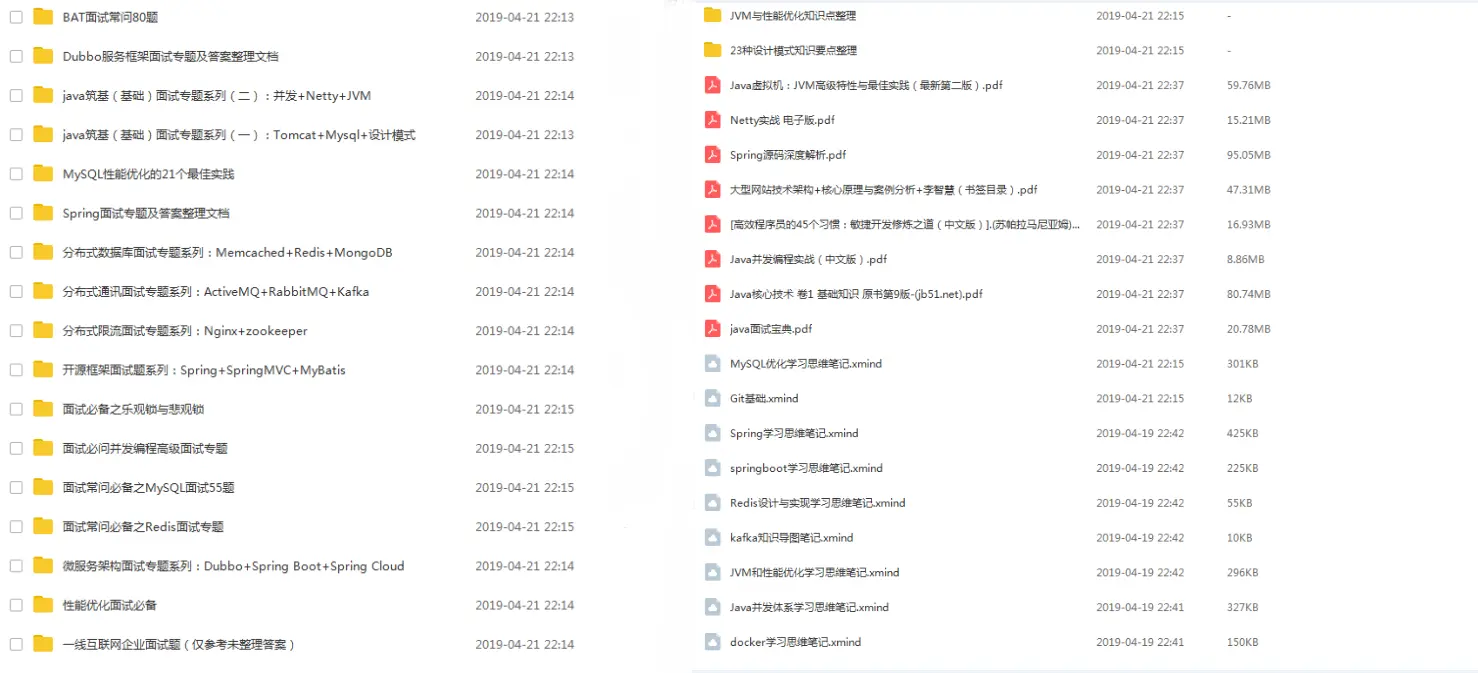
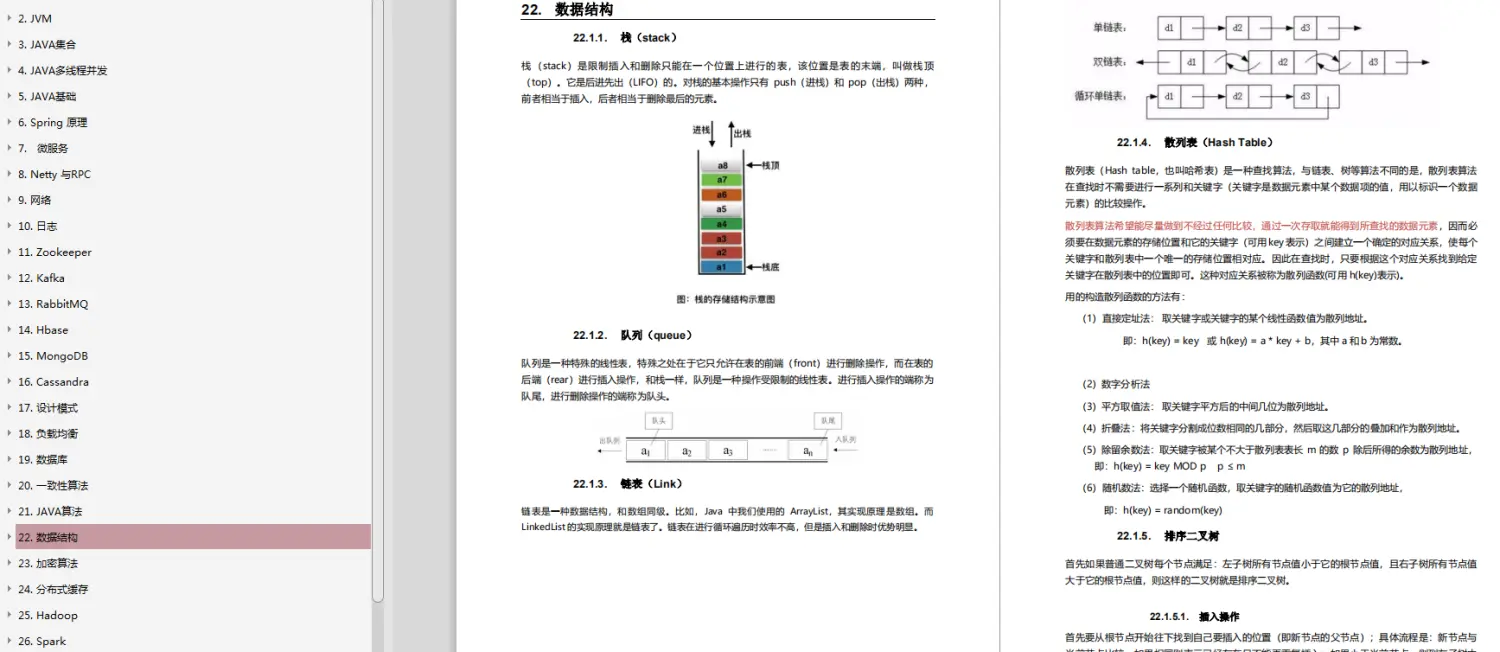
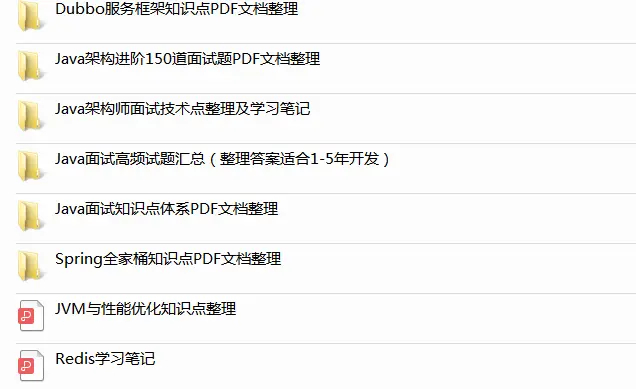
由于文件比较大,这里只是将部分目录大纲截图出来,每个节点里面都包含大厂面经、学习笔记、源码讲义、实战项目、讲解视频,并且后续会持续更新
如果你觉得这些内容对你有帮助,可以添加V获取:vip1024b (备注Java)

面试结束复盘查漏补缺
每次面试都是检验自己知识与技术实力的一次机会,面试结束后建议大家及时总结复盘,查漏补缺,然后有针对性地进行学习,既能提高下一场面试的成功概率,还能增加自己的技术知识栈储备,可谓是一举两得。
以下最新总结的阿里P6资深Java必考题范围和答案,包含最全MySQL、Redis、Java并发编程等等面试题和答案,用于参考~
重要的事说三遍,关注+关注+关注!
更多笔记分享
[外链图片转存中…(img-k8Mx0js1-1712030919180)]
既有适合小白学习的零基础资料,也有适合3年以上经验的小伙伴深入学习提升的进阶课程,基本涵盖了95%以上Java开发知识点,真正体系化!
由于文件比较大,这里只是将部分目录大纲截图出来,每个节点里面都包含大厂面经、学习笔记、源码讲义、实战项目、讲解视频,并且后续会持续更新
如果你觉得这些内容对你有帮助,可以添加V获取:vip1024b (备注Java)
[外链图片转存中…(img-koprz04n-1712030919181)]
面试结束复盘查漏补缺
每次面试都是检验自己知识与技术实力的一次机会,面试结束后建议大家及时总结复盘,查漏补缺,然后有针对性地进行学习,既能提高下一场面试的成功概率,还能增加自己的技术知识栈储备,可谓是一举两得。
以下最新总结的阿里P6资深Java必考题范围和答案,包含最全MySQL、Redis、Java并发编程等等面试题和答案,用于参考~
重要的事说三遍,关注+关注+关注!
[外链图片转存中…(img-4A2E2UCz-1712030919181)]
[外链图片转存中…(img-LRt8URuR-1712030919182)]
更多笔记分享
[外链图片转存中…(img-ErS4FMxV-1712030919182)]


,你想学的都在这里&spm=1001.2101.3001.5002&articleId=137265260&d=1&t=3&u=06d58ffe71964b46a0a429eb522b928f)
 3874
3874

 被折叠的 条评论
为什么被折叠?
被折叠的 条评论
为什么被折叠?
 到【灌水乐园】发言


