一、复制代码
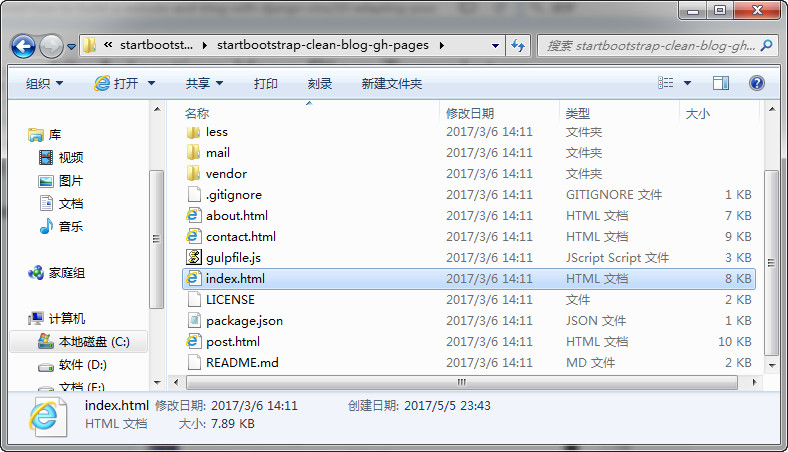
使用Notepad++打开之前下载的Clean Blog模板文件中的index.html文件。

找到以下的一段代码:
1 | <div class="post-preview"> |
3 | <h2 class="post-title"> |
4 | Man must explore, and this is exploration at its greatest |
6 | <h3 class="post-subtitle"> |
7 | Problems look mighty small from 150 miles up |
10 | <p class="post-meta">Posted by <a href="#">Start Bootstrap</a> on September 24, 2014</p> |
然后复制出来。从以上的代码可以看出,其实这段代码代表的就是一篇文章。
二、粘贴代码
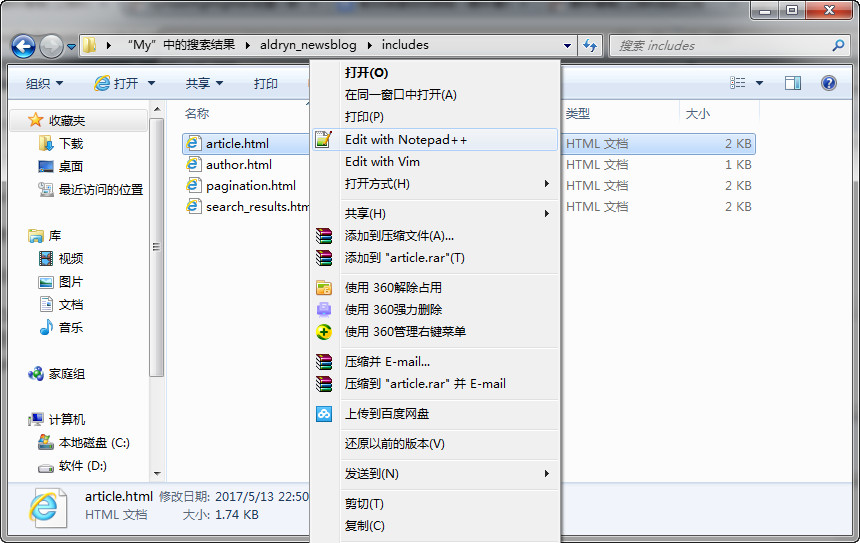
打开Clean Blog模板的安装目录的 article.html文件,注意:这个目录和你当时选择安装Clean Blog模板的方式有关,比如我当时是在Anaconda安装的,Clean Blog的目录就是:C:UsersMyAnaconda2Libsite-packagesaldryn_newsblogtemplatesaldryn_newsblog。

将
1 | {% if not article.published %} unpublished{% endif %}"> |
与
之间的代码,用我们步骤一复制的代码替换掉。
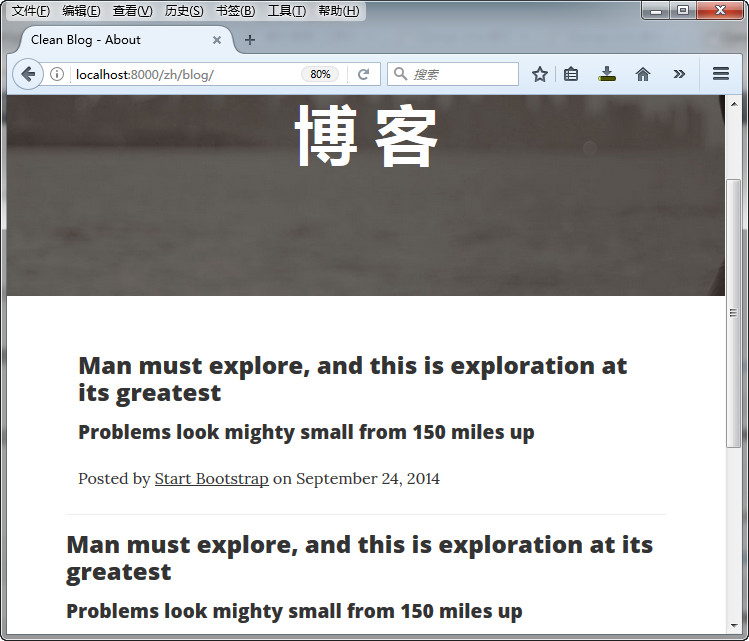
三、测试效果
我们进入网站,发现博客页面之前添加的内容已经被新的内容所替换。

四、修改设定
下面我们通过修改article.html模板的标签,使它能正常显示我们发布的文章。
1、修改博客标题
找到以下这段代码:
2 | Man must explore, and this is exploration at its greatest |
4 | <h3 class="post-subtitle"> |
5 | Problems look mighty small from 150 miles up |
用下面的代码替换掉:
2 | {% render_model article "title" %} |
4 | {% if article.lead_in %} |
5 | <h3 class="post-subtitle"> |
6 | {% if not detail_view %} |
7 | {% render_model article "lead_in" "" "" "truncatewords:'20'" %} |
9 | {% render_model article "lead_in" %} |
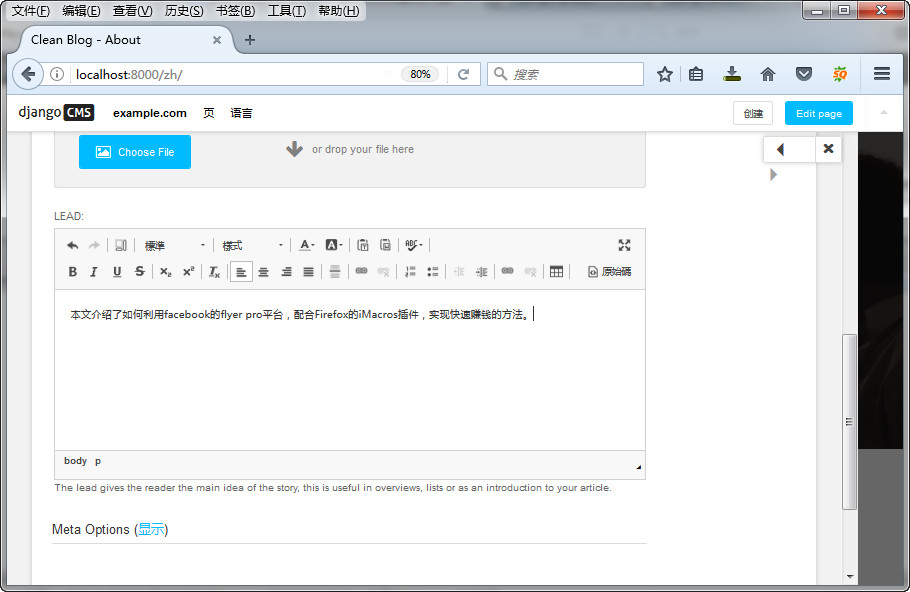
小知识:Lead
其实就是我们常说的文章摘要,在文章列表中,双击文章标题,在弹出的窗口中可以添加文章摘要。

小提示:
上面的truncatewords只对英文有效,如果要显示中文的文章摘要,可以看一下这篇文章:django 自定义截取中文的过滤器
2、修改链接
用下面这段代码:
1 | <div class="post-preview"> |
2 | <a href="{% namespace_url 'article-detail' article.slug namespace=namespace default='' %}"> |
规换原来的
1 | <div class="post-preview"> |
代码。
小知识:Django URLs
'article-detail' article.slug设定指向文章页面的链接,另外关于Namespaces的用法,可以参考这里:http://docs.django-cms.org/en/latest/how_to/apphooks.html#attaching-an-application-multiple-times
3、修改meta信息
使用:
2 | {% include "aldryn_newsblog/includes/author.html" with author=article.author %} |
3 | on {{ article.publishing_date|date }} |
替换原来的:
1 | <p class="post-meta">Posted by <a href="#">Start Bootstrap</a> on September 24, 2014</p> |
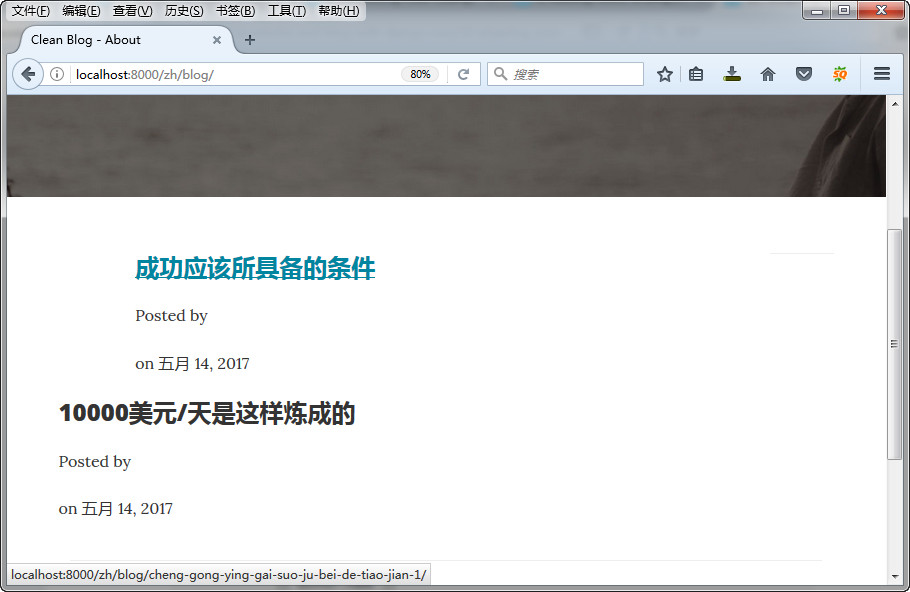
现在我们来看看效果:

我们可以看到,这里的Posted by后面的内容不显示,这是Aldryn News & Blog与Django CMS的兼容性问题,因为以管理员身份发布的文章,Aldryn News & Blog默认的作者是“1”,但是这个“1”并没有设定名称,而Posted by后面显示的是作者的名称,所以我们只需要给“1”这个身份添加名称即可。
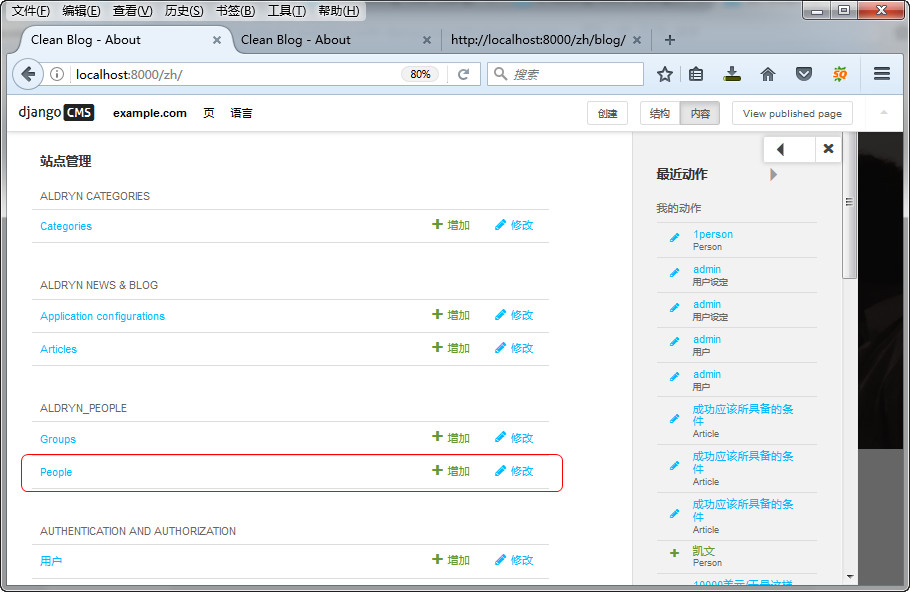
在站点管理——Aldryn_People——People下面,点击修改:

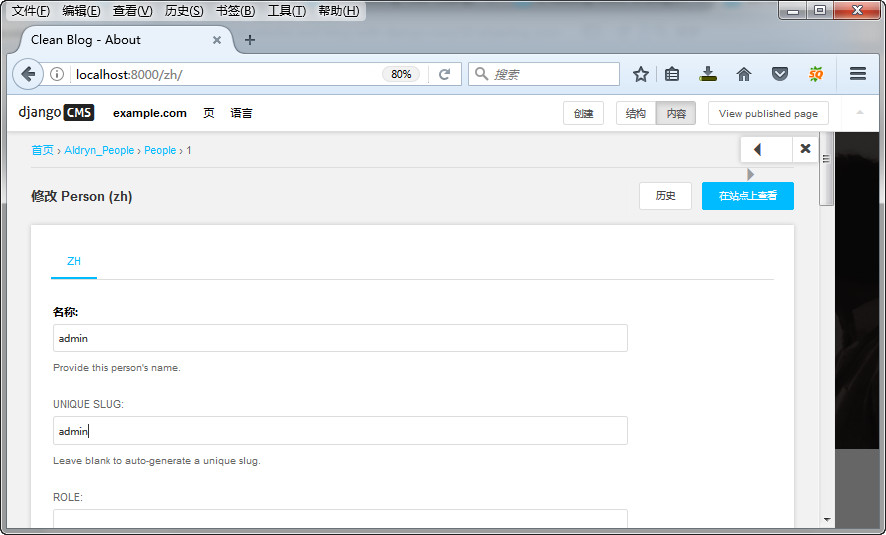
修改系统默认People的名称。

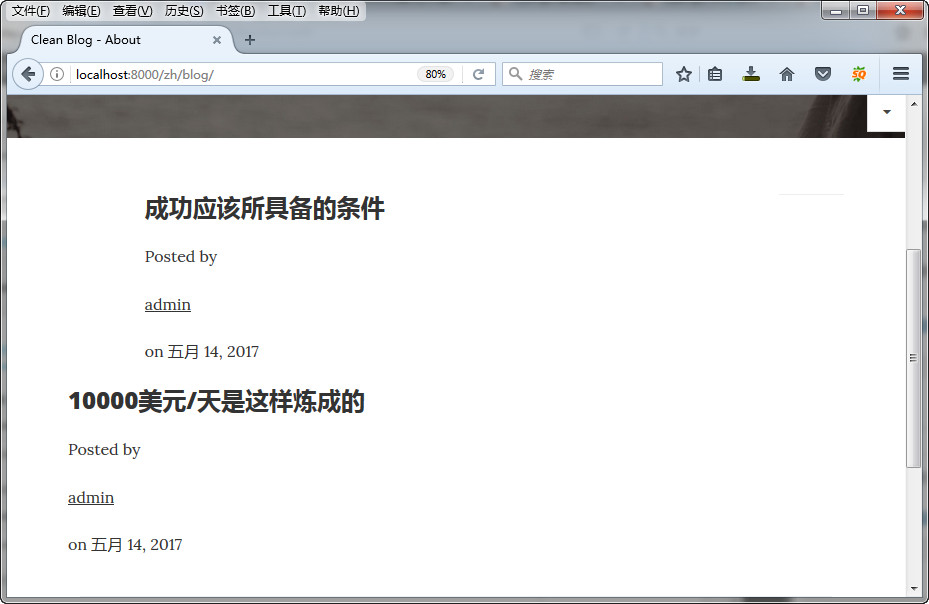
现在可以看到已经显示作者了:

4、修改作者信息
打开templates/aldryn_newsblog/includes/目录下的author.html,用下面的代码:
1 | {% load i18n staticfiles thumbnail apphooks_config_tags %} |
4 | <a href="{% namespace_url "article-list-by-author" author.slug namespace=namespace default='' %}"> |
替换原来的:
1 | {% load i18n staticfiles thumbnail apphooks_config_tags %} |
5 | <a href="{% namespace_url "article-list-by-author" author.slug namespace=namespace default='' %}"> |
7 | {% thumbnail author.visual "50x50" crop upscale subject_location=author.visual.subject_location as author_image %} |
8 | <img src="{{ author_image.url }}" width="50" height="50" alt="{{ author.name }}"> |
13 | {% if author.function %}<p>{{ author.function }}</p>{% endif %} |
14 | {% if author.article_count %}<p>{{ author.article_count }}</p>{% endif %} |
再看看效果:

五、添加分页
打开templates/aldryn_newsblog/includes/下面的pagination.html,用以下的代码:
4 | <ul class="pagination"> |
替换
不过添加之后,我们打开网站看不到任何的效果,因为我们的文章只有一页,如果有多页的文章,你看到的效果是这样的:

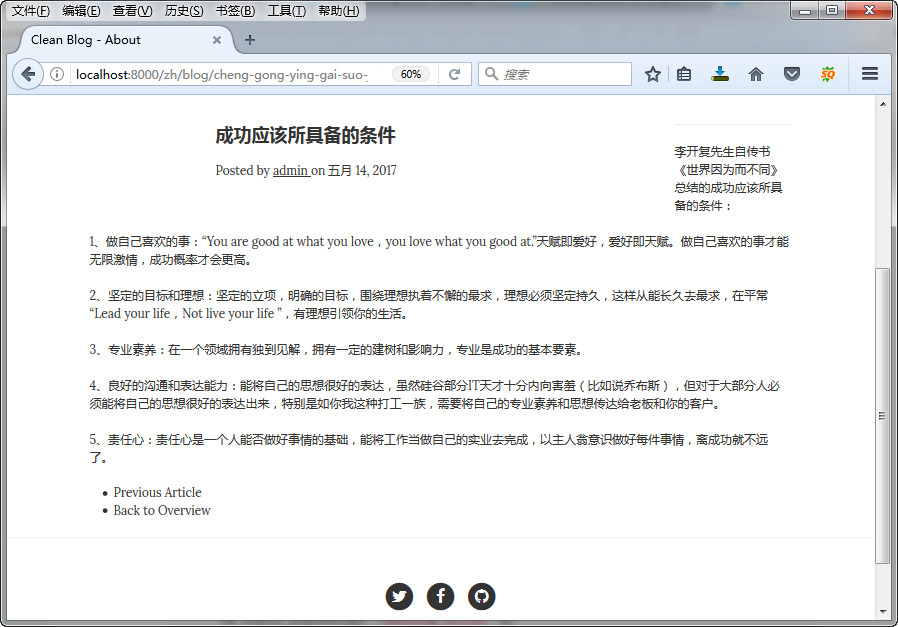
六、设定文章内容页
文章内容页继承自文章列表页(article.html),所以我们要做的只需要修改底部的导航就行了。
先来看看修改前的文章内容页:

打开templates/aldryn_newsblog/下面的article_detail.html文件,用下面的代码:
1 | {% block newsblog_content %} |
2 | {% include "aldryn_newsblog/includes/article.html" with detail_view="true" %} |
4 | {% static_placeholder "newsblog_social" %} |
替换原来的:
1 | {% block newsblog_content %} |
2 | {% include "aldryn_newsblog/includes/article.html" with detail_view="true" %} |
4 | {% static_placeholder "newsblog_social" %} |
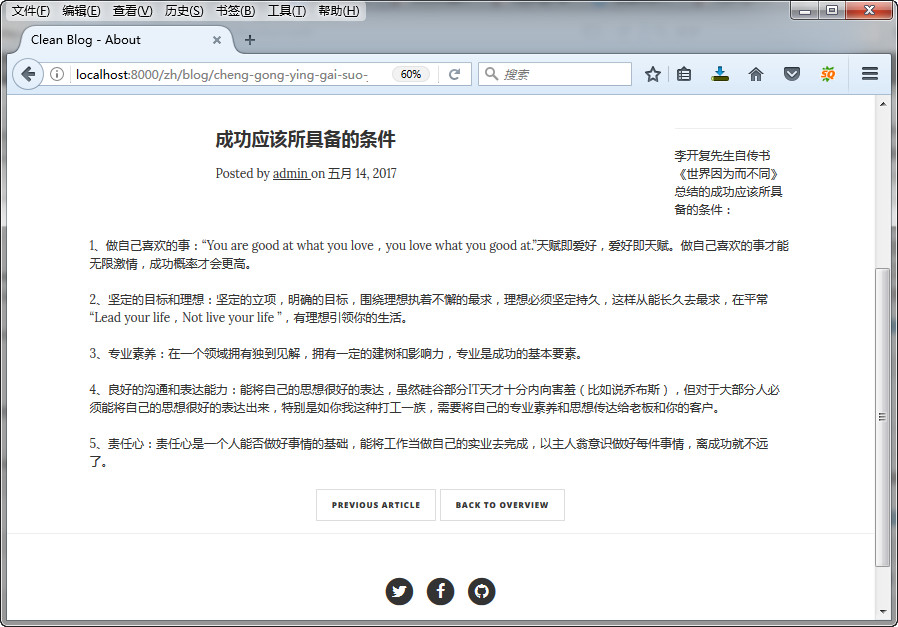
修改之后的效果图:

Django cms 教程


 6万+
6万+

 被折叠的 条评论
为什么被折叠?
被折叠的 条评论
为什么被折叠?
 到【灌水乐园】发言


