


#include<opencv2\core\core.hpp>
#include<opencv2\imgproc\imgproc.hpp>
#include<opencv2\highgui\highgui.hpp>
#include<iostream>
using namespace std;
using namespace cv;
//锐化函数
/*
void sharpen(const cv::Mat &image,cv::Mat &result)
{
result.create(image.size(),image.type());
for(int j=1;j<image.rows-1;j++)
{
const uchar* previous=image.ptr<const uchar>(j-1);
const uchar* current=image.ptr<const uchar>(j);
const uchar* next=image.ptr<const uchar>(j+1);
uchar *output=result.ptr<uchar>(j);
for(int i=1;i<image.cols-1;i++)
{
*output++=cv::saturate_cast<uchar>(5*current[i]-current[i-1]-current[i+1]-previous[i]-next[i]);
}
}
result.row(0).setTo(cv::Scalar(0));
result.row(result.rows-1).setTo(cv::Scalar(0));
result.col(0).setTo(cv::Scalar(0));
result.col(result.cols-1).setTo(cv::Scalar(0));
}
*/
void sharpen2D(const cv::Mat &image,cv::Mat &result)
{
cv::Mat kernel(3,3,CV_32F,cv::Scalar(0));//核矩阵
kernel.at<float>(1,1)=5.0;
kernel.at<float>(0,1)=-1.0;
kernel.at<float>(2,1)=-1.0;
kernel.at<float>(1,0)=-1.0;
kernel.at<float>(1,2)=-1.0;
cv::filter2D(image,result,image.depth(),kernel);
}
int main()
{
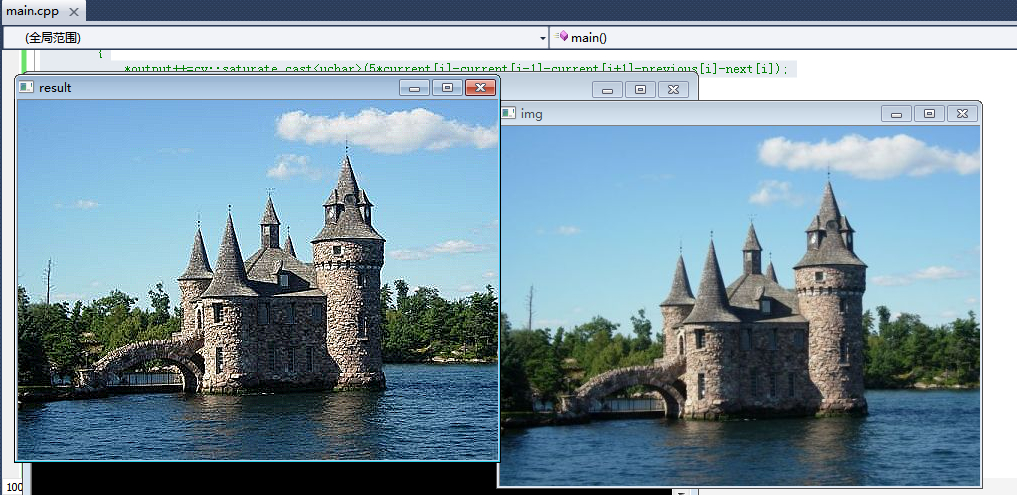
cv::Mat image=cv::imread("d:\\test\\opencv\\img.jpg");//注意可以是彩色图像
cv::Mat out;
sharpen2D(image,out);
cv::namedWindow("result");
cv::imshow("result",out);
cv::namedWindow("img");
cv::imshow("img",image);
waitKey(0);
return 0;
}


 1万+
1万+


 被折叠的 条评论
为什么被折叠?
被折叠的 条评论
为什么被折叠?
 到【灌水乐园】发言


