


1.IBM WebSphere MQ工具的使用
1.下载并安装
http://www.ibm.com/developerworks/downloads/ws/wmq/
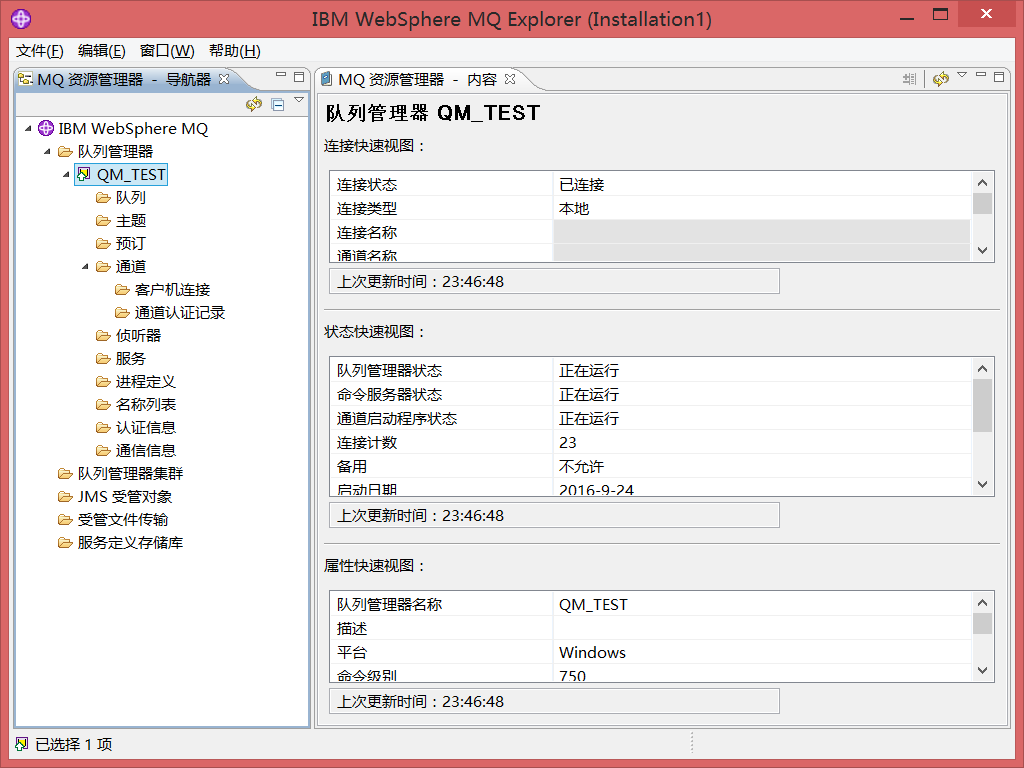
2.新建队列管理器QM_TEST
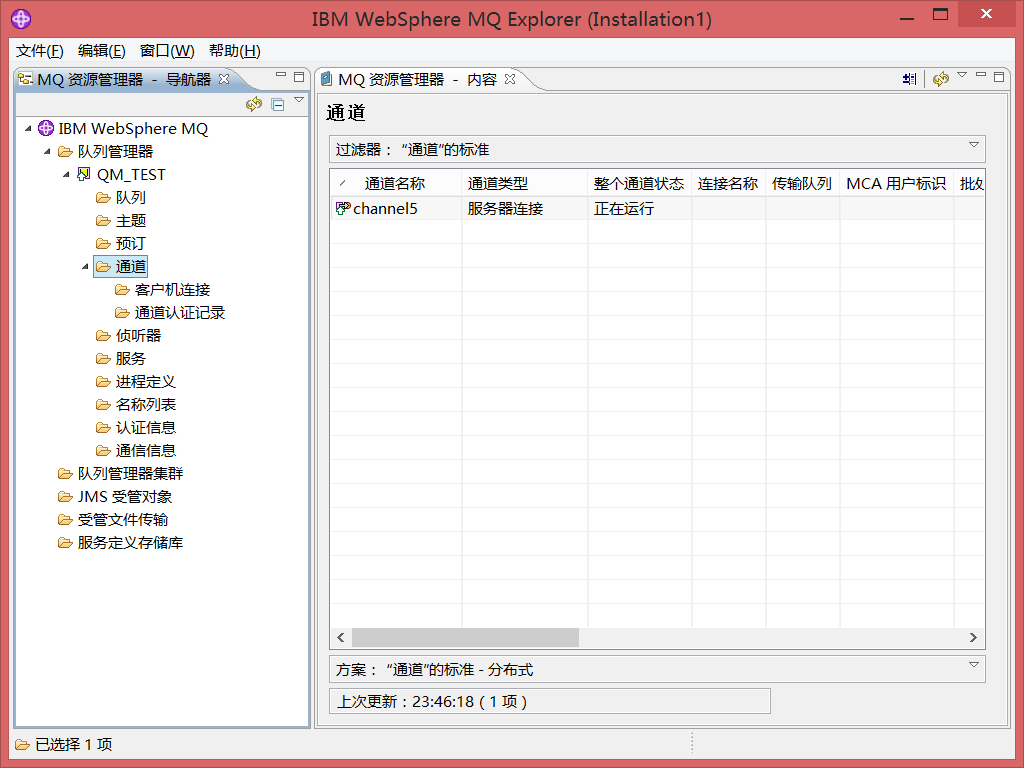
3.新建通道channel5(注:类型选择为服务器连接)
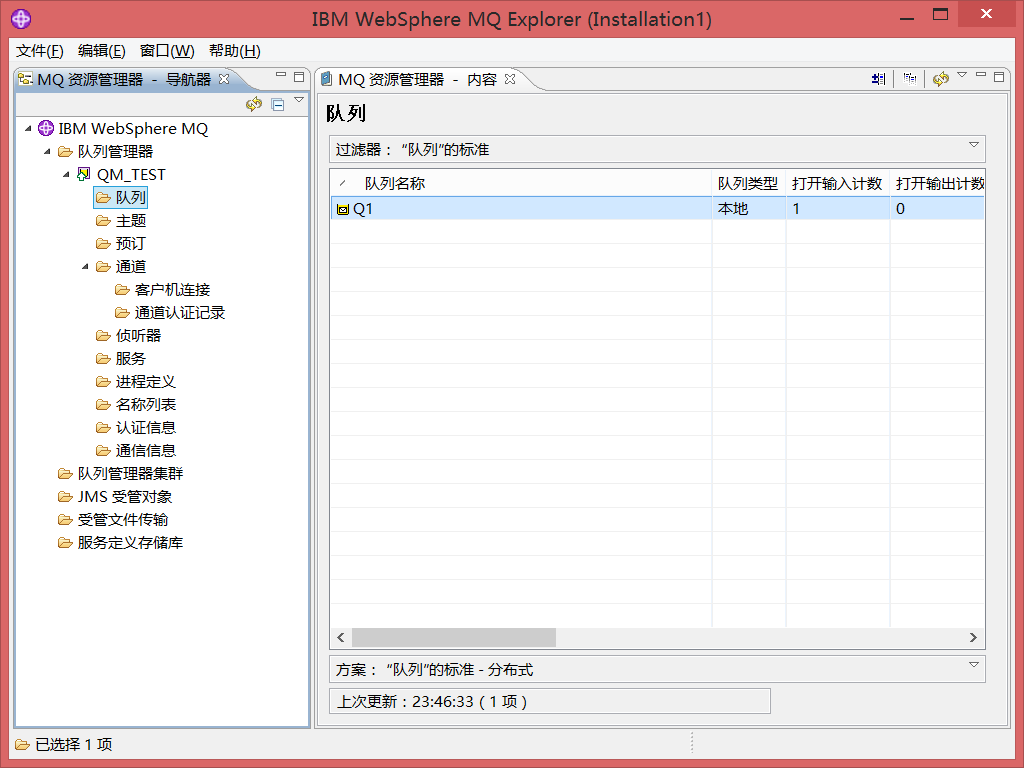
4.新建队列Q1
关于在JAVA工程中使用MQ
1.配置监听器工厂等其他信息
xml文件
<beans xmlns="http://www.springframework.org/schema/beans" xmlns:xsi="http://www.w3.org/2001/XMLSchema-instance"
    xmlns:tx="http://www.springframework.org/schema/tx" xmlns:context="http://www.springframework.org/schema/context"
    xmlns:aop="http://www.springframework.org/schema/aop"
    xsi:schemaLocation="
        http://www.springframework.org/schema/beans
        http://www.springframework.org/schema/beans/spring-beans-3.0.xsd
        http://www.springframework.org/schema/tx
        http://www.springframework.org/schema/tx/spring-tx-3.0.xsd
        http://www.springframework.org/schema/context
        http://www.springframework.org/schema/context/spring-context-3.0.xsd
        http://www.springframework.org/schema/aop
        http://www.springframework.org/schema/aop/spring-aop-3.0.xsd"
    default-lazy-init="false"
>

    <!-- WebSphere MQ Connection Factory -->
    <bean id="mqConnectionFactory" class="com.ibm.mq.jms.MQQueueConnectionFactory">
        <property name="hostName">
            <value>${blvc.mq.hostName}</value>
        </property>
        <property name="port">
            <value>${blvc.mq.port}</value>
        </property>
        <property name="queueManager">
            <value>${blvc.mq.queueManager}</value>
        </property>
        <property name="channel">
            <value>${blvc.mq.channel}</value>
        </property>
        <property name="CCSID"  value="1381"/>
        <property name="transportType" value="1" />
    </bean>


    <!-- JMS Queue Connection Factory -->
    <bean id="jmsQueueConnectionFactory" class="org.springframework.jms.connection.CachingConnectionFactory">
        <property name="targetConnectionFactory" ref="mqConnectionFactory" />
        <property name="sessionCacheSize">
            <value>${blvc.jms.sessionCacheSize}</value>
        </property>
    </bean>

    <!-- JMS Destination Resolver -->
    <bean id="jmsDestinationResolver" class="org.springframework.jms.support.destination.DynamicDestinationResolver" />

    <!-- JMS Queue Template -->
    <bean id="jmsTemplateSend" class="org.springframework.jms.core.JmsTemplate">
        <property name="connectionFactory" ref="jmsQueueConnectionFactory" />
        <property name="destinationResolver" ref="jmsDestinationResolver" />
        <property name="defaultDestinationName">
            <value>${S130.send.destinationName}</value>
        </property>
        <property name="pubSubDomain" value="false" />
    </bean>

    <!--WizRtf2Html Charset=0 -->    <!-- jms监听线程池 -->
    <bean id="jmsListenerTaskExecutor" class="org.springframework.scheduling.concurrent.ThreadPoolTaskExecutor">
        <property name="corePoolSize">
            <value>${blvc.jms.corePoolSize}</value>
        </property>
        <property name="maxPoolSize">
            <value>${blvc.jms.maxPoolSize}</value>
        </property>
        <property name="keepAliveSeconds">
            <value>${blvc.jms.keepAliveSeconds}</value>
        </property>
        <property name="queueCapacity">
            <value>${blvc.jms.queueCapacity}</value>
        </property>
        <property name="threadNamePrefix" value="jmsListenerTaskExecutor" />
    </bean>

    <!-- 定义接收者 -->
    <bean id="jmsListener" class="com.bl.man.busi.listener.MQReceiveListener"></bean>
    <!-- 接受监听 -->
    <bean id="jmsContainer" class="org.springframework.jms.listener.DefaultMessageListenerContainer">
        <property name="connectionFactory" ref="jmsQueueConnectionFactory" />
        <property name="destinationResolver" ref="jmsDestinationResolver" />
        <property name="messageListener" ref="jmsListener" />
        <property name="cacheLevelName" value="CACHE_CONSUMER" />
        <property name="taskExecutor" ref="jmsListenerTaskExecutor" />
        <property name="concurrentConsumers">
            <value>${thk.recv.concurrentConsumers}</value>
        </property>
        <property name="maxConcurrentConsumers">
            <value>${thk.recv.maxConcurrentConsumers}</value>
        </property>
        <property name="destinationName">
            <value>${thk.recv.destinationName}</value>
        </property>
    </bean>
</beans>
- 1
- 2
- 3
- 4
- 5
- 6
- 7
- 8
- 9
- 10
- 11
- 12
- 13
- 14
- 15
- 16
- 17
- 18
- 19
- 20
- 21
- 22
- 23
- 24
- 25
- 26
- 27
- 28
- 29
- 30
- 31
- 32
- 33
- 34
- 35
- 36
- 37
- 38
- 39
- 40
- 41
- 42
- 43
- 44
- 45
- 46
- 47
- 48
- 49
- 50
- 51
- 52
- 53
- 54
- 55
- 56
- 57
- 58
- 59
- 60
- 61
- 62
- 63
- 64
- 65
- 66
- 67
- 68
- 69
- 70
- 71
- 72
- 73
- 74
- 75
- 76
- 77
- 78
- 79
- 80
- 81
- 82
- 83
- 84
- 85
- 86
- 87
- 88
- 89
- 90
- 91
- 92
properties文件
#MQ Server
#TEST
blvc.mq.hostName=127.0.0.1
blvc.mq.port=1414
blvc.mq.queueManager=QM_TEST//队列管理器名称
blvc.mq.channel=channel5//通道名称(类型:服务器连接通道)


#jms session pool
blvc.jms.sessionCacheSize=5
blvc.jms.corePoolSize=5
blvc.jms.maxPoolSize=5
blvc.jms.keepAliveSeconds=10
blvc.jms.queueCapacity=10

#jms listerner (add here)
thk.recv.concurrentConsumers=1
thk.recv.maxConcurrentConsumers=1
thk.recv.destinationName=Q1
- 1
- 2
- 3
- 4
- 5
- 6
- 7
- 8
- 9
- 10
- 11
- 12
- 13
- 14
- 15
- 16
- 17
- 18
- 19
- 20
2.在srping中加载这些文件
<!-- 加载配置 -->
<import resource="applicationContext-MQ.xml"/>
<bean class="org.springframework.beans.factory.config.PropertyPlaceholderConfigurer">
    <property name="systemPropertiesModeName" value="SYSTEM_PROPERTIES_MODE_OVERRIDE" />
    <property name="searchSystemEnvironment" value="true" />
    <property name="ignoreResourceNotFound" value="false" />
    <property name="locations">
        <list>
            <value>classpath:config/*.properties</value>
        </list>
    </property>
</bean>
- 1
- 2
- 3
- 4
- 5
- 6
- 7
- 8
- 9
- 10
- 11
- 12
3.写监听器MQReceiveListener
package com.bl.man.busi.listener;

import javax.jms.Message;
import javax.jms.MessageListener;
import javax.jms.TextMessage;

/**
 *
 * MQ监听器
 *
 */
public class MQReceiveListener implements MessageListener {

    @Override
    public void onMessage(Message msg) {
        TextMessage tm = (TextMessage)msg;
        try {
            System.out.println("++----------"+tm.getText());
        } catch (Exception e) {
            e.printStackTrace();
        }
    }
}
- 1
- 2
- 3
- 4
- 5
- 6
- 7
- 8
- 9
- 10
- 11
- 12
- 13
- 14
- 15
- 16
- 17
- 18
- 19
- 20
- 21
- 22
- 23
4.往MQ中放置信息
@Autowired
private JmsTemplate jmsTemplateSend;
jmsTemplateSend.setDefaultDestinationName("Q1");//队列名称
jmsTemplateSend.send(createTxtMsg("123456"));//放入的消息

public MessageCreator createTxtMsg(final String msg) {
    return new MessageCreator() {
        public Message createMessage(Session session) throws JMSException {
            TextMessage textMessage = session.createTextMessage();
            textMessage.setText(msg);
            return textMessage;
        }
    };
}


 2532
2532

 被折叠的 条评论
为什么被折叠?
被折叠的 条评论
为什么被折叠?
 到【灌水乐园】发言


