


原先做过字体滚动,用的是别人写好的东西,但动画部分没看懂写得有些复杂,而且封装的也不完整,调用起来比较麻烦,最近又需要此效果,就干脆自己写个,用到的还是TextSwitcher,深入学习一下。
话不多说,先看看效果图:

1. ViewSwitcher
先简单介绍下ViewSwitcher,毕竟TextSwitcher继承自ViewSwitcher。
ViewSwitcher继承自FrameLayout,可以将多个View叠在一起,在切换View时表现出动画效果
常见XML属性
| XML属性 | 说明 |
|---|---|
| android:animateFirstView | 设置ViewAnimator显示第一个View时是否使用动画 |
| android:inAnimation | 设置View显示组件显示的动画 |
| android:outAnimation | 设置View隐藏组件显示的动画 |
2. 使用TextSwitcher实现,结合translate平移动画
看到文字滚动,想到这不就是简单的平移效果吗,使用translate动画不就行了嘛,结合ViewSwitcher的android:inAnimation和android:outAnimation为其设置进入和滚出的动画就完事了,这动画看来也没什么难的。
2.1 写translate平移动画
定义一个开始位置和结束位置,定义移动时间就能够产生移动动画
自身属性:
-
android:fromXDelta 起始点 X 轴坐标,可以是数值、百分数、百分数 p 三种样式,比如 50、50%、5
0%p50代表在当前View的左上角,即原点位置加上50px
50%代表在当前View的左上角加上自己宽度50%作为起始点
50%p代表在当前左上角加上父控件宽度的50%作为起始点X轴坐标
-
android:fromYDelta 起始点 Y 轴从标,可以是数值、百分数、百分数 p 三种样式;
-
android:toXDelta 结束点 X 轴坐标
-
android:toYDelta 结束点 Y 轴坐标
从Animation类继承的属性:
- android:duration 动画持续时间,以毫秒为单位
- android:fillAfter 如果设置为true,控件动画结束时,将保持动画最后时的状态
- android:fillBefore 如果设置为true,控件动画结束时,还原到开始动画前的状态
- android:fillEnabled 与android:fillBefore 效果相同,都是在动画结束时,将控件还原到初始化状态
- android:repeatCount 重复次数
- android:repeatMode 重复类型,有reverse和restart两个值,reverse表示倒序回放,restart表示重新放一遍,必须与repeatCount一起使用才能看到效果。因为这里的意义是重复的类型,即回放时的动作。
- android:interpolator 设定插值器,其实就是指定的动作效果,比如弹跳效果等
2.2 从下往上的平移实现

因为下方入场相对原位置是偏移原控件的高度,所以是100%p,上方出场也是移动原控件高度的距离,因为坐标是如图所示箭头方向,所以是-100%p,从下往上只是纵坐标发生了变化,横坐标不发生变化。
下方入场动画:
<?xml version="1.0" encoding="utf-8"?>
<set xmlns:android="http://schemas.android.com/apk/res/android">
    <!--从底部进入,android:duration指定动画持续时间-->
    <translate
        android:fromYDelta="100%p"
        android:toYDelta="0"
        android:duration="1000"/>
</set>
上方出场动画:
<?xml version="1.0" encoding="utf-8"?>
<set xmlns:android="http://schemas.android.com/apk/res/android">
    <!--从顶部出去-->
    <translate
        android:fromYDelta="0"
        android:toYDelta="-100%p"
        android:duration="1000"/>
</set>
2.3 使用
在xml布局内加入TextSwitcher控件,inAnimation和outAnimation标签加上自己写的translate动画
<TextSwitcher
        android:id="@+id/textSwitcher1"
        android:layout_width="match_parent"
        android:layout_height="wrap_content"
        android:inAnimation="@anim/slide_in_bottom"
        android:outAnimation="@anim/slide_out_top" />
循环的更改文字,有两种方式:1、Handler+Runnable 2、使用Timker实现
这里我用Timer来实现
//存放我们的数据
val dataList = mutableListOf<String>()
var timer: Timer? = null
var num = 0

override fun onCreate(savedInstanceState: Bundle?) {
    dataList.add("温度传感器报警")
    dataList.add("瓦斯传感器报警")
    dataList.add("二氧化碳传感器报警")
    dataList.add("湿度传感器报警")
    //用来测试较长的文字显示
    dataList.add("人员超时、人员异常、瓦斯传感器、烟雾传感器、风门、烟雾传感器报警")

    /**
	* XML控件实现
	*/
    textSwitcher1.setFactory {
        //设置TextView控件的一些属性
        val textView = TextView(this)
        //文字过长时以省略号的形式显示
        textView.ellipsize = TextUtils.TruncateAt.END
        //设置最多只能显示一行
        textView.maxLines = 1
        textView.textSize = 40f
        textView.setTextColor(Color.BLUE)
        textView.layoutParams = FrameLayout.LayoutParams(
			LinearLayout.LayoutParams.MATCH_PARENT,
            LinearLayout.LayoutParams.WRAP_CONTENT)
        textView
    }

    /**
    * 开始滚动
    */
    btnStart.setOnClickListener {
        if (timer == null) {
            timer = Timer()
        }
        timer?.schedule(object : TimerTask() {
            override fun run() {
                num++
                runOnUiThread {
                    if (dataList.size > 0) {
                        textSwitcher1.setText(dataList[num % dataList.size])
                    }
                }
            }
        }, 0, 2000)

        mTextSwitcher.startScroll(2000)
    }
}
- TextSwitcher需要我们通过
setFactory()方法为其返回一个TextView,所以我们对字体的大小颜色等的控制都在这里来设置。 - 这里每隔2000毫秒就更改一次textSwitcher要显示的文字。为了实现数据的循环获取,这里通过num从0递增模除dataList的大小的方式,来获取当前数据下标,然后通过此来达到效果。
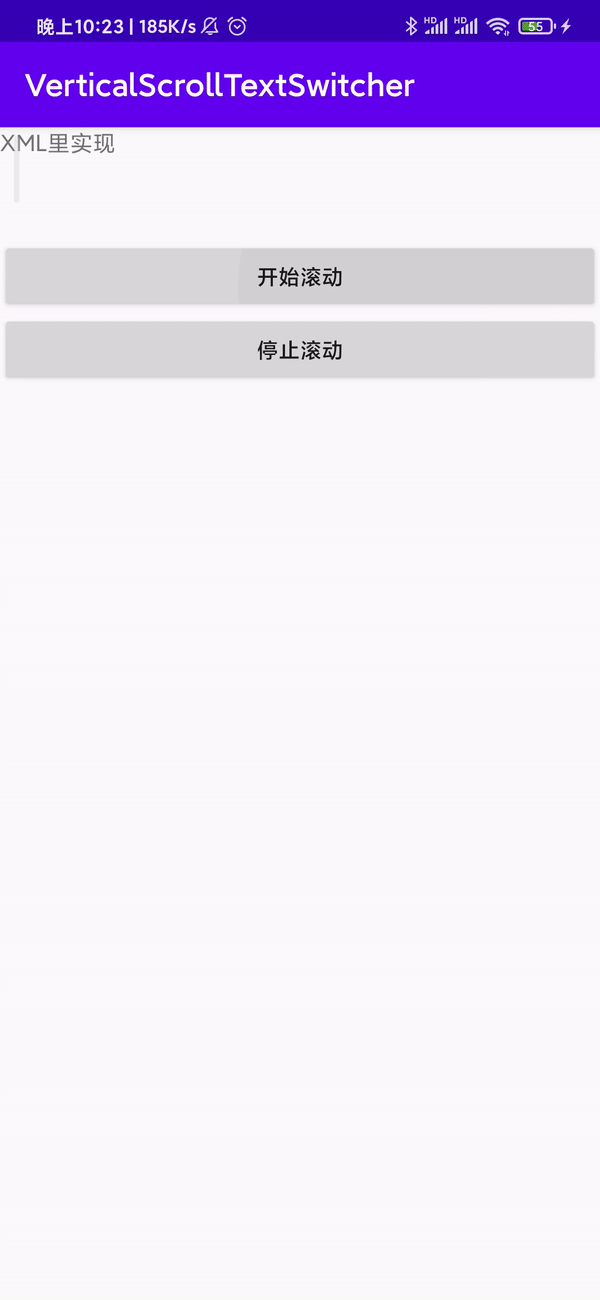
2.4 效果图
3. 自定义TextSwitcher进行封装
看到上述操作后,感觉逻辑并不麻烦,无非就是创建两个translate动画,然后为TextSwitcher设置动画,最后,再用Timer实现间隔变换字体功能。
但是使用起来还是终究太麻烦,需要我们人为的再写一遍setFactory()为TextSwicher设置TextView,人为的写Timer来实现循环,开始和停止滚动都需要做相应的处理,所以接下来我们封装起来,简化下使用。
实现步骤
3.1 新建类继承自TextSwitcher
class MyTextSwitcher(private val mContext: Context, attributeSet: AttributeSet? = null) :
    TextSwitcher(mContext, attributeSet){


    }
3.2 调用setFactory()方法来重写makeView()方法,返回TextView对象
class MyTextSwitcher(private val mContext: Context, attributeSet: AttributeSet? = null) :
    TextSwitcher(mContext, attributeSet), ViewSwitcher.ViewFactory {
        init {

            setFactory(this)
        }

        override fun makeView(): View {

            //返回TextView对象
        }
    }
3.3 在XML中设置TextView的属性
因为我们想在XML中能够直接像TextView一样设置字体大小等样式,为了实现TextView的一些属性,我们进行如下操作:
在values内创建attrs文件,其中加入如下内容,其实都是TextView的相关内容,不知道怎么写的,可以在xml里写个TextView然后Ctrl点击属性可以看看官方的TextView属性是怎么写的。
这里我们只写了一部分属性,需要其它TextView效果的自己来添加,另外我新添了个animDirection属性,是为了能够在xml里直接控制文本滚动的方向。
<?xml version="1.0" encoding="utf-8"?>
<resources>

    <declare-styleable name="MyTextSwitcherStyle">
        <!--字体大小-->
        <attr name="textSize" format="dimension" />
        <!--字体颜色-->
        <attr name="textColor" format="reference|color" />
        <!--最多显示的行数-->
        <attr name="maxLines" format="integer" min="0" />
        <!--字体超出后的效果-->
        <attr name="ellipsize">
            <enum name="none" value="0" />
            <enum name="start" value="1" />
            <enum name="middle" value="2" />
            <enum name="end" value="3" />
            <enum name="marquee" value="4" />
        </attr>
        <!--文字样式-->
        <attr name="textStyle">
            <flag name="normal" value="0" />
            <flag name="bold" value="1" />
            <flag name="italic" value="2" />
        </attr>
        <!--动画的方向-->
        <attr name="animDirection">
            <enum name="bottom2top" value="0"></enum>
            <enum name="top2bottom" value="1"></enum>
        </attr>
    </declare-styleable>
</resources>
3.4 获取属性
private var textSize: Float
private var textColor: Int
//最多显示的行数
private var maxlines: Int
private var ellipse: String?
private var textStyle: Int
private var animDirection: Int

init {

    //获取属性
    val typedArray: TypedArray =
    mContext.obtainStyledAttributes(attributeSet, R.styleable.MyTextSwitcherStyle)

    textSize = typedArray.getDimension(R.styleable.MyTextSwitcherStyle_textSize, 15f)

    textColor =
    typedArray.getColor(R.styleable.MyTextSwitcherStyle_textColor, Color.RED)

    maxlines = typedArray.getInt(R.styleable.MyTextSwitcherStyle_maxLines, 0)

    ellipse = typedArray.getString(R.styleable.MyTextSwitcherStyle_ellipsize)

    textStyle = typedArray.getInt(R.styleable.MyTextSwitcherStyle_textStyle, 0)

    animDirection =
    typedArray.getInt(R.styleable.MyTextSwitcherStyle_animDirection, 0)
    //默认从下往上
    typedArray.recycle()
    //创建动画
    when (animDirection) {
        0 -> {
            //从下往上的动画
            createBottomToTopAnimation()
        }
        1 -> {
            //从上往下
            createTopToBottomAnimation()
        }
    }
    //注意,这个setFactory()一定要写在获取属性的下方,不然在调用makeView()方法时,获取不到属性。
    setFactory(this)
}
3.5 创建动画
TextSwitcher可以通过setInAnimation()和setOutAnimation()方法来为TextSwitcher设置切换的动画。
在3.4中我们获取到的animDirection属性为我们动画的方向
从下往上
这里我们将我们在2.1定义的translate动画转为代码
TranslateAnimation(int fromXType, float fromXValue, int toXType, float toXValue, int fromYType, float fromYValue, int toYType, float toYValue)
Type的类型有如下三种
Animation.ABSOLUTE:具体的坐标值,指绝对的屏幕像素单位
Animation.RELATIVE_TO_PARENT:相对父容器的坐标值,0.1f指父容器的坐标值乘以0.1
Animation.RELATIVE_TO_SELF:相对自己的坐标,0.1f代表自己的坐标乘以0.1
入场动画:
<?xml version="1.0" encoding="utf-8"?>
<set xmlns:android="http://schemas.android.com/apk/res/android">
    <!--从底部进入-->
    <translate
        android:fromYDelta="100%p"
        android:toYDelta="0"
        android:duration="1000"/>
</set>
转为代码如下:
//从底部进入,入场动画
var _inAnimation: Animation = TranslateAnimation(
    Animation.ABSOLUTE, 0f,					//int fromXType, float fromXValue
    Animation.ABSOLUTE, 0f,					//int toXType, float toXValue
    Animation.RELATIVE_TO_PARENT, 1f,		//int fromYType, float fromYValue
    Animation.ABSOLUTE, 0f					//int toYType, float toYValue
)
因为是从底部进入,视图的横坐标并未发生变化,所以前四项就都是Animation.ABSOLUTE, 0f。
纵坐标是从fromYDelta="100%p"到toYDelta="0",前面2.2的图可以看出100%p代表左上角加上父控件高度的100%,所以这里的fromYValue使用Animation.RELATIVE_TO_PARENT, 1f,移动到原位置所以是具体的坐标值,使用Animation.ABSOLUTE用0f。
出场动画:
<?xml version="1.0" encoding="utf-8"?>
<set xmlns:android="http://schemas.android.com/apk/res/android">
    <!--从顶部出去-->
    <translate
        android:fromYDelta="0"
        android:toYDelta="-100%p"
        android:duration="1000"/>
</set>
转为代码如下:
var _outAnimation: Animation = TranslateAnimation(
    Animation.ABSOLUTE, 0f,					//int fromXType, float fromXValue
    Animation.ABSOLUTE, 0f,					//int toXType, float toXValue
    Animation.ABSOLUTE, 0f,					//int fromYType, float fromYValue
    Animation.RELATIVE_TO_PARENT, -1f		//int toYType, float toYValue
)
从上往下
和从下往上的类似,这里就不做过多的陈述,具体可见代码
3.6 提供要显示的数据
class MyTextSwitcher(private val mContext: Context, attributeSet: AttributeSet? = null) :
    TextSwitcher(mContext, attributeSet), ViewSwitcher.ViewFactory {

	val dataList = mutableListOf<String>()

     /**
     * 填充数据
     */
        fun setDataList(theData: List<String>) {
            //防止滚动过程中处理数据发生异常
            stopScroll()

            dataList.clear()
            dataList.addAll(theData)
        }
}
3.7 提供开启滚动和结束滚动的方法
开启滚动
class MyTextSwitcher(private val mContext: Context, attributeSet: AttributeSet? = null) :
TextSwitcher(mContext, attributeSet), ViewSwitcher.ViewFactory {

    var timer: Timer? = null
    var num = 0
    //用来判断是否开始滚动,防止重复滚动(timer执行多次schedule造成滚动的文字顺序混乱)
    private var isStart = false

    /**
     * 开启滚动
     * intervalTime:每隔多少秒滚动一次,可以不填写,默认是2秒切换一次
     */
    fun startScroll(intervalTime: Long = 2000) {
        if (timer == null) {
            timer = Timer()
        }
        if(!isStart){
            timer?.schedule(object : TimerTask() {
                override fun run() {
                    num++
                    (mContext as Activity).runOnUiThread {
                        if (dataList.size > 0) {
                            setText(dataList[num % dataList.size])
                        }
                    }
                }

            }, 0, intervalTime)
            isStart = true
        }
    }

}
结束滚动
/**
* 停止滚动
*/
fun stopScroll() {
    timer?.cancel()
    timer = null
}
3.8 提供获取当前滚动位置的方法
在实际使用时,我们可能有该控件的点击事件,当我们点击时,我们需要知道当前滚动词条的下标,所以提供该方法。
/**
* 点击VerticalTextSwitcher时需要知道其所属的下标位置,用户有可能会进行一些操作
*/
fun getCurrentPosition(): Int {
    return if (dataList.size > 0) {
        num % dataList.size
    } else {
        -1
    }
}
3.9 使用
在XML中加入自己的控件,并设置属性
<?xml version="1.0" encoding="utf-8"?>
<LinearLayout xmlns:android="http://schemas.android.com/apk/res/android"

    xmlns:lee="http://schemas.android.com/apk/res-auto"

    xmlns:tools="http://schemas.android.com/tools"
    android:layout_width="match_parent"
    android:layout_height="match_parent"
    android:orientation="vertical"
    tools:context=".MainActivity">


    <com.myfittinglife.verticalscrolltextswitcher.MyTextSwitcher
        android:id="@+id/mTextSwitcher"
        android:layout_width="match_parent"
        android:layout_height="wrap_content"
        lee:animDirection="bottom2top"
        lee:ellipsize="end"
        lee:maxLines="2"
        lee:textColor="@color/colorPrimary"
        lee:textSize="20sp"
        lee:textStyle="normal"/>
</LinearLayout>
代码中使用
//一、设置数据
mTextSwitcher.setDataList(dataList)
//二、开始滚动
mTextSwitcher.startScroll()
//或者定义刷新的时间
mTextSwitcher.startScroll(2000)
//三、结束滚动
mTextSwitcher.stopScroll()
//四、控件点击事件
mTextSwitcher.setOnClickListener {
    val index = mTextSwitcher1.getCurrentPosition()
    if(index!=-1){
        Log.i(TAG, "onCreate: 所属的下标位置为:$index \t 内容为:${dataList[index]}")
    }else{
        Log.i(TAG, "onCreate: 返回-1,没有数据")
    }
}
4. 注意事项
-
在
init{}方法里,setFactory(this)要在获取属性的后面,不然会先调用makeview()方法,自己获取到的属性就并不能生效。 -
set动画转为代码,100%p使用Animation.RELATIVE_TO_PARENT,对应的是1f而不是100f
-
TextView当设置的文字占多行时,当再次滚动字体为一行时,它的高度维持最高,变回来当前一行的高度很慢,所以建议在XML里将自定义控件的高度设置固定高度而不是wrap_content
-
设置字体大小,我们通过属性获取到的字体大小是sp,
setTextSize()方法默认是按sp值设置进去的。二者的单位不同,最后的结果会偏差很大,所以我们通过如下方式来设置
textView.setTextSize(TypedValue.COMPLEX_UNIT_PX,textSize)
5. 总结
全部其实就是用到了平移动画translate、TextSwitcher、自定义View的相关内容,总体而言不难。
如果本文对你有帮助,请别忘记三连,如果有不恰当的地方也请提出来,下篇文章见。
6. 参考文章
自定义TextView的TextSize属性getDimension和setTextSize的冲突
启舰:自定义控件三部曲之动画篇(一)——alpha、scale、translate、rotate、set的xml属性及用法
转载:https://blog.csdn.net/Myfittinglife/article/details/116735704


 543
543

 被折叠的 条评论
为什么被折叠?
被折叠的 条评论
为什么被折叠?
 到【灌水乐园】发言


