


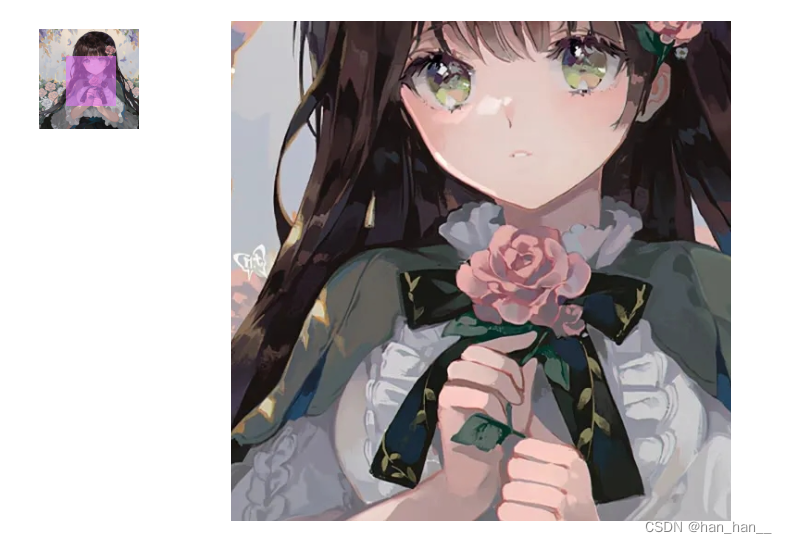
实现图片放大镜的效果:
一、HTML代码
 <div class="magnifier">
        <!-- 小图 -->
        <div class="small">
            <img src="./image.jpg" alt="">
            <!-- 移动块 -->
            <div class="mask"></div>
        </div>
        <!-- 大图 -->
        <div class="big">
            <img src="./image.jpg" alt="">
        </div>
    </div>
二、CSS代码
    <style>
        .magnifier>.big{
            position: absolute;
            left: 300px;
            top: 100px;
            height: 500px;
            width: 500px;
            overflow: hidden;
        }
        .magnifier>.big>img{
            position: absolute;
            height: 1000px;
            width: 1000px;
            top: 0;
            left: 0;
        }
        .magnifier>.small {
            position: relative;
            height: 100px;
            width: 100px;
            left: 100px;
            top: 100px;
        }
        .magnifier>.small>img{
            height: 100px;
            width: 100px;
        }

        .magnifier>.small>.mask {
            position: absolute;
            left: 0;
            top: 0;
            width: 50px;
            height: 50px;
            display: none;
            background-color: rgb(224, 117, 240, 0.6);
        }
    </style>
三、js代码
<body>
    <div class="magnifier">
        <!-- 小图 -->
        <div class="small">
            <img src="./image.jpg" alt="">
            <!-- 移动块 -->
            <div class="mask"></div>
        </div>
        <!-- 大图 -->
        <div class="big">
            <img src="./image.jpg" alt="">
        </div>
    </div>

    <script src="./tool.js"></script>
    <script>
        let small = document.querySelector(".small");
        let mask = document.querySelector(".mask");
        let big = document.querySelector(".big");
        let pic = document.querySelector(".big>img")

        small.onmouseenter = function () {
            mask.style.display = "block";
        }

        small.onmouseleave = function () {
            mask.style.display = "none";
        }

        small.onmousemove = function (e) {
            console.log();
            // clientX 事件属性返回当事件被触发时鼠标指针相对于浏览器页面(或客户区)的水平坐标。
            let x = e.clientX - this.offset().x - mask.clientWidth / 2;
            let y = e.clientY - this.offset().y - mask.clientHeight / 2;
            // 限制移动块不要在小图片以外的区域显示出来
            // x为移动块距离小图左边界的距离
            // y为移动块距离小图上边界的距离
            if (x < 0) {
                x = 0;
            }
            // x应该小于(小图的自身宽度- 移动块的自身宽度)
            if (x > (this.clientWidth - mask.clientWidth)) {

                x = this.clientWidth - mask.clientWidth;
            }
            if (y < 0) {
                y = 0;
            }
            // y应该小于(小图的自身高度 - 移动块的自身高度)
            if (y > (this.clientHeight - mask.clientHeight)) {
                y = this.clientHeight - mask.clientHeights
            }

            mask.style.top = y + "px";
            mask.style.left = x + 'px';

            // 移动块往下挪,可以看成小图片往上移动,对应的就是大图的原理
            // 当移动块向下移动时,对应到大图就是向上移动,所以取负号;
            // 移动的距离是成倍数的(大图的宽高/小图的宽高);
            pic.style.top = -y * 10 + 'px';
            pic.style.left = -x * 10 + 'px';
        }
    </script>
</body>
四、tool(offset函数:封装一个方法:得到选定元素在body的坐标)
 // 封装一个方法:得到选定元素在body的坐标
      Object.prototype.offset = function (x, y) {
        let parent = this.offsetParent
        if (parent.offsetParent == null) {
            x = this.offsetLeft;
            y = this.offsetTop;
            return {x, y};
        } else {
            x += parent.offsetLeft;
            y += parent.offsetTop;
            return offset(x, y);
        }
    }


 3096
3096


 被折叠的 条评论
为什么被折叠?
被折叠的 条评论
为什么被折叠?
 到【灌水乐园】发言


