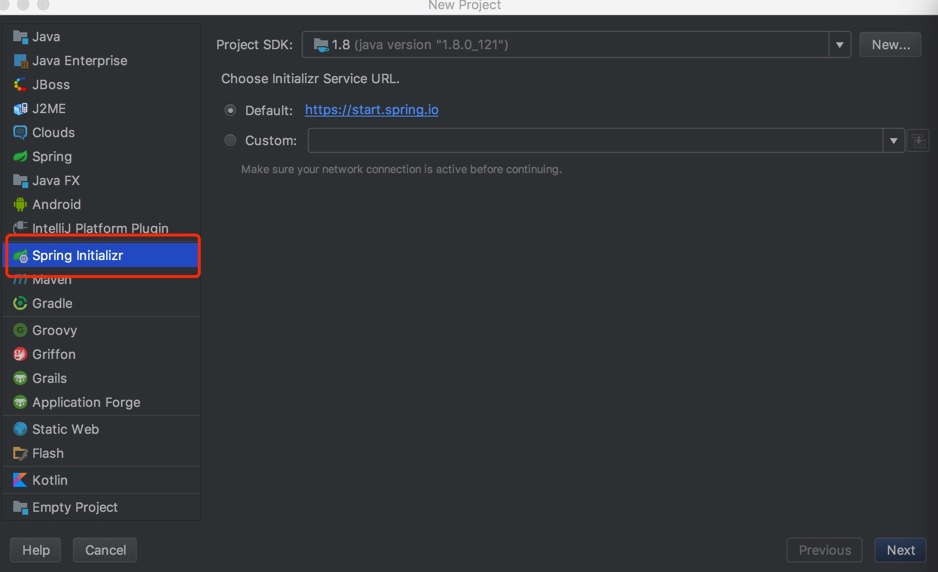
1.打开IDEA,创建新项目,选择Spring Initializr
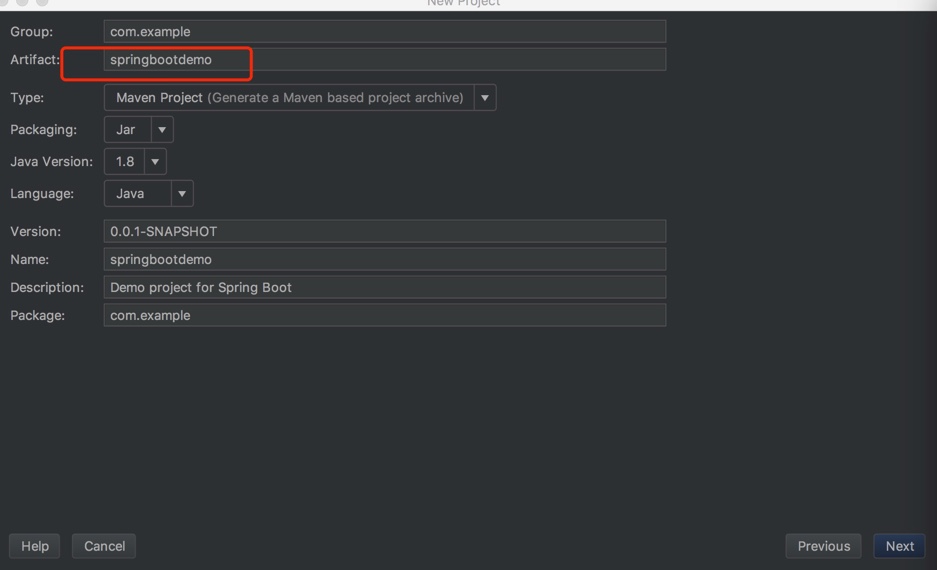
2.输入Artifact
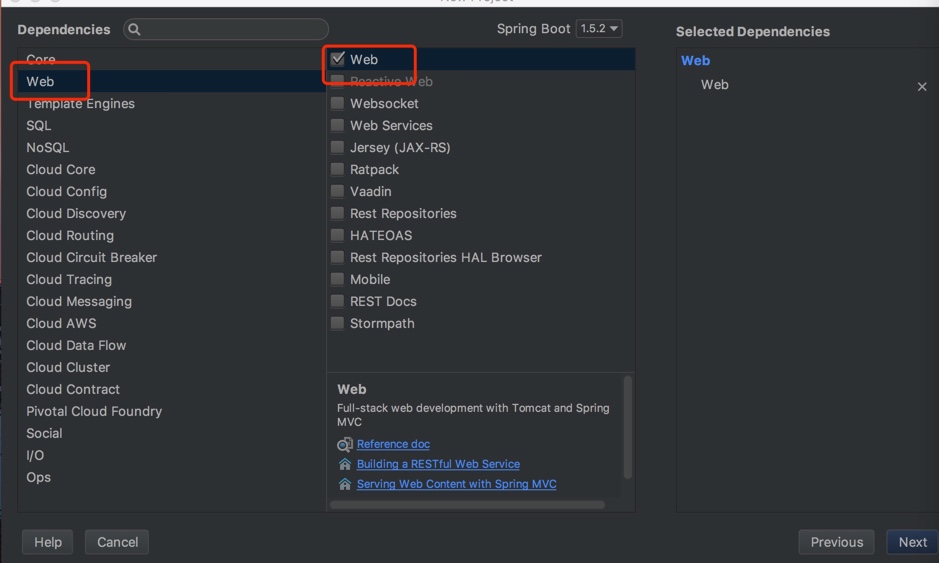
3.勾选Web
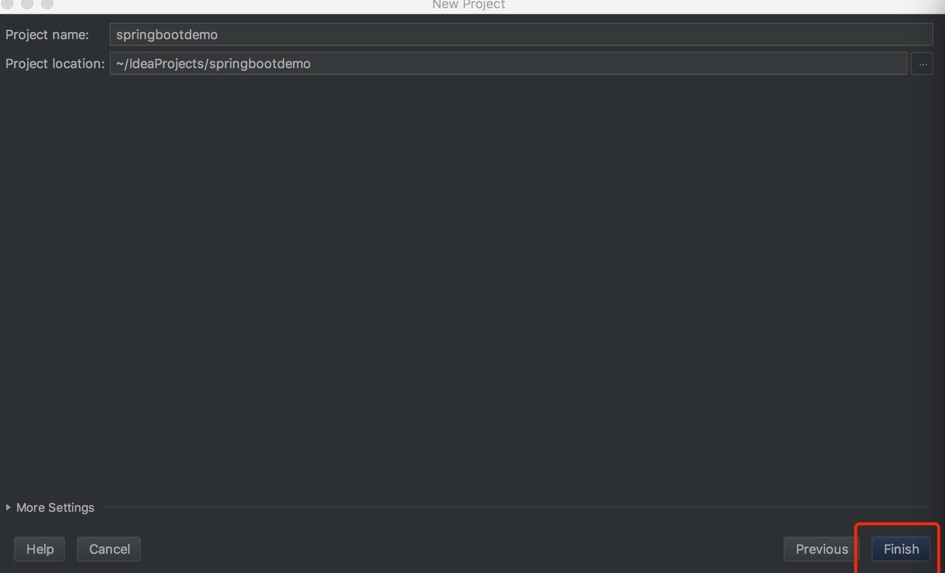
4.点击finish完成(是不是很简单!!)
5.配置文件介绍
pom.xml文件:
- <?xml version="1.0" encoding="UTF-8"?>
- <project xmlns="http://maven.apache.org/POM/4.0.0" xmlns:xsi="http://www.w3.org/2001/XMLSchema-instance"
- xsi:schemaLocation="http://maven.apache.org/POM/4.0.0 http://maven.apache.org/xsd/maven-4.0.0.xsd">
- <modelVersion>4.0.0</modelVersion>
-
- <groupId>com.example</groupId>
- <artifactId>springbootdemo</artifactId>
- <version>0.0.1-SNAPSHOT</version>
- <packaging>jar</packaging>
-
- <name>springbootdemo</name>
- <description>Demo project for Spring Boot</description>
-
-
- <parent>
- <groupId>org.springframework.boot</groupId>
- <artifactId>spring-boot-starter-parent</artifactId>
- <version>1.5.2.RELEASE</version>
- <relativePath/>
- </parent>
-
- <properties>
- <project.build.sourceEncoding>UTF-8</project.build.sourceEncoding>
- <project.reporting.outputEncoding>UTF-8</project.reporting.outputEncoding>
- <java.version>1.8</java.version>
- </properties>
-
- <dependencies>
-
- <dependency>
- <groupId>org.springframework.boot</groupId>
- <artifactId>spring-boot-starter-web</artifactId>
- </dependency>
-
- <dependency>
- <groupId>org.springframework.boot</groupId>
- <artifactId>spring-boot-starter-test</artifactId>
- <scope>test</scope>
- </dependency>
- </dependencies>
-
-
- <build>
- <plugins>
- <plugin>
- <groupId>org.springframework.boot</groupId>
- <artifactId>spring-boot-maven-plugin</artifactId>
- </plugin>
- </plugins>
- </build>
-
-
- </project>
application.yml文件:
springboot可以通过yml文件进行一些属性配置来代替properties文件。设置数据库连接,工程根目录
spring:
  datasource:
    driver-class-name: com.mysql.jdbc.Driver
    username: root
    password: 123456
    url: jdbc:mysql://localhost:3306/springboot_test?characterEncoding=utf-8&useSSL=false

server:
  context-path: /userCentre
6.创建一个HelloController
- package com.example;
-
- import org.springframework.web.bind.annotation.RequestMapping;
- import org.springframework.web.bind.annotation.RestController;
-
- @RestController
- public class HelloController {
-
- @RequestMapping("/hello")
- public String hello() {
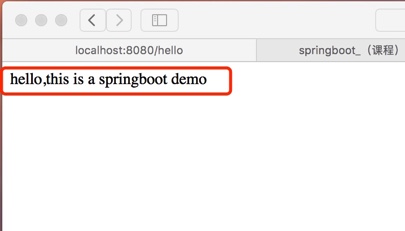
- return "hello,this is a springboot demo";
- }
- }
7.程序自动生成的SpringbootdemoApplication,会有一个@SpringBootApplication的注解,这个注解用来标明这个类是程序的入口。
@SpringBootApplication开启了Spring的组件扫描和springboot的自动配置功能,相当于将以下三个注解组合在了一起
(1)@Configuration:表名该类使用基于Java的配置,将此类作为配置类
(2)@ComponentScan:启用注解扫描
(3)@EnableAutoConfiguration:开启springboot的自动配置功能
- package com.example;
-
- import org.springframework.boot.SpringApplication;
- import org.springframework.boot.autoconfigure.SpringBootApplication;
-
-
- @SpringBootApplication
- public class SpringbootdemoApplication {
-
- public static void main(String[] args) {
- SpringApplication.run(SpringbootdemoApplication.class, args);
- }
- }
8.运行SpringbootdemoApplication类
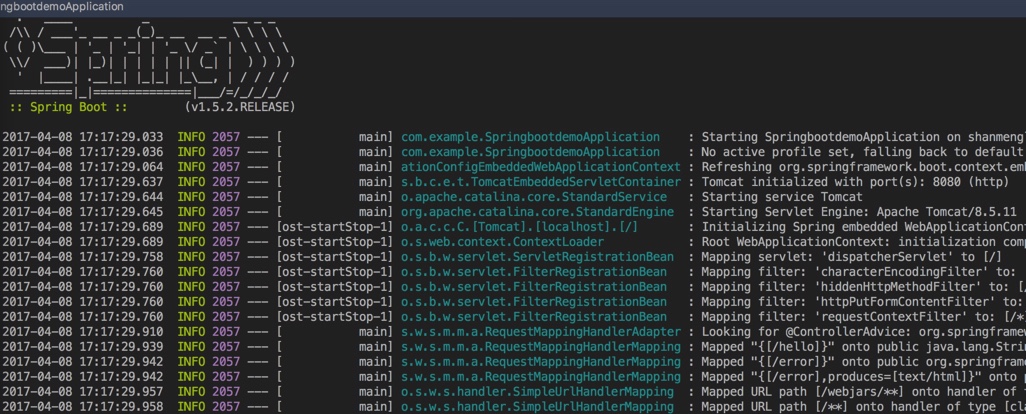
测试:
在地址栏中输入http://localhost:8080/hello


 4330
4330

 被折叠的 条评论
为什么被折叠?
被折叠的 条评论
为什么被折叠?
 到【灌水乐园】发言


