


 该博客介绍了如何在Linux系统中通过YUM安装Nginx,并提供了启动、停止、重载等命令。接着讲解了前端项目的打包部署,包括修改Nginx配置以实现路径重定向。后端部分涉及Java应用的打包、创建执行脚本及启动停止操作,同时强调了查看日志的方法。整个流程覆盖了前端和后端的部署实施。
安装nginx
yum -y install nginx
安装后启动即可
service nginx start
常用命令
[root@localhost ~]# yum -y instal nginx //安装nginx[root@localhost ~]# service nginx start //启动nginx
[root@localhost ~]# service nginx stop //停止nginx
[root@localhost ~]# service nginx reload //重载nginx
[root@localhost ~]# ps -ef | grep nginx //查看进程apache/httpd
[root@localhost ~]# netstat -anpl | grep ‘nginx’ //查看服务端口
[root@localhost ~]# rpm -Uvh
http://nginx.org/packages/centos/7/x86_64/RPMS/nginx-1.18.0-1.el7.ngx.x86_64.rpm
// rpm方式升级并安装某个版本的Nginx
前端部署
前端打包
npm run build
将dist中的所有文件放在某个目录下,我放的是etc/nginx/dormPage

这就是后续nginx监听短款后重定向到的地址。
nginx修改配置
修改nginx.conf,一般在/etc/nginx/目录下

增加一个server即可。
其中的location /api 可参考前端代码中的config/index.js修改

修改完后,重启下nginx。然后访问 ip:端口,看是否成功访问。
后端部署
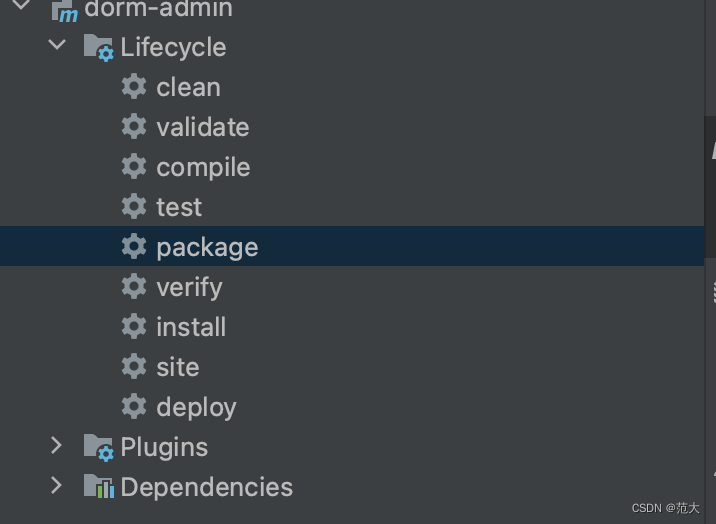
maven clean -> compile -> package
打完包后把jar包上传到服务器某目录下,创建执行脚本 vi xxx.sh
#!/bin/bash
cd `dirname $0`
CUR_SHELL_DIR=`pwd`
CUR_SHELL_NAME=`basename ${BASH_SOURCE}`
#修改这里jar包名即可
JAR_NAME="xxxxxx.jar"
JAR_PATH=$CUR_SHELL_DIR/$JAR_NAME
#JAVA_MEM_OPTS=" -server -Xms1024m -Xmx1024m -XX:PermSize=128m"
JAVA_MEM_OPTS=""
#SPRING_PROFILES_ACTIV="-Dspring.profiles.active=dev"
SPRING_PROFILES_ACTIV=""
LOG_DIR=$CUR_SHELL_DIR/logs
LOG_PATH=$LOG_DIR/${JAR_NAME}.log
echo_help()
{
    echo -e "syntax: sh $CUR_SHELL_NAME start|stop"
}
if [ -z $1 ];then
    echo_help
    exit 1
fi
if [ ! -d "$LOG_DIR" ];then
    mkdir "$LOG_DIR"
fi
if [ ! -f "$LOG_PATH" ];then
    touch "$LOG_DIR"
fi
if [ "$1" == "start" ];then
# check server
    PIDS=`ps --no-heading -C java -f --width 1000 | grep $JAR_NAME | awk '{print $2}'`
    if [ -n "$PIDS" ]; then
        echo -e "ERROR: The $JAR_NAME already started and the PID is ${PIDS}."
        exit 1
    fi
echo "Starting the $JAR_NAME..."

    # start
    nohup java $JAVA_MEM_OPTS -jar $SPRING_PROFILES_ACTIV $JAR_PATH >> $LOG_PATH 2>&1 &

    COUNT=0
    while [ $COUNT -lt 1 ]; do
        sleep 1
        COUNT=`ps  --no-heading -C java -f --width 1000 | grep "$JAR_NAME" | awk '{print $2}' | wc -l`
        if [ $COUNT -gt 0 ]; then
            break
        fi
    done
    PIDS=`ps  --no-heading -C java -f --width 1000 | grep "$JAR_NAME" | awk '{print $2}'`
    echo "${JAR_NAME} Started and the PID is ${PIDS}."
    echo "You can check the log file in ${LOG_PATH} for details."

elif [ "$1" == "stop" ];then

    PIDS=`ps --no-heading -C java -f --width 1000 | grep $JAR_NAME | awk '{print $2}'`
    if [ -z "$PIDS" ]; then
        echo "ERROR:The $JAR_NAME does not started!"
        exit 1
    fi
echo -e "Stopping the $JAR_NAME..."

    for PID in $PIDS; do
        kill $PID > /dev/null 2>&1
    done

    COUNT=0
    while [ $COUNT -lt 1 ]; do
        sleep 1
        COUNT=1
        for PID in $PIDS ; do
            PID_EXIST=`ps --no-heading -p $PID`
            if [ -n "$PID_EXIST" ]; then
                COUNT=0
                break
            fi
        done
    done

    echo -e "${JAR_NAME} Stopped and the PID is ${PIDS}."
else
    echo_help
    exit 1
fi
直接复制粘贴即可,只需其中的修改jar包名,然后给脚本赋权限
chmod 777 xxx.sh
jar包启动
./xxx.sh start
jar包停止
./xxx.sh stop
查看自动生成的logs/xxx.log日志文件
tail -200f xxx.log
启动成功后访问页面,前后端部署完毕。


 3688
3688

 被折叠的 条评论
为什么被折叠?
被折叠的 条评论
为什么被折叠?
 到【灌水乐园】发言


