


首先下载 MinGW
https://osdn.net/projects/mingw/releases/
我的资源里的下载地址:https://download.csdn.net/download/kesshei/10943492

基本上就是 安装,然后结束
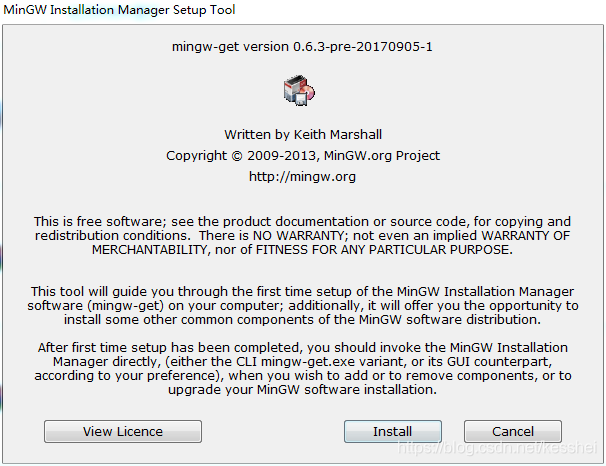
安装完的样子
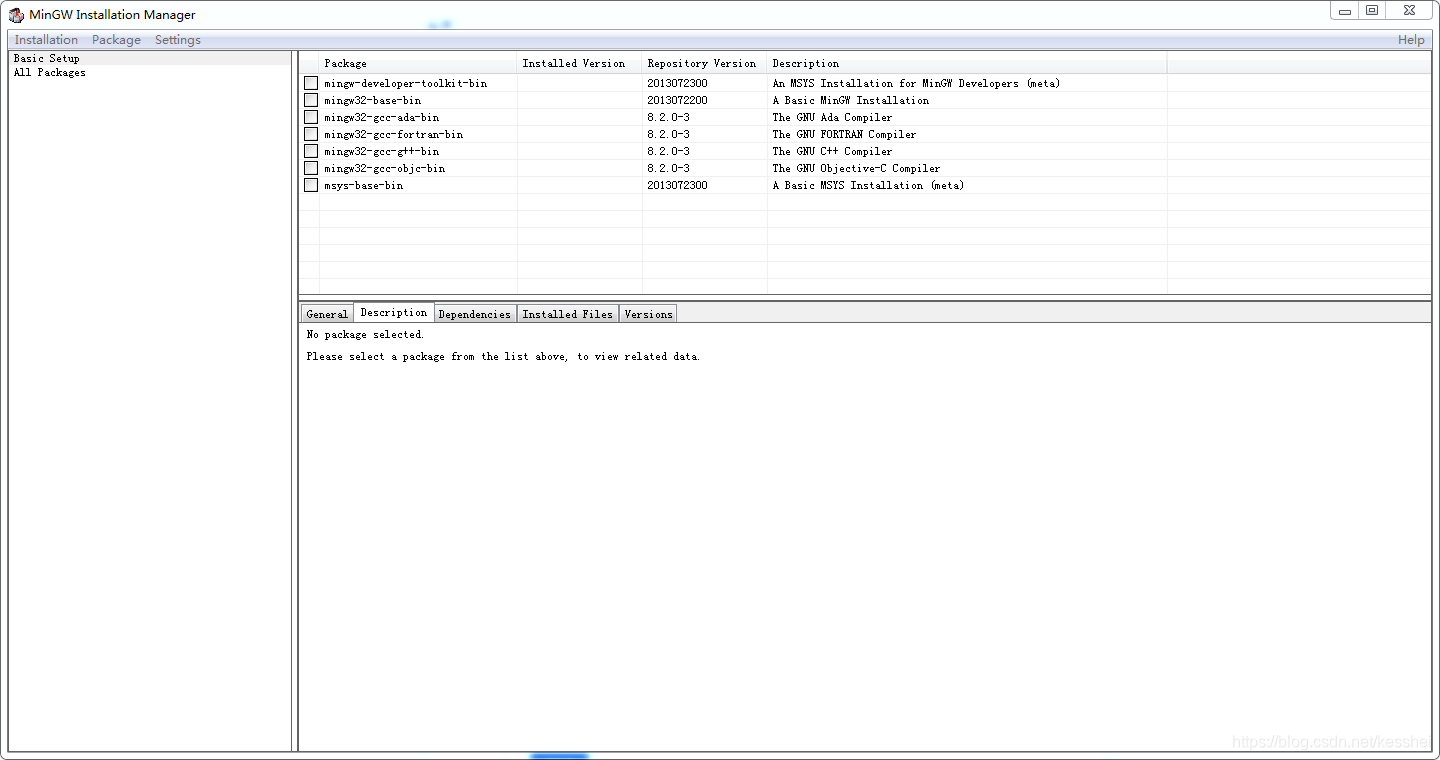
在里面找到mingw32-gcc.bin, mingw32-gcc-g++.bin, 以及mingw32-gdb.bin 第一个是c语言文件的编译器,第二个是c++的,第三个是用来调试编译后文件的。
然后点Installation->Apply all changes.
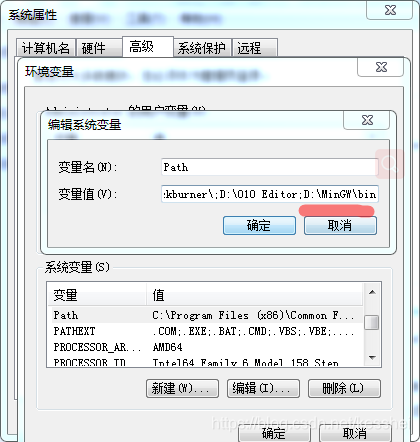
添加环境变量
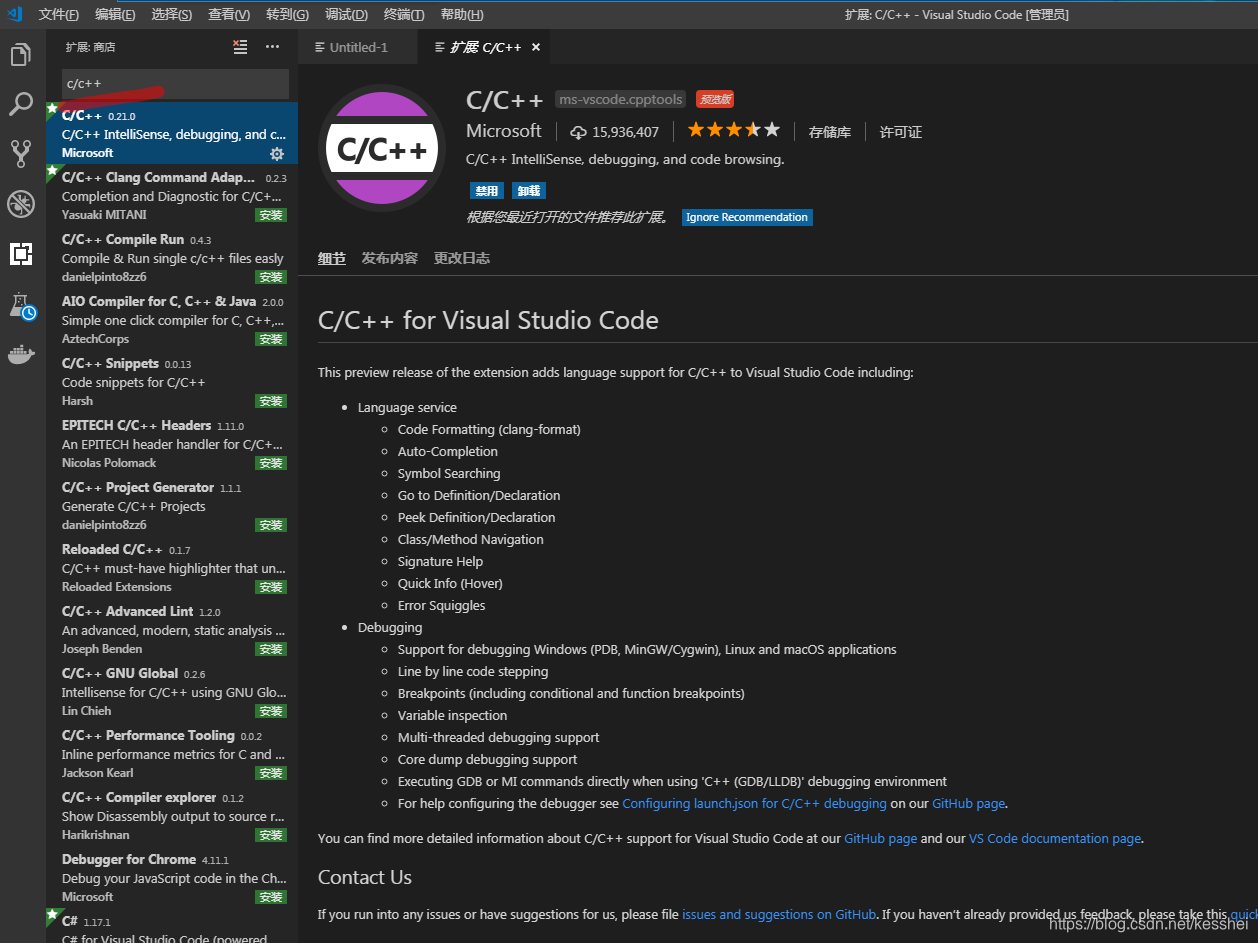
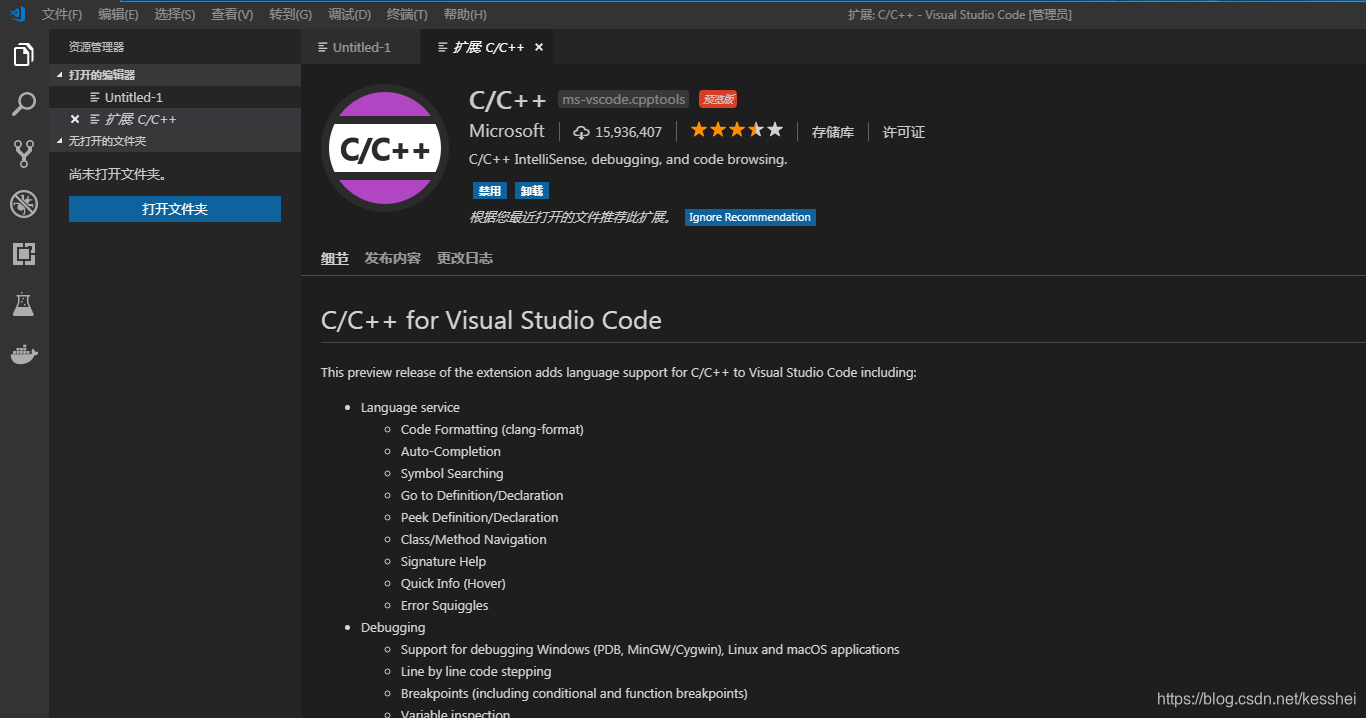
然后在vscode里面下载c/c++官方插件:
下载地址:https://download.csdn.net/download/kesshei/10943498
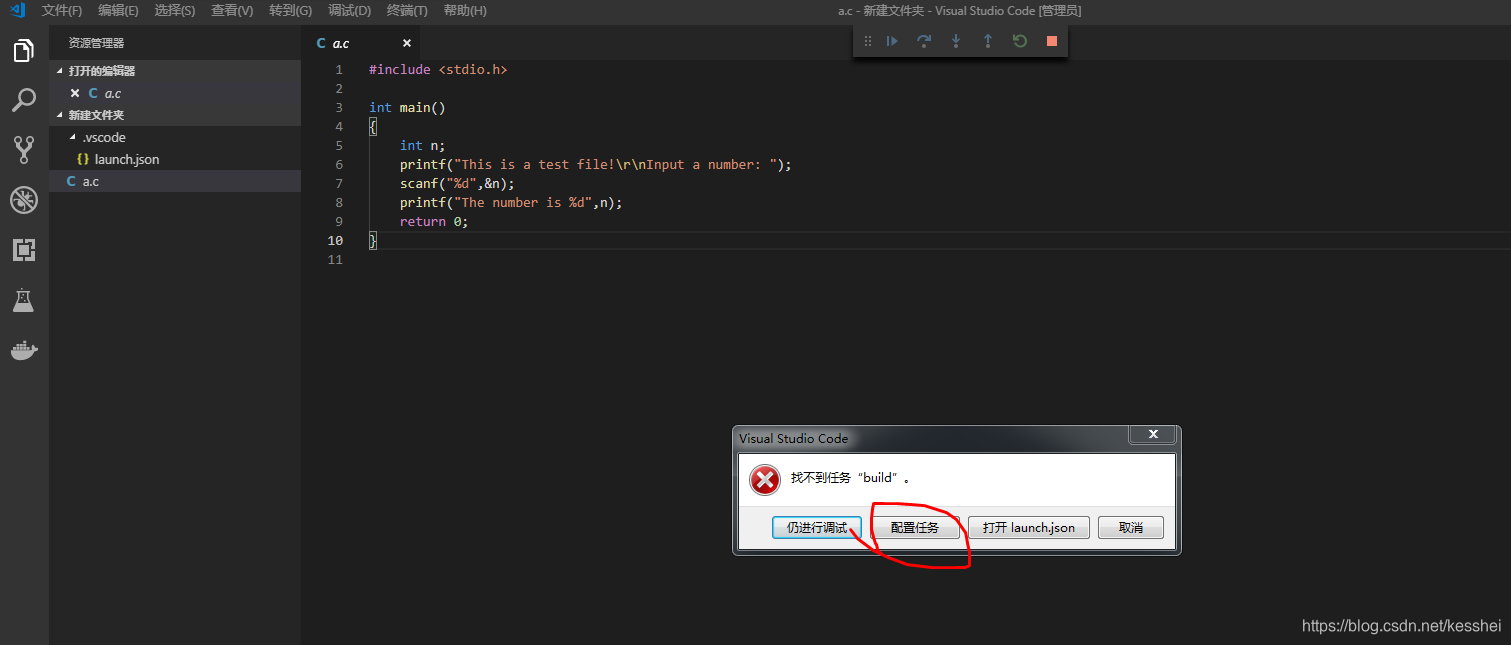
然后打开一个放着C语言文件的文件夹
然后点击调试,
会让你选择一个调试项目 选择C++
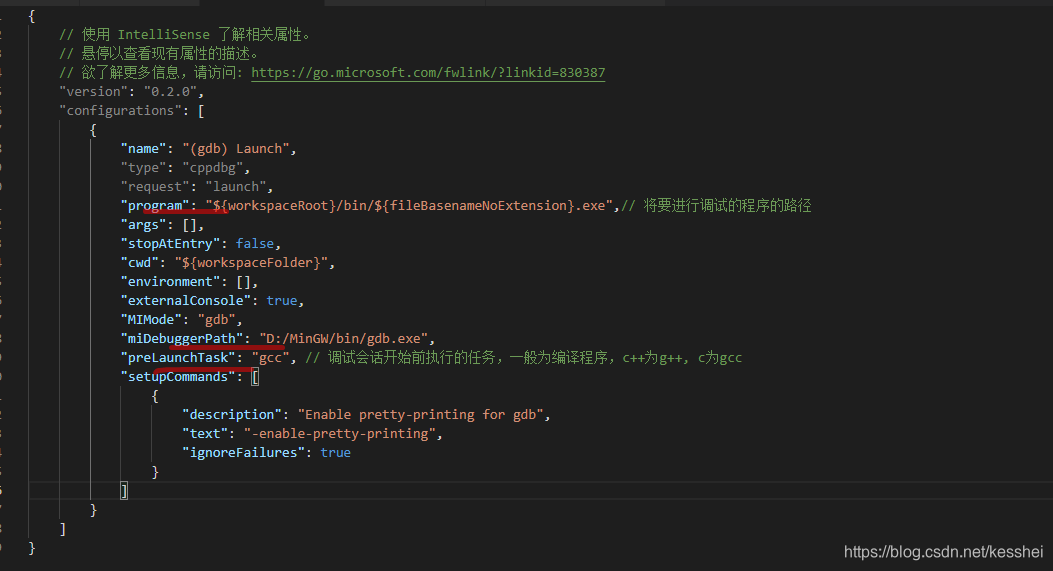
 就会生成这个,然后配置一下
{
    // 使用 IntelliSense 了解相关属性。
    // 悬停以查看现有属性的描述。
    // 欲了解更多信息,请访问: https://go.microsoft.com/fwlink/?linkid=830387
    "version": "0.2.0",
    "configurations": [
        {
            "name": "(gdb) Launch",
            "type": "cppdbg",
            "request": "launch",
            "program": "${workspaceRoot}/bin/${fileBasenameNoExtension}.exe",// 将要进行调试的程序的路径
            "args": [],
            "stopAtEntry": false,
            "cwd": "${workspaceFolder}",
            "environment": [],
            "externalConsole": true,
            "MIMode": "gdb",
            "miDebuggerPath": "D:/MinGW/bin/gdb.exe",
            "preLaunchTask": "gcc",	// 调试会话开始前执行的任务,一般为编译程序,c++为g++, c为gcc
            "setupCommands": [
                {
                    "description": "Enable pretty-printing for gdb",
                    "text": "-enable-pretty-printing",
                    "ignoreFailures": true
                }
            ]
        }
    ]
}
F5 选择配置任务 选择 other
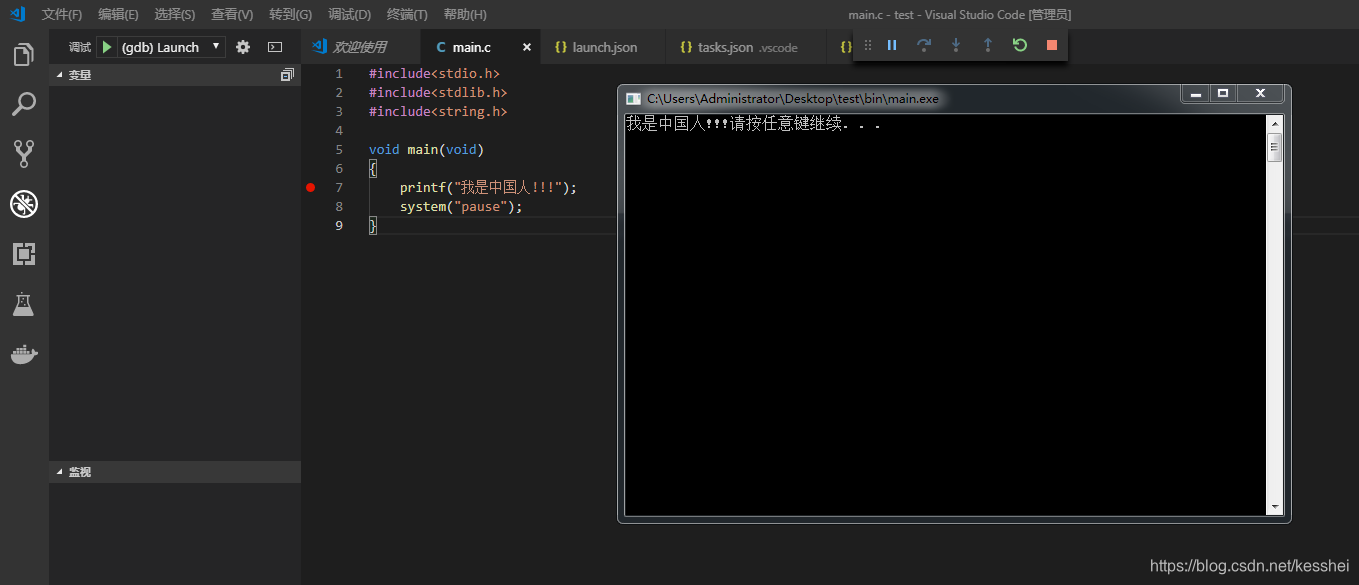
这个是结果
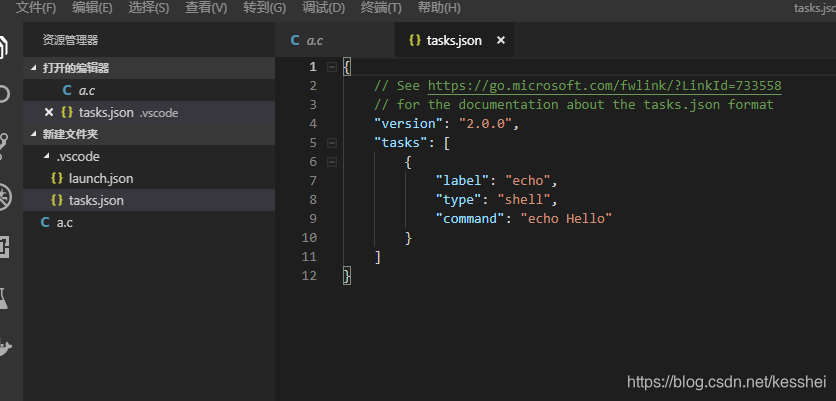
最后的配置信息
launch.json
{
    // See https://go.microsoft.com/fwlink/?LinkId=733558
    // for the documentation about the tasks.json format
    "version": "2.0.0",
    "tasks": [
        {
            "label": "gcc",
            "type": "shell",
            "command": "gcc",
            "args": ["-g",
                "${file}",
                "-o",
                "${workspaceRoot}/bin/${fileBasenameNoExtension}.exe"
                ], // 编译命令参数
        }
    ]
}
会提示没有bin这个目录 No such file or directory
可以创建 bin文件夹
OK。搞定


 7925
7925


 被折叠的 条评论
为什么被折叠?
被折叠的 条评论
为什么被折叠?
 到【灌水乐园】发言


