


安装以及使用流程
安装
npm i -S koa
npm i -S koa-router
npm i -S koa-bodyparser
导入以下方法;
const Koa = require('koa');
const router = require('koa-router')();
// post请求,需要请求体,这个时候需要安装 koa-bodyparser,它可以解析从body里面传过来的数据
const bodyparser = require('koa-bodyparser');
const fs = require('fs');// fs文件系统是nodejs内置的,不需要安装。

app.use(bodyparser())
打印日志
// 当服务期被访问的时候,打印出请求类型以及请求的url;
app.use(async (ctx, next) => {
    console.log(`${ctx.request.method} ${ctx.request.url}`);
    await next();
});
接口
// post请求
router.post('/api/postUser', async (ctx, next) => {
    // ctx.request.body  请求的参数
    const { username, password } = ctx.request.body

    if (!username || !password) {
        ctx.response.body = { Msg: "用户名或者密码不能为空", ResultCode: 0}
        return;
    }

    let ret = null
    try {
        ret = await fs.readFileSync('./user.json')
        ret = JSON.parse(ret.toString())
    } catch (error) {
        ret = []
    }

    ret.push({  username, password })
    ctx.response.body = { Msg: "注册成功",  ResultCode: 1 }

    try {
        fs.writeFileSync('./user.json', JSON.stringify(ret))
        ctx.response.body = { Msg: `${username}注册成功`, ResultCode: 1}
    } catch (err) {
        if (err) ctx.response.body = { Msg: "注册失败,请重新提交", ResultCode: 0}
    }
});

// get请求
router.get('/api/getUser', async (ctx, next) => {
    ctx.response.body = {
        name: '张三',
        phone: '15111111111'
    }
});
添加路由器中间件,以及设置服务期的host和端口
app.use(router.routes());

const host = '131.122.2.55';
const port = '2255';

app.listen(port, host, () => {
    console.log(`http://${host}:${port}`);
});
项目中调用:
 axios.post('http://131.122.2.55:2255/api/postUser',{username: "张三12"}).then(ret => {
   console.log(ret);
 })

 axios.get('http://131.122.2.55:2255/api/getUser').then(ret => {
   console.log(ret);
 })
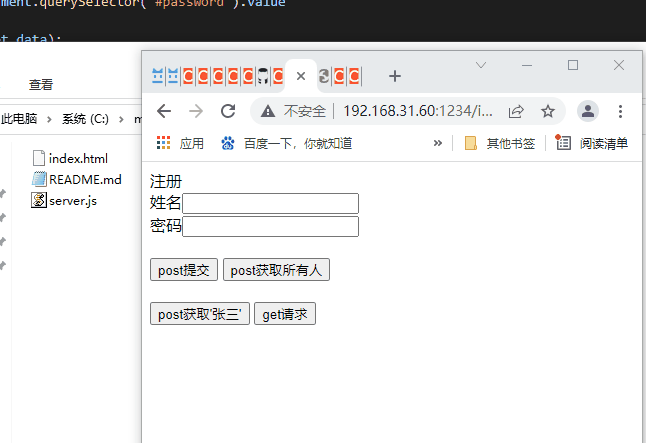
结果如图

解决跨域
安装 npm i -S koa2-cors
const cors = require('koa2-cors');

app.use(
    cors({
        origin: function (ctx) { //设置允许来自指定域名请求
             return '*';
            // if (ctx.url === '/choose-city') {  return '*'; // 允许来自所有域名请求 }
            // return 'http://localhost:8080'; // 只允许http://localhost:8080这个域名的请求
        },
        maxAge: 5, //指定本次预检请求的有效期,单位为秒。
        credentials: true, //是否允许发送Cookie
        allowMethods: ['GET', 'POST', 'PUT', 'DELETE', 'OPTIONS'], //设置所允许的HTTP请求方法'
        allowHeaders: ['Content-Type', 'Authorization', 'Accept'], //设置服务器支持的所有头信息字段
        exposeHeaders: ['WWW-Authenticate', 'Server-Authorization'] //设置获取其他自定义字段
    })
);
再次运行node mock.js结果如下图

完整代码 结果看下图,新增的数据被存储到本地的user.json文件里面


 983
983


 被折叠的 条评论
为什么被折叠?
被折叠的 条评论
为什么被折叠?
 到【灌水乐园】发言


