


版权声明
- 本文原创作者:谷哥的小弟
- 作者博客地址:http://blog.csdn.net/lfdfhl
axios概述
axios是一个基 promise的HTTP库,它可用在浏览器和node.js 中。axios是一个异步请求框架,其核心用途在于在页面中发送异步请求并获取对应数据在页面中渲染。
虽然axios不是Vue的组成部分;但是,Vue推荐使用axios进行异步请求。
官方地址
主要特征
- 从浏览器中创建 XMLHttpRequests
- 从 node.js 创建 http 请求
- 支持 Promise API
- 拦截请求和响应
- 转换请求数据和响应数据
- 取消请求
- 自动转换 JSON 数据
- 客户端支持防御 XSRF
下载地址
https://unpkg.com/axios/dist/axios.min.js
请下载axios.min.js保存至项目并在页面中引用。
常用方法
axios常用方法如下:
axios.request(config)

axios.get(url[, config])

axios.delete(url[, config])

axios.head(url[, config])

axios.options(url[, config])

axios.post(url[, data[, config]])

axios.put(url[, data[, config]])

axios.patch(url[, data[, config]])
axios入门
在此,以示例形式学习axios的Get请求与Post请求。
<!DOCTYPE html>
<!-- 引入v-on命名空间 -->
<html lang="en" xmlns:v-on="http://www.w3.org/1999/xhtml">
<head>
<meta charset="UTF-8">
<title>Vue</title>
<!-- 引入vue -->
<script src="js/vue.js"></script>
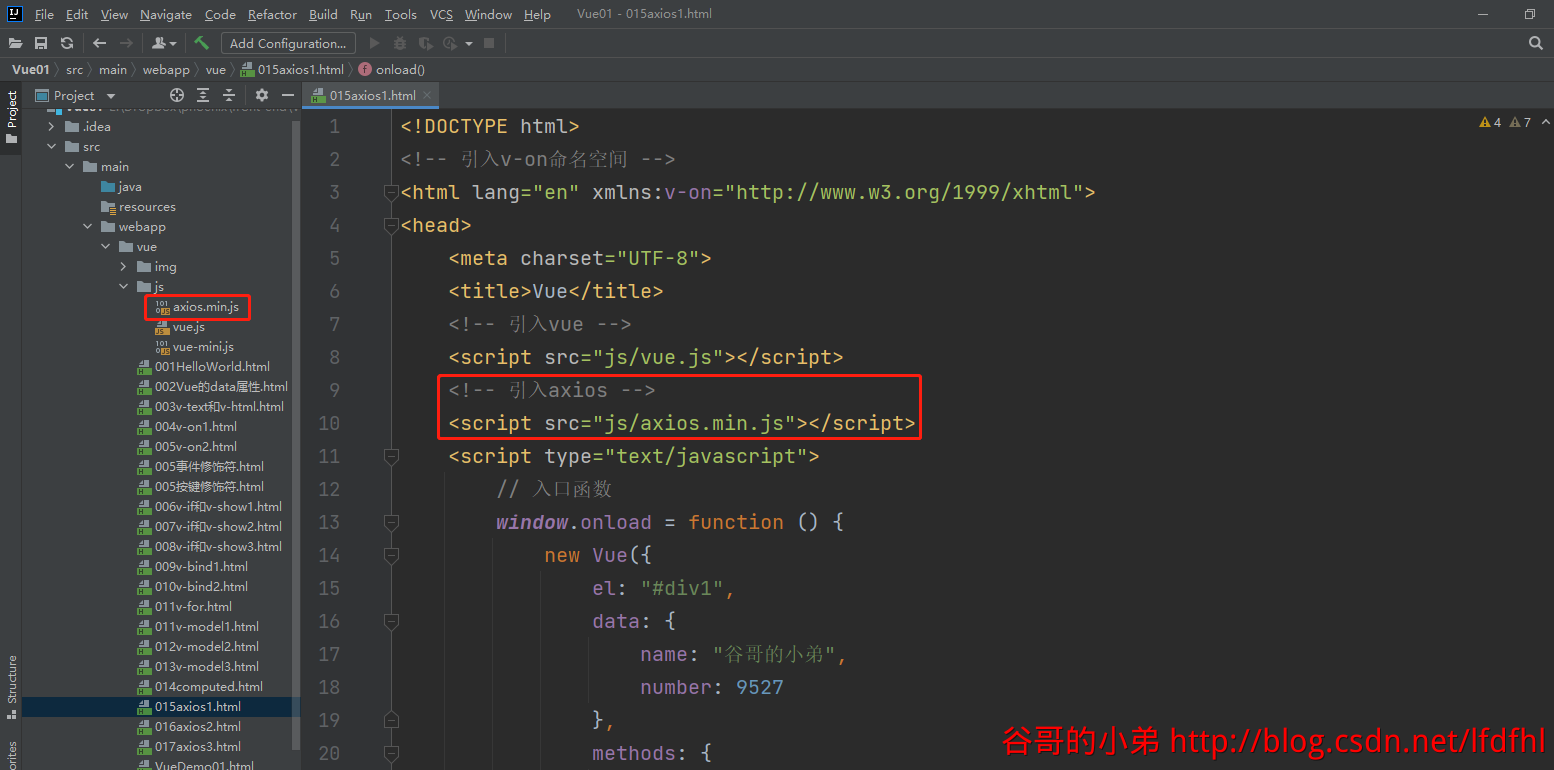
<!-- 引入axios -->
<script src="js/axios.min.js"></script>
<script type="text/javascript">
// 入口函数
window.onload = function () {
new Vue({
el: "#div1",
data: {
name: "谷哥的小弟",
number: 9527
},
methods: {
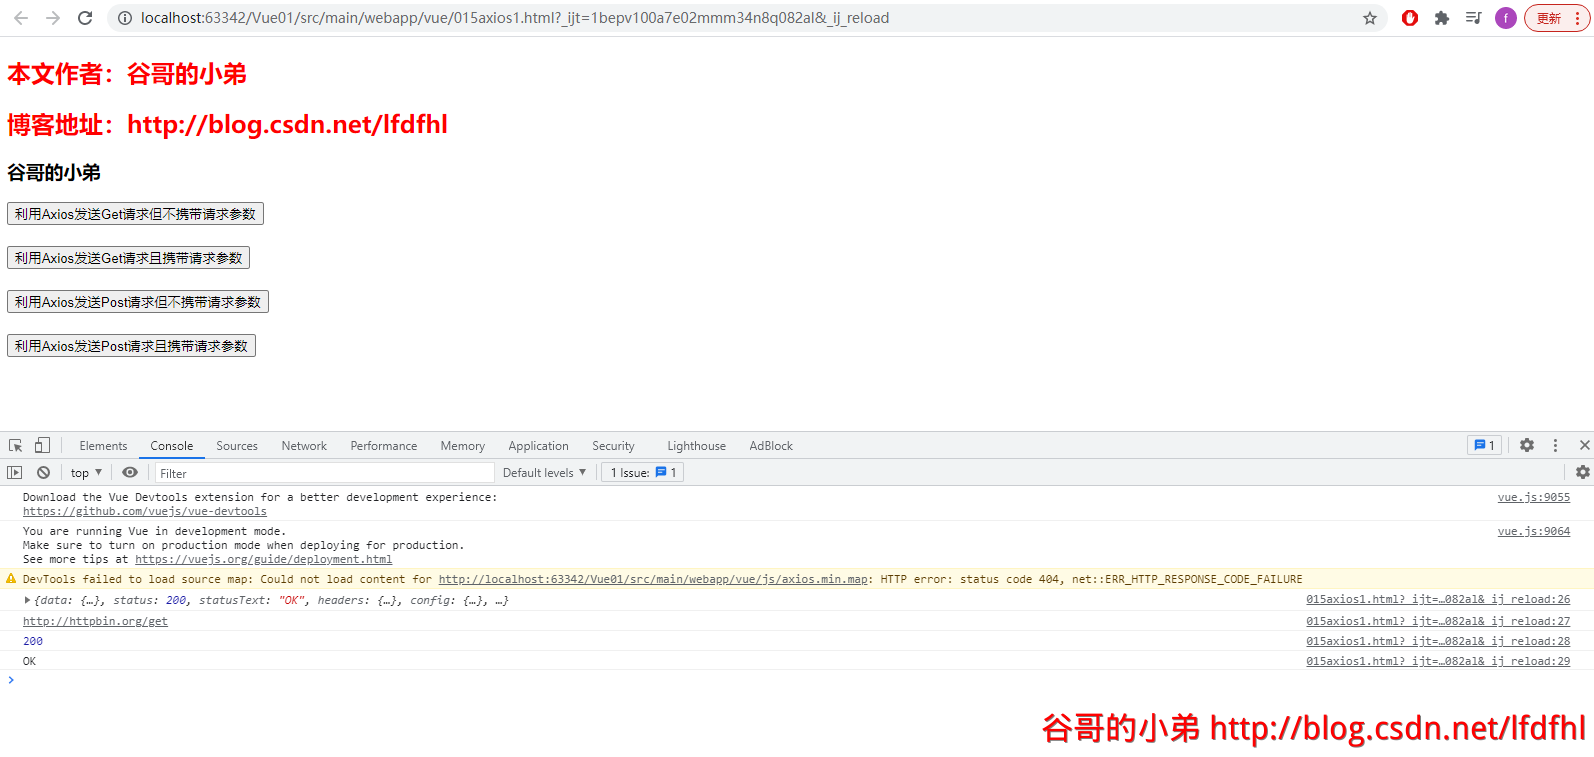
// 利用Axios发送Get请求但不携带请求参数
fun1() {
// 请求路径
let path = "http://httpbin.org/get";
axios.get(path).then(function (response) {
console.log(response);
console.log(response.data.url);
console.log(response.status);
console.log(response.statusText);
}).catch(function (error) {
console.log(error);
});
},
// 利用Axios发送Get请求且携带请求参数
fun2() {
// 请求路径
let path = "http://httpbin.org/get?username=zxc&nickname=zxx";
axios.get(path).then(function (response) {
console.log(response);
console.log(response.data.url);
console.log(response.status);
console.log(response.statusText);
}).catch(function (error) {
console.log(error);
});
},
// 利用Axios发送Post请求但不携带请求参数
fun3() {
// 请求路径
let path = "http://httpbin.org/post";
axios.post(path).then(function (response) {
console.log(response);
console.log(response.data.url);
console.log(response.status);
console.log(response.statusText);
}).catch(function (error) {
console.log(error);
});
},
// 利用Axios发送Post请求且携带请求参数
fun4() {
// 请求路径
let path = "http://httpbin.org/post";
let param ={username:"zxc",nickname:"zxx"};
axios.post(path,param).then(function (response) {
console.log(response);
console.log(response.data.url);
console.log(response.status);
console.log(response.statusText);
}).catch(function (error) {
console.log(error);
});
}
},
computed:{
}
});
}
</script>
</head>
<body>
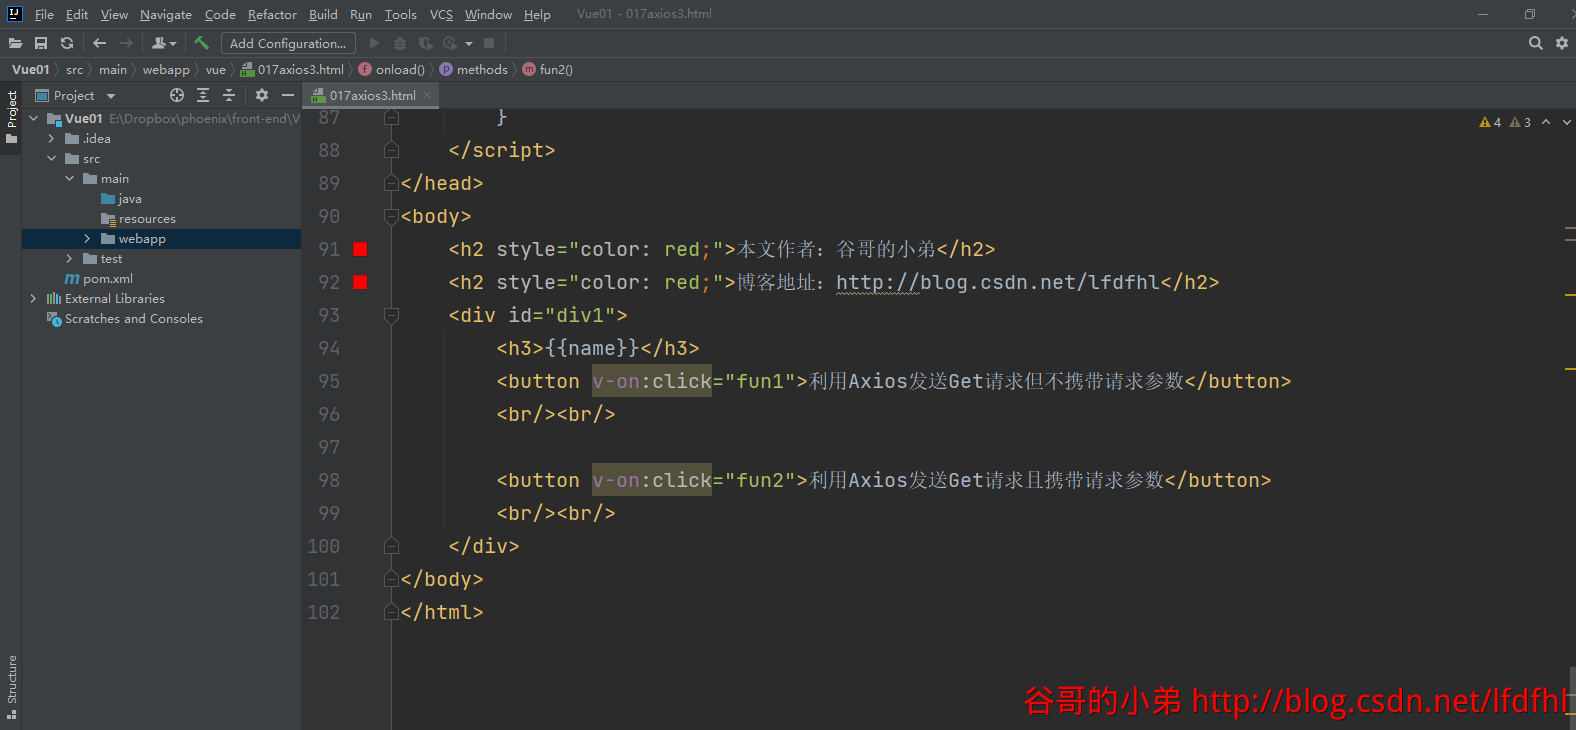
<h2 style="color: red;">本文作者:谷哥的小弟</h2>
<h2 style="color: red;">博客地址:http://blog.csdn.net/lfdfhl</h2>
<div id="div1">
<h3>{{name}}</h3>
<button v-on:click="fun1">利用Axios发送Get请求但不携带请求参数</button>
<br/><br/>
<button v-on:click="fun2">利用Axios发送Get请求且携带请求参数</button>
<br/><br/>
<button v-on:click="fun3">利用Axios发送Post请求但不携带请求参数</button>
<br/><br/>
<button v-on:click="fun4">利用Axios发送Post请求且携带请求参数</button>
<br/><br/>
</div>
</body>
</html>
axios实例
在以往的操作中,我们可能每次都需要重复指定请求路径、超时时间、请求方式等相同配置。为了简化类似的配置,可以使用axios实例。
要点概述:
- 1、创建axios实例
- 2、使用axios实例发起请求
<!DOCTYPE html>
<!-- 引入v-on命名空间 -->
<html lang="en" xmlns:v-on="http://www.w3.org/1999/xhtml">
<head>
<meta charset="UTF-8">
<title>Vue</title>
<!-- 引入vue -->
<script src="js/vue.js"></script>
<!-- 引入axios -->
<script src="js/axios.min.js"></script>
<script type="text/javascript">
// 入口函数
window.onload = function () {
// 创建基于自定义配置的axios实例
var instance = axios.create({
baseURL: "http://httpbin.org",
timeout: 5000
});
new Vue({
el: "#div1",
data: {
name: "谷哥的小弟",
number: 9527
},
methods: {
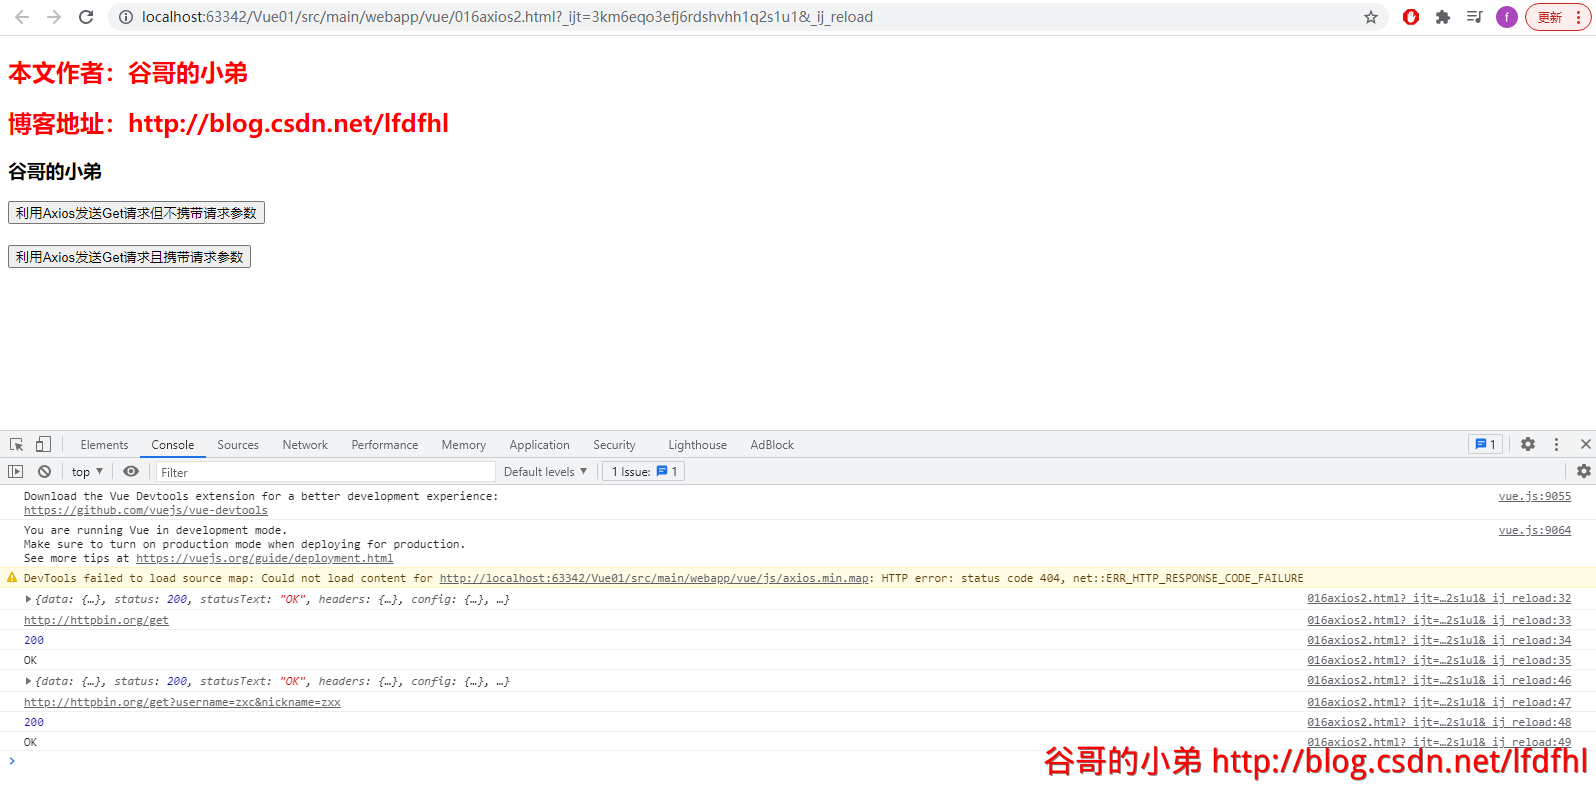
// 利用Axios发送Get请求但不携带请求参数
fun1() {
// 请求路径=baseURL+path
let path ="/get";
// 使用axios实例发起请求
instance.get(path).then(function (response) {
console.log(response);
console.log(response.data.url);
console.log(response.status);
console.log(response.statusText);
}).catch(function (error) {
console.log(error);
});
},
// 利用Axios发送Get请求且携带请求参数
fun2() {
// 请求路径=baseURL+path
let path = "/get?username=zxc&nickname=zxx";
// 使用axios实例发起请求
instance.get(path).then(function (response) {
console.log(response);
console.log(response.data.url);
console.log(response.status);
console.log(response.statusText);
}).catch(function (error) {
console.log(error);
});
}
},
computed:{
}
});
}
</script>
</head>
<body>
<h2 style="color: red;">本文作者:谷哥的小弟</h2>
<h2 style="color: red;">博客地址:http://blog.csdn.net/lfdfhl</h2>
<div id="div1">
<h3>{{name}}</h3>
<button v-on:click="fun1">利用Axios发送Get请求但不携带请求参数</button>
<br/><br/>
<button v-on:click="fun2">利用Axios发送Get请求且携带请求参数</button>
<br/><br/>
</div>
</body>
</html>

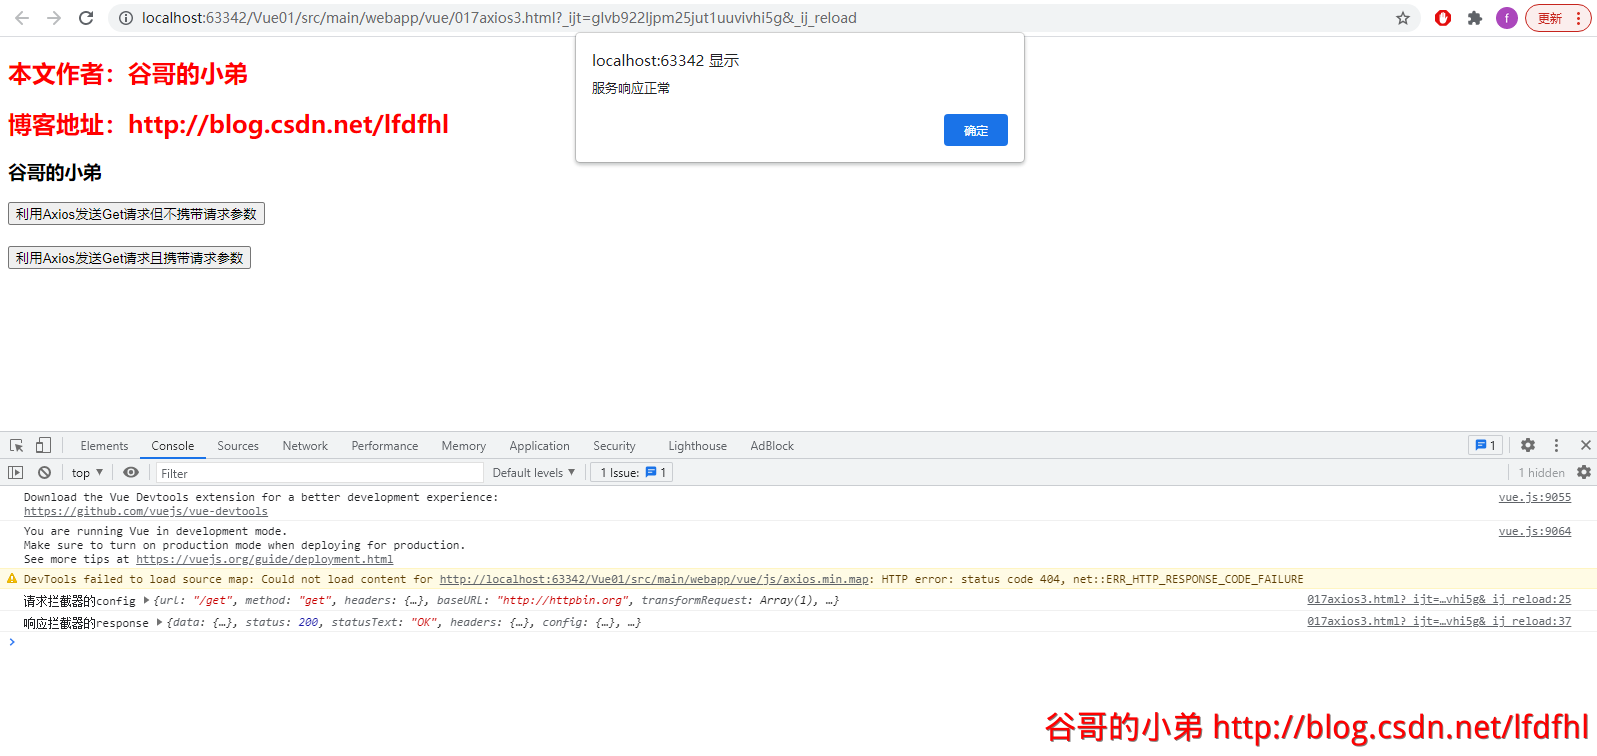
axios拦截器
axios拦截器分为两大类:
- 1、请求拦截器。浏览器的所有请求会先经过请求拦截器再发送至服务端。
- 2、响应拦截器。服务端的所有响应会先经过响应拦截器再响应至浏览器。
<!DOCTYPE html>
<!-- 引入v-on命名空间 -->
<html lang="en" xmlns:v-on="http://www.w3.org/1999/xhtml">
<head>
    <meta charset="UTF-8">
    <title>Vue</title>
    <!-- 引入vue -->
    <script src="js/vue.js"></script>
    <!-- 引入axios -->
    <script src="js/axios.min.js"></script>
    <script type="text/javascript">
        // 入口函数
        window.onload = function () {

            // 创建基于自定义配置的axios实例
            var instance = axios.create({
                // 基础地址
                baseURL: "http://httpbin.org",
                // 超时时间
                timeout: 5000
            });

            // 为axios实例配置请求拦截器
            instance.interceptors.request.use(function(config) {
                console.log("请求拦截器的config",config);
                // 为请求统一添加token
                if (config.url.indexOf("?") == -1) {
                    config.url += "?token=9527"
                } else {
                    config.url += "&token=9527";
                }
                return config;
            });

            // 为axios实例配置响应拦截器
            instance.interceptors.response.use(function(response) {
                console.log("响应拦截器的response",response);
                // 统一处理响应状态
                if (response.status == 200) {
                    alert('服务响应正常');
                }else{
                    alert('服务响应异常');
                }
                return response;
            });

            new Vue({
                el: "#div1",
                data: {
                    name: "谷哥的小弟",
                    number: 9527
                },
                methods: {
                    // 利用Axios发送Get请求但不携带请求参数
                    fun1() {
                        // 请求路径=baseURL+path
                        let path ="/get";
                        // 使用axios实例发起请求
                        instance.get(path).then(function (response) {
                            console.log(response);
                            console.log(response.data.url);
                            console.log(response.status);
                            console.log(response.statusText);
                        }).catch(function (error) {
                            console.log(error);
                        });
                    },
                    // 利用Axios发送Get请求且携带请求参数
                    fun2() {
                        // 请求路径=baseURL+path
                        let path = "/get?username=zxc&nickname=zxx";
                        // 使用axios实例发起请求
                        instance.get(path).then(function (response) {
                            console.log(response);
                            console.log(response.data.url);
                            console.log(response.status);
                            console.log(response.statusText);
                        }).catch(function (error) {
                            console.log(error);
                        });
                    }
                },
                computed:{

                }
            });
        }
    </script>
</head>
<body>
    <h2 style="color: red;">本文作者:谷哥的小弟</h2>
    <h2 style="color: red;">博客地址:http://blog.csdn.net/lfdfhl</h2>
    <div id="div1">
        <h3>{{name}}</h3>
        <button v-on:click="fun1">利用Axios发送Get请求但不携带请求参数</button>
        <br/><br/>

        <button v-on:click="fun2">利用Axios发送Get请求且携带请求参数</button>
        <br/><br/>
    </div>
</body>
</html>


 1287
1287


 被折叠的 条评论
为什么被折叠?
被折叠的 条评论
为什么被折叠?
 到【灌水乐园】发言


