


Windows10, x64,安装了visual studio,已经安装好了Intel SGX JDK。
源码下载:https://github.com/intel/sgx-ra-sample
API文档:https://software.intel.com/content/dam/develop/public/us/en/documents/sgx-attestation-api-spec.pdf
进入下面页面,注册,下载根CA文件和订阅。
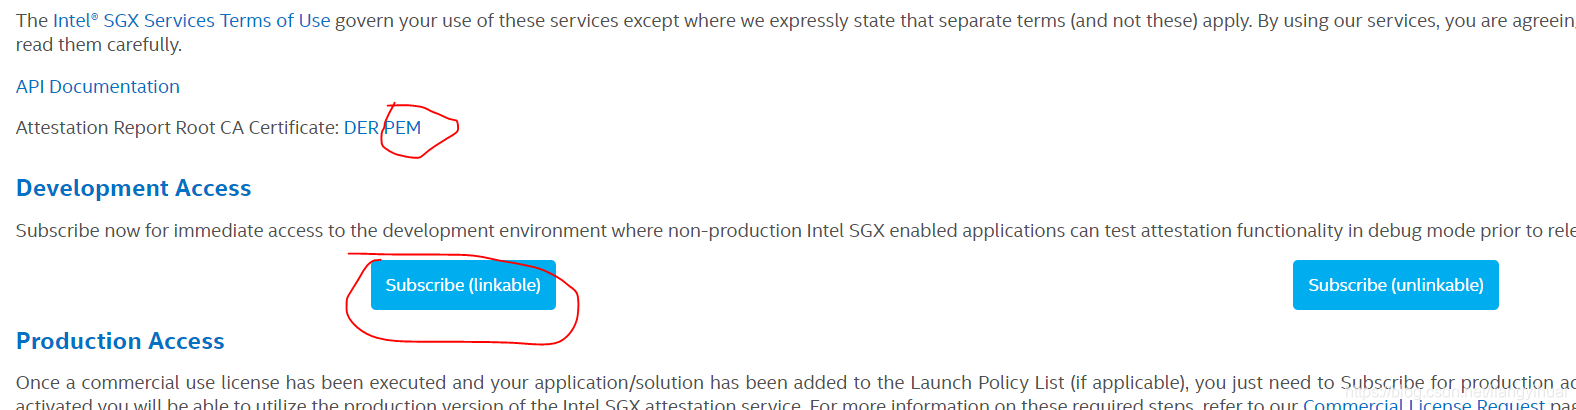
进入订阅界面,看到SPID,Primary Key和Secondary Key,后面会用到这些。

下载源码,如果是wins,使用visual studio 2017打开,编译。具体编译过程参考源码所在github的说明。在源码的Enclave子项目中可以找到Enclave.config.xml文件。编译之后的sgx-ra-sample\vs\x64\Debug文件夹下面,找到setting.cmd,打开它们,这里暂时不用编辑前两者,只需编辑setting.cmd文件。
编辑好之后,进入sgx-ra-sample\vs\x64\Debug文件夹,依次双击run-server.cmd和run-client.cmd 两个文件。或者使用下面所示的另一种命令行的方式启动。前者更加方便一点。
setting.cmd文件:
:: NOTE: This file uses Windows batch file syntax because it is
:: executed via CALL from run-client.cmd and run-server.cmd

::======================================================================
:: Global options
::======================================================================

:: Set to non-zero to query the production IAS instead of development.
:: Note that the SPID and certificate are different for production
:: and development, so if you change this you'll need to change them,
:: too.

SET RA_QUERY_IAS_PRODUCTION=0


:: Your Service Provider ID. This should be a 32-character hex string.
:: [REQUIRED]

SET RA_SPID=80删掉一部分8D0CBC509495469517F15AC5


:: Set to a non-zero value if this SPID is associated with linkable
:: quotes. If you change this, you'll need to change SPID,
:: IAS_PRIMARY_SUBSCRIPTION_KEY and IAS_SECONDARY_SUBSCRIPTION_KEY too.

SET RA_LINKABLE=1


::======================================================================
:: Client options
::======================================================================

:: Set to non-zero to have the client generate a random nonce.

SET RA_RANDOM_NONCE=1


:: Set to non-zero to have the client generate a platform manifest.
:: This requires a PSE session, and thus support for platform
:: services.
::
:: (Note that server hardware does not have platform servces)

SET RA_USE_PLATFORM_SERVICES=0


::======================================================================
:: Service provider (server) options
::======================================================================

:: Intel Attestation Service Primary Subscription Key
:: More Info: https://api.portal.trustedservices.intel.com/EPID-attestation
:: Associated SPID above is required

SET RA_IAS_PRIMARY_SUBSCRIPTION_KEY=99756删掉一部分e6fb2ae3c6a (从前面注册的网站上copy)

:: Intel Attestation Service  Secondary Subscription Key
:: This will be used in case the primary subscription key does not work

SET RA_IAS_SECONDARY_SUBSCRIPTION_KEY=3ea3ce删掉一部分282e0d09b479d (从前面注册的网站上copy)

:: The Intel IAS SGX Report Signing CA file. You are sent this certificate
:: when you apply for access to SGX Developer Services at
:: http://software.intel.com/sgx [REQUIRED]

SET RA_IAS_REPORT_SIGNING_CA_FILE=(自己的路径)C:/Users/liang/Documents/Intel_SGX_Attestation_RootCA.pem


:: Set to the URL for your proxy server to force the use of a proxy
:: when communicating with IAS (overriding any environment variables).

:: SET RA_IAS_PROXY_URL=


:: Set to non-zero to disable the use of a proxy server and force a
:: direct connection when communicating with IAS (overriding any
:: environment variables).

:: SET RA_IAS_DISABLE_PROXY=1

::======================================================================
:: Debugging options
::======================================================================

:: Set to non-zero for verbose output

SET RA_VERBOSE=1


:: Set to non-zero for debugging output

SET RA_DEBUG=0
使用CMD进入sgx-ra-sample\vs\x64\Debug所在目录,执行下面命令启动server:
sp -v --spid 80D0CBC509495469517F15AC5 --ias-signing-cafile=C:/Users/liang/Documents/Intel_SGX_Attestation_RootCA.pem --mrsigner=bd71c6380ef77c5417e8删掉一部分18e5049342440cfff2443d95bd --isv-product-id=0 --min-isv-svn=1 --ias-pri-api-key=99756删掉一部分e6fb2ae3c6a --ias-sec-api-key=3ea3ce删掉一部分282e0d09b479d --linkable --no-proxy
使用另一个CMD进入相同的目录,执行下面命令启动client:
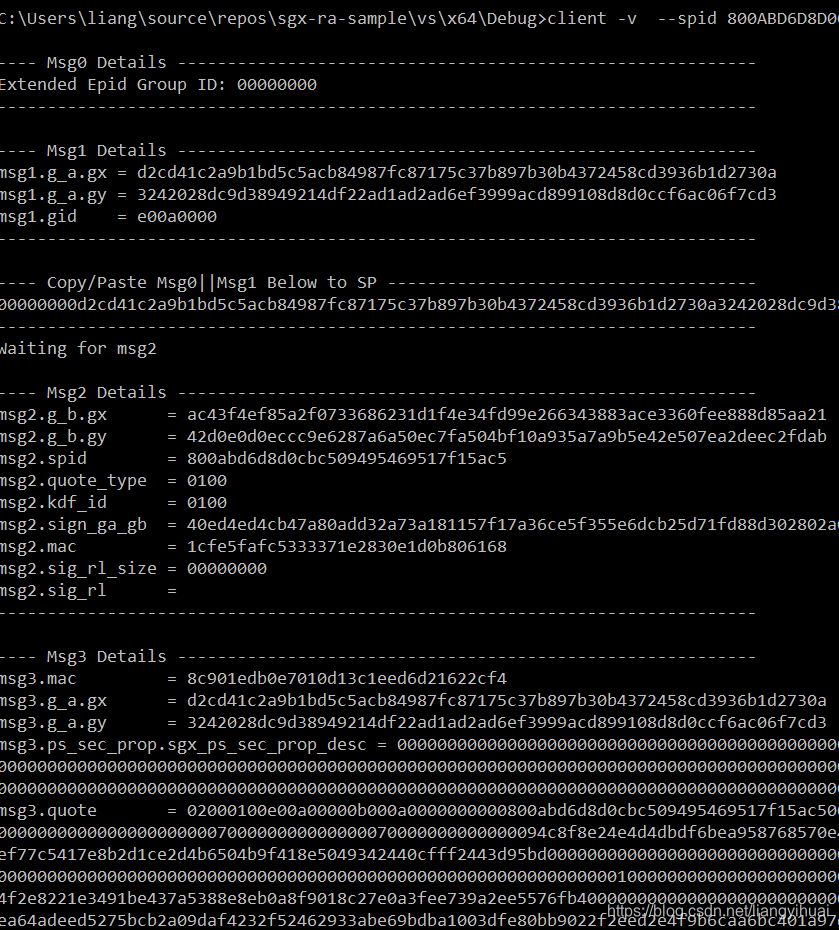
client -v --spid 80删掉一部分8D0CBC509495469517F15AC5
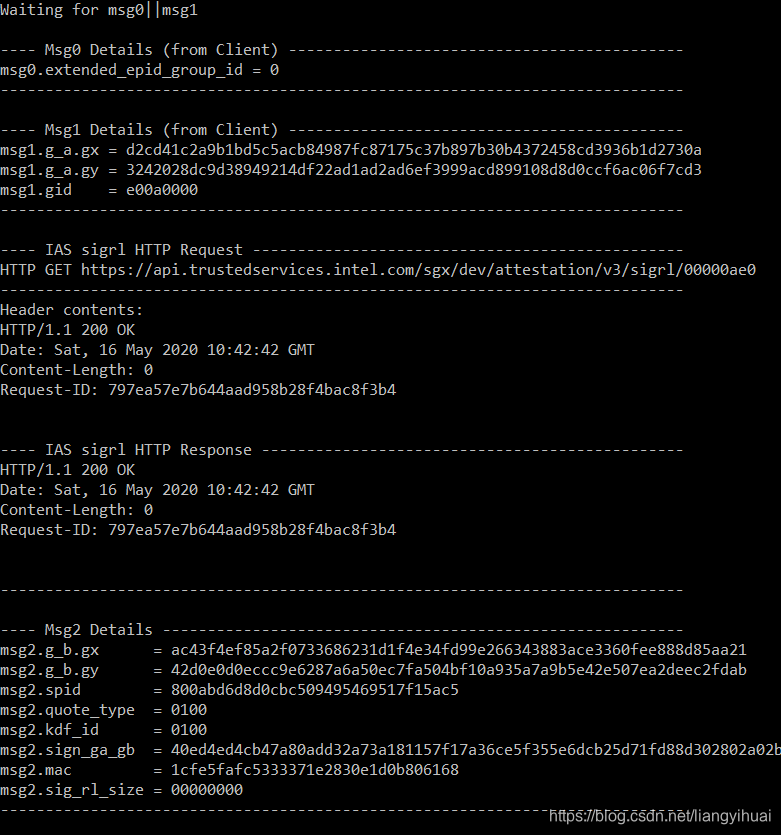
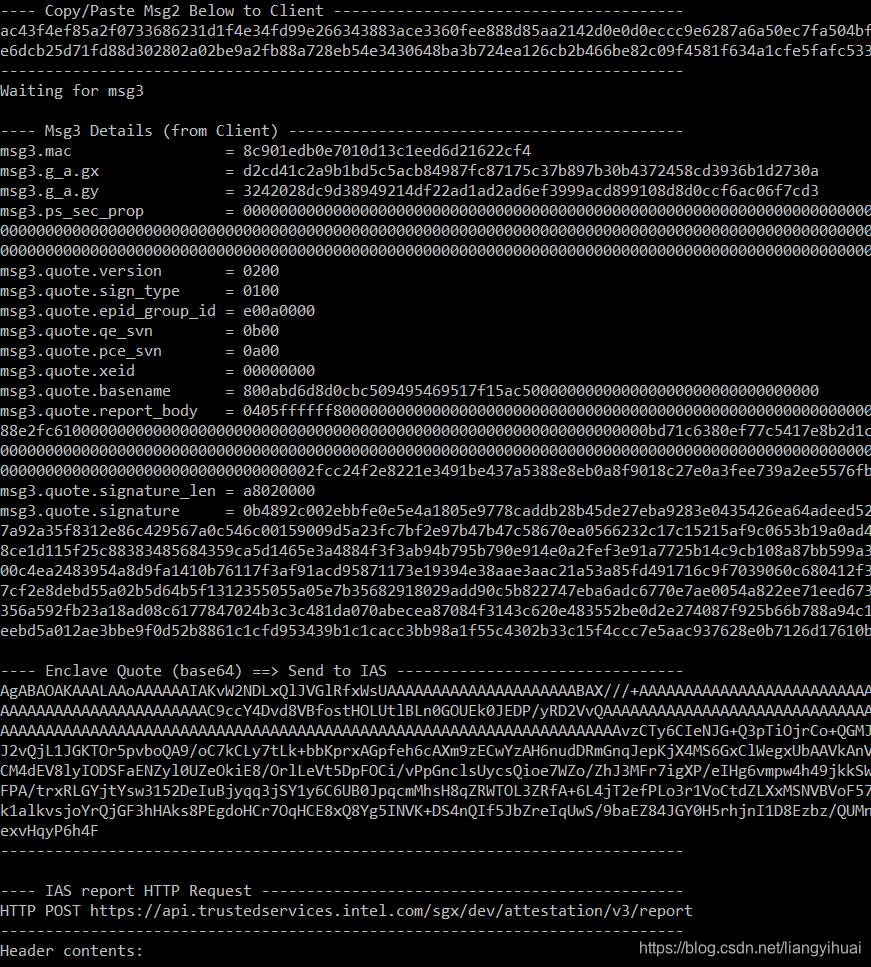
下图是server的执行结果:
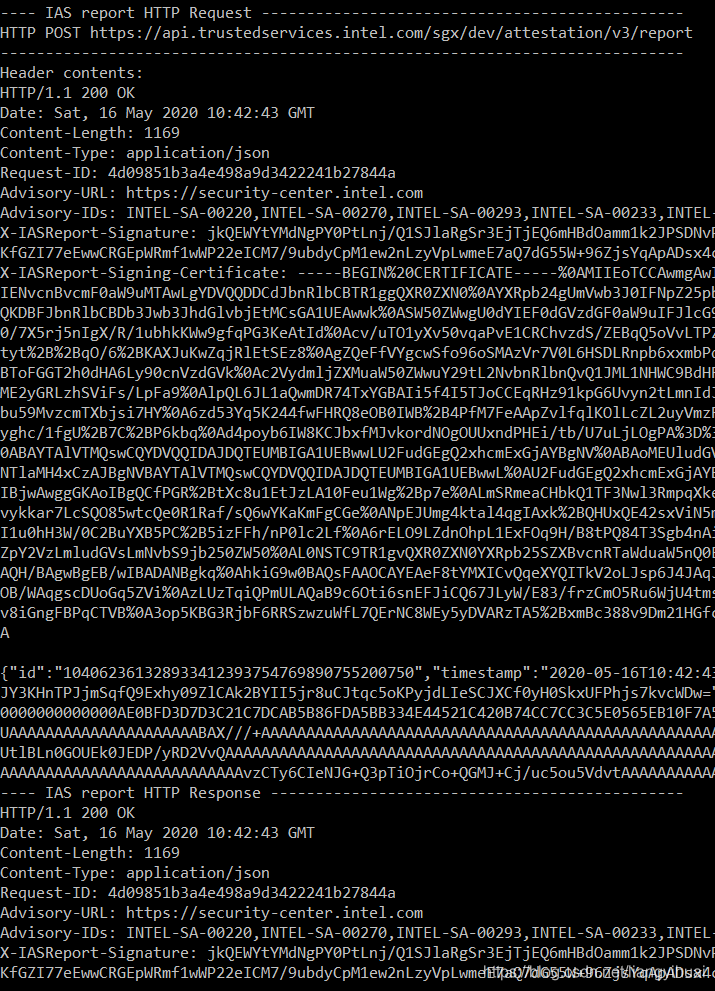
下图是client的部分执行结果:
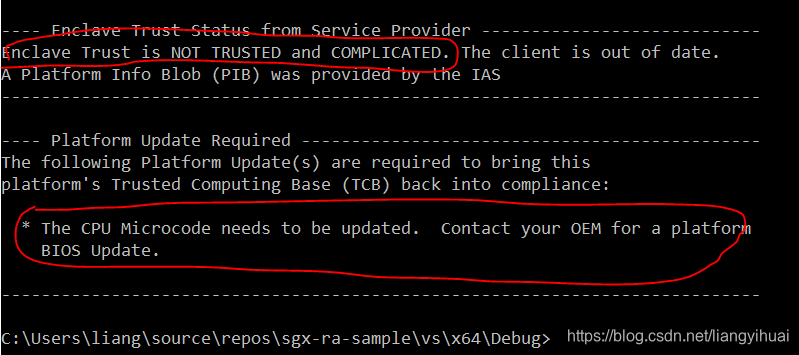
最后的结果说本地的enclave是不可行的,原因跟bios没更新有关,该问题不在这篇笔记范围之内:
结束


 2332
2332


 被折叠的 条评论
为什么被折叠?
被折叠的 条评论
为什么被折叠?
 到【灌水乐园】发言


