


0、make menuconfig遇到ncurses等库找不到问题
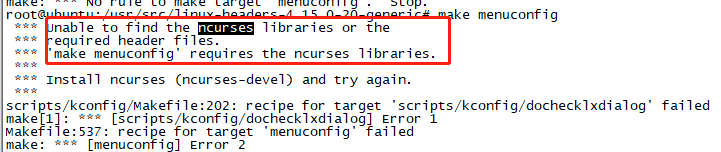
1、安装ncurses、flex库
sudo apt-get install libncurses5-dev
sudo apt-get install libelf-dev
sudo apt-get install flex
sudo apt-get install bison
sudo apt install libssl-dev
2、清理内核
sudo make clean
make mrproper

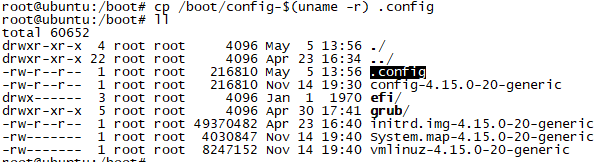
3、备份现在的config文件,前使用的内核配置文件拷贝到新内核目录下
cp /boot/config-$(uname -r) .config
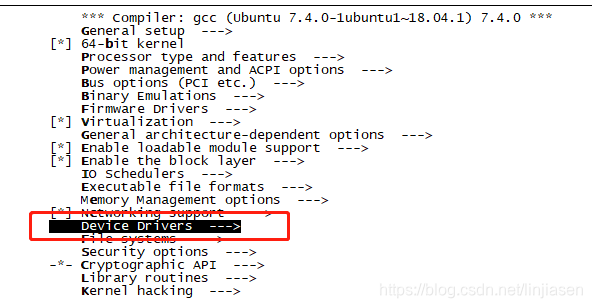
4、配置内核
make menuconfig
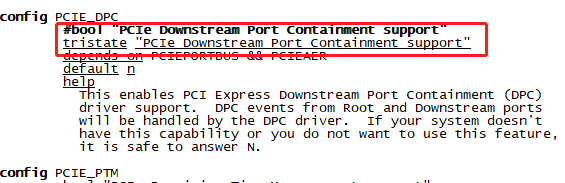
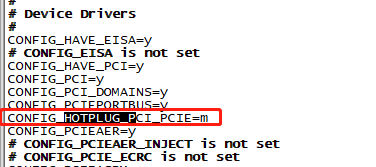
发现我们想独立成ko的pciehp和dpc(Device Drivers—>PCI Support)都是boolean型的,需要修改对应的kconfig文件
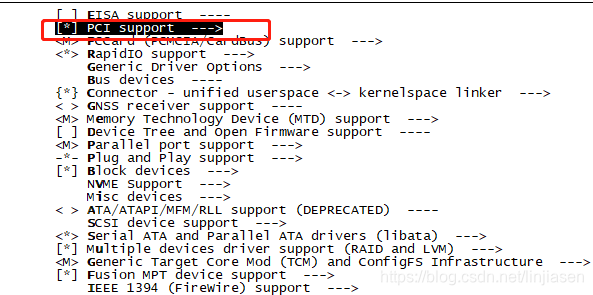

选择到help下可以看到对应config的help文档
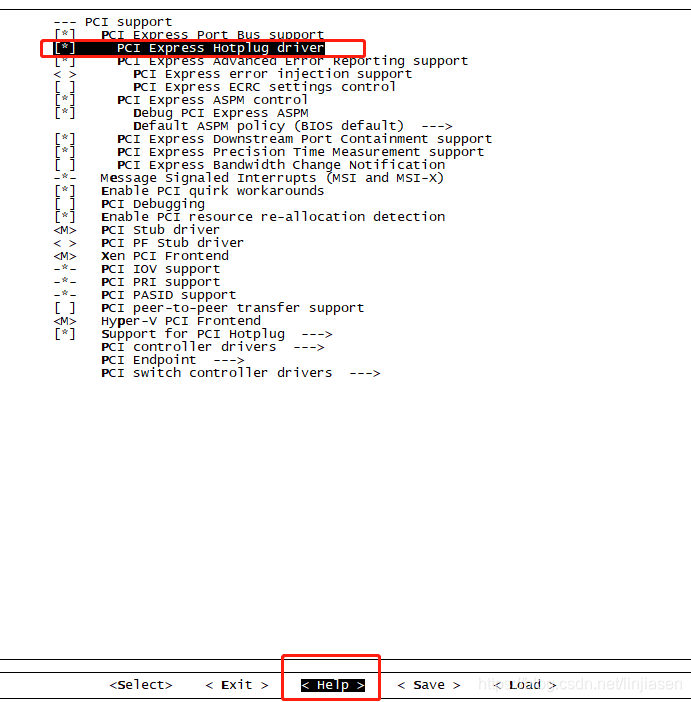
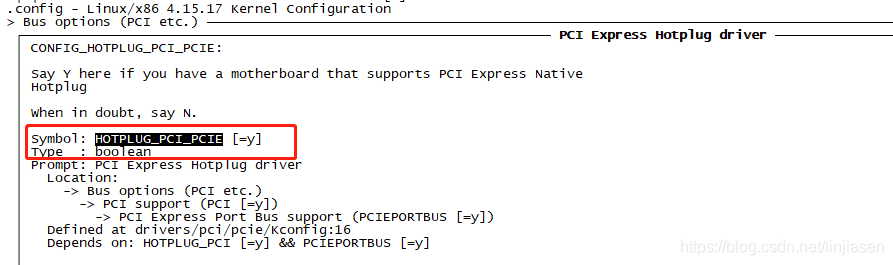
我们可以看到PCI Express Hotplug driver 是由.conifg下的HOTPLUG_PCI_PCIE来配置的,这个配置是bool型的,如果要把hotplug改成modules需要改对应的kconfig文件
Symbol: HOTPLUG_PCI_PCIE [=y]
Type : bool
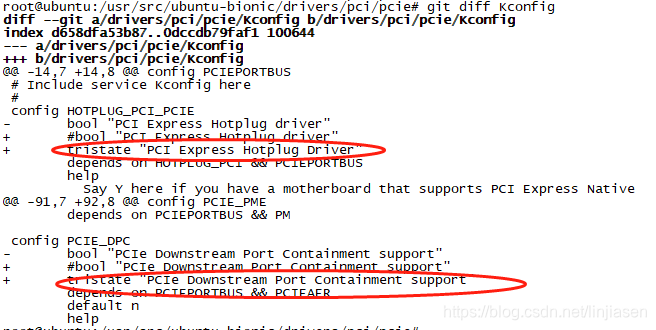
5、修改kconfig文件
sudo grep -nr HOTPLUG_PCI_PCIE 找到对应的kconfig文件
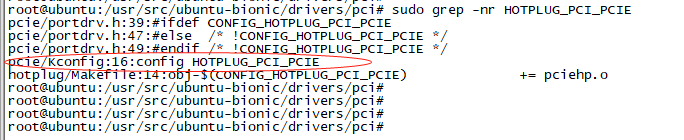
修改对应的kconfig文件
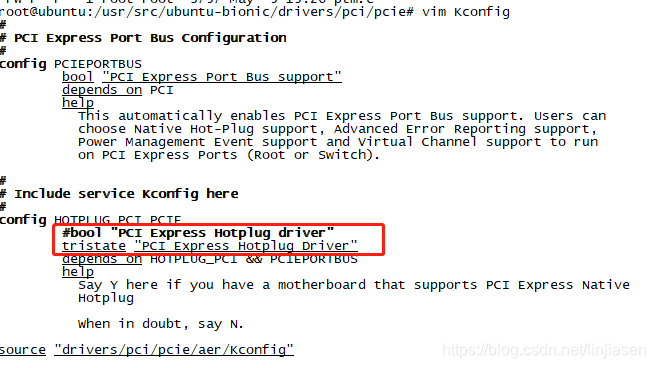
linux kernel代码的目录/drivers/pci/pcie# vim Kconfig 把config HOTPLUG_PCI_PCIE
bool "PCI Express Hotplug driver"改成 tristate "PCI Express Hotplug driver"
6、配置内核
make menuconfig,把PCIEHOTPLUG、DPC配置成modules,然后save
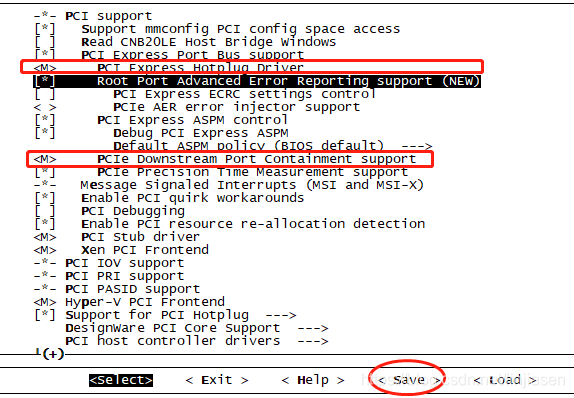
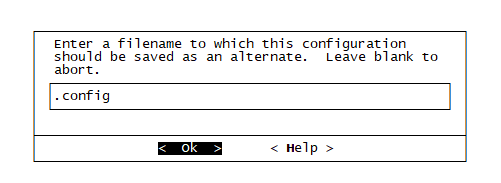
保存后linux kernel目录下的.config 文件中CONFIG_HOTPLUG_PCI_PCIE变成modules
7、编译内核
make -j `grep -c processor /proc/cpuinfo`

make 可能遇到各种库没有,没关系,缺啥补啥就是了
8、修改dpc和pcie hotplug 源代码,解决编译问题
由于hotplug 和 dpc改成了module,需要把device_initcall(dpc_service_init) 改成module_init(dpc_service_init)
把需要把device_initcall(pciehp_init) 改成module_init(pciehp_init)
修改完毕后,进入hotplug目录下sudo make -C /lib/modules/$(uname -r)/build M=$(pwd) modules编译ko
编译的时候发现5.0之后的hotplug 依赖了其他模块,需要EXPORT_SYMBOL
EXPORT_SYMBOL(pci_config_pm_runtime_get);
EXPORT_SYMBOL(pcie_ports_native);
EXPORT_SYMBOL(pci_config_pm_runtime_put);
EXPORT_SYMBOL(pcie_wait_for_link);
EXPORT_SYMBOL_GPL(pci_find_host_bridge);
static int __init pciehp_init(void)
{
	int retval = 0;

	retval = pcie_port_service_register(&hpdriver_portdrv);
	dbg("pcie_port_service_register = %d\n", retval);
	if (retval)
		dbg("Failure to register service\n");

	return retval;
}
//device_initcall(pcied_init);

static void __exit pciehp_exit(void)
{
	return pcie_port_service_unregister(&hpdriver_portdrv);
}

//device_initcall(dpc_service_init);
module_init(pciehp_init);
module_exit(pciehp_exit);
MODULE_LICENSE("GPL");
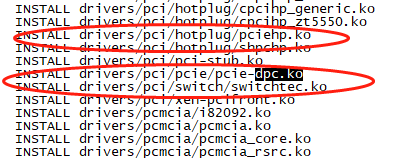
9、安装modules
其实就是把ko从源码目录copy到/lib/modules/kernel version/kernel
make modules_prepare
sudo make modules_install
depmod -a
sudo make headers_install
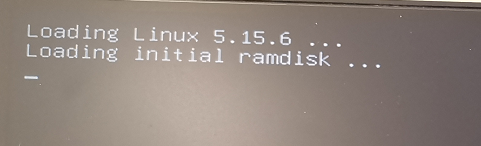
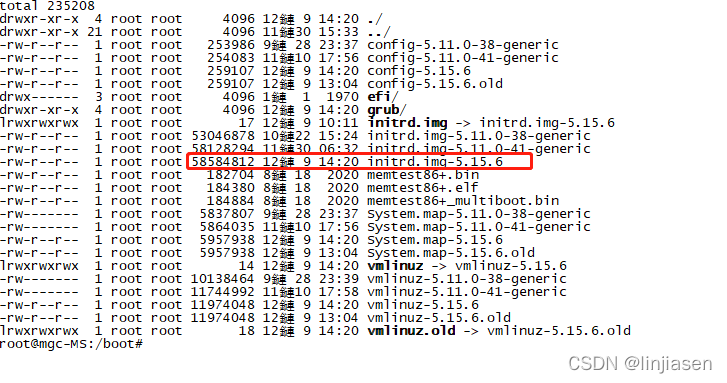
注意如果新的kernel启动不了,卡在了下面地方,可能是intird太大了,buntu 20.04所用的Grub 2.04无法支持过大的initrd文件(如500M),导致内核启动时卡在“loading initial ramdisk”
可以把 sudo make modules_install换成
sudo make INSTALL_MOD_STRIP=1 modules_install 把debug的symbol干掉
这里需要等一定时间。
make modules_install最好运行下depmod -a,这个命令会在/lib/modules//目录下生成modules.dep(.bb)文件,表明了模块的依赖关系
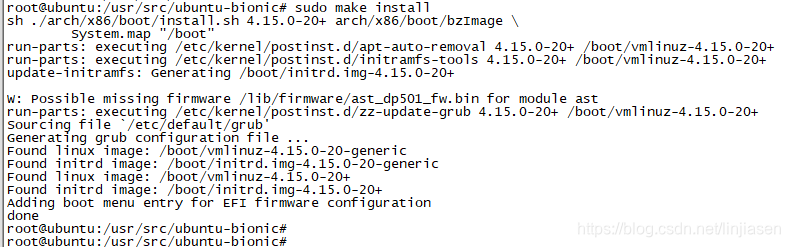
10、安装kernel
sudo make install
这里也需要等待安装完成
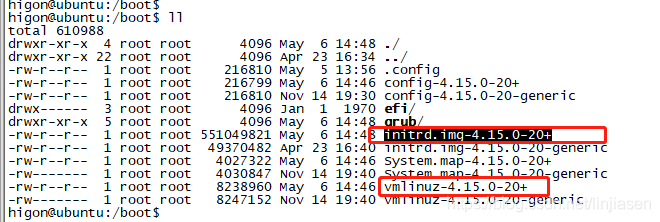
11、配置启动引导内核文件
cd /boot/grub
安装一贯习惯,先把当前的grub.cfg备份
cp grub.cfg grub.cfg.bk
vim grub.cfg 搜索menuentry,把粗体字部分改成我们刚刚编译出的内核
vmlinuz-4.15.0-20+和initrd.img-4.15.0-20+
linux /boot/vmlinuz-4.15.0-20-generic root=UUID=2923da1f-42e9-4f16-b396-388739776ee6 ro console=ttyS0,115200n8
initrd /boot/initrd.img-4.15.0-20-generic
}

12、重启
13、加载ko
insmod /usr/src/ubuntu-bionic/drivers/pci/pcie/pcie-dpc.ko
root@ubuntu:/# insmod /usr/src/ubuntu-bionic/drivers/pci/hotplug/pciehp.ko
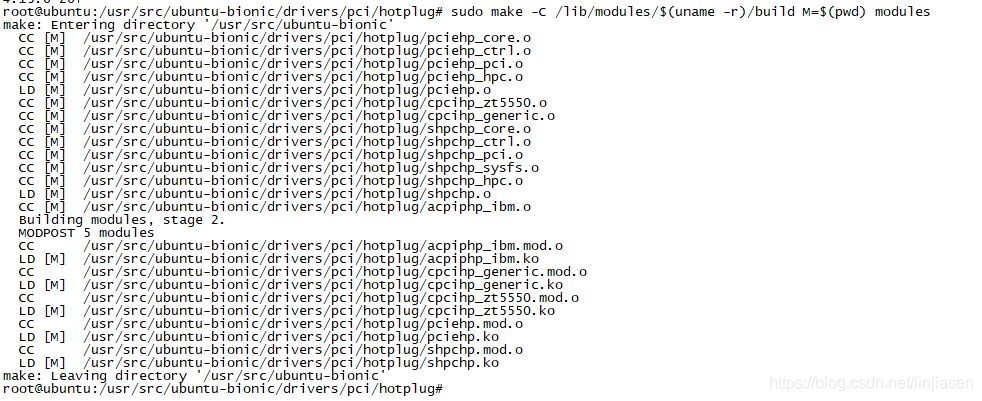
14、修改代码后,重新编译pciehp.ko和pcie-dpc.ko
然后也自己写一个makefile把pciehp和dpc编译成ko
root@ubuntu:/usr/src/ubuntu-bionic/drivers/pci/hotplug# sudo make -C /lib/modules/$(uname -r)/build M=$(pwd) modules
root@ubuntu:/usr/src/ubuntu-bionic/drivers/pci/hotplug# sudo make -C /lib/modules/$(uname -r)/build M=$(pwd) modules

https://www.linux.com/learn/intro-to-linux/2018/4/how-compile-linux-kernel-0
https://wiki.archlinux.org/index.php/Kernel/Traditional_compilation
https://linux.cn/article-6197-1.html
https://linuxstory.org/kbuild-compile-linux-2/


 1593
1593


 被折叠的 条评论
为什么被折叠?
被折叠的 条评论
为什么被折叠?
 到【灌水乐园】发言


