mycat是最近很火的一款国人发明的分布式数据库中间件,它是基于阿里的cobar的基础上进行开发的
搭建之前我们先要配置mysql的主从复制,这个过程很长,我这里就不写了,有兴趣的可以看看我写的这篇文章。
linux centos下mysql数据库的主从复制环境搭建
mycat在应用当中的作用可以看下图
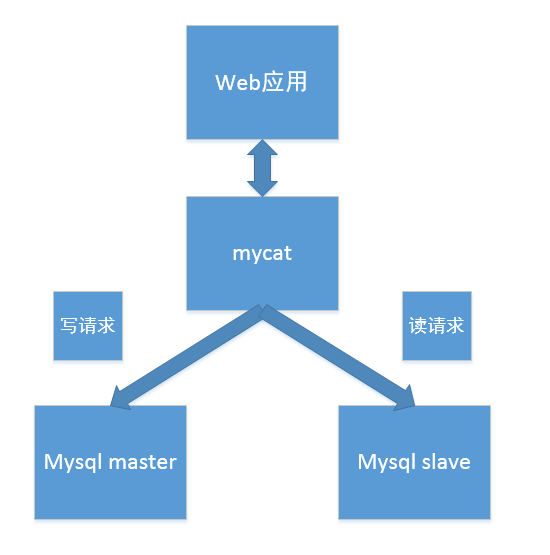
mycat可以让程序员只需要关心业务代码的编写,而不用担心后端数据库集群的负载均衡,读写分离,分库分表的数据分片逻辑的编写,只要直接连接mycat就可以了
首先我们准备一台干净的centos机器,安装好jdk

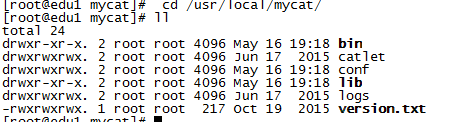
解压mycat的安装包到/user/local/下
设置mycat的环境变量

使配置文件立即生效
进入mycat的配置文件目录
- cd /usr/local/mycat/conf/
这个配置文件主要是用来配置数据库节点,逻辑表等等东西的
- <?xml version="1.0"?>
- <!DOCTYPE mycat:schema SYSTEM "schema.dtd">
- <mycat:schema xmlns:mycat="http://org.opencloudb/">
-
-
- <schema name="pcx_schema" checkSQLschema="false" sqlMaxLimit="100" dataNode="pcxNode"></schema>
-
-
- <dataNode name="pcxNode" dataHost="dtHost" database="pcx" />
-
-
-
-
-
-
- <dataHost name="dtHost" maxCon="500" minCon="20" balance="1"
- writeType="0" dbType="mysql" dbDriver="native" switchType="2" slaveThreshold="100">
-
- <heartbeat>show slave status</heartbeat>
-
-
- <writeHost host="hostMaster" url="192.168.1.6:3306" user="root" password="root" />
- <writeHost host="hostSlave" url="192.168.1.7:3306" user="root" password="root" />
- </dataHost>
-
-
- </mycat:schema>
接下来配置用户权限,系统变量
- <?xml version="1.0" encoding="UTF-8"?>
- <!-- - - Licensed under the Apache License, Version 2.0 (the "License");
- - you may not use this file except in compliance with the License. - You
- may obtain a copy of the License at - - http://www.apache.org/licenses/LICENSE-2.0
- - - Unless required by applicable law or agreed to in writing, software -
- distributed under the License is distributed on an "AS IS" BASIS, - WITHOUT
- WARRANTIES OR CONDITIONS OF ANY KIND, either express or implied. - See the
- License for the specific language governing permissions and - limitations
- under the License. -->
- <!DOCTYPE mycat:server SYSTEM "server.dtd">
- <mycat:server xmlns:mycat="http://org.opencloudb/">
- <system>
-
- <property name="defaultSqlParser">druidparser</property>
- <property name="charset">utf8mb4</property>
- </system>
-
-
-
-
- <user name="user1">
- <property name="password">root</property>
- <property name="schemas">pcx_schema</property>
- </user>
-
-
- <user name="user2">
- <property name="password">root</property>
- <property name="schemas">pcx_schema</property>
- <property name="readOnly">true</property>
- </user>
-
- </mycat:server>
修改防火墙,允许mycat的端口被外界访问
- vi /etc/sysconfig/iptables
- -A INPUT -m state --state NEW -m tcp -p tcp --dport 8066 -j ACCEPT
- -A INPUT -m state --state NEW -m tcp -p tcp --dport 9066 -j ACCEPT
然后重启防火墙
进入mycat的脚本目录
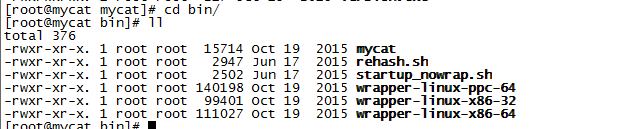
运行启动命令
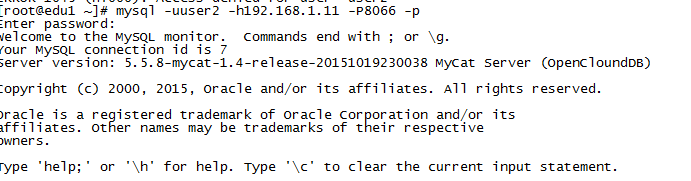
我们可以使用mysql客户端连接或者navicat来连接mycat
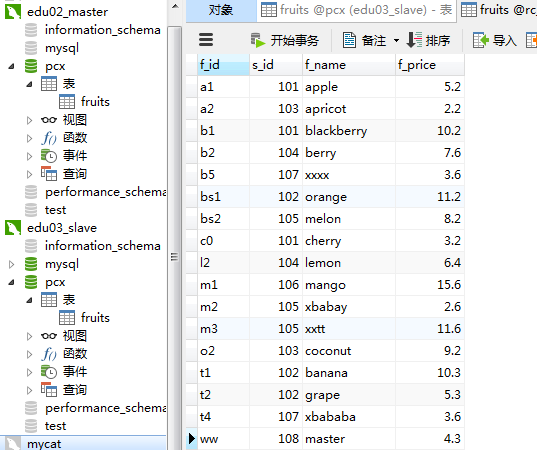
接下来我们测试一下读写分离
进入mycat的日志目录
- cd /usr/local/mycat/logs/

先测试一下读操作
我们连接到mycat发送一句select *命令试试
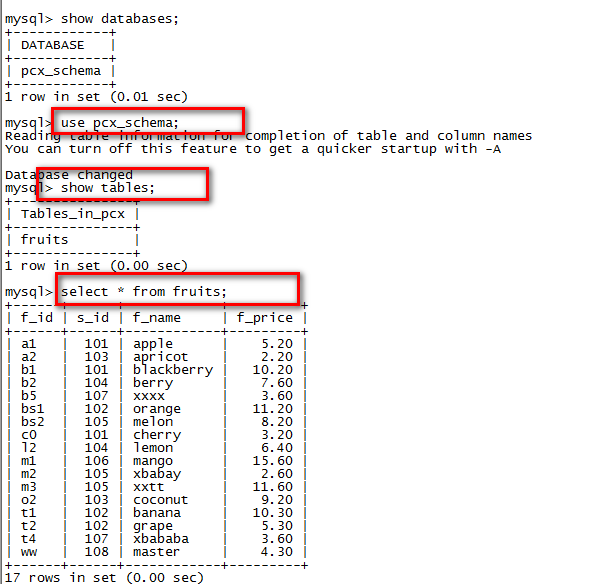

可以看到select 操作被路由到了192.168.1.7也就是我们的slave节点
那么我们执行多次看看
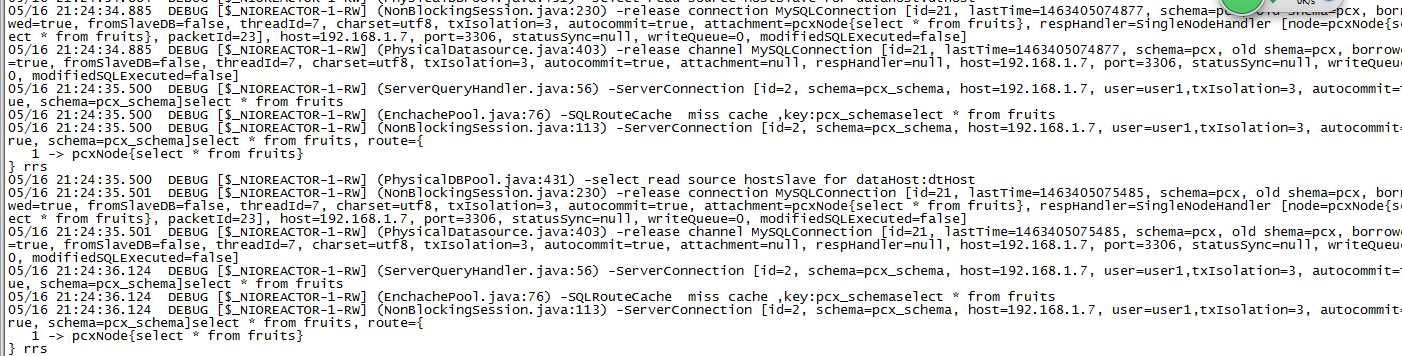
结果还是被路由到了读节点
接下来我们测试一下写操作


可见插入被路由到了master节点
最后我们看看master的数据是否被同步到slave
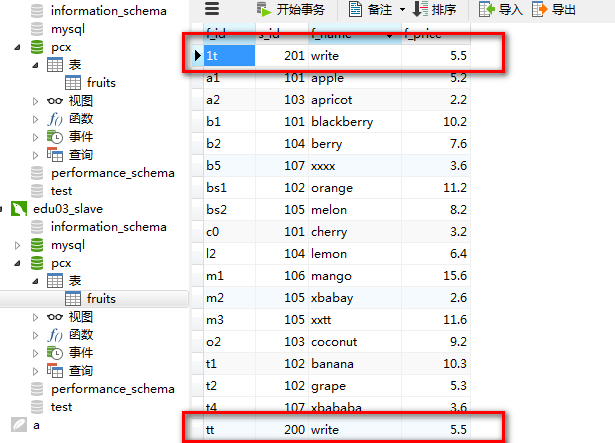
记录成功的同步过来了,可见读写分离搭建成功。


 429
429

 被折叠的 条评论
为什么被折叠?
被折叠的 条评论
为什么被折叠?
 到【灌水乐园】发言


