


叙述
在使用spring框架的项目中,@Value是经常使用的注解之一。其功能是将与配置文件中的键对应的值分配给其带注解的属性。在日常使用中,我们常用的功能相对简单。本文使您系统地了解@Value的用法。
(1)@Value("${}"):可以获取对应属性文件中定义的属性值。
(2)@Value("#{}"):表示 SpEl 表达式通常用来获取 bean 的属性,或者调用 bean 的某个方法。
可以注入以下资源:
- 注入普通字符串
- 注入操作系统属性
- 注入表达式结果
- 注入其他bean属性
- 注入URL资源
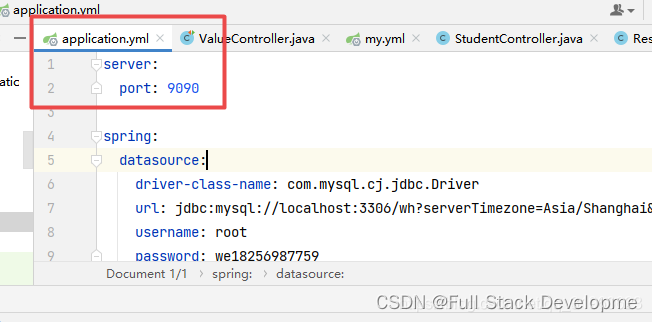
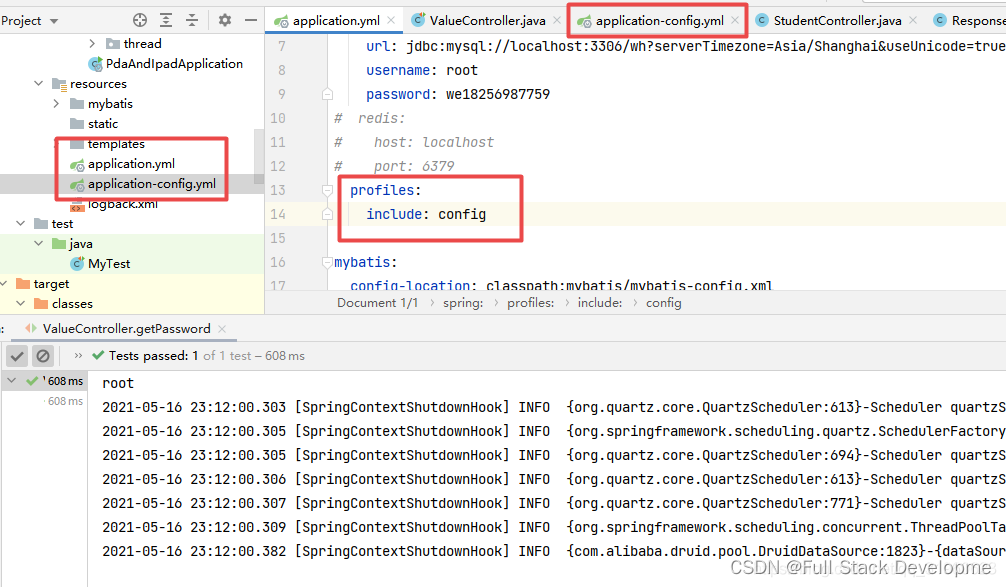
一般YML用法
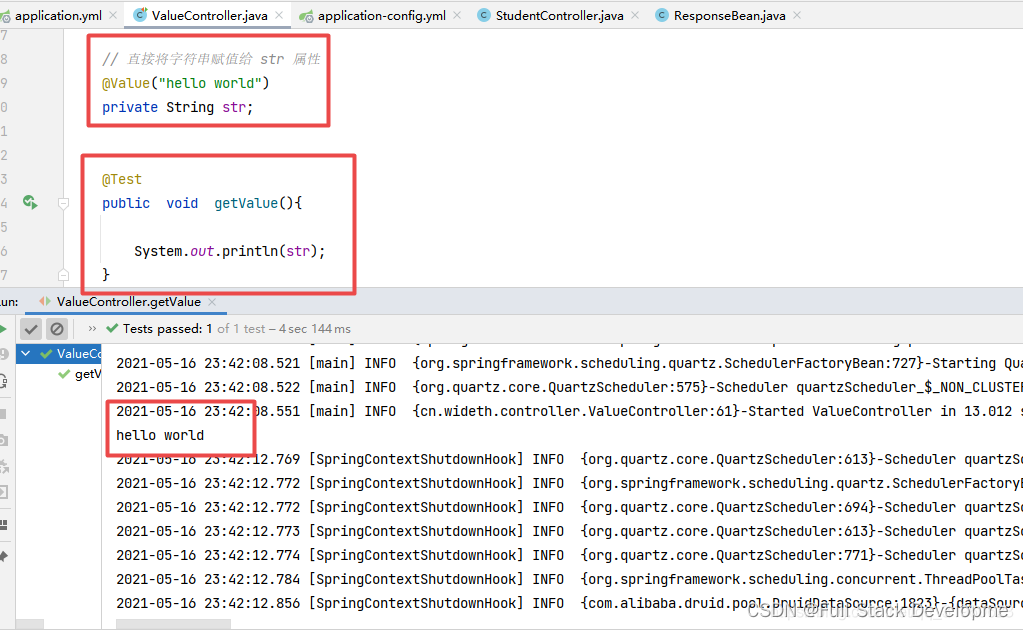
注入普通字符串
package cn.wideth.controller;

import cn.wideth.PdaAndIpadApplication;
import org.junit.Test;
import org.junit.runner.RunWith;
import org.springframework.beans.factory.annotation.Value;
import org.springframework.boot.test.context.SpringBootTest;
import org.springframework.test.context.ContextConfiguration;
import org.springframework.test.context.junit4.SpringRunner;

import java.util.List;

@RunWith(SpringRunner.class)
@SpringBootTest()
@ContextConfiguration(classes = PdaAndIpadApplication.class)
public class ValueController {

    // 直接将字符串赋值给 str 属性
    @Value("hello world")
    private String str;


    @Test
    public  void  getValue(){

        System.out.println(str);
    }

}
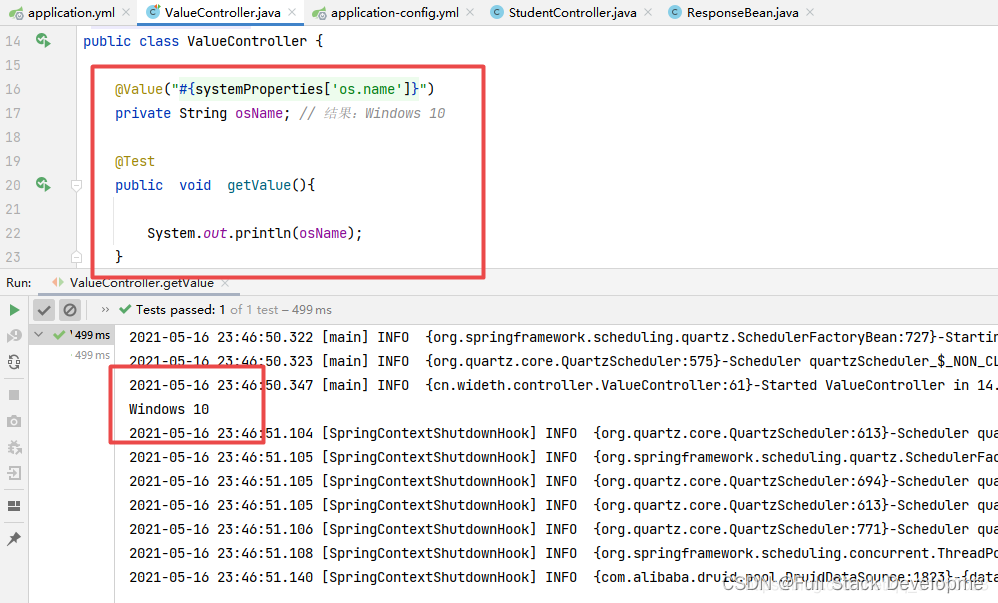
注入操作系统属性
package cn.wideth.controller;

import cn.wideth.PdaAndIpadApplication;
import org.junit.Test;
import org.junit.runner.RunWith;
import org.springframework.beans.factory.annotation.Value;
import org.springframework.boot.test.context.SpringBootTest;
import org.springframework.test.context.ContextConfiguration;
import org.springframework.test.context.junit4.SpringRunner;

@RunWith(SpringRunner.class)
@SpringBootTest()
@ContextConfiguration(classes = PdaAndIpadApplication.class)
public class ValueController {

    @Value("#{systemProperties['os.name']}")
    private String osName; // 结果:Windows 10

    @Test
    public  void  getValue(){

        System.out.println(osName);
    }
}
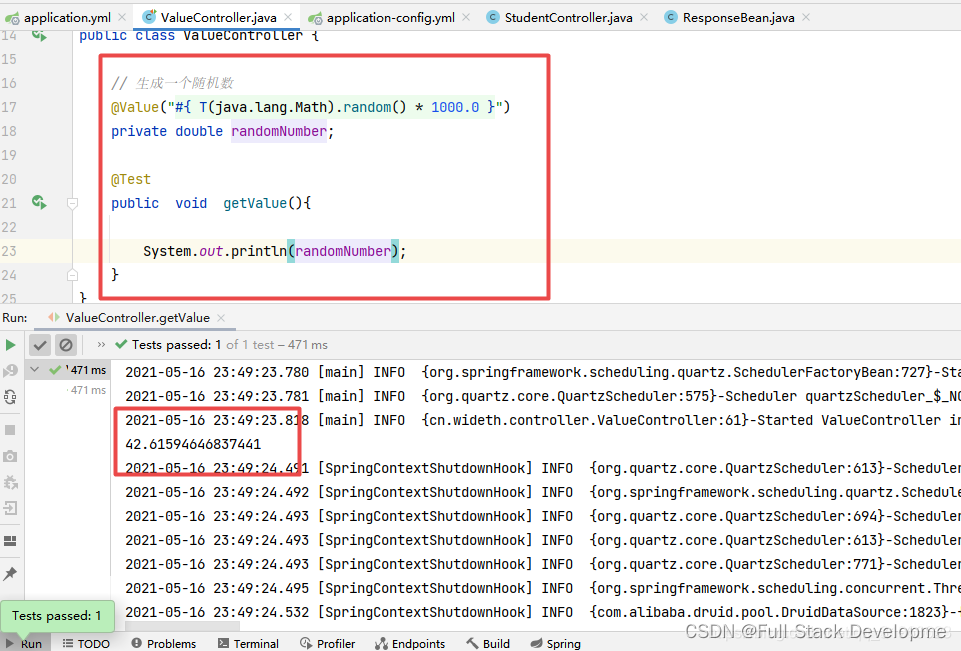
注入表达式结果
package cn.wideth.controller;

import cn.wideth.PdaAndIpadApplication;
import org.junit.Test;
import org.junit.runner.RunWith;
import org.springframework.beans.factory.annotation.Value;
import org.springframework.boot.test.context.SpringBootTest;
import org.springframework.test.context.ContextConfiguration;
import org.springframework.test.context.junit4.SpringRunner;

@RunWith(SpringRunner.class)
@SpringBootTest()
@ContextConfiguration(classes = PdaAndIpadApplication.class)
public class ValueController {

    // 生成一个随机数
    @Value("#{ T(java.lang.Math).random() * 1000.0 }")
    private double randomNumber;

    @Test
    public  void  getValue(){

        System.out.println(randomNumber);
    }
}
注入其他bean属性
package cn.wideth.controller;

import org.springframework.beans.factory.annotation.Value;
import org.springframework.stereotype.Component;

//其他bean,自定义名称为 myBeans
@Component("myBeans")
public class OtherBean {

    @Value("OtherBean的NAME属性")
    private String name;

    public String getName() {
        return name;
    }
    public void setName(String name) {
        this.name = name;
    }
}
package cn.wideth.controller;

import cn.wideth.PdaAndIpadApplication;
import org.junit.Test;
import org.junit.runner.RunWith;
import org.springframework.beans.factory.annotation.Value;
import org.springframework.boot.test.context.SpringBootTest;
import org.springframework.test.context.ContextConfiguration;
import org.springframework.test.context.junit4.SpringRunner;

@RunWith(SpringRunner.class)
@SpringBootTest()
@ContextConfiguration(classes = PdaAndIpadApplication.class)
public class ValueController {

    @Value("#{myBeans.name}")
    private String fromAnotherBean;

    @Test
    public  void  getValue(){

        System.out.println(fromAnotherBean);
    }
}
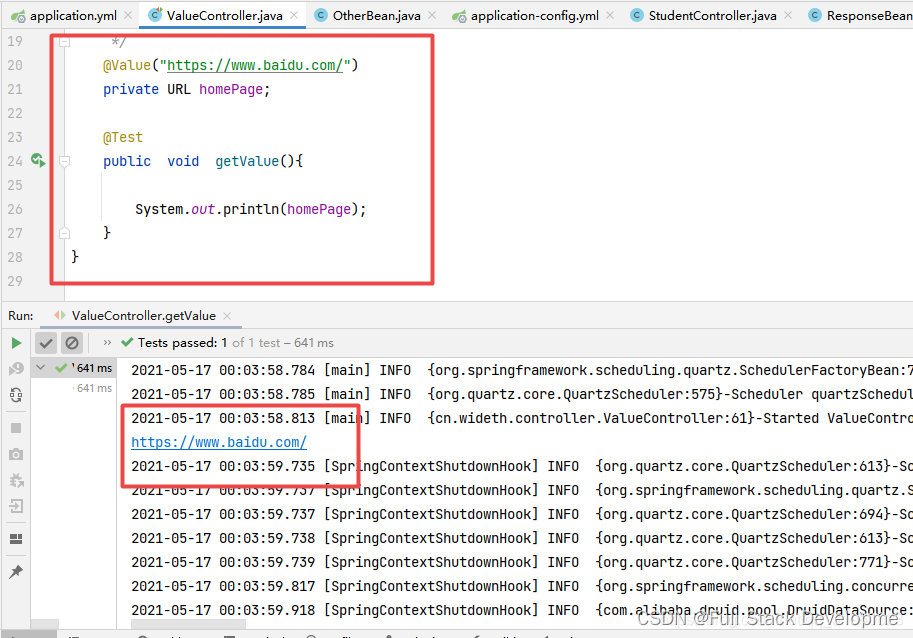
注入URL资源
package cn.wideth.controller;

import cn.wideth.PdaAndIpadApplication;
import org.junit.Test;
import org.junit.runner.RunWith;
import org.springframework.beans.factory.annotation.Value;
import org.springframework.boot.test.context.SpringBootTest;
import org.springframework.test.context.ContextConfiguration;
import org.springframework.test.context.junit4.SpringRunner;
import java.net.URL;

@RunWith(SpringRunner.class)
@SpringBootTest()
@ContextConfiguration(classes = PdaAndIpadApplication.class)
public class ValueController {

    /**
     *注入 URL 资源
     */
    @Value("https://www.baidu.com/")
    private URL homePage;

    @Test
    public  void  getValue(){

        System.out.println(homePage);
    }
}


 1605
1605


 被折叠的 条评论
为什么被折叠?
被折叠的 条评论
为什么被折叠?
 到【灌水乐园】发言


