


In this article, I will show you how to update the kernel of Arch Linux using the package manager. I will also show you how to compile the kernel from source and use it on Arch Linux. Let’s get started.
Updating Kernel using Package Manager:
First check the version of kernel you’re currently using with the following command:

Now run the following command to perform a system update with pacman:

As you can see from the marked section in the screenshot below, the kernel package will also be updated. Now press ‘y’ and then press <Enter> to continue.

Pacman package manager should start downloading and installing the updates.

All the packages including the kernel is updated at this point.

Now restart your Arch Linux machine with the following command:

Once your computer starts, run the following command to check for the kernel version again:
As you can see from the screenshot below, the kernel is updated to 4.15.1.

Compiling Kernel from Source:
You can also download and compile an updated version of kernel from the official website of Linux kernel at https://www.kernel.org
I am going to show you how in this section.
First go to https://www.kernel.org and you should see the following page as shown in the screenshot below.

Now click on the marked section as shown in the screenshot below.

The latest version of Linux kernel as of the time of writing is 4.15.2. Your web browser should prompt you to save it. Click on “Save File” and then click on “OK” as marked in the screenshot below.

The Linux kernel archive file should start downloading.

Once the download is complete, navigate to the directory where you downloaded the file. In my case it is the Downloads/ directory in my USER’s home directory.

I listed the directory contents with ls command and as you can see, linux-4.15.2.tar.xz file is there.

Now extract the archive file with the following command:

The file should be extracted.

NOTE: To compile a Linux kernel, you need more than 20GB of free space. You can check how much space you have left with df -h command.

Once the file is extracted, a new directory should be created. In my case it is linux-4.15.2/ directory as shown in the screenshot below.

Now navigate to the directory with the following command:

Before starting the kernel compilation process, make sure you run the following command to install ncurses, make, gcc, bc, and openssl packages:

Press ‘y’ and then press <Enter> to continue.

The required packages should be installed.

Now copy the configuration file that the current kernel is using to the linux-4.15.2directory with the following command:

Now run the following command to prepare the configuration file for the new version of kernel.

It should start the following terminal based graphical interface. You can press <Up>, <Down>, <Left> and <Right> arrow keys to navigate and <Enter> and <ESC> to select or go back one step respectively.
From here you can enable or disable specific kernel features. If you don’t know what it is, just leave the defaults.

Once you’re satisfied with the configuration file, go to <Save> option and press <Enter>

Then you should see the following window. Press <Enter> again.
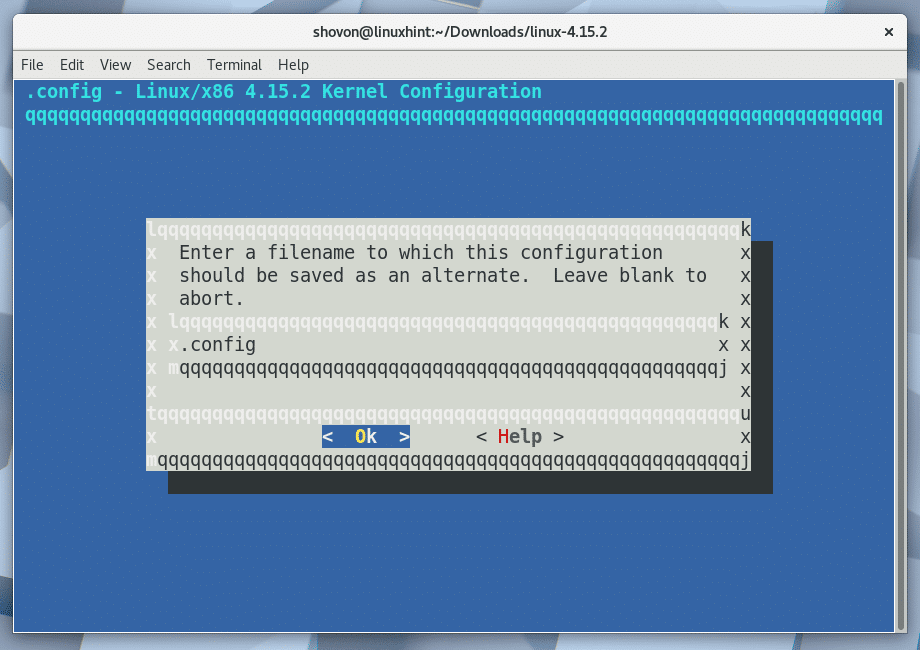
Then you should see the following window. Press <Enter> again.

You should be back to the main configuration window.

Go to <Exit> and press <Enter>

You should be back to the terminal as shown in the screenshot below.

Now run the following command to start the compilation process:

The kernel compilation process should start.

It should take a long time for the kernel compilation process to finish. Once it’s done, you should see the following window as shown in the screenshot below.

Now install all the compiled kernel modules with the following command:

All the kernel modules should be installed.

Now copy the vmlinuz file for your architecture to the /boot directory. For 32-bit operating system, run the following command:
For 64-bit operating system, run the following command:

The file should be copied.
Now generate an initramfs image and save it to /boot directory with the following command:

The initramfs file should be generated.

Now copy the System.map file to /boot directory with the following command:

Now make a symbolic link of the System.map-4.15.2 file to /boot/System.map with the following command:

Now generate a grub.cfg file with the following command:

A new grub.cfg file should be generated.

Now reboot your computer with the following command:

When your computer shows the GRUB menu, select the “Advanced options for Arch Linux” option and press <Enter>.

Then select the menu for your newly installed kernel from the list and press <Enter>.

Once your computer boot, run the following command to check for the kernel version:
The kernel should be updated as you can see from the screenshot below.

That’s how you upgrade the kernel of Arch Linux. Thanks for reading this article.


 251
251


 被折叠的 条评论
为什么被折叠?
被折叠的 条评论
为什么被折叠?
 到【灌水乐园】发言


