


 本文详细介绍了Flutter的相关概念和技术,包括Dart语言的操作符、Isolate的使用、声明式UI和命名参数。此外,还讨论了Collection If和Collection For等特性,以及如何在Flutter中进行状态管理和构建Widget。对于前端开发者来说,这篇文章提供了从React转向Flutter的宝贵知识,同时也分享了一位35岁程序员的职业思考。
Vector operator +(Vector v) => Vector(x + v.x, y + v.y);
Vector operator -(Vector v) => Vector(x - v.x, y - v.y);
// Operator == and hashCode not shown. For details, see note below.
// ···
}
void main() {
final v = Vector(2, 3);
final w = Vector(2, 2);
assert(v + w == Vector(4, 5));
assert(v - w == Vector(0, 1));
}
注:重写==,也需要重写Object hashCodegetter
class Person {
final String firstName, lastName;
Person(this.firstName, this.lastName);
// Override hashCode using strategy from Effective Java,
// Chapter 11.
@override
int get hashCode {
int result = 17;
result = 37 * result + firstName.hashCode;
result = 37 * result + lastName.hashCode;
return result;
}
// You should generally implement operator == if you
// override hashCode.
@override
bool operator ==(dynamic other) {
if (other is! Person) return false;
Person person = other;
return (person.firstName == firstName &&
person.lastName == lastName);
}
}
void main() {
var p1 = Person(‘Bob’, ‘Smith’);
var p2 = Person(‘Bob’, ‘Smith’);
var p3 = ‘not a person’;
assert(p1.hashCode == p2.hashCode);
assert(p1 == p2);
assert(p1 != p3);
}
这点在diff对象的时候尤其有用。
lsolate
Dart运行在独立隔离的iSolate中就类似JavaScript一样,单线程事件驱动,但是Dart也开放了创建其他isolate,充分利用CPU的多和能力。
loadData() async {
// 通过spawn新建一个isolate,并绑定静态方法
ReceivePort receivePort =ReceivePort();
await Isolate.spawn(dataLoader, receivePort.sendPort);
// 获取新isolate的监听port
SendPort sendPort = await receivePort.first;
// 调用sendReceive自定义方法
List dataList = await sendReceive(sendPort, ‘https://hicc.me/posts’);
print(‘dataList $dataList’);
}
// isolate的绑定方法
static dataLoader(SendPort sendPort) async{
// 创建监听port,并将sendPort传给外界用来调用
ReceivePort receivePort =ReceivePort();
sendPort.send(receivePort.sendPort);
// 监听外界调用
await for (var msg in receivePort) {
String requestURL =msg[0];
SendPort callbackPort =msg[1];
Client client = Client();
Response response = await client.get(requestURL);
List dataList = json.decode(response.body);
// 回调返回值给调用者
callbackPort.send(dataList);
}
}
// 创建自己的监听port,并且向新isolate发送消息
Future sendReceive(SendPort sendPort, String url) {
ReceivePort receivePort =ReceivePort();
sendPort.send([url, receivePort.sendPort]);
// 接收到返回值,返回给调用者
return receivePort.first;
}
当然Flutter中封装了compute,可以方便的使用,譬如在其它isolate中解析大的json。
Dart UI as Code
在这里单独提出来的意义在于,从React开始,到Flutter,到最近的Apple SwiftUI,Android Jetpack Compose 声明式组件写法越发流行,Web 前端使用JSX来让开发者更方便的书写,而Flutter,SwiftUI则直接从优化语言本身着手。
函数类的命名参数
void test({@required int age,String name}) {
print(name);
print(age);
}
// 解决函数调用时候,参数不明确的问题
test(name:“hicc”,age: 30)
// 这样对于组件的使用尤为方便
class MyApp extends StatelessWidget {
@override
Widget build(BuildContext context) {
return Scaffold(
appBar: AppBar(),
body: Container(),
floatingActionButton:FloatingActionButton()
);
}
}
大杀器:Collection If 和 Collection For
// collection If
Widget build(BuildContext context) {
return Row(
children: [
IconButton(icon: Icon(Icons.menu)),
Expanded(child: title),
if (!isAndroid)
IconButton(icon: Icon(Icons.search)),
],
);
}
// Collect For
var command = [
engineDartPath,
frontendServer,
for (var root in fileSystemRoots) “–filesystem-root=$root”,
for (var entryPoint in entryPoints)
if (fileExists(“lib/ e n t r y P o i n t . j s o n " ) ) " l i b / entryPoint.json")) "lib/ entryPoint.json"))"lib/entryPoint”,
mainPath
];
更多Dart 2.3对此的优化看这里。
Flutter 怎么写
到这里终于到正题了,如果熟悉web前端,熟悉React的话,你会对下面要讲的异常的熟悉。

Flutter App的一切从 lib/main.dart文件的main函数开始:
import ‘package:flutter/material.dart’;
void main() => runApp(MyApp());
class MyApp extends StatelessWidget {
@override
Widget build(BuildContext context) {
return MaterialApp(
title: ‘Welcome to Flutter’,
home: Scaffold(
appBar: AppBar(
title: Text(‘Welcome to Flutter’),
),
body: Center(
child: Text(‘Hello World’),
),
),
);
}
}
Dart 类build方法返回的便是Widget,在Flutter中一切都是Widget,包括但不限于
-
结构性元素,menu,button等
-
样式类元素,font,color等
-
布局类元素,padding,margin等
-
导航
-
手势
Widget是Dart中特殊的类,通过实例化(Dart 中new是可选的)相互嵌套,你的这个App就是形如下图的一颗组件树(Dart入口函数的概念,main.dart -> main())。
Widget布局
上说过Flutter布局思路来自CSS,而Flutter中一切皆Widget,因此整体布局也很简单:
-
容器组件Container
-
decoration装饰属性,设置背景色,背景图,边框,圆角,阴影和渐变等
-
margin
-
padding
-
alignment
-
width
-
height
-
Padding,Center
-
Row,Column,Flex
-
Wrap, Flow流式布局
-
Stack, Z轴布局
-
……
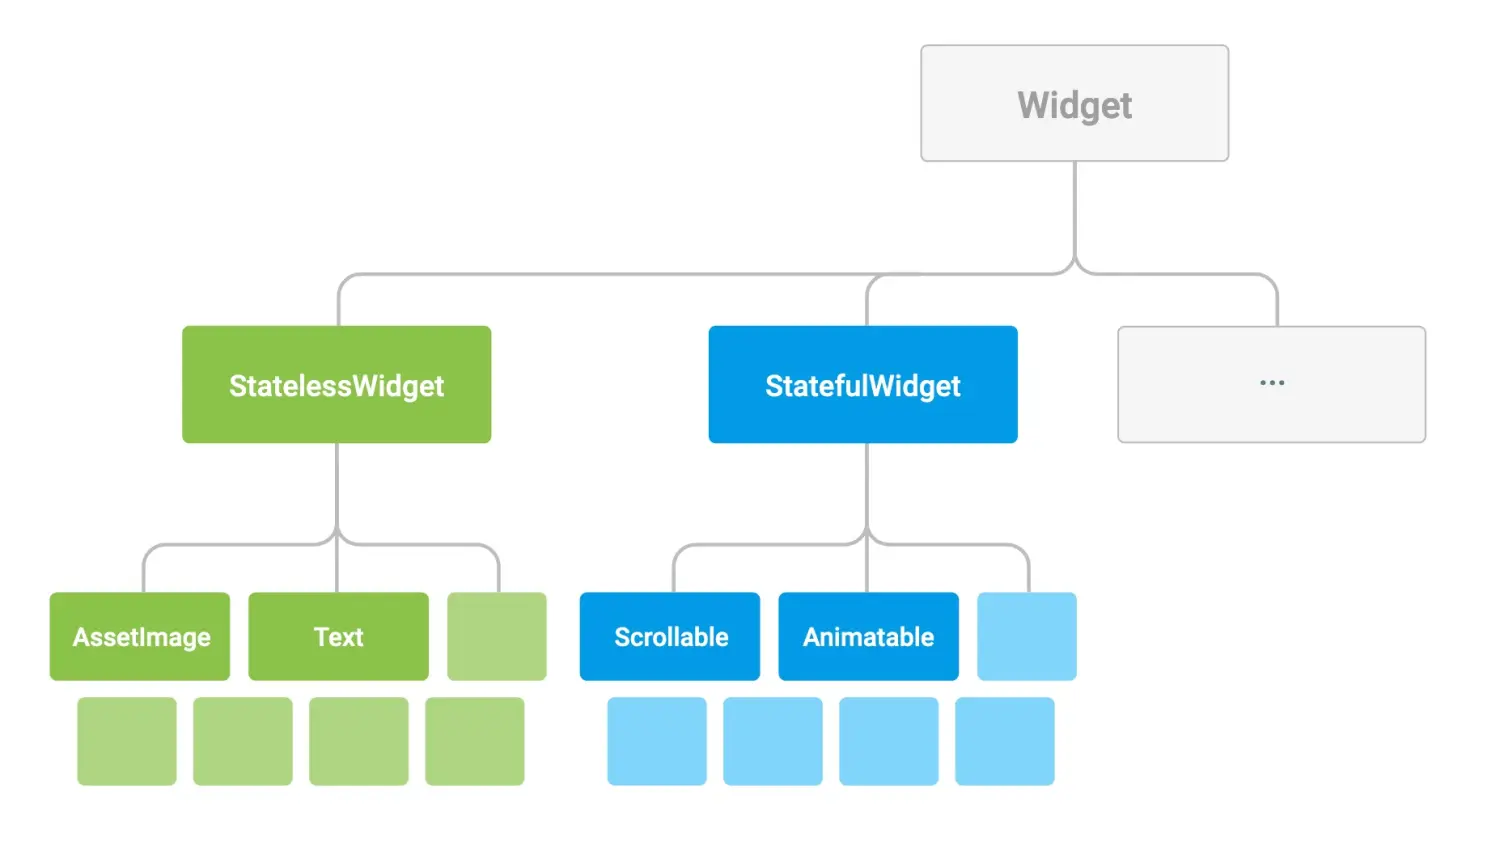
Flutter中Widget可以分为三类,形如React中“展示组件”、“容器组件”,“context”。
StatelessWidget
这个就是Flutter中的“展示组件”,自身不保存状态,外部参数变化就销毁重新创建。Flutter建议尽量使用无状态的组件。
StatefulWidget
状态组件就是类似于React中的“容器组件”了,Flutter中状态组件写法会稍微不一样。
class Counter extends StatefulWidget {
// This class is the configuration for the state. It holds the
// values (in this case nothing) provided by the parent and used by the build
// method of the State. Fields in a Widget subclass are always marked “final”.
@override
_CounterState createState() => _CounterState();
}
class _CounterState extends State {
int _counter = 0;
void _increment() {
setState(() {
// This call to setState tells the Flutter framework that
// something has changed in this State, which causes it to rerun
// the build method below so that the display can reflect the
// updated values. If you change _counter without calling
// setState(), then the build method won’t be called again,
// and so nothing would appear to happen.
_counter++;
});
}
@override
Widget build(BuildContext context) {
// This method is rerun every time setState is called, for instance
// as done by the _increment method above.
// The Flutter framework has been optimized to make rerunning
// build methods fast, so that you can just rebuild anything that
// needs updating rather than having to individually change
// instances of widgets.
return Row(
children: [
RaisedButton(
onPressed: _increment,
child: Text(‘Increment’),
),
Text(‘Count: $_counter’),
],
);
}
}
可以看到Flutter中直接使用了和React中同名的setState方法,不过不会有变量合并的东西,当然也有生命周期。
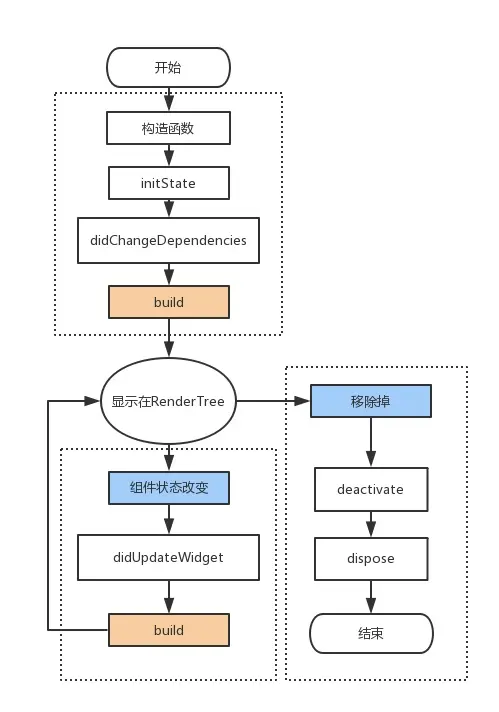
可以看到一个有状态的组件需要两个Class,这样写的原因在于,Flutter中Widget都是immmutable的,状态组件的状态保存在State中,组件仍然每次重新创建,Widget在这里只是一种对组件的描述,Flutter会diff转换成Element,然后转换成RenderObject才渲染。
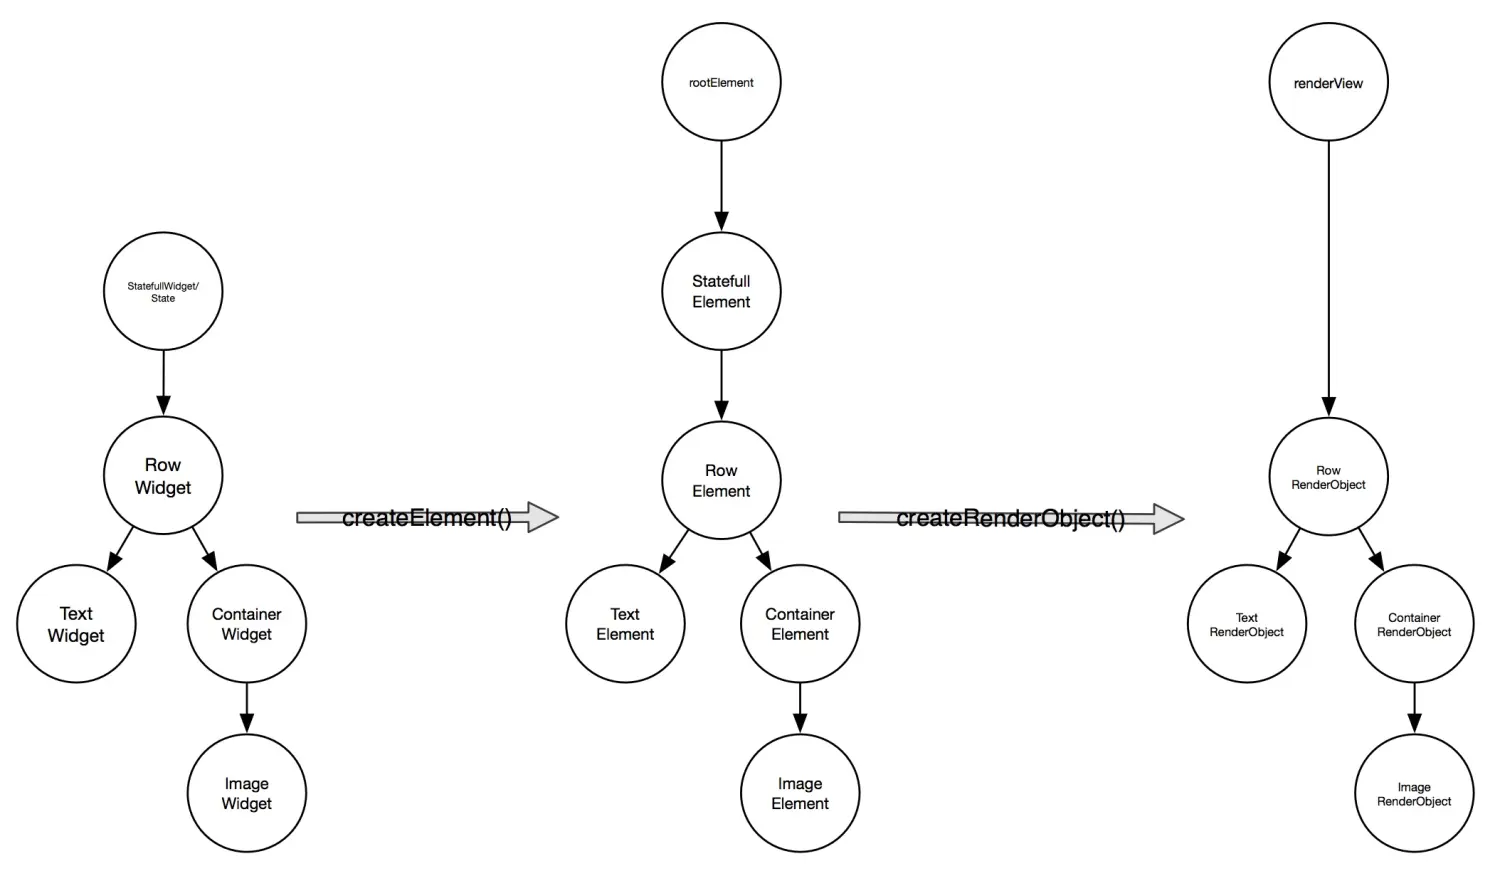
Flutter Widget更多的渲染流程可以看 这里。
实际上Widget只是作为组件结构一种描述,还可以带来的好处是,你可以更方便的做一些主题性的组件, Flutter官方提供的Material Components widgets和Cupertino (iOS-style) widgets质量就相当高,再配合Flutter亚秒级的Hot Reload,开发体验可以说挺不错的。
State Management
setState()可以很方便的管理组件内的数据,但是Flutter中状态同样是从上往下流转的,因此也会遇到和React中同样的问题,如果组件树太深,逐层状态创建就显得很麻烦了,更不要说代码的易读和易维护性了。
InheritedWidget
同样Flutter也有个context一样的东西,那就是InheritedWidget,使用起来也很简单。
class GlobalData extends InheritedWidget {
final int count;
GlobalData({Key key, this.count,Widget child}):super(key:key,child:child);
@override
bool updateShouldNotify(GlobalData oldWidget) {
return oldWidget.count != count;
}
static GlobalData of(BuildContext context) => context.inheritFromWidgetOfExactType(GlobalData);
}
class MyApp extends StatelessWidget {
// This widget is the root of your application.
@override
Widget build(BuildContext context) {
return MaterialApp(
title: ‘Flutter Demo’,
theme: ThemeData(
primarySwatch: Colors.blue,
),
home: MyHomePage(title: ‘Flutter Demo Home Page’),
);
}
}
class MyHomePage extends StatefulWidget {
MyHomePage({Key key, this.title}) : super(key: key);
final String title;
@override
_MyHomePageState createState() => _MyHomePageState();
}
class _MyHomePageState extends State {
int _counter = 0;
void _incrementCounter() {
_counter++;
});
}
@override
Widget build(BuildContext context) {
return Scaffold(
appBar: AppBar(
title: Text(widget.title),
),
body: GlobalData(
count: _counter,
child: Center(
child: Column(
mainAxisAlignment: MainAxisAlignment.center,
children: [
Text(
‘You have pushed the button this many times:’,
),
Text(
‘$_counter’,
style: Theme.of(context).textTheme.display1,
),
Body(),
Body2()
],
),
),
),
floatingActionButton: FloatingActionButton(
onPressed: _incrementCounter,
tooltip: ‘Increment’,
child: Icon(Icons.add),
),
);
}
}
class Body extends StatelessWidget {
@override
Widget build(BuildContext context) {
GlobalData globalData = GlobalData.of(context);
return Text(globalData.count.toString());
}
}
class Body2 extends StatelessWidget {
@override
Widget build(BuildContext context) {
// TODO: implement build
GlobalData globalData = GlobalData.of(context);
return Text(globalData.count.toString());
}
具体实现原理可以参考这里,不过Google封装了一个更为上层的库provider,具体使用可以看这里。
BlOC
自我介绍一下,小编13年上海交大毕业,曾经在小公司待过,也去过华为、OPPO等大厂,18年进入阿里一直到现在。
深知大多数前端工程师,想要提升技能,往往是自己摸索成长或者是报班学习,但对于培训机构动则几千的学费,着实压力不小。自己不成体系的自学效果低效又漫长,而且极易碰到天花板技术停滞不前!
因此收集整理了一份《2024年Web前端开发全套学习资料》,初衷也很简单,就是希望能够帮助到想自学提升又不知道该从何学起的朋友,同时减轻大家的负担。

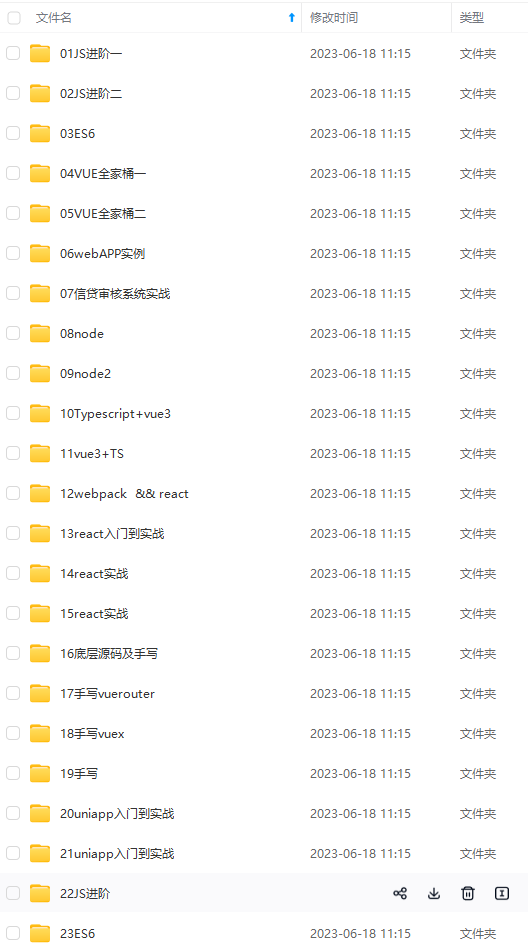

既有适合小白学习的零基础资料,也有适合3年以上经验的小伙伴深入学习提升的进阶课程,基本涵盖了95%以上前端开发知识点,真正体系化!
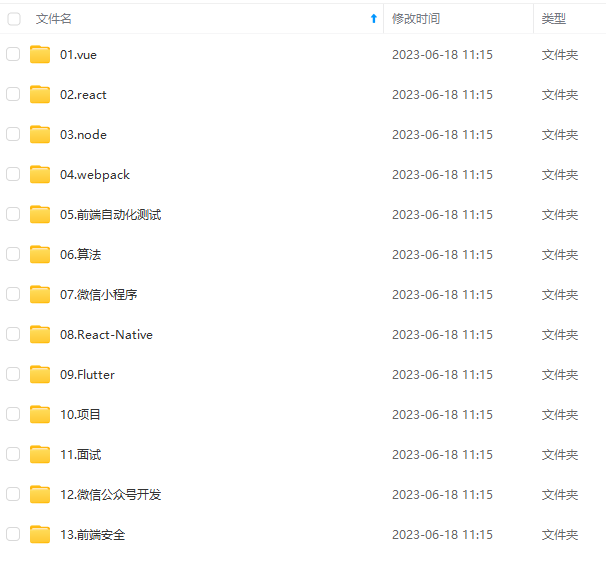
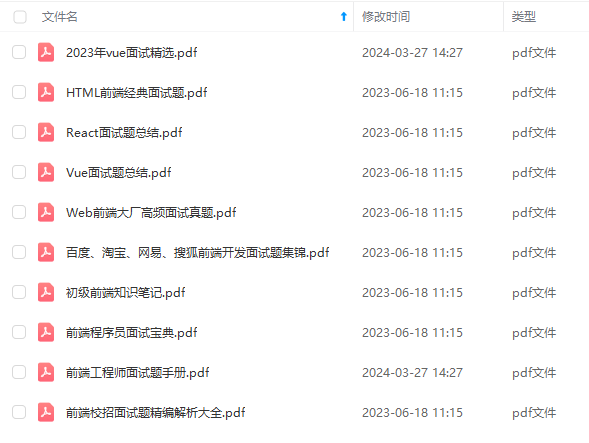
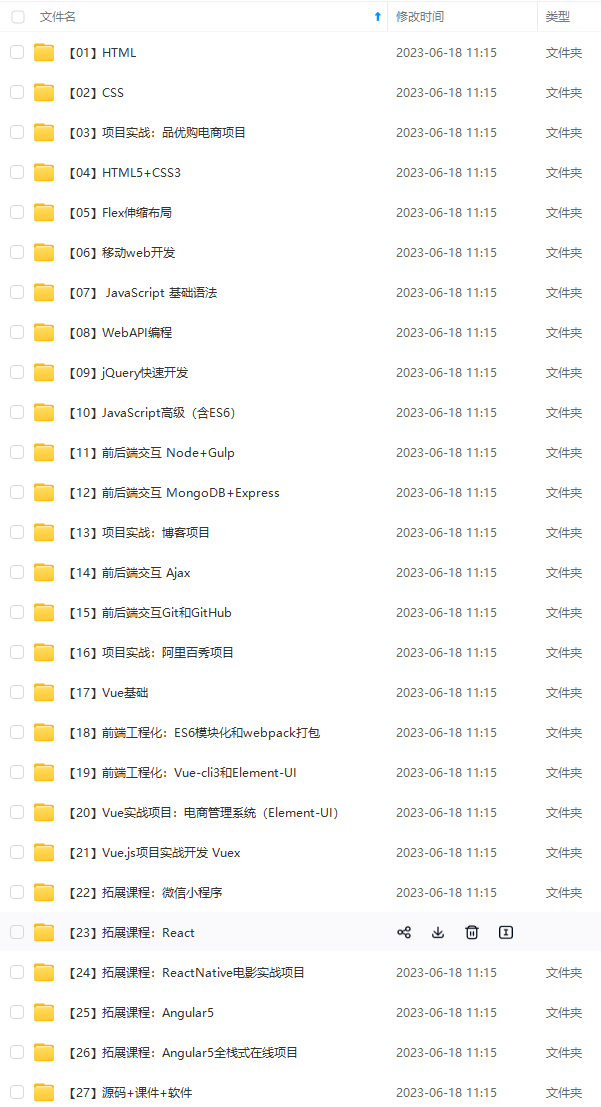
由于文件比较大,这里只是将部分目录大纲截图出来,每个节点里面都包含大厂面经、学习笔记、源码讲义、实战项目、讲解视频,并且后续会持续更新
如果你觉得这些内容对你有帮助,可以添加V获取:vip1024c (备注前端)

最后
编程基础的初级开发者,计算机科学专业的学生,以及平时没怎么利用过数据结构与算法的开发人员希望复习这些概念为下次技术面试做准备。或者想学习一些计算机科学的基本概念,以优化代码,提高编程技能。这份笔记都是可以作为参考的。
CodeChina开源项目:【大厂前端面试题解析+核心总结学习笔记+真实项目实战+最新讲解视频】

很简单,就是希望能够帮助到想自学提升又不知道该从何学起的朋友,同时减轻大家的负担。**
[外链图片转存中…(img-7uQZDmGh-1712063085936)]
[外链图片转存中…(img-lBK4ApAe-1712063085936)]
[外链图片转存中…(img-LBoWrhCV-1712063085937)]
[外链图片转存中…(img-irsdJM9I-1712063085937)]
[外链图片转存中…(img-QMn2CCm9-1712063085937)]
[外链图片转存中…(img-M8ZpoIJp-1712063085937)]
既有适合小白学习的零基础资料,也有适合3年以上经验的小伙伴深入学习提升的进阶课程,基本涵盖了95%以上前端开发知识点,真正体系化!
由于文件比较大,这里只是将部分目录大纲截图出来,每个节点里面都包含大厂面经、学习笔记、源码讲义、实战项目、讲解视频,并且后续会持续更新
如果你觉得这些内容对你有帮助,可以添加V获取:vip1024c (备注前端)
[外链图片转存中…(img-H40dtTrZ-1712063085938)]
最后
编程基础的初级开发者,计算机科学专业的学生,以及平时没怎么利用过数据结构与算法的开发人员希望复习这些概念为下次技术面试做准备。或者想学习一些计算机科学的基本概念,以优化代码,提高编程技能。这份笔记都是可以作为参考的。
CodeChina开源项目:【大厂前端面试题解析+核心总结学习笔记+真实项目实战+最新讲解视频】


 被折叠的 条评论
为什么被折叠?
被折叠的 条评论
为什么被折叠?
 到【灌水乐园】发言


