


目前微服务作为分段式、高并发、负载均衡、服务注册、权限认证、聚合文档、熔断保护等机制合为一体的全新分布式服务,功能显而易见,在目前的开发市场中占据很大的优势,如何学习微服务,对程序员来说至关重要(学不会,可能饭碗不保!)springblade 是springcloude 的转化,也可以理解为加强版!,而且也是属于开源项目。我们首先需要再我们的github中下载一个源码
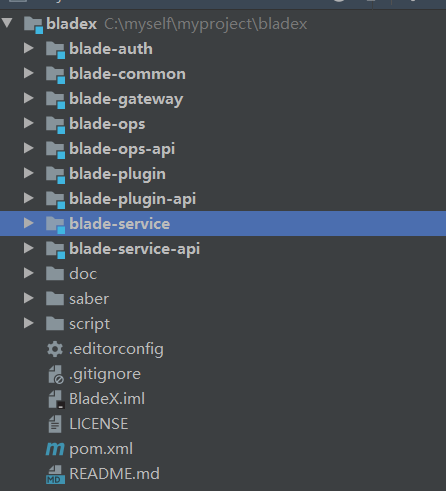
导入到我们的idea中;如下图所示:
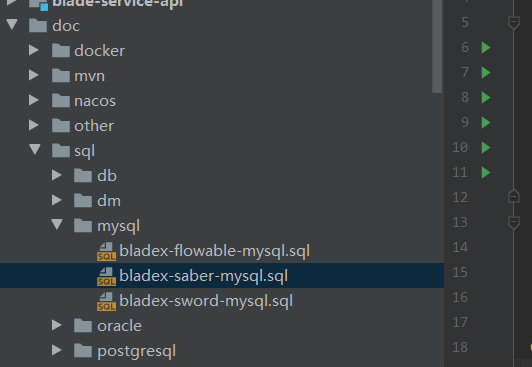
执行doc包下边的sql文件:只需要执行后边两个就可以
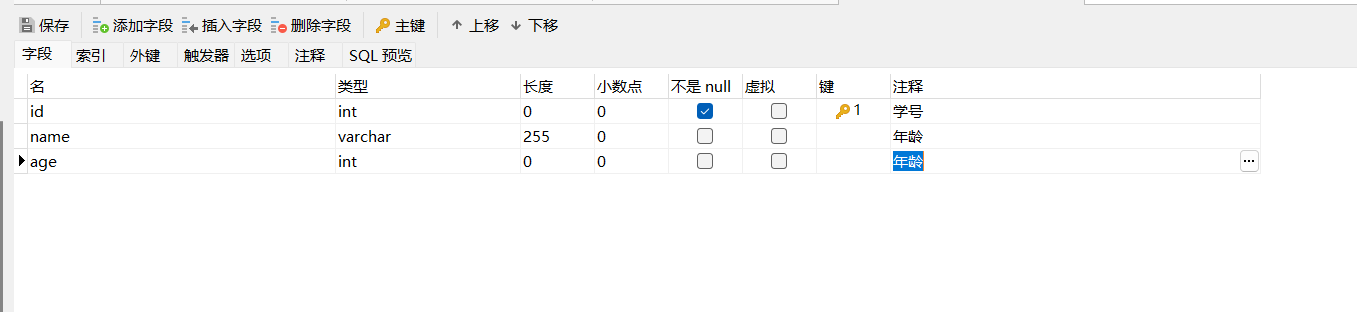
然后创建我们所需要生成的tb_student表:(这里注意我们的表名必须以tb_开头,不然生成配置过程中,会报错。)
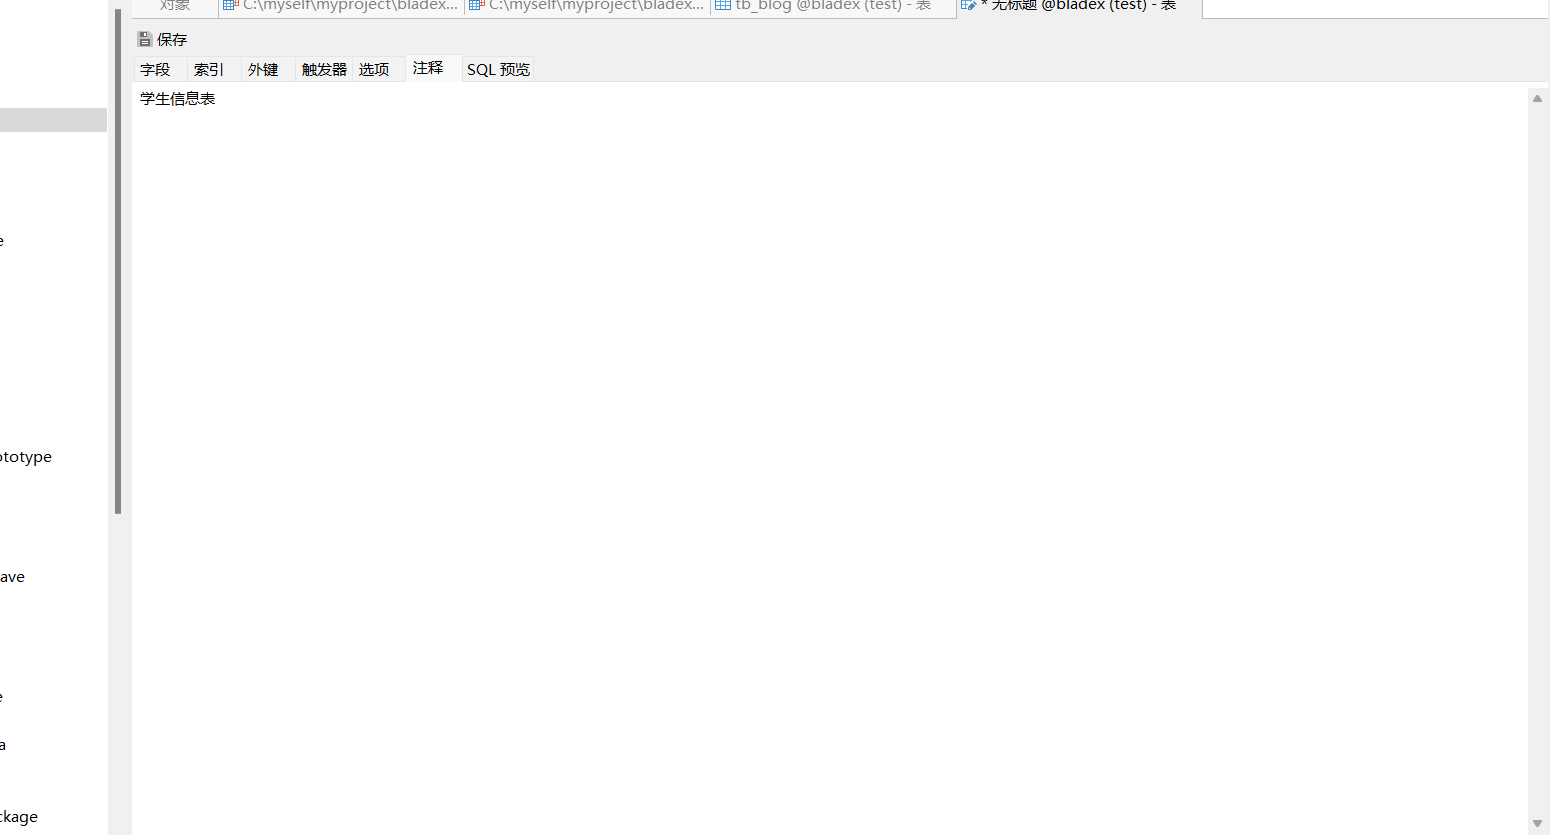
这里千万不要忘记给我们的字段和表添加注释!
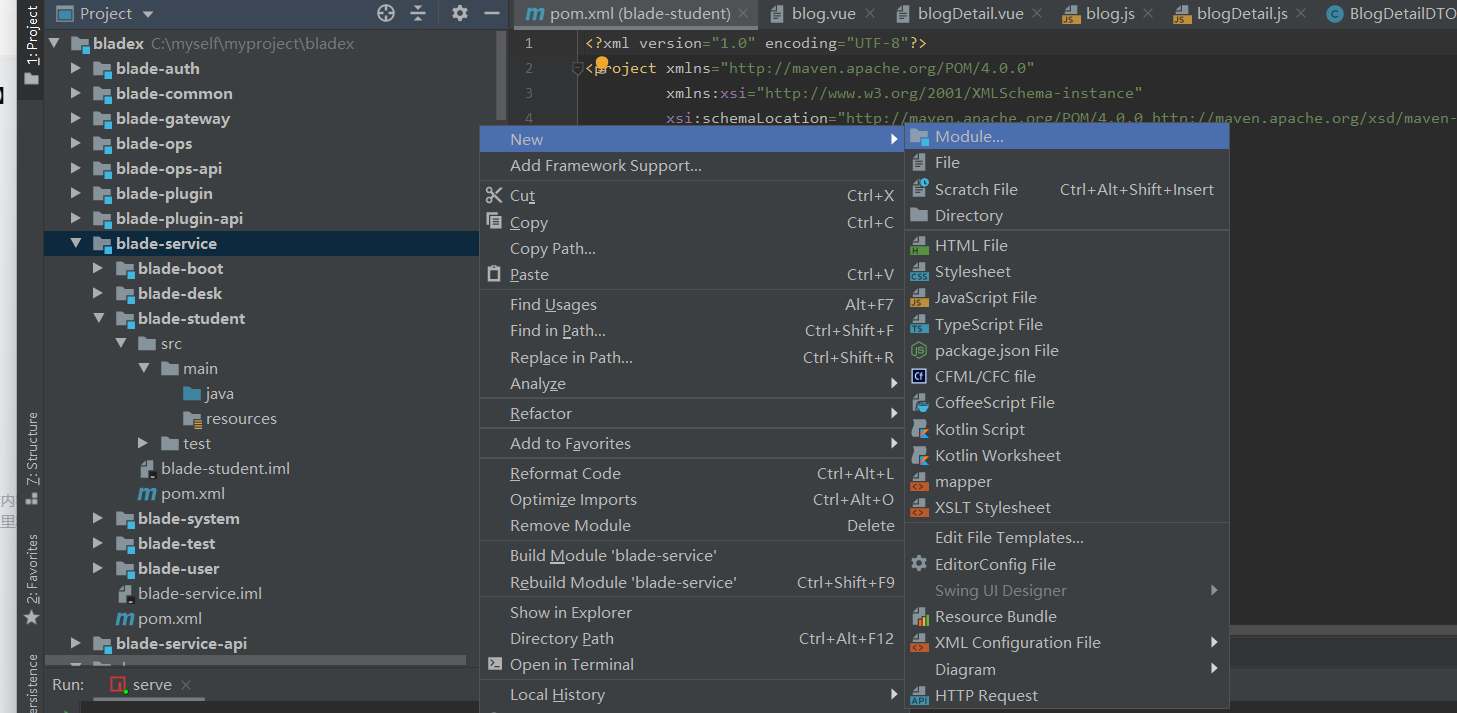
接下来再idea中创建我们的服务,

blade里边的微服务默认放到blade-service里边,再blade-service里边放上我们
环境准备方面(具体安装下载可以直接查找csdn,安装比较简单)
后端除了基本的环境设置外还需要准备:redeis 缓存
nacos 服务注册
sentinel 高可用流量控制(附加服务,可以不准备也行)
前端环境准备:node
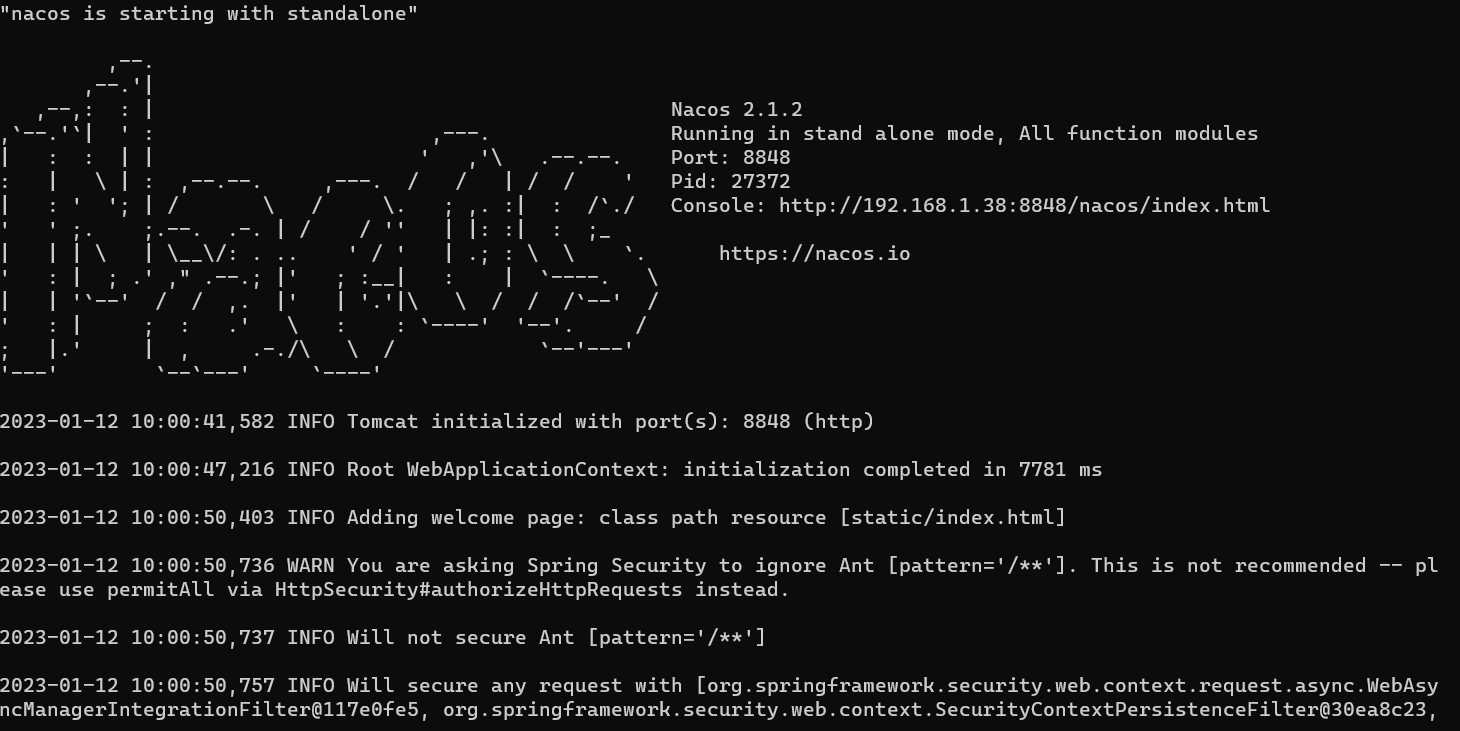
首先启动本地的nacos服务:双击安装好的nacos里边bin下的stratup,启动成功的样子如下图
然后启动我们的redis;后端环境部署完成之后就可以启动我们的项目了
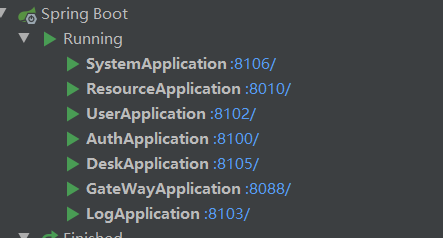
首先,我们需要启动的基础项目为 下图所示:
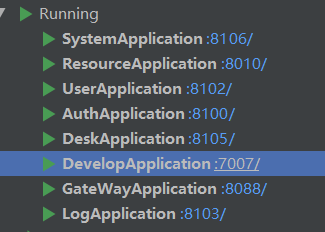
基础项目启动之后,我们是需要用到他的代码生成的,所以我们需要额外启动我们的blade-develop模块;启动之后所有服务如下图:
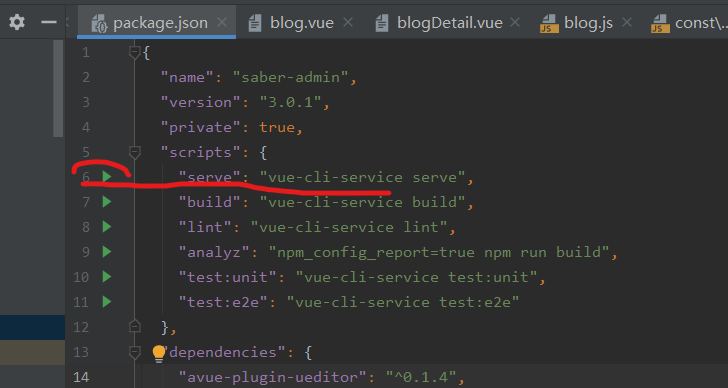
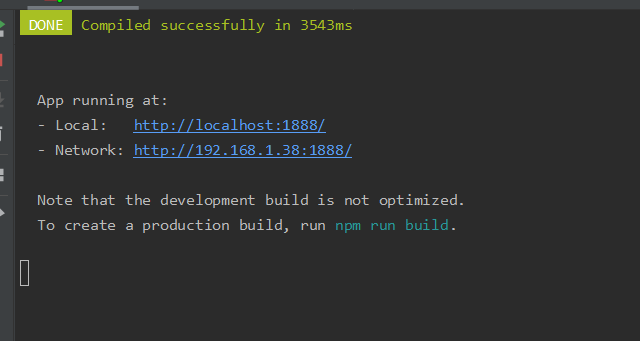
然后我们就可以启动我们的前端了,前端默认的网关地址为geteway的地址80端口:
启动前端
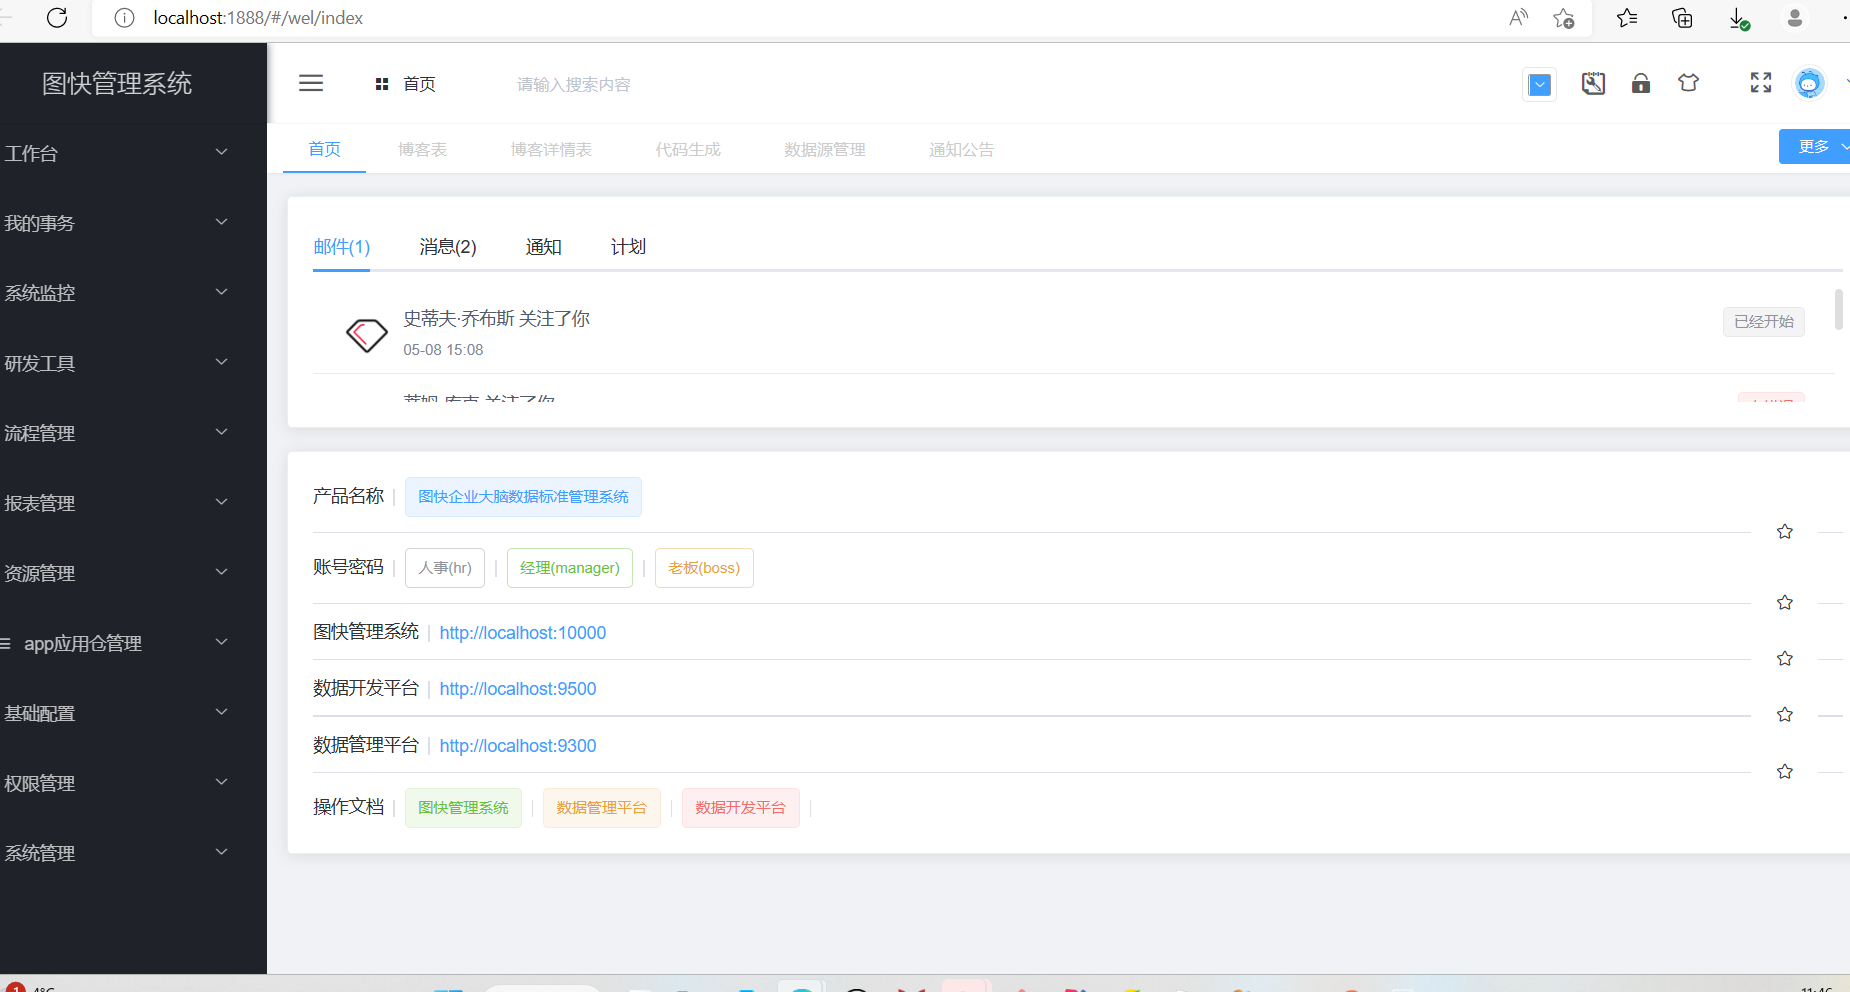
运行之后我们打开地址路径:
登录之后页面如下图所示:
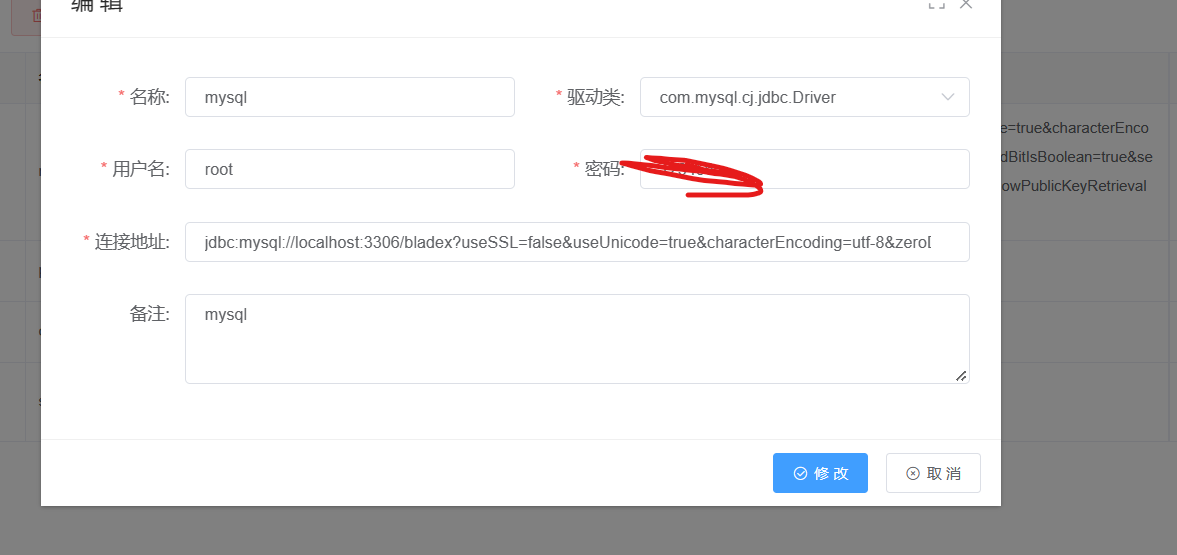
点击研发工具 里边的数据源管理:选择我们的使用的数据源,我这边使用的是mysql的数据源。
点击编辑:修改我们的mysql的账户跟密码
配置好数据源之后,我们点击数据模型设计,
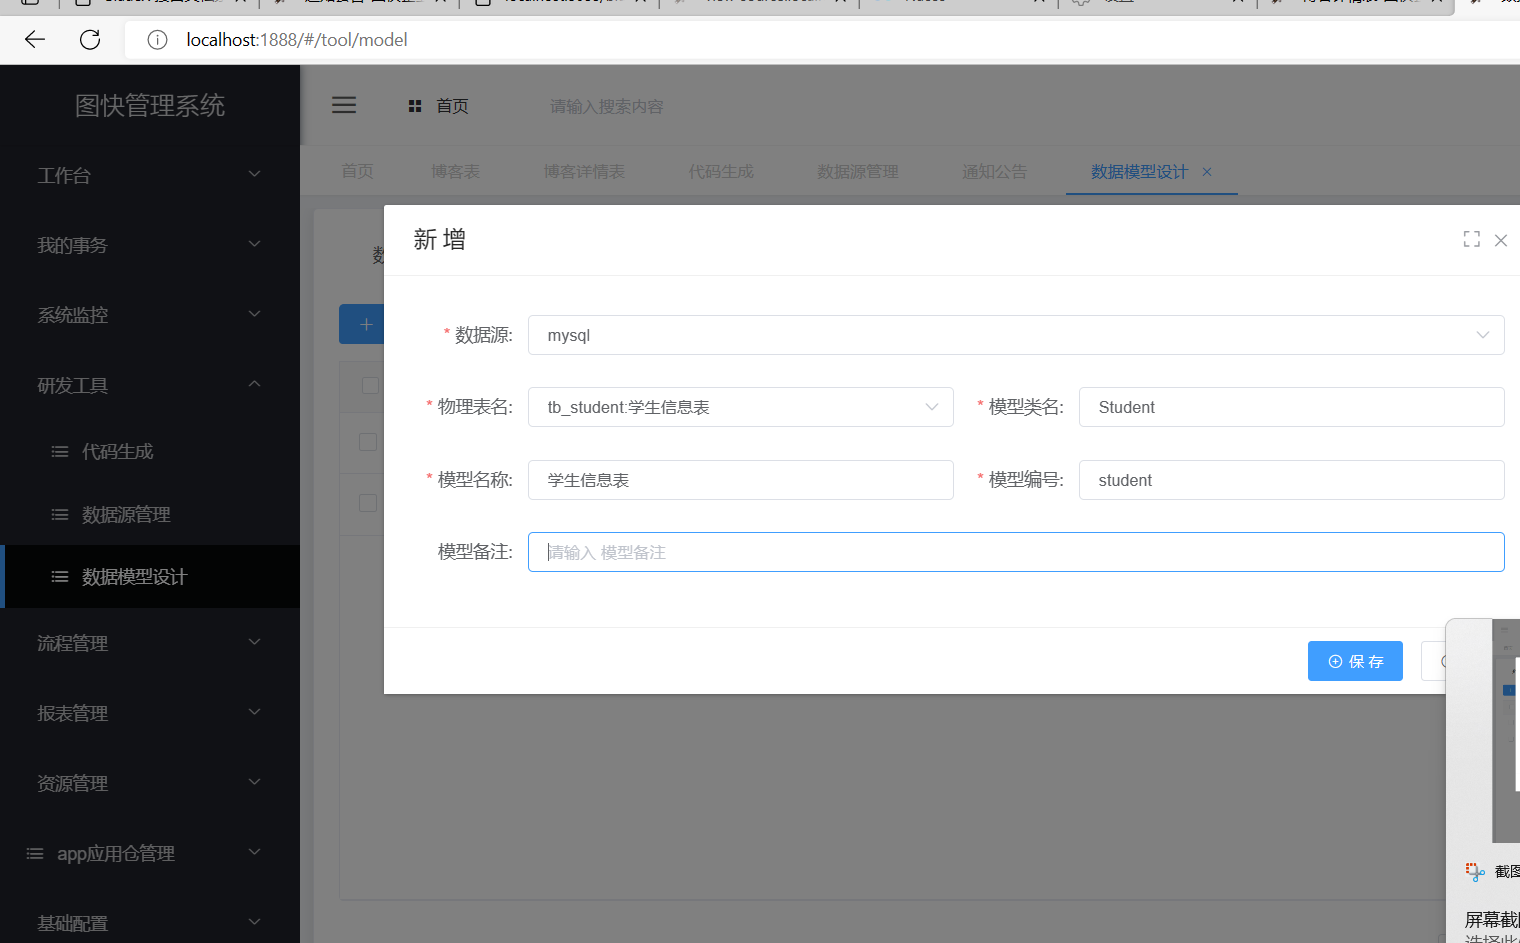
模型备注可以不写,如果添加的有备注,其它的必填项会自动生成;
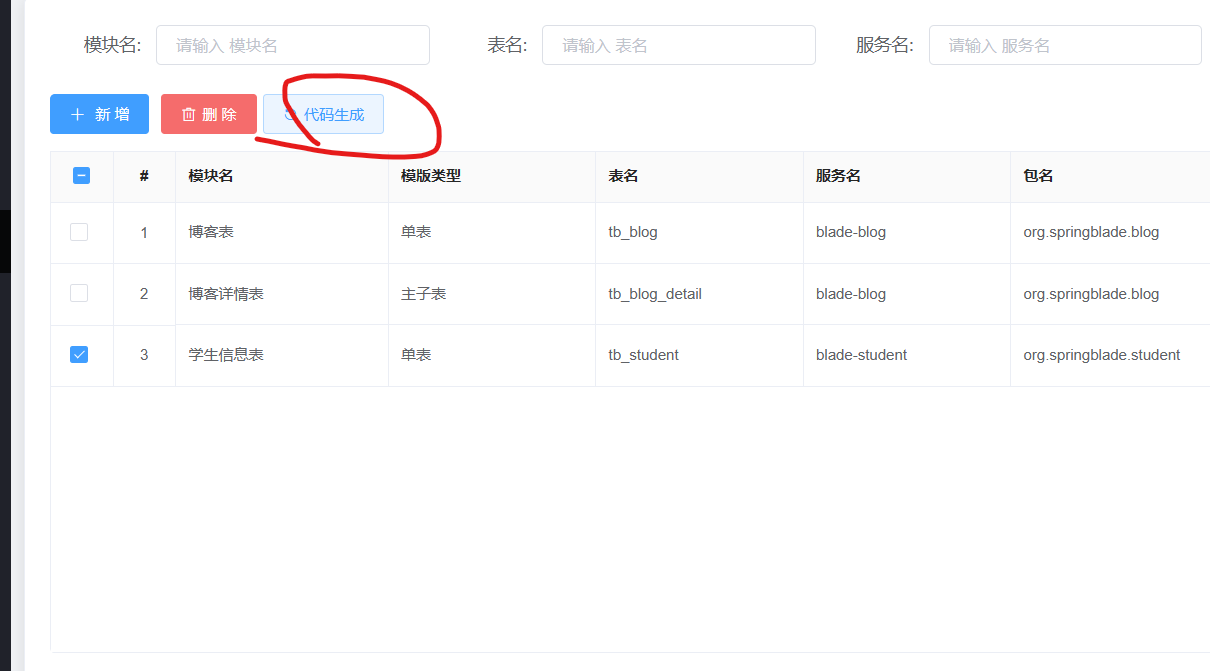
然后点击研发工具里边的代码生成,点击新增,将我们刚才数据配置过的tb_student新增上去:
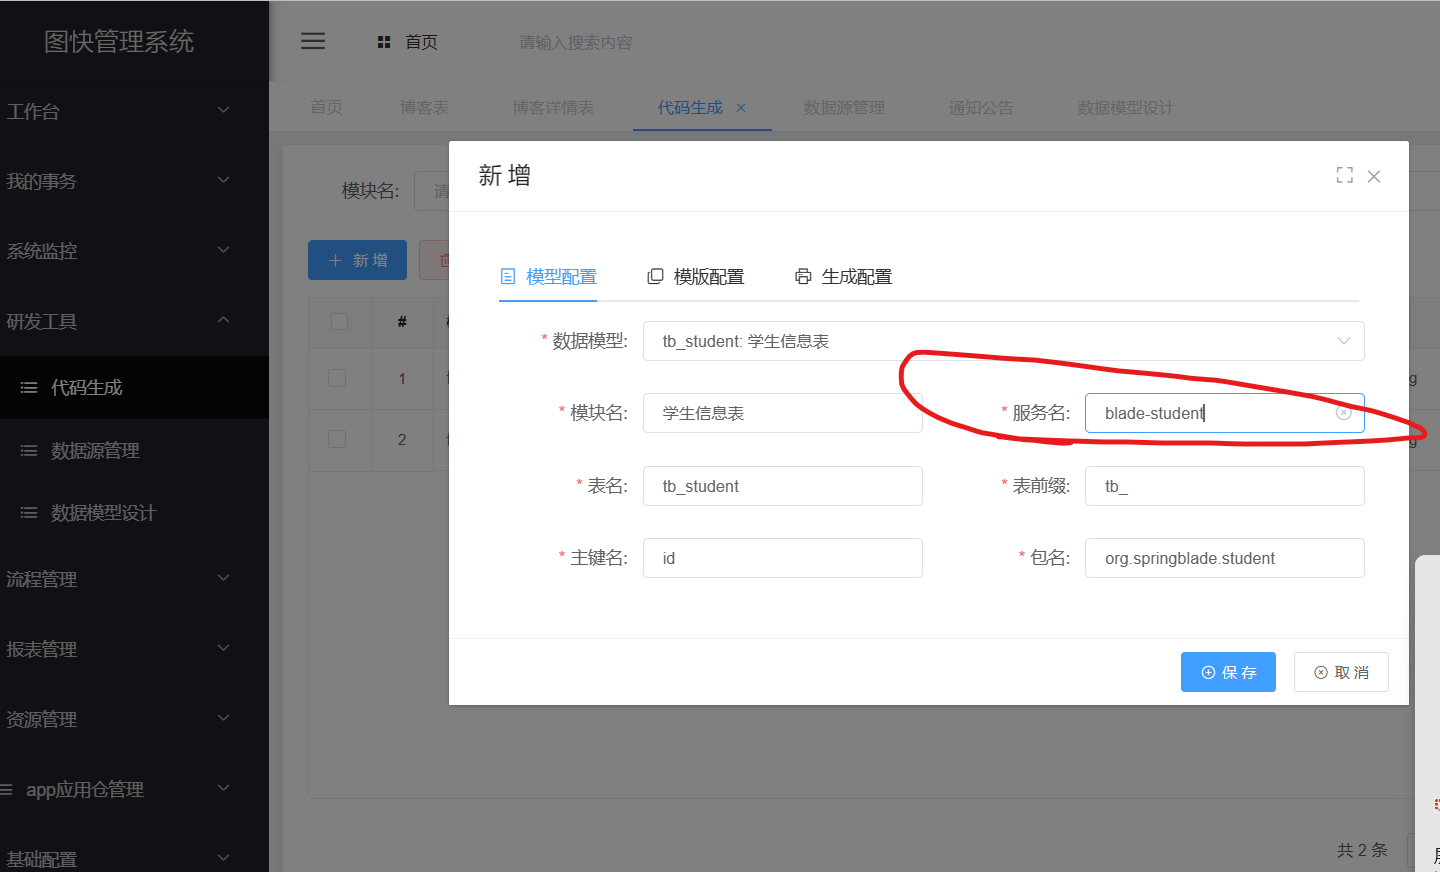
这里注意服务名,一定要给你创建的服务名保持一致,不要后边的方法测试会报404.因为blade默认是将项目名挡住服务名进行注册的;
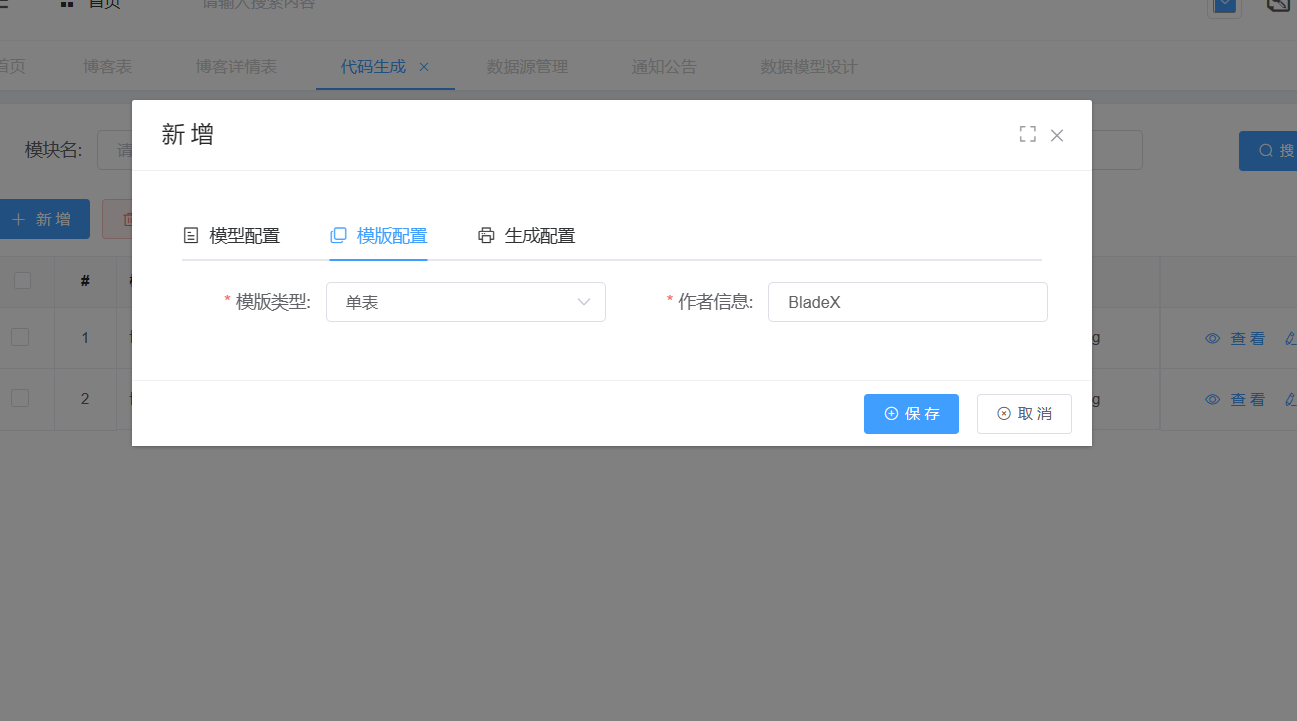
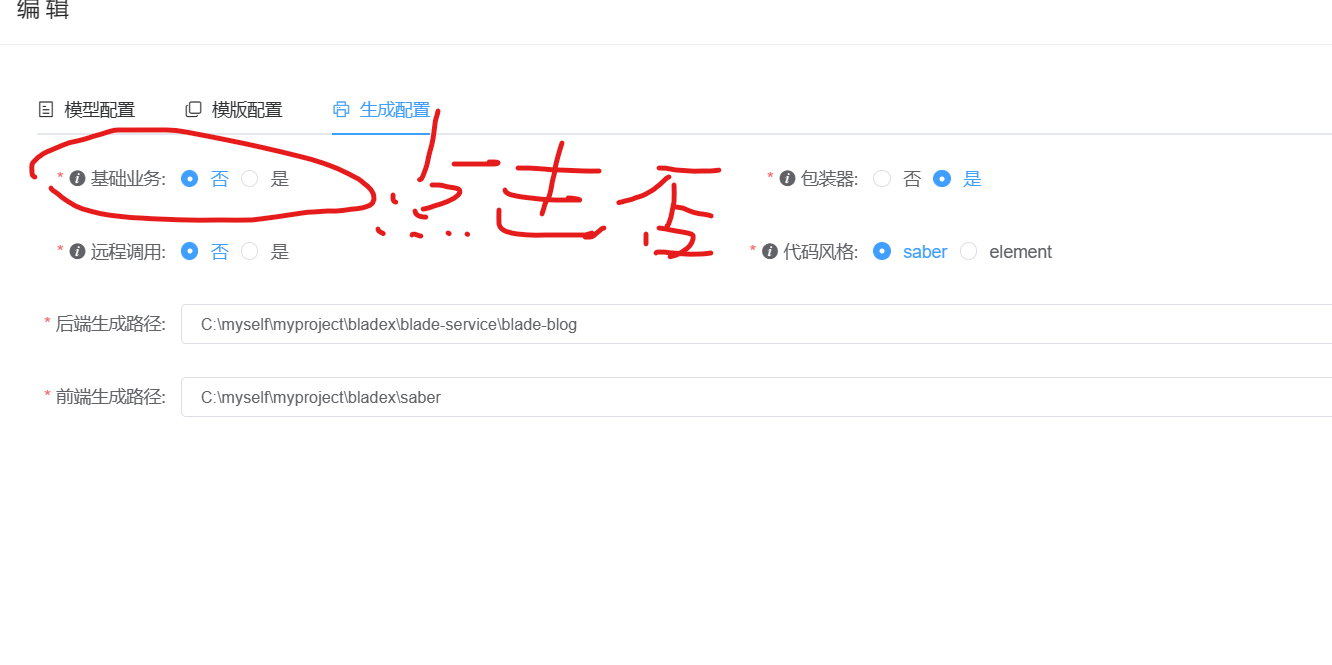
blade 加强了生成配置,可以直接将我们的代码直接放到我们所创建的服务上边;在我们的生成配置中可以直接设置路径;我们直接将我们创建好的项目的根路径地址填写上去;‘
然后点击代码生成:
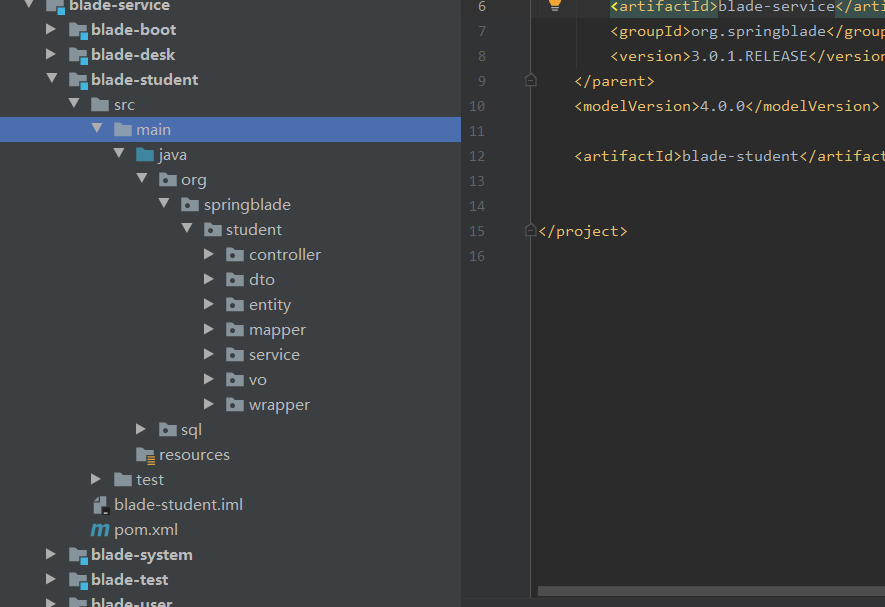
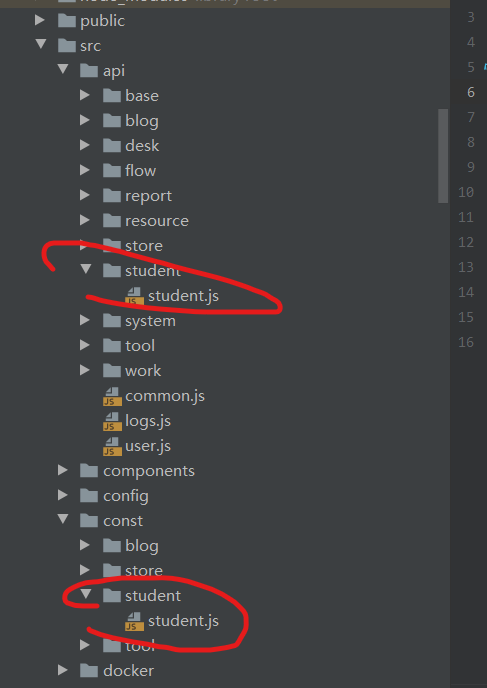
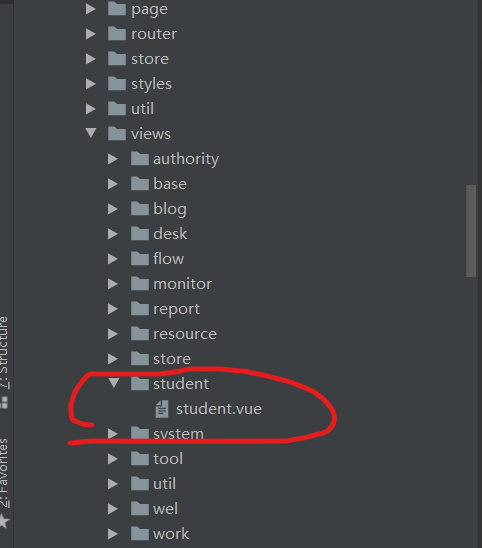
然后查看我们的idea中的前后端代码是否生成到指定的位置:
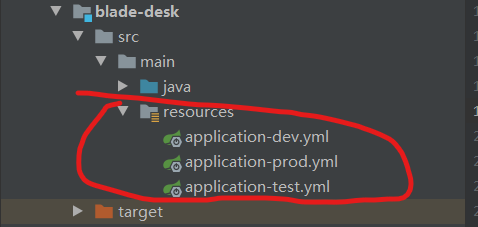
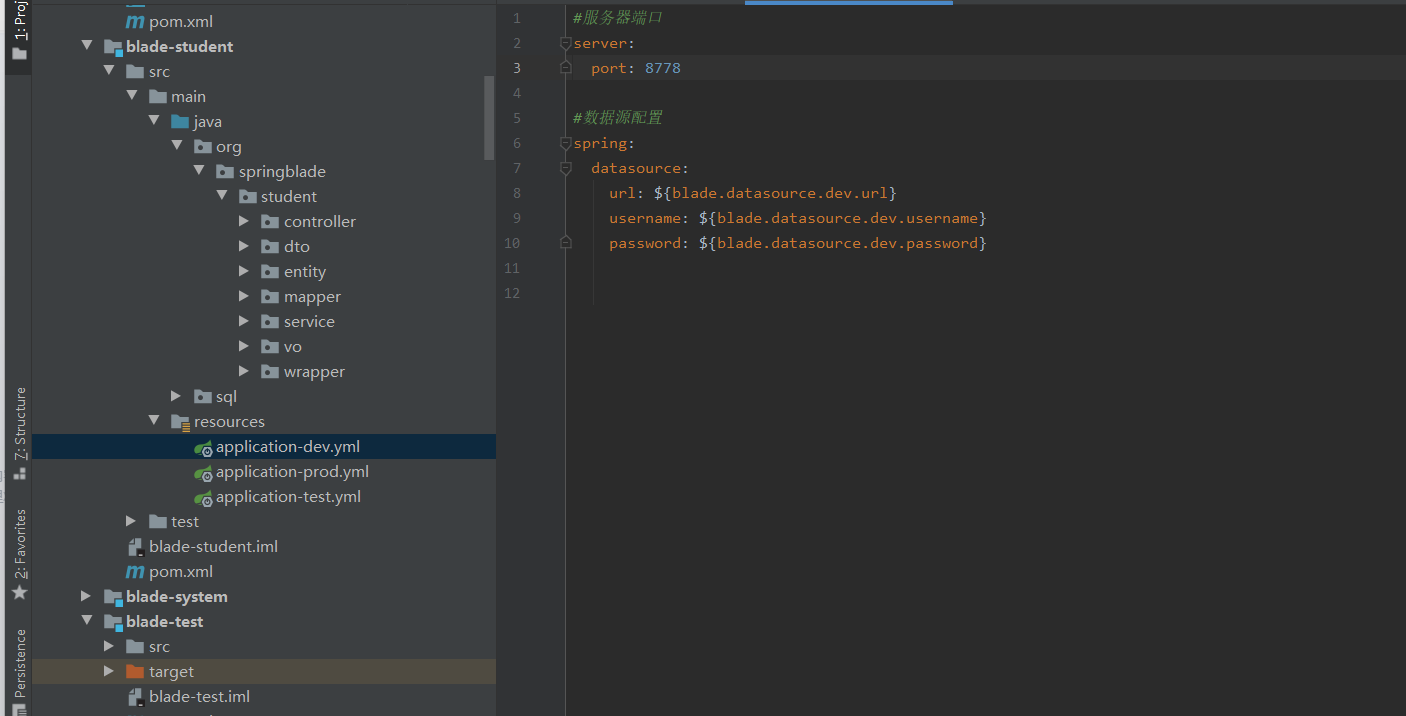
然后我们需要配置一下我们的resources;将blade-desk的resource文件直接复制到blade-student下,更改一下端口号
然后就是编写我们这个模块的启动类了,我们可以直接将blade-desk的启动类复制过来就可以;
具体启动类的代码如下:
/*
 *      Copyright (c) 2018-2028, Chill Zhuang All rights reserved.
 *
 *  Redistribution and use in source and binary forms, with or without
 *  modification, are permitted provided that the following conditions are met:
 *
 *  Redistributions of source code must retain the above copyright notice,
 *  this list of conditions and the following disclaimer.
 *  Redistributions in binary form must reproduce the above copyright
 *  notice, this list of conditions and the following disclaimer in the
 *  documentation and/or other materials provided with the distribution.
 *  Neither the name of the dreamlu.net developer nor the names of its
 *  contributors may be used to endorse or promote products derived from
 *  this software without specific prior written permission.
 *  Author: Chill 庄骞 (smallchill@163.com)
 */
package org.springblade.student;

import org.springblade.common.constant.LauncherConstant;
import org.springblade.core.cloud.client.BladeCloudApplication;
import org.springblade.core.launch.BladeApplication;
import org.springblade.core.launch.constant.AppConstant;

/**
 * Desk启动器
 *
 * @author Chill
 */
@BladeCloudApplication
public class StudentApplication {

    public static void main(String[] args) {
        BladeApplication.run(LauncherConstant.APPLICATION_STUDENT_NAME, StudentApplication.class, args);
    }

}
因为blade微服务中生成有聚合文档,所以我们可以直接调式直接在聚合文档中调试:(不需要再postman中进行调式了)
启动我们的blade-swagger服务前需要添加swagger依赖
具体的student依赖如下所示:
<?xml version="1.0" encoding="UTF-8"?>
<project xmlns="http://maven.apache.org/POM/4.0.0"
         xmlns:xsi="http://www.w3.org/2001/XMLSchema-instance"
         xsi:schemaLocation="http://maven.apache.org/POM/4.0.0 http://maven.apache.org/xsd/maven-4.0.0.xsd">
    <parent>
        <artifactId>blade-service</artifactId>
        <groupId>org.springblade</groupId>
        <version>3.0.1.RELEASE</version>
    </parent>
    <modelVersion>4.0.0</modelVersion>

    <artifactId>blade-student</artifactId>

    <name>${project.artifactId}</name>
    <version>${bladex.project.version}</version>
    <packaging>jar</packaging>

    <dependencies>
        <dependency>
            <groupId>org.springblade</groupId>
            <artifactId>blade-core-boot</artifactId>
        </dependency>
        <dependency>
            <groupId>org.springblade</groupId>
            <artifactId>blade-starter-excel</artifactId>
        </dependency>
        <dependency>
            <groupId>org.springblade</groupId>
            <artifactId>blade-starter-swagger</artifactId>
        </dependency>

        <dependency>
            <groupId>org.springblade</groupId>
            <artifactId>blade-system-api</artifactId>
            <version>${bladex.project.version}</version>
        </dependency>
    </dependencies>

    <build>
        <plugins>
            <plugin>
                <groupId>com.spotify</groupId>
                <artifactId>dockerfile-maven-plugin</artifactId>
                <configuration>
                    <username>${docker.username}</username>
                    <password>${docker.password}</password>
                    <repository>${docker.registry.url}/${docker.namespace}/${project.artifactId}</repository>
                    <tag>${project.version}</tag>
                    <useMavenSettingsForAuth>true</useMavenSettingsForAuth>
                    <buildArgs>
                        <JAR_FILE>target/${project.build.finalName}.jar</JAR_FILE>
                    </buildArgs>
                    <skip>false</skip>
                </configuration>
            </plugin>
            <plugin>
                <groupId>org.apache.maven.plugins</groupId>
                <artifactId>maven-antrun-plugin</artifactId>
            </plugin>
        </plugins>
    </build>
</project>
添加好依赖之后我们需要将我们的student模块配置到我们的swagger文档当中:
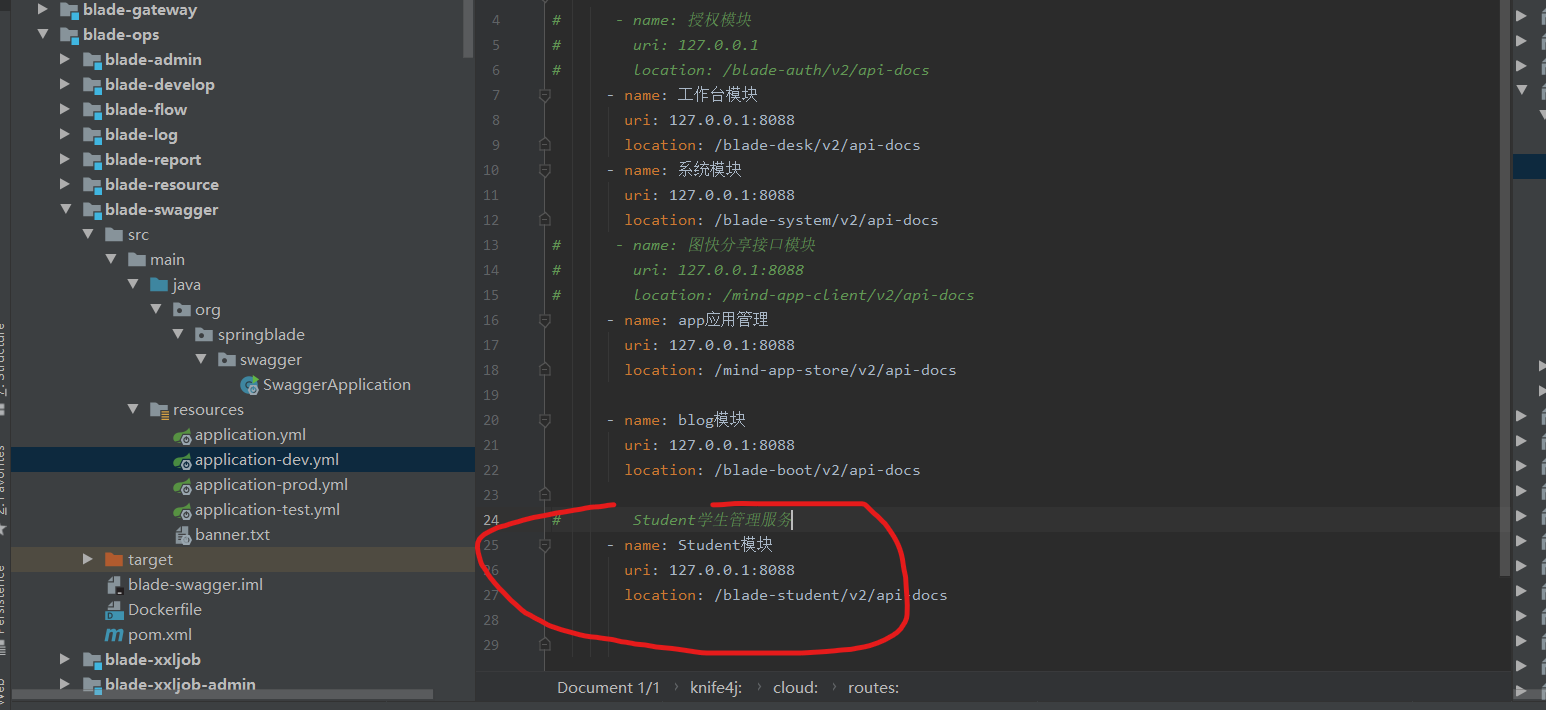
然后配置好之后先启动我们的blade-student,然后启动我们的blade-swagger;
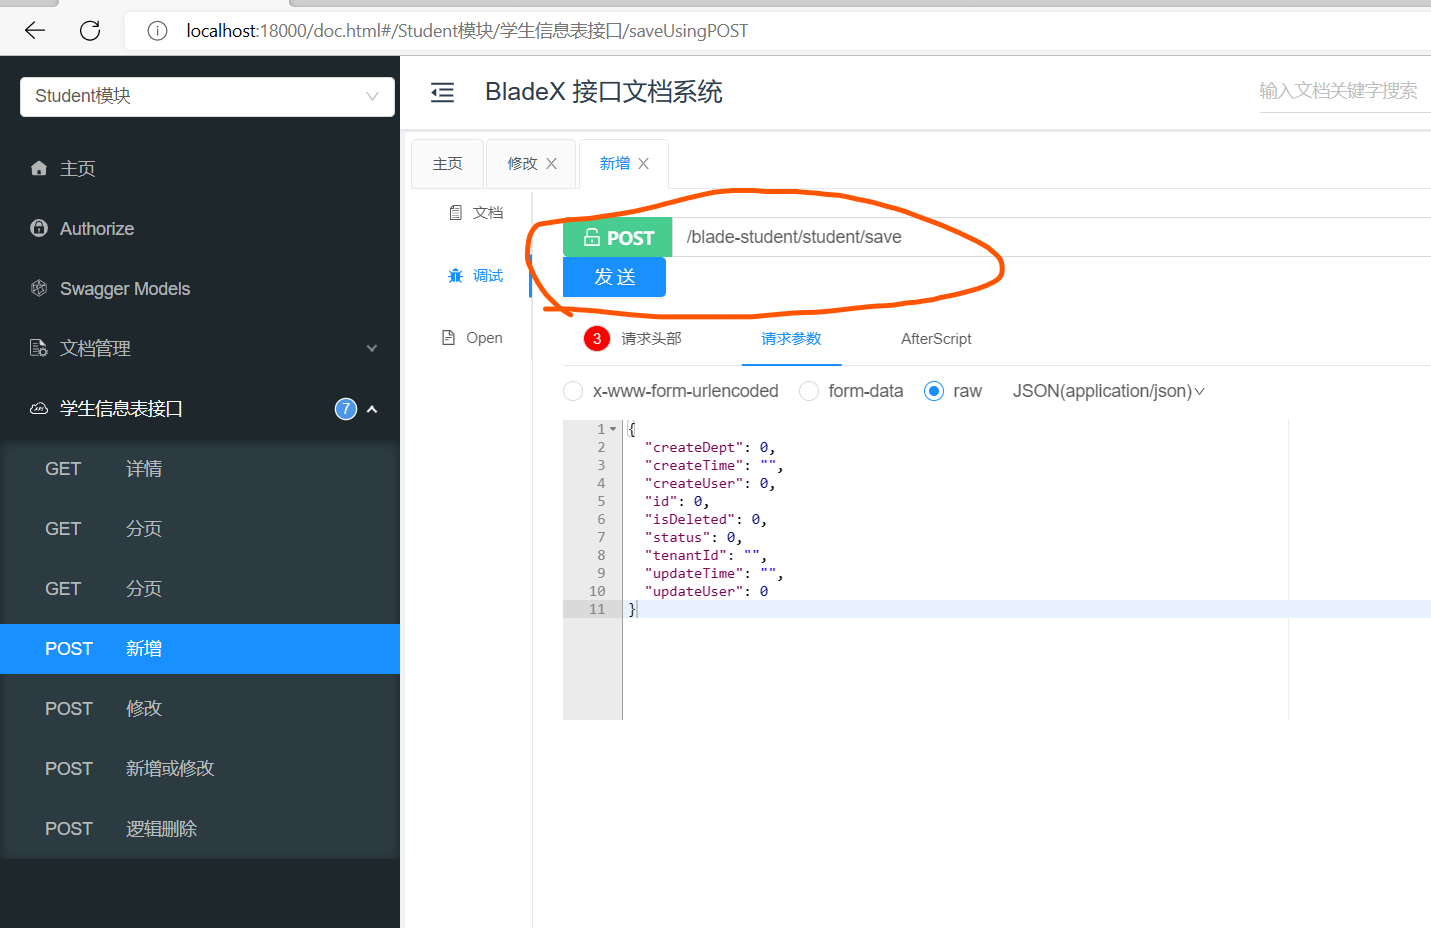
swagger聚合文档的访问地址为http://localhost:18000/doc.html#/home
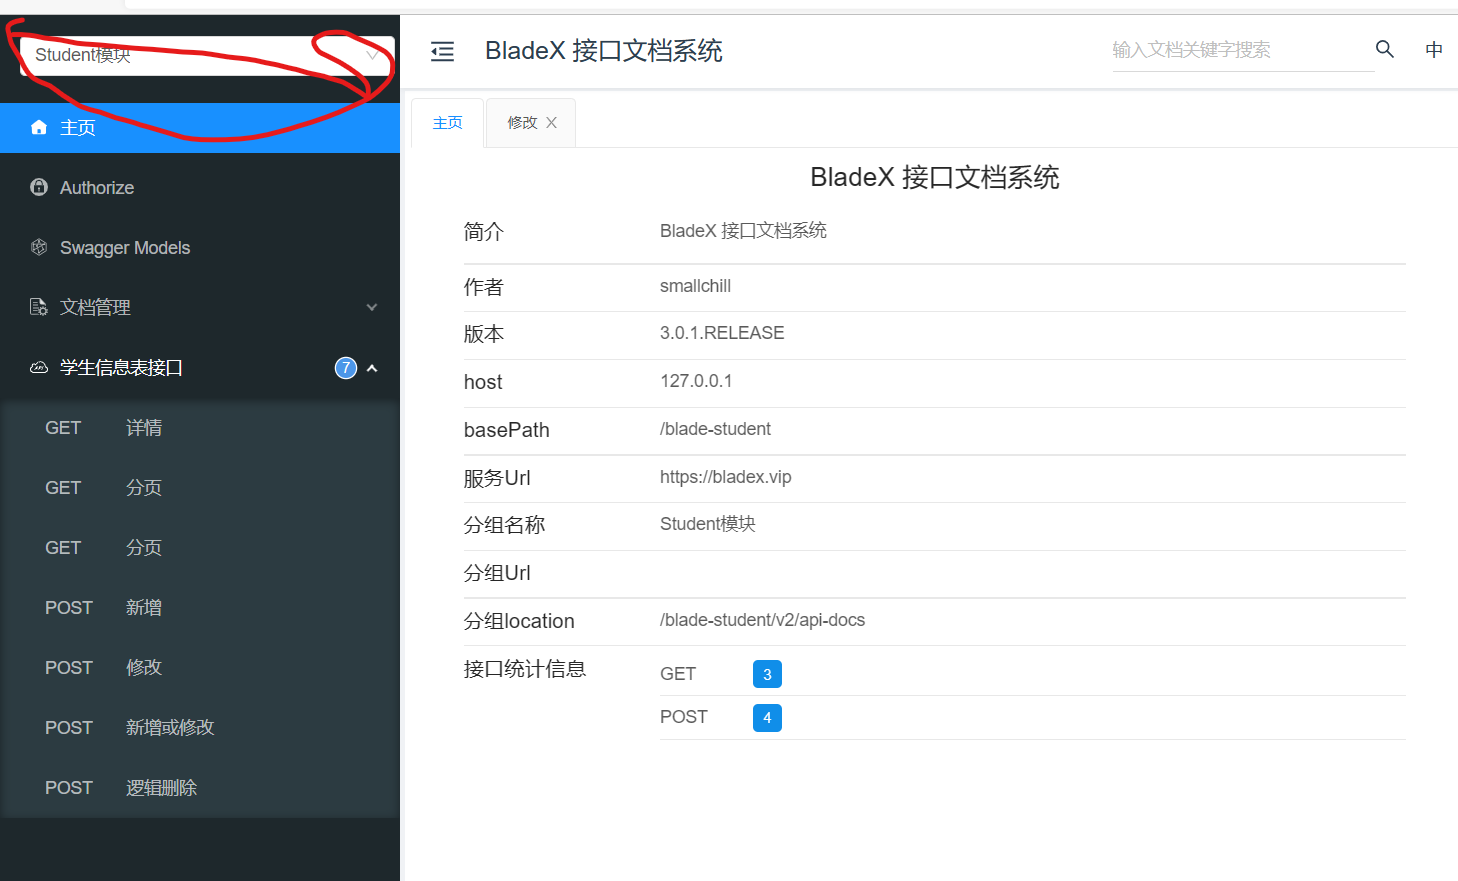
在模块中选择我们的student模块试下方法能否正常访问:点击新增方法的发送:
这样我们的微服务就创建完成了:


 272
272


 被折叠的 条评论
为什么被折叠?
被折叠的 条评论
为什么被折叠?
 到【灌水乐园】发言


