


踩坑指南之只耽误我一个人
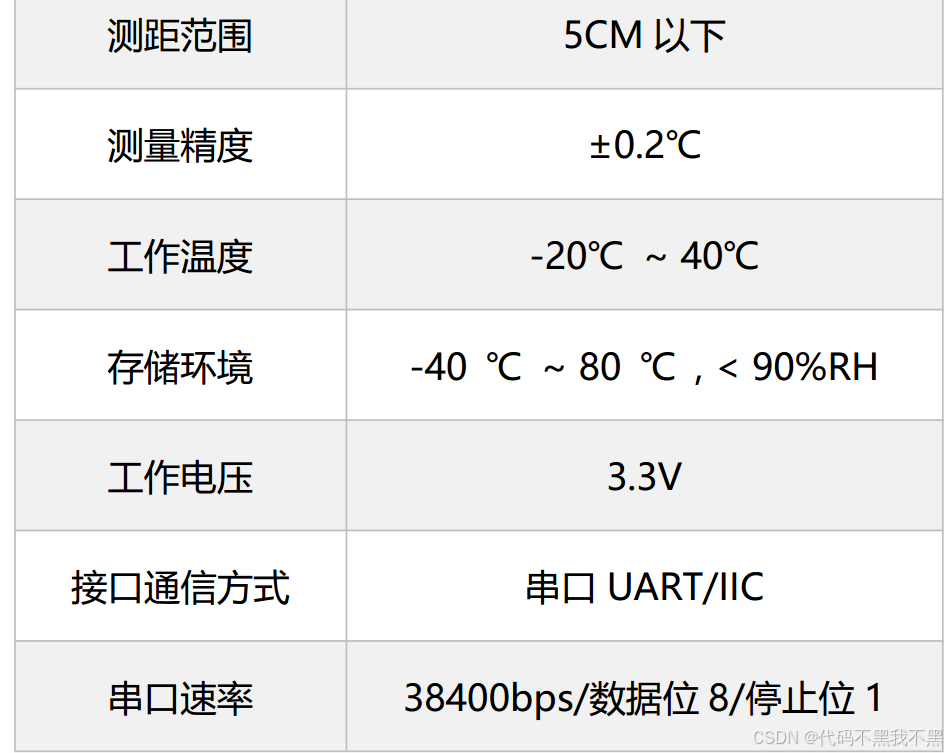
1、模块介绍
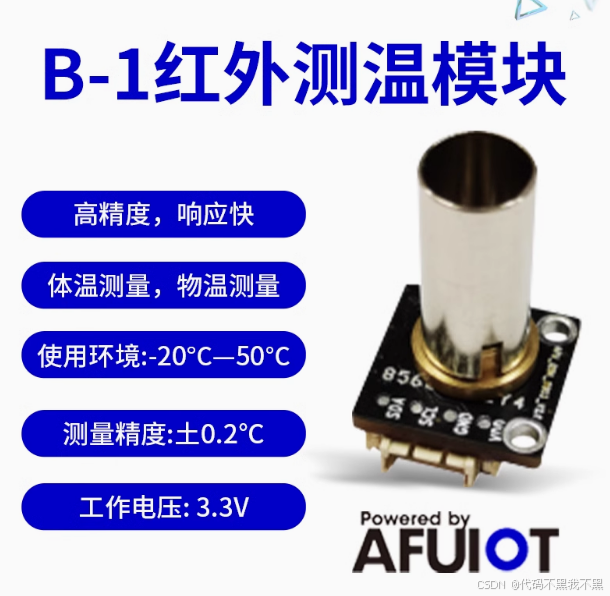
毕设需求里有红外测温的功能需求,然后上🍑宝买了一个这个模块。捯饬两天半,把这两天半自己遇到的坑完全给大家避开,让大家直接使用人体测温功能。
2、操作明细:
这个模块十分特别,在五秒内发送指定数据帧之后才可以使用串口模式。我使用的串口模式。这一步十分重要,我大概分为三个步骤(此时仅仅需要CH340和红外测温模块):
1、将CH340的引脚与模块的各个接线相连接,并用胶带缠在一起保持固定形状方便接线。
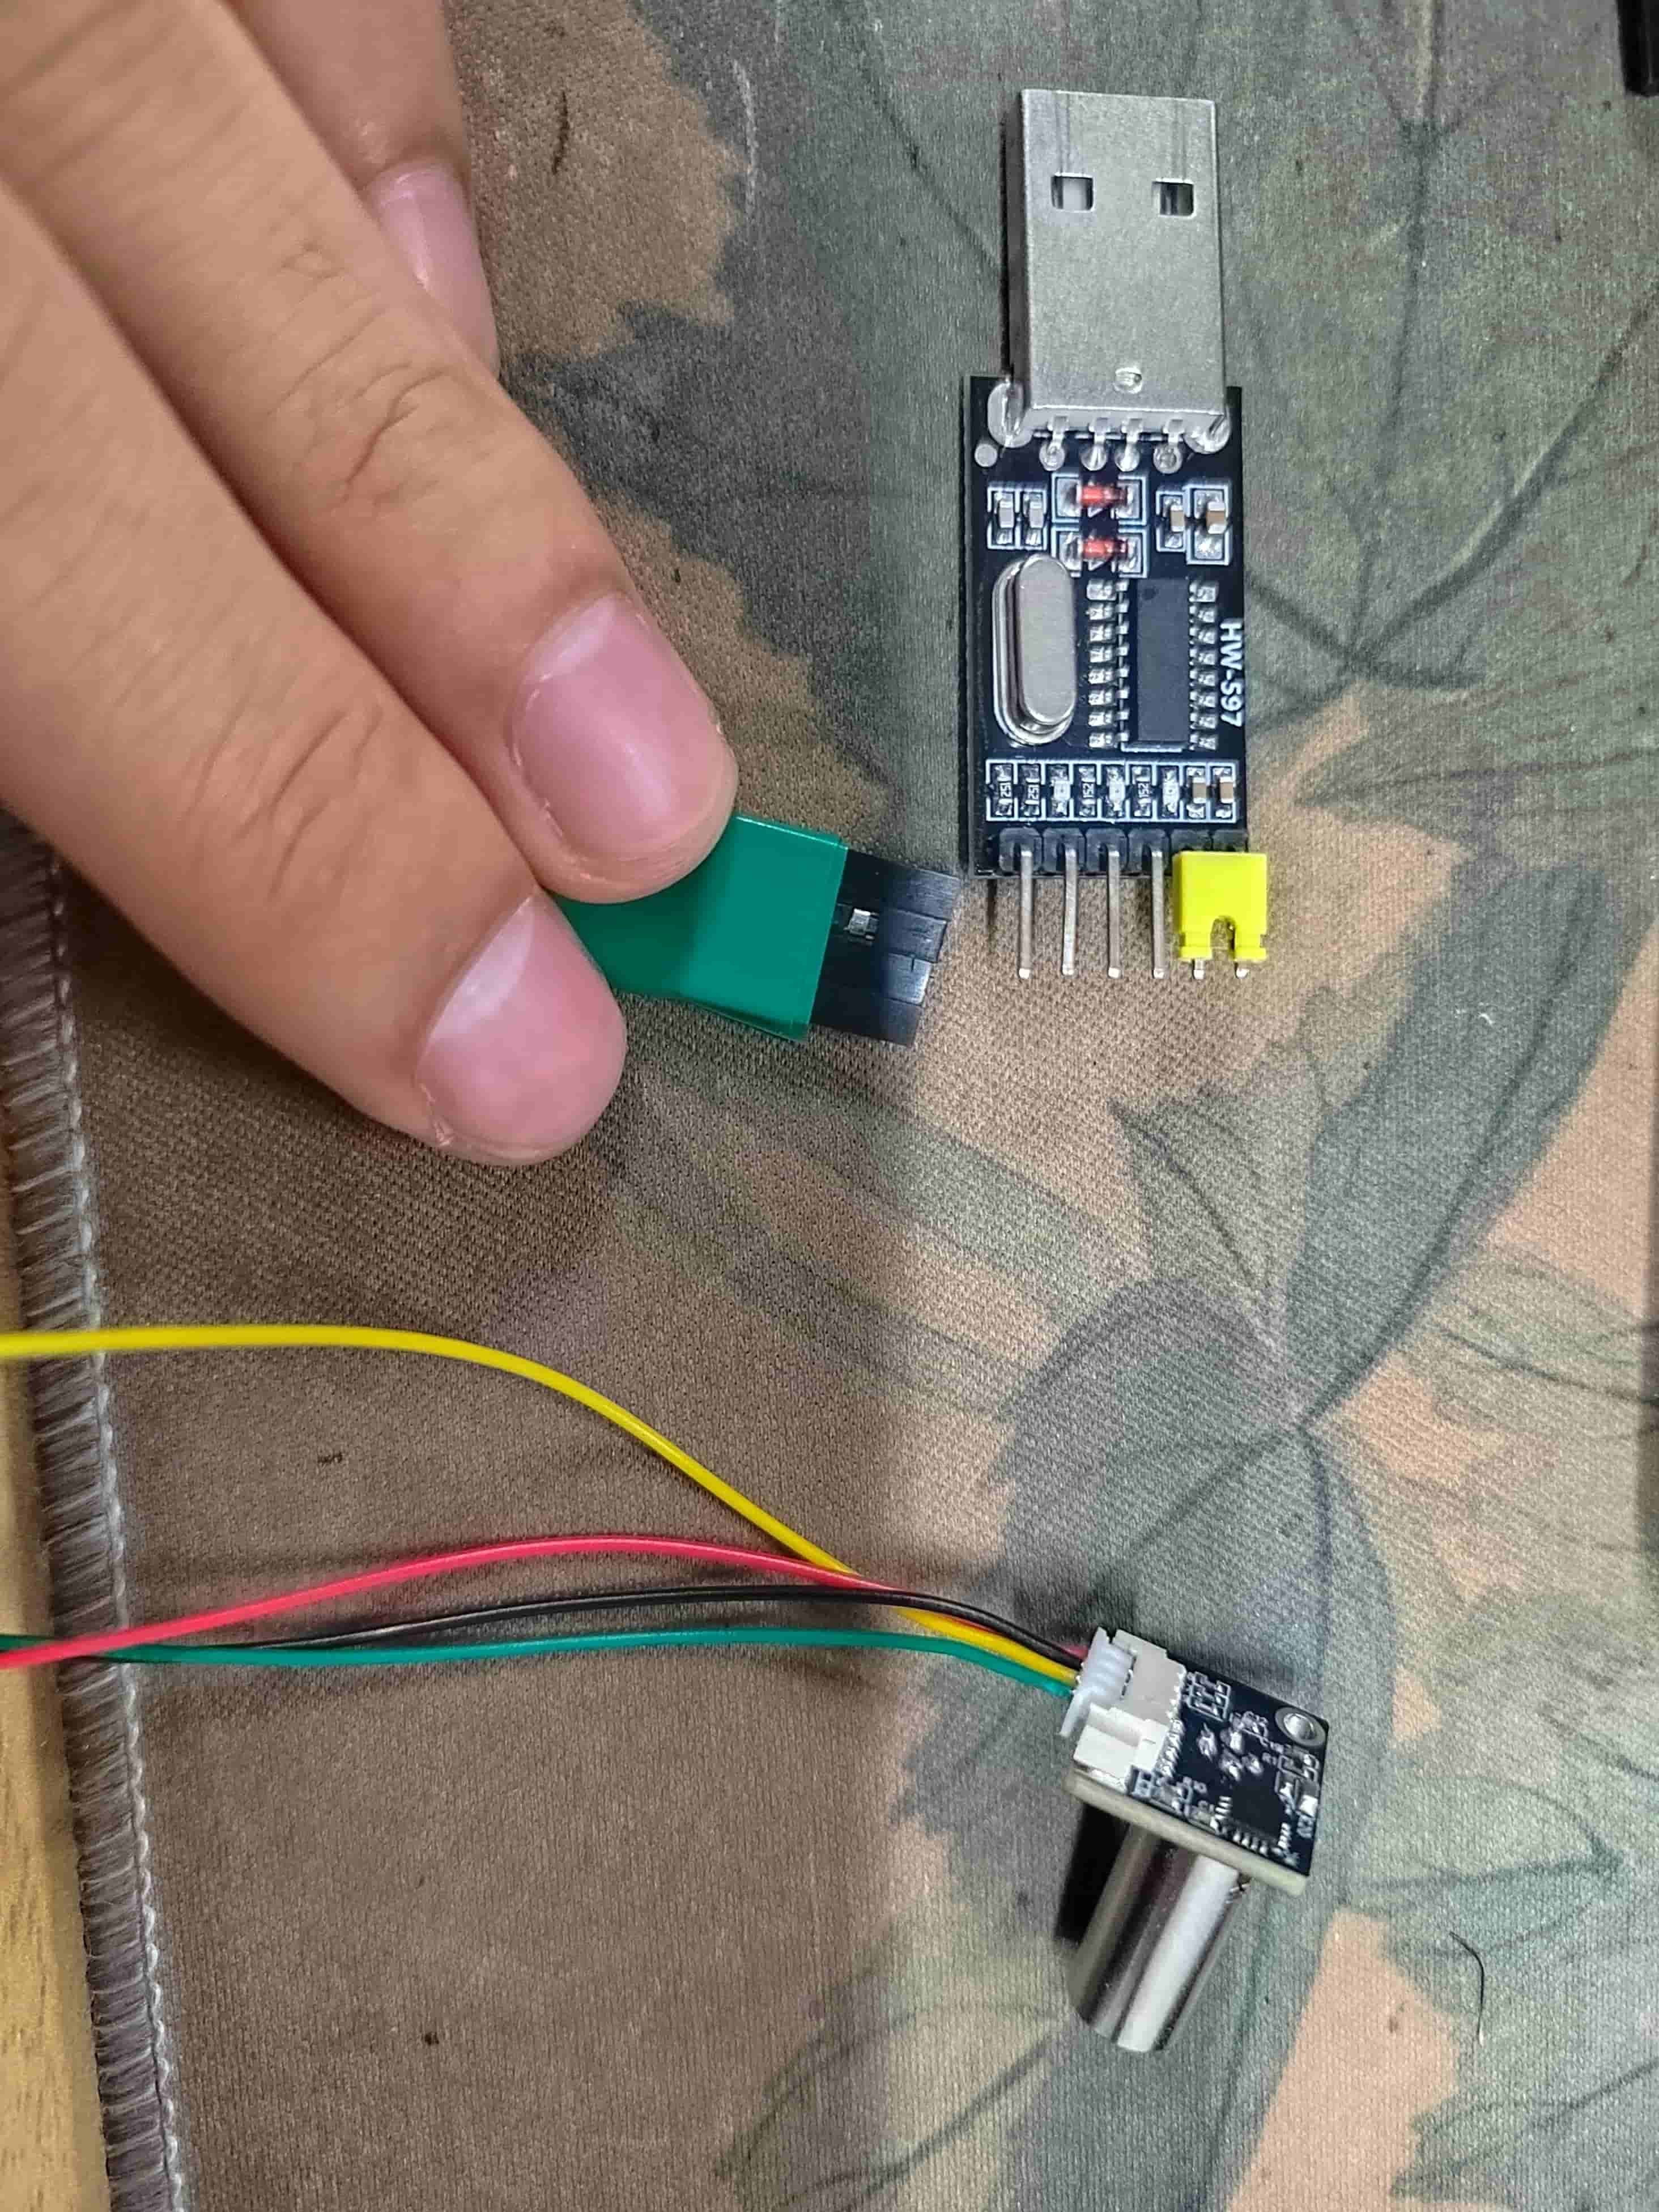
2、单独将ch340与电脑USB接口连接,在串口助手当中将这行命令提前写入输入框内,并检测、配置上图的串口要求。将发送、接收设置为HEX类型!!!
![]()
3、打开串口按键、点击循环发送,在循环发送报文期间将刚刚缠好的线插到ch340的接口。当出现下面的状态时,表示串口模式配置成功。(如果只显示发送数据,始终没有出现类似下面的返回信息,说明接线、接收方式、接线速度,出了点问题)。
如果串口助手出现这个现象,则说明接收方式不是hex模式,需要修改接收数据类型。
具体操作看下视频:(写入报文->点击循环发送->点击发送->将绑好的杜邦线接入CH340)
红外测温串口模式初始化操作
3、代码逻辑
不废话了,直接上代码!!!
#temp.h#
#ifndef _TEMP_H_
#define _TEMP_H_
#include "stm32f10x.h"
#define Usart3_Baud 	38400

void USART3_Init(uint32_t baudrate);	//USART3初始化

void Take_Temperature(void);			//温度打印函数

#endif
#temp.c#
#include "temp.h"
#include "usart1.h"
void USART3_Init(uint32_t baudrate) {
    GPIO_InitTypeDef GPIO_InitStructure;
    USART_InitTypeDef USART_InitStructure;

    // 使能 GPIOB 和 USART3 时钟
    RCC_APB2PeriphClockCmd(RCC_APB2Periph_GPIOB, ENABLE);
    RCC_APB1PeriphClockCmd(RCC_APB1Periph_USART3, ENABLE);

    // 配置 PB10 为 USART3_TX(复用推挽输出)
    GPIO_InitStructure.GPIO_Pin = GPIO_Pin_10;
    GPIO_InitStructure.GPIO_Mode = GPIO_Mode_AF_PP;  // 复用推挽输出
    GPIO_InitStructure.GPIO_Speed = GPIO_Speed_50MHz;
    GPIO_Init(GPIOB, &GPIO_InitStructure);

    // 配置 PB11 为 USART3_RX(浮空输入)
    GPIO_InitStructure.GPIO_Pin = GPIO_Pin_11;
    GPIO_InitStructure.GPIO_Mode = GPIO_Mode_IN_FLOATING;  // 浮空输入
    GPIO_Init(GPIOB, &GPIO_InitStructure);

    // 配置 USART3
    USART_InitStructure.USART_BaudRate = Usart3_Baud;          // 波特率
    USART_InitStructure.USART_WordLength = USART_WordLength_8b; // 8 位数据
    USART_InitStructure.USART_StopBits = USART_StopBits_1;  // 1 位停止位
    USART_InitStructure.USART_Parity = USART_Parity_No;     // 无校验位
    USART_InitStructure.USART_HardwareFlowControl = USART_HardwareFlowControl_None; // 无硬件流控制
    USART_InitStructure.USART_Mode = USART_Mode_Rx | USART_Mode_Tx; // 使能接收和发送
    USART_Init(USART3, &USART_InitStructure);

    // 使能 USART3
    USART_Cmd(USART3, ENABLE);
}


//单片机向传感器 发送命令函数
static void USART3_SendCommand(uint8_t *command, uint8_t length) {
    for (uint8_t i = 0; i < length; i++) {
        // 等待发送数据寄存器为空
        while (USART_GetFlagStatus(USART3, USART_FLAG_TXE) == RESET);
        // 发送数据
        USART_SendData(USART3, command[i]);
    }
    // 等待发送完成
    while (USART_GetFlagStatus(USART3, USART_FLAG_TC) == RESET);
}

//单片机接收传感器发送的数据
static uint8_t USART3_ReceiveData(uint8_t *buffer, uint8_t length) {
    for (uint8_t i = 0; i < length; i++) {
        // 等待接收到数据
        while (USART_GetFlagStatus(USART3, USART_FLAG_RXNE) == RESET);
        // 读取数据
        buffer[i] = USART_ReceiveData(USART3);
    }
    return length;  // 返回接收到的数据长度
}

uint8_t command[7] = {0xAA, 0xA5, 0x03, 0x01, 0x04, 0x55};  // 测温命令
float Body_Temp=0;
void Take_Temperature(void)
{
	uint8_t response[11]={0};  // 用于存储接收到的数据
	USART3_SendCommand(command,sizeof(command));			//发命令
	USART3_ReceiveData(response,sizeof(response));			//接收传感器发送的数据

	printf("Received Data2:");
	for (uint8_t i = 0; i < sizeof(response); i++) {

//		printf("response[%d]=0x%02X ",i, response[i]);	//体温对应字节-->>>response[5] 和response[6]
			Body_Temp=(uint16_t)response[5]<<8|response[6];
		}
		printf("\n");
		printf("体温为:%.2f℃\r\n",Body_Temp/10);
}
#main.c#
    #include "stm32f10x.h"
    #include "usart1.h"
    #include "temp.h"

   	Usart1_Config();//串口1初始化	printf重定向

	printf("USART1\r\n");

	USART3_Init(Usart3_Baud);//串口三初始化 测温

    while(1)
    {
        Take_Temperature();		//红外测温
    }


 990
990

 被折叠的 条评论
为什么被折叠?
被折叠的 条评论
为什么被折叠?
 到【灌水乐园】发言


