


Original Resource:
https://blog.csdn.net/lgq1558101442/article/details/89032234
主要内容
本文主要目的是利用slim中提供的现有模型对自己的数据进行分类训练。
环境要求
首先要检查自己的训练环境是否有以下工具(安装教程):
本文训练环境(安装版本不必一致,但各工具版本之间需匹配,版本匹配):
1、ubuntu16.04
2、cuda9.0
3、cudnn7.1.3
4、tensorflow 1.5.0
5、python3.6
6、anaconda 3.0
下载slim
git clone https://github.com/tensorflow/models/
- 1
数据转tfrecord格式
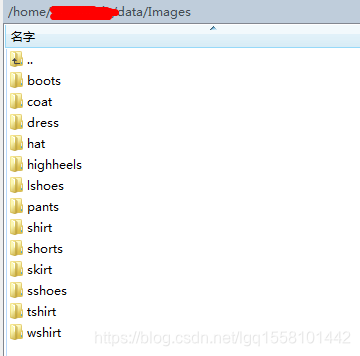
1、 首先,将数据按类别放入文件夹内,如图所示(本文为衣物分类数据为例)。
2、slim中只有三类数据,需要将我们的数据按照这三类的文件格式创建相应文件,从而可以将我们的数据利用slim中给的转换工具获得tfrecord格式。
(1)在slim/datasets下复制download_and_convert_flowers.py文件为download_and_convert_clothes.py,利用vi编辑器将文件中的以下信息根据自己的数据进行修改(本文采用自己的数据,无需下载数据,将下载数据的部分注释掉):

将文件中的字符flowers全部替换为clothes:
1)将函数 _get_filenames_and_classes中的flower_root = os.path.join(dataset_dir, 'flower_photos')改为
flower_root = os.path.join(dataset_dir, 'Images')
- 1
2)修改验证集图片的数量 _NUM_VALIDATION = 350 为 _NUM_VALIDATION = 1300
3)修改函数_get_dataset_filename中的output_filename = 'flowers_%s_%05d-of-%05d.tfrecord' 为 output_filename = 'clothes_%s_%05d-of-%05d.tfrecord'
4)如果生成tfrecord的数据时候不要删除掉原始数据,将clean_up_temporary_files(dataset_dir)注释掉。
(2)使用vi编辑器对download_and_convert_data.py文件进行以下修改:
1)在文件import部分加入from datasets import download_and_convert_clothes
2)在main函数中新增:
elif FLAGS.dataset_name =='clothes':
    download_and_convert_clothes.run(FLAGS.dataset_dir)
- 1
- 2
3、生成tfrecord数据:
在download_and_convert_data.py文件目录下执行以下指令:
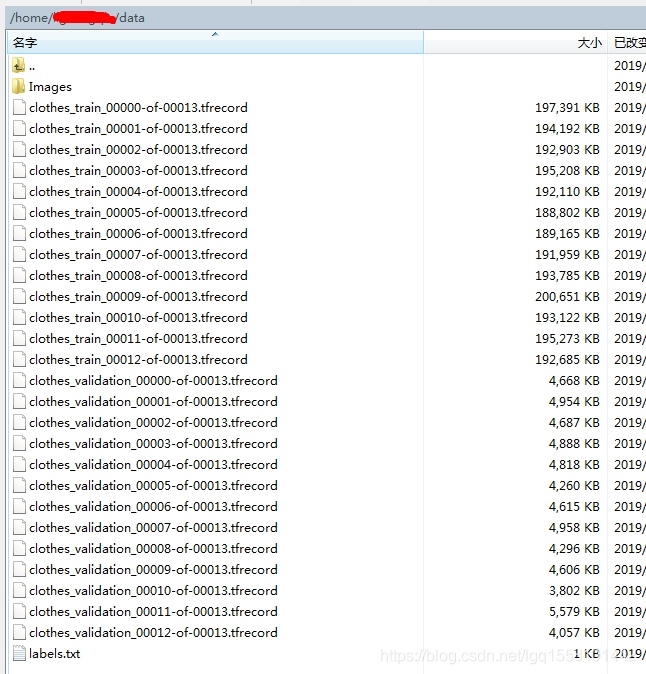
python download_and_convert_data.py --dataset_name=clothes --dataset_dir=../../data
- 1
训练
1、在slim/datasets/dataset_factory.py文件中加入我们的数据变量dataset_name==clothes:
from datasets import cifar10
from datasets import flowers
from datasets import imagenet
from datasets import mnist
from datasets import satellite
from datasets import clothes#新加入
datasets_map = {
    'cifar10': cifar10,
    'flowers': flowers,
    'imagenet': imagenet,
    'mnist': mnist,
    'satellite': satellite,
    'clothes': clothes,//新加入
}
- 1
- 2
- 3
- 4
- 5
- 6
- 7
- 8
- 9
- 10
- 11
- 12
- 13
- 14
2、复制flower.py文件为clothes.py文件,并进行一下修改:
(1)将文件中的字符flowers全部替换为clothes,这样就修改_FILE_PATTERN = 'flowers_%s_*.tfrecord'为_FILE_PATTERN = 'clothes_%s_*.tfrecord'
(2)修改训练集和验证集的图片数量 SPLITS_TO_SIZES = {'train': 50000, 'validation': 1300}
(3)修改类目数量 _NUM_CLASSES = 13
(4) 修改 _ITEMS_TO_DESCRIPTIONS = { 'image': 'A color image of varying size.', 'label': 'A single integer between 0 and 12', }
(5)修改get_split函数中的图片解析格式'image/format': tf.FixedLenFeature((), tf.string, default_value='png')修改为'image/format': tf.FixedLenFeature((), tf.string, default_value='jpg')
3、下载预训练权重文件:
wget http://download.tensorflow.org/models/inception_resnet_v2_2016_08_30.tar.gz
tar zxf inception_resnet_v2_2016_08_30.tar.gz
- 1
- 2
4、训练指令
python train_image_classifier.py \
--train_dir=./model/inception_resnet_v2_model \   #训练过程中用于保存ckpt、index、meta文件的目录
--dataset_name=clothes
--dataset_split_name=train
--dataset_dir=../../data \   #存放TFRecords文件的目录
--model_name=inception_resnet_v2  \   #网络的名称
--checkpoint_path=./model/inception_resnet_v2_2016_08_30/inception_resnet_v2_2016_08_30.ckpt  \  #预训练权重文件
--checkpoint_exclude_scopes=InceptionResnetV2/Logits,InceptionResnetV2/AuxLogits   \
--trainable_scopes=InceptionResnetV2/Logits,InceptionResnetV2/AuxLogits
--clone_on_cpu=False \
--max_number_of_steps=10000 \
--batch_size=32 \
--learning_rate=0.01 \
---------------------
原文:https://blog.csdn.net/shiheyingzhe/article/details/82284853
- 1
- 2
- 3
- 4
- 5
- 6
- 7
- 8
- 9
- 10
- 11
- 12
- 13
- 14
- 15
测试
python eval_image_classifier.py \
--checkpoint_path=./model/inception_resnet_v2_model \
--eval_dir=./model/eval_result \
--dataset_name=clothes \
--dataset_split_name=validation \
--dataset_dir=../../data \
--model_name=inception_resnet_v2  \
---------------------
原文:https://blog.csdn.net/shiheyingzhe/article/details/82284853
- 1
- 2
- 3
- 4
- 5
- 6
- 7
- 8
- 9
参考这个文章
使用TensorFlow slim文件夹当中的inception_resnet_v2网络训练自己的分类数据集
        </div>
					<link href="https://csdnimg.cn/release/phoenix/mdeditor/markdown_views-258a4616f7.css" rel="stylesheet">
                  </div>


 2768
2768


 被折叠的 条评论
为什么被折叠?
被折叠的 条评论
为什么被折叠?
 到【灌水乐园】发言


