


转载自:http://blog.csdn.net/q4878802/article/details/46960165
系统默认的Dialog默认是背景不透明的,有时候项目需要Dialog为圆角透明,这个时候的解决方案就是---重写Dialog
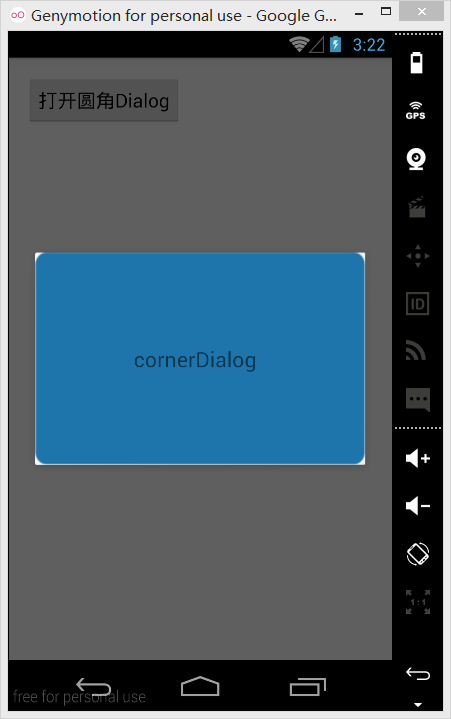
- 系统样式
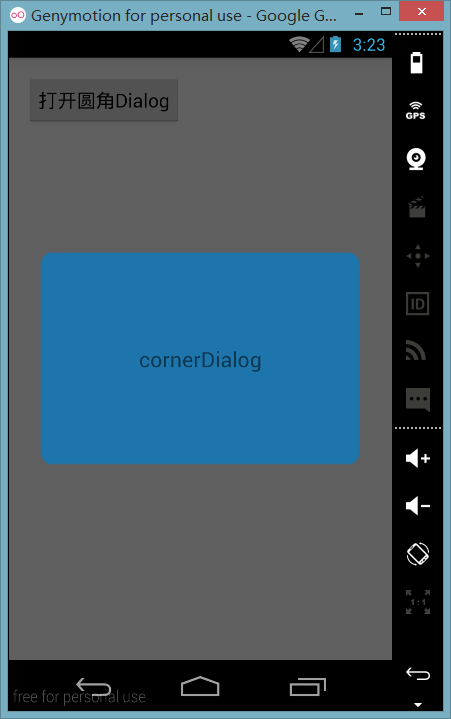
- 自定义以后的样式
自定义一个Dialog,继承Dialog
    package ktalk.kong.qingwei.kcornerdialog;

    import android.app.Dialog;
    import android.content.Context;
    import android.view.Gravity;
    import android.view.View;
    import android.view.Window;
    import android.view.WindowManager;

    public class KCornerDialog extends Dialog {

    private static int default_width = 160; // 默认宽度
    private static int default_height = 120;// 默认高度

    private boolean noBackPressed = false;

    public KCornerDialog(Context context, View layout, int style) {
        this(context, default_width, default_height, layout, style);
    }

    public KCornerDialog(Context context, int width, int height, View layout, int style) {
        super(context, style);
        // 加载布局
        setContentView(layout);
        // 设置Dialog参数
        Window window = getWindow();
        WindowManager.LayoutParams params = window.getAttributes();
        params.gravity = Gravity.CENTER;
        window.setAttributes(params);
    }

    /**
     * 设置返回键
     *
     * @param b
     */
    public void setBackPressed(boolean b) {
        noBackPressed = b;
    }

    @Override
    public void onBackPressed() {
        if (!noBackPressed) {
            super.onBackPressed();
        }
    }
    }
- 1
- 2
- 3
- 4
- 5
- 6
- 7
- 8
- 9
- 10
- 11
- 12
- 13
- 14
- 15
- 16
- 17
- 18
- 19
- 20
- 21
- 22
- 23
- 24
- 25
- 26
- 27
- 28
- 29
- 30
- 31
- 32
- 33
- 34
- 35
- 36
- 37
- 38
- 39
- 40
- 41
- 42
- 43
- 44
- 45
- 46
-
说明
public KCornerDialog(Context context, int width, int height, View layout, int style)
这个构造方法的最后一个参数,是一个style,需要我们自己去设定Dialog样式,我们的需求是,设置一个圆角的背景图片后,让Dialog是圆角透明的
Style
在styles.xml文件中加入样式
res->values->styles.xml
<style name="KCornerDialog" parent="@android:style/Theme.Dialog">
        <item name="android:windowFrame">@null</item>
        <item name="android:windowIsFloating">true</item>
        <item name="android:windowIsTranslucent">true</item>
        <item name="android:windowNoTitle">true</item>
        <item name="android:background">@android:color/transparent</item>
        <item name="android:windowBackground">@android:color/transparent</item>
        <item name="android:backgroundDimEnabled">true</item>
        <item name="android:backgroundDimAmount">0.6</item>
</style>- 到这里,自定义的圆角Dialog就写完了,下面介绍下使用
自定义Dialog的使用
  /**
     * 显示自定义圆角Dialog
     */
    private void showCornerDialog() {
        Toast.makeText(this, "显示自定义圆角Dialog", Toast.LENGTH_SHORT).show();
        View view = View.inflate(this, R.layout.corner_dialog_view, null);
        KCornerDialog kCornerDialog = new KCornerDialog(this, 0, 0, view, R.style.KCornerDialog);
        kCornerDialog.show();
    }
- 1
- 2
- 3
- 4
- 5
- 6
- 最后一个参数 R.style.KCornerDialog 就是我们加入的Dialog样式
有的Dialog可能需要禁掉返回键,例如有时候需要强制用户执行某些操作,思路还是一样,在自定义的Dialog下控制onBackPressed就行了,这里已经写好了
去掉自定义的Dialog 的布局的最上面的蓝色的title线
由于公司的APP的风格要改变 原来是蓝色的主调,现在 改为绿色的 所以要把 之前的 对话框的风格也要改掉,而之前的对话框都是用的系统的自带的。现在的设计图上设计的风格 使用系统的 无法实现。所以想到去自己实现。
首先 ,先说下 Android中的对话框分为两种 Dialog 和AlertDialog 两个类,现在 官方 推荐的是使用AlertDialog 。
但是有4个问题。
1,如果对话框中有Edittext控件 使用AlertDialog 弹出的话会导致 Edittext无法获得焦点,导致点击Edittext时键盘不会弹出。
解决的办法是 在设置dialog之前
Context context = dialog.getContext();
int divierId = context.getResources().getIdentifier(“android:id/titleDivider”, null, null);
View divider = dialog.findViewById(divierId);
divider.setBackgroundColor(color);
这样设置了那条官方的线 为透明颜色。就不见了。
解决Edittext 的焦点问题应该还有其他的方法。我目前是用的这个。
2,如果不是 在对话框的内有Edittext 的。也就是一般的 上面一个title 下面两个按钮一个 ”确定“ 一个“取消” 按钮的就推荐使用AlertDialog 然后自定义布局。 也就改变了它的风格。
但是还有一个问题 在最底层的布局。 要给它设置背景,因为它默认的背景为透明的颜色。
3,如果使用AlertDialog 的类的对话框。不管是使用系统的AlertDialog 还是自已定义的都要 注意一点就是 在dialog对象的设置布局即
setContentView(mView);之前要dialog.show(); 而不是在设置完了布局再show.
View mView = LayoutInflater.from(getContext()).inflate(R.layout.dialog_normal_layout, null);
title = (TextView) mView.findViewById(R.id.title);
editText = (EditText) mView.findViewById(R.id.number);
positiveButton = (Button) mView.findViewById(R.id.positiveButton);
negativeButton = (Button) mView.findViewById(R.id.negativeButton);
setContentView(mView);
4,主要是因为Dialog的自定义布局以后还会存在上面空白的一大块的 title所以尽量使用
AlertDialog。
5, 在使用Dialog 时的时候,可以没有里面布局有Edittext的无法获得焦点问题。
但是Dialog,默认是有个title的 怎么去掉title呢?可以在你自定义 布局。设置之前,设置没有无title的窗口。
requestWindowFeature(Window.FEATURE_NO_TITLE);(这句设置没有title)。
setContentView(R.layout.back_dialog_validcode);


 865
865

 被折叠的 条评论
为什么被折叠?
被折叠的 条评论
为什么被折叠?
 到【灌水乐园】发言


