


 该文详细介绍了如何在CentOS7系统中卸载和安装Nginx,包括处理SSL模块问题、添加Lua支持以及将Nginx配置为系统服务,以便于管理和启动。
参考:https://blog.csdn.net/Siebert_Angers/article/details/126960866?ops_request_misc=%257B%2522request%255Fid%2522%253A%2522168993007616800215039501%2522%252C%2522scm%2522%253A%252220140713.130102334.pc%255Fall.%2522%257D&request_id=168993007616800215039501&biz_id=0&utm_medium=distribute.pc_search_result.none-task-blog-2allfirst_rank_ecpm_v1~rank_v31_ecpm-5-126960866-null-null.142v90control_2,239v3control&utm_term=centos7%20%E5%AE%89%E8%A3%85nginx%20%E5%88%B0%E6%8C%87%E5%AE%9A%E8%B7%AF%E5%BE%84&spm=1018.2226.3001.4187
nginx启动报 ssl parameter requires ngx_http_ssl_module
https://blog.csdn.net/yuan_618859/article/details/124918931
1.查看&卸载
(1) 卸载Nginx需要命令:
1.查看 Nginx 进程
ps aux | grep nginx

2.启动Nginx的目标目录
cd /usr/local/nginx/sbin

3.关闭Nginx
./nginx -s stop

4.查看与Nginx有关的文件夹
find / -name nginx

5.删除与Nginx有关的文件
命令1:rm -rf file /usr/local/nginx*
命令2:find / -name nginx*

6.卸载Nginx的依赖
yum remove nginx
(2) 安装Nginx需要命令总结:
查看 C++ 环境是否安装(查看版本号)
gcc -v

安装 C++ 环境
yum install gcc-c++ -y

安装 ssl
yum install -y openssl openssl-devel

查看 zlib 是否安装
cat /usr/lib64/pkgconfig/zlib.pc

安装 zlib
yum install -y zlib zlib-devel

查看 pcre 是否安装(查版本号)
pcre-config --version

安装 pcre
yum install -y pcre pcre-devel
二、可选择:安装lua支持(LuaJIT、ngx_devel_kit、lua-nginx-module)
    1、安装LuaJIT

    LuaJIT是Lua的即时编译器,使用C语言编写,兼容标准Lua 5.1。LuaJIT的运行效率比标准的Lua高出数倍(因为JIT技术),完全媲美使用C/C++代码。

cd /usr/local/soft  #(下载到/usr/local目录中)
sudo wget -c http://luajit.org/download/LuaJIT-2-2.1.tar.gz
sudo tar -xzvf LuaJIT-2.0.4.tar.gz
cd LuaJIT-2.0.4
sudo make install PREFIX=/usr/local/luajit
     2、下载ngx_devel_kit

    ngx_devel_kit:Nginx Devel Kit,简称NDK,是一种Nginx模块,旨在扩展Nginx webserver的核心功能,可以作为其它Nginx模块的基础。

cd /usr/local/soft  #(下载到/usr/local目录中)
sudo wget https://github.com/simpl/ngx_devel_kit/archive/v0.3.0.tar.gz
sudo tar -xzvf v0.3.0.tar.gz
    3、下载lua-nginx-module

    lua-nginx-module也是一个Nginx模块,它将Lua的功能嵌入到Nginx HTTP Server中。同时,这个模块是OpenResty的核心组件(OpenResty是一个通过Lua扩展NGINX实现的可伸缩的Web平台)。

cd /usr/local/soft  #(下载到/usr/local目录中)
sudo wget https://github.com/openresty/lua-nginx-module/archive/v0.10.9.tar.gz
sudo tar -xzvf v0.10.8.tar.gz

4、yum install -y lua-devel
避免报错:  ./configure: error: ngx_http_lua_module requires the Lua library
下载 Nginx 地址
解压 Nginx 压缩包
tar -xvf nginx-1.18.0.tar.gz

安装 Nginx
进入目录命令
cd nginx-1.18.0

执行命令
./configure

// 指定的安装目录
./configure --prefix=/usr/local/nginx --with-http_stub_status_module --with-http_ssl_module

// 避免报错:  加上几个   --with 选项
-- nginx: [emerg] the "http2" parameter requires ngx_http_v2_module in /usr/local/nginx/conf/conf.d/project_manager.conf:4


./configure --prefix=/usr/local/nginx --with-http_stub_status_module --with-http_ssl_module --with-http_v2_module --with-http_ssl_module --with-http_realip_module --with-http_addition_module --with-http_sub_module --with-http_dav_module --with-http_flv_module --with-http_mp4_module --with-http_gunzip_module --with-http_gzip_static_module --with-http_random_index_module --with-http_secure_link_module --with-http_stub_status_module --with-http_auth_request_module --add-module=/usr/local/soft/ngx_devel_kit-0.3.0 --add-module=/usr/local/soft/lua-nginx-module-0.10.8
可能报错: nginx报错:./configure: error: SSL modules require the OpenSSL library. You can either
#说明未安装Openssl
#可通过yum安装
yum install openssl openssl-devel -y
执行make命令
make

执行make install命令
make install

Nginx 服务操作
启动
命令1:cd /usr/local/nginx/sbin
命令2:./nginx

关闭
命令1:cd /usr/local/nginx/sbin
命令2:./nginx -s stop

重启
命令1:cd /usr/local/nginx/sbin
命令2:./nginx -s reload

端口号操作
查询开启的所有端口
firewall-cmd --list-port

设置80端口开启
firewall-cmd --zone=public --add-port=80/tcp --permanent

验证80端口是否开启成功 (单个端口查询)
firewall-cmd --zone=public --query-port=80/tcp

设置80端口关闭
firewall-cmd --zone=public --remove-port=80/tcp --permanent
防火墙操作
检查防火墙是否开启
systemctl status firewalld

开机自启防火墙
systemctl enable firewalld

开机禁止自启防火墙
systemctl disable firewalld

启动
systemctl start firewalld

关闭
systemctl stop firewalld

重启
firewall-cmd --reload
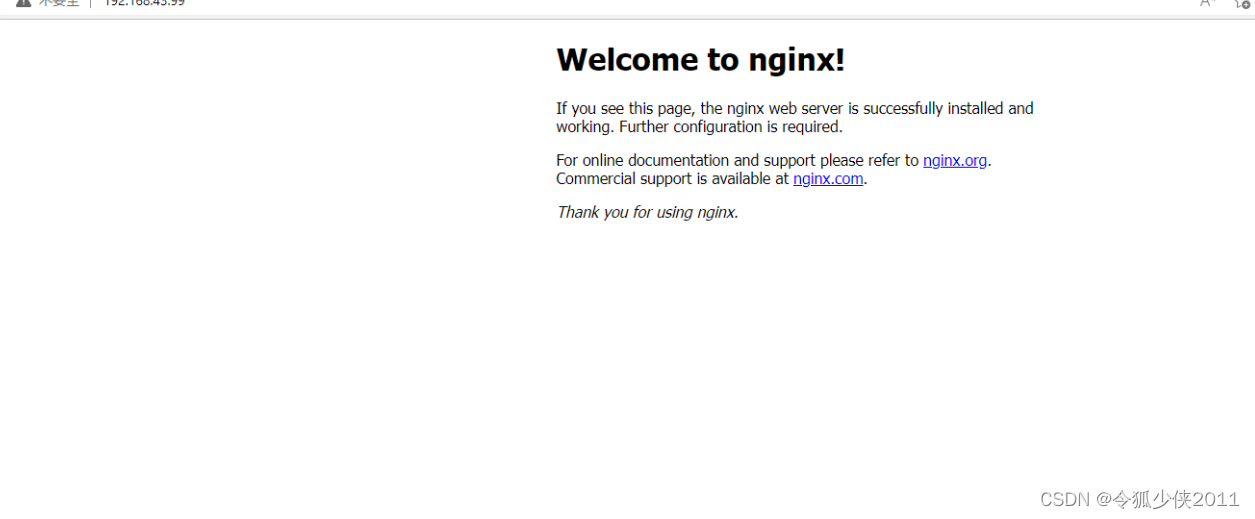
接下来我们就可以使用虚拟机ip地址访问ngxin的默认页面(占用80端口)
可以看到nginx的默认页面已经呈现在浏览器
(5) 一些常用命令
$ ./nginx					    // 启动nginx
$ ./nginx -s stop			 	// 停止ngxin
$ ./nginx -s quit 			    // 优雅的关闭nginx,在退出前完成已经接受的连接请求
$ ./nginx -s reload 			// 重新加载ngxin配置
$ ./nginx -s reopen             // 打开nginx日志文件
$ ./nginx -t                    // 检测配置文件是否有语法错误
$ ./nginx -v                    // 显示版本信息
$ ./nginx -c [配置文件路径]      // 指定配置文件
$  killall nginx                // 杀死所有nginx的进程
$ ps -aux | grep nginx          // 查看nginx的进程
版权声明:本文为博主原创文章,遵循 CC 4.0 BY-SA 版权协议,转载请附上原文出处链接和本声明。
原文链接:https://blog.csdn.net/Siebert_Angers/article/details/126960866
3.将nginx安装成系统服务
上面我们只是将nginx启动,当我们重启虚拟机后nginx将会是关闭状态,且为了简化我们启动nginx的步骤,我们可以将nginx安装成系统服务这样不仅可以设置开机启动,而且给我们操作nginx带来了极大的便利。
(1) 创建服务脚本
使用以下命令在/usr/lib/systemd/system下创建并编辑nginx的服务脚本
vim /usr/lib/systemd/system/nginx.service
将以下内容添加到刚刚创建好的脚本中 注意路径
[Unit]
Description=nginx - web server
After=network.target remote-fs.target nss-lookup.target

[Service]
Type=forking
PIDFile=/usr/local/nginx/logs/nginx.pid
ExecStartPre=/usr/local/nginx/sbin/nginx -t -c /usr/local/nginx/conf/nginx.conf
ExecStart=/usr/local/nginx/sbin/nginx -c /usr/local/nginx/conf/nginx.conf
ExecReload=/usr/local/nginx/sbin/nginx -s reload
ExecStop=/usr/local/nginx/sbin/nginx -s stop
ExecQuit=/usr/local/nginx/sbin/nginx -s quit
PrivateTmp=true

[Install]
WantedBy=multi-user.target
添加完后建议执行以下命令设置一下配置文件的权限
$ chmod 755 /usr/lib/systemd/system/nginx.service
修改好后执行以下命令重新加载一下系统服务
$ systemctl daemon-reload
使用以下命令启动我们刚刚安装好的nginx服务
$ systemctl start nginx.service
将创建好的服务设置为开机启动
$ systemctl enable nginx.service
(2) 附上systemctl 常用命令
$ systemctl start nginx.service // 启动nginx服务
$ systemctl stop nginx.service  // 停止nginx服务
$ systemctl restart nginx.service // 重启nginx服务
$ systemctl reload nginx.service // 重载nginx服务 (推荐使用)
$ systemctl status nginx.service  // 查看nginx状态
$ systemctl enable nginx.service // 设置为开机启动nginx服务


 877
877

 被折叠的 条评论
为什么被折叠?
被折叠的 条评论
为什么被折叠?
 到【灌水乐园】发言


