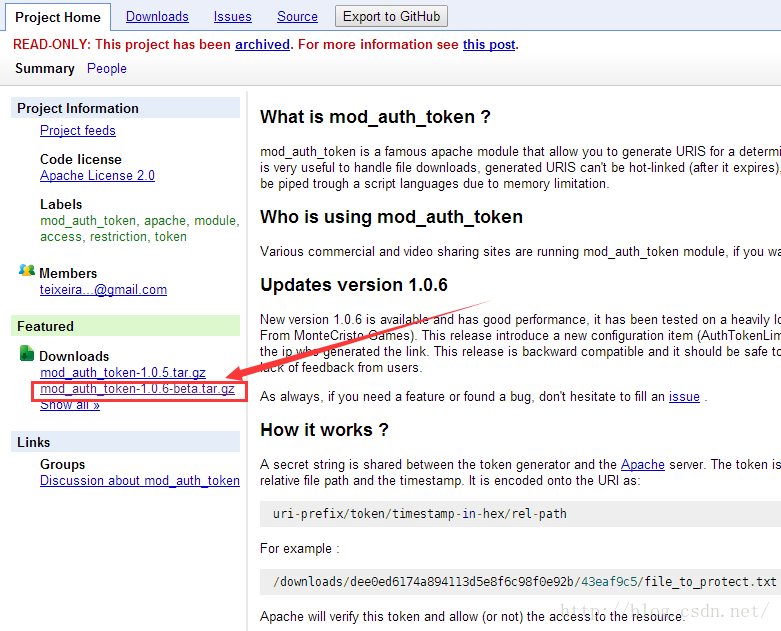
Linux-CentOS XAMPP Apache 防盗链模块mod_auth_token的安装配置

【1】下载

https://code.google.com/p/mod-auth-token/


【2】编译

[plain]  view plain  copy
 print ?
  1. rm -f configure  
  2. autoreconf -fi  
  3. automake -f  
  4. ./configure  
  5. make  
【3】配置httpd.conf

是否添加

[plain]  view plain  copy
 print ?
  1. LoadModule auth_token_module  modules/mod_auth_token.so  
【4】配置httpd-vhosts.conf

假名preview指向mnt。

[plain]  view plain  copy
 print ?
  1. Alias /preview "/mnt"  
  2. <Location /preview/>   
  3.    AuthTokenSecret      "s3cr3tstr1ng"   
  4.    AuthTokenPrefix       /preview/  
  5.    AuthTokenTimeout     3600   
  6.    AuthTokenLimitByIp    on   
  7. </Location>  
【5】编码

传入系统文件的path,返回http协议的防盗链path

[php]  view plain  copy
 print ?
  1. public  static function get_auth_token_URI($sRelPath)  
  2.     {  
  3.         $secret        = "s3cr3tstr1ng";     // Same as AuthTokenSecret  
  4.         $protectedPath = "/preview/";        // Same as AuthTokenPrefix  
  5.         $ipLimitation  = true;               // Same as AuthTokenLimitByIp  
  6.         $hexTime       = dechex(time());     // Time in Hexadecimal  
  7.    
  8.         //  /mnt/volume1/2015/12/2/18/3/24637b61-a010-49cc-8c2d-6a0005abf2e5    
  9.         $fileName      = substr($sRelPath, 4); // The file to access  
  10.    
  11.         // Let's generate the token depending if we set AuthTokenLimitByIp  
  12.         if ($ipLimitation)  
  13.         {  
  14.             $token = md5($secret . $fileName . $hexTime . $_SERVER['REMOTE_ADDR']);  
  15.         }  
  16.         else  
  17.         {  
  18.             $token = md5($secret . $fileName$hexTime);  
  19.         }  
  20.    
  21.         // We build the url  
  22.         $httpOrigin = null;  
  23.         if(isset($_SERVER['HTTP_ORIGIN'] ))  
  24.             $httpOrigin = $_SERVER['HTTP_ORIGIN'];  
  25.         else  
  26.             $httpOrigin = 'http://' . $_SERVER['HTTP_HOST'];  
  27.    
  28.         $url = $httpOrigin . $protectedPath . $token"/" . $hexTime . $fileName;  
  29.         return $url;  
  30.     }  

转自 http://blog.csdn.net/aoshilang2249/article/details/50301505

  • 0
    点赞
  • 0
    收藏
    觉得还不错? 一键收藏
  • 0
    评论
CentOS 7.9 上配置 Apache 模块 mod_auth_external 的步骤如下: 1. 安装必要的软件包 使用以下命令安装必要的软件包: ``` sudo yum install httpd httpd-devel mod_ssl gcc ``` 2. 下载 mod_auth_external 模块mod_auth_external 的官方网站(http://code.google.com/p/mod-auth-external/)下载 mod_auth_external 模块。 3. 编译和安装模块 解压下载的 mod_auth_external 模块,进入解压后的目录,使用以下命令编译和安装模块: ``` sudo apxs -i -a -c mod_authnz_external.c sudo apxs -i -a -c mod_authz_unixgroup.c ``` 4. 配置 Apache 打开 Apache 的主配置文件 /etc/httpd/conf/httpd.conf,在文件末尾添加以下内容: ``` LoadModule authnz_external_module modules/mod_authnz_external.so LoadModule authz_unixgroup_module modules/mod_authz_unixgroup.so AddExternalAuth pwauth /usr/sbin/pwauth SetExternalAuthMethod pwauth pipe <Directory "/var/www/html"> AuthType Basic AuthName "Restricted Content" AuthBasicProvider external AuthExternal pwauth Require valid-user </Directory> ``` 在上面的配置中,我们将 mod_auth_external 模块加载到 Apache 中,并设置了一个外部认证的命令 pwauth,该命令将验证用户的用户名和密码。我们还配置了一个受限内容的目录 /var/www/html,该目录需要基本身份验证,并使用外部认证提供程序 pwauth 进行认证。 5. 重启 Apache 使用以下命令重启 Apache: ``` sudo systemctl restart httpd ``` 完成以上步骤后,您的 Apache 就已经配置mod_auth_external 模块,并且可以使用外部认证来验证用户身份了。

“相关推荐”对你有帮助么?

  • 非常没帮助
  • 没帮助
  • 一般
  • 有帮助
  • 非常有帮助
提交
评论
添加红包

请填写红包祝福语或标题

红包个数最小为10个

红包金额最低5元

当前余额3.43前往充值 >
需支付:10.00
成就一亿技术人!
领取后你会自动成为博主和红包主的粉丝 规则
hope_wisdom
发出的红包
实付
使用余额支付
点击重新获取
扫码支付
钱包余额 0

抵扣说明:

1.余额是钱包充值的虚拟货币,按照1:1的比例进行支付金额的抵扣。
2.余额无法直接购买下载,可以购买VIP、付费专栏及课程。

余额充值