


- Add a user with all user directories already in place (thereby avoiding “Could not update .ICEauthority var/lib/gdm3/.ICEauthority” or any error containing .ICEauthority or permission in general.
- Add user to sudo group to allow him to use root commands. You can also add user to ‘lpadmin’ group to allow printing for Canon or HP and such. See Linux printing guide
- Change default shell from chsh to bash. Or any shell like Bourne Shell (sh), Bourne-Again Shell (bash), C Shell (csh) or Korn shell (ksh) etc.
- Login as that user and demonstrate there were no errors.
- Be able to use sudo and show groups affinity.
- Delete that user safely.
Benefits of Standard User in Kali:
Few benefits you have as non-root or standard user in Kali
- Install and run Google Chrome
- Install and run Gnome User and Groups manager (Install gnome-system-tools)
- Use Kali as Primary Operating System without worrying about breaking it all the time.
Now let’s move onto actual guide.
Add user in Kali Linux:
- First of all let’s confirm which version of Linux and Kernel I’m running.In command prompt type in

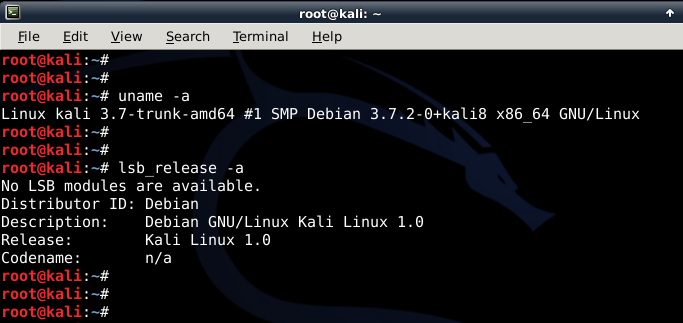
- Now let’s add user. Open terminal and type following to create new user (replace user1 with your desired user name)

(Note: -m means create home directory which is usually /home/username)

- Now set password for this user
Enter desired password twice


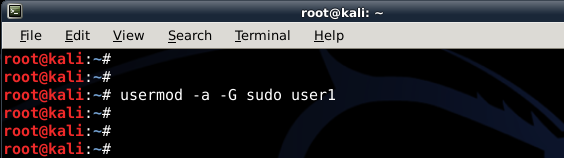
- Add user to sudo group (to allow user to install software, allow printing, use privileged mode etc.)

(Note: -a means append or add and –G mean to specified group/groups)
- Change default shell of previously created user to bash

(Note: chsh mean change login shell, -s is the name of the specified shell you want for the user, in this case /bin/bash)
Nice, all worked out as expected.
Let’s logout and login back as our new Standard Non-root user (user1)


 3352
3352

 被折叠的 条评论
为什么被折叠?
被折叠的 条评论
为什么被折叠?
 到【灌水乐园】发言


