


kNN进阶
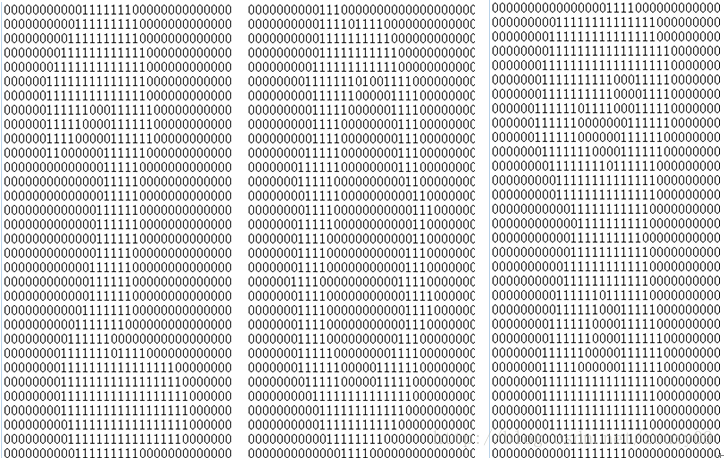
这里我们用kNN来分类一个大点的数据库,包括数据维度比较大和样本数比较多的数据库。这里我们用到一个手写数字的数据库,可以到这里下载。这个数据库包括数字0-9的手写体。每个数字大约有200个样本。每个样本保持在一个txt文件中。手写体图像本身的大小是32x32的二值图,转换到txt文件保存后,内容也是32x32个数字,0或者1,如下:
数据库解压后有两个目录:目录trainingDigits存放的是大约2000个训练数据,testDigits存放大约900个测试数据。
这里我们还是新建一个kNN.py脚本文件,文件里面包含四个函数,一个用来生成将每个样本的txt文件转换为对应的一个向量,一个用来加载整个数据库,一个实现kNN分类算法。最后就是实现这个加载,测试的函数。
- #########################################
- # kNN: k Nearest Neighbors
- # Input: inX: vector to compare to existing dataset (1xN)
- # dataSet: size m data set of known vectors (NxM)
- # labels: data set labels (1xM vector)
- # k: number of neighbors to use for comparison
- # Output: the most popular class label
- #########################################
- from numpy import *
- import operator
- import os
- # classify using kNN
- def kNNClassify(newInput, dataSet, labels, k):
- numSamples = dataSet.shape[0] # shape[0] stands for the num of row
- ## step 1: calculate Euclidean distance
- # tile(A, reps): Construct an array by repeating A reps times
- # the following copy numSamples rows for dataSet
- diff = tile(newInput, (numSamples, 1)) - dataSet # Subtract element-wise
- squaredDiff = diff ** 2 # squared for the subtract
- squaredDist = sum(squaredDiff, axis = 1) # sum is performed by row
- distance = squaredDist ** 0.5
- ## step 2: sort the distance
- # argsort() returns the indices that would sort an array in a ascending order
- sortedDistIndices = argsort(distance)
- classCount = {} # define a dictionary (can be append element)
- for i in xrange(k):
- ## step 3: choose the min k distance
- voteLabel = labels[sortedDistIndices[i]]
- ## step 4: count the times labels occur
- # when the key voteLabel is not in dictionary classCount, get()
- # will return 0
- classCount[voteLabel] = classCount.get(voteLabel, 0) + 1
- ## step 5: the max voted class will return
- maxCount = 0
- for key, value in classCount.items():
- if value > maxCount:
- maxCount = value
- maxIndex = key
- return maxIndex
- # convert image to vector
- def img2vector(filename):
- rows = 32
- cols = 32
- imgVector = zeros((1, rows * cols))
- fileIn = open(filename)
- for row in xrange(rows):
- lineStr = fileIn.readline()
- for col in xrange(cols):
- imgVector[0, row * 32 + col] = int(lineStr[col])
- return imgVector
- # load dataSet
- def loadDataSet():
- ## step 1: Getting training set
- print "---Getting training set..."
- dataSetDir = 'E:/Python/Machine Learning in Action/'
- trainingFileList = os.listdir(dataSetDir + 'trainingDigits') # load the training set
- numSamples = len(trainingFileList)
- train_x = zeros((numSamples, 1024))
- train_y = []
- for i in xrange(numSamples):
- filename = trainingFileList[i]
- # get train_x
- train_x[i, :] = img2vector(dataSetDir + 'trainingDigits/%s' % filename)
- # get label from file name such as "1_18.txt"
- label = int(filename.split('_')[0]) # return 1
- train_y.append(label)
- ## step 2: Getting testing set
- print "---Getting testing set..."
- testingFileList = os.listdir(dataSetDir + 'testDigits') # load the testing set
- numSamples = len(testingFileList)
- test_x = zeros((numSamples, 1024))
- test_y = []
- for i in xrange(numSamples):
- filename = testingFileList[i]
- # get train_x
- test_x[i, :] = img2vector(dataSetDir + 'testDigits/%s' % filename)
- # get label from file name such as "1_18.txt"
- label = int(filename.split('_')[0]) # return 1
- test_y.append(label)
- return train_x, train_y, test_x, test_y
- # test hand writing class
- def testHandWritingClass():
- ## step 1: load data
- print "step 1: load data..."
- train_x, train_y, test_x, test_y = loadDataSet()
- ## step 2: training...
- print "step 2: training..."
- pass
- ## step 3: testing
- print "step 3: testing..."
- numTestSamples = test_x.shape[0]
- matchCount = 0
- for i in xrange(numTestSamples):
- predict = kNNClassify(test_x[i], train_x, train_y, 3)
- if predict == test_y[i]:
- matchCount += 1
- accuracy = float(matchCount) / numTestSamples
- ## step 4: show the result
- print "step 4: show the result..."
- print 'The classify accuracy is: %.2f%%' % (accuracy * 100)
测试非常简单,只需要在命令行中输入:
- import kNN
- kNN.testHandWritingClass()
输出结果如下:
- step 1: load data...
- ---Getting training set...
- ---Getting testing set...
- step 2: training...
- step 3: testing...
- step 4: show the result...
- The classify accuracy is: 98.84%


 50
50


 被折叠的 条评论
为什么被折叠?
被折叠的 条评论
为什么被折叠?
 到【灌水乐园】发言


