


Microsoft officially released the 1.7 Kinect for Windows SDK. In this article i will demonstrate or explain what interest me most. The Push-to-Press functionality.
Download
 Download source code for How to do Push to Press with Kinect SDK 1.7
Introduction
Kinect 1.7 sdk has been released, when I first played around with the examples like ‘Interaction Gallery’ and the fact that I don’t to adjust the jittering anymore , I knew I had to stop whatever I was doing in my Kinect project to learn “Press to Push” and implement in my current project. Before with the help of Codingforfun toolkit we would place a hand over a button and some nice animation cycling your hand will appear telling you that you are about to select something, I had to struggle teaching my 2 years old daughter to wait for you, I was teaching her un-natural user interface, with Kinect 1.7, we have a natural user interface gesture, because you push to press a button. I must say a struggled a bit to isolate this functionality. I hope it will help someone.
Objective
In this article I wanted to show you on how to create a basic navigation system in wpf that uses hand gestures to select menu items. This is an updated version from the one I created from codingforfun toolkit. This one uses the press to push. So this means to select a menu, you need to push the button to press it.
Final Output of our Application
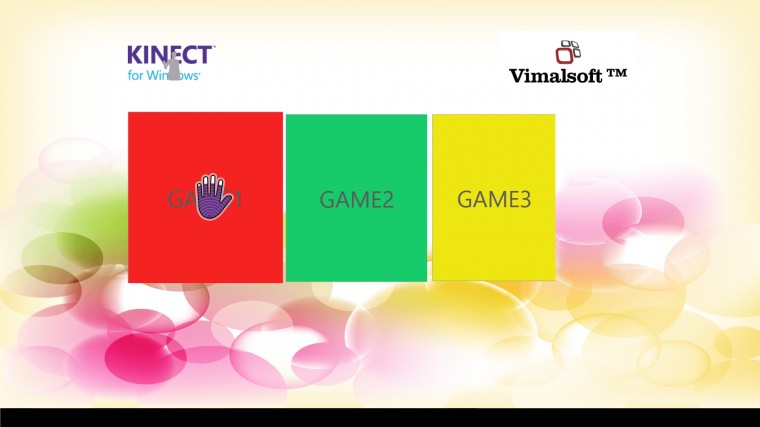
Figure 1.1
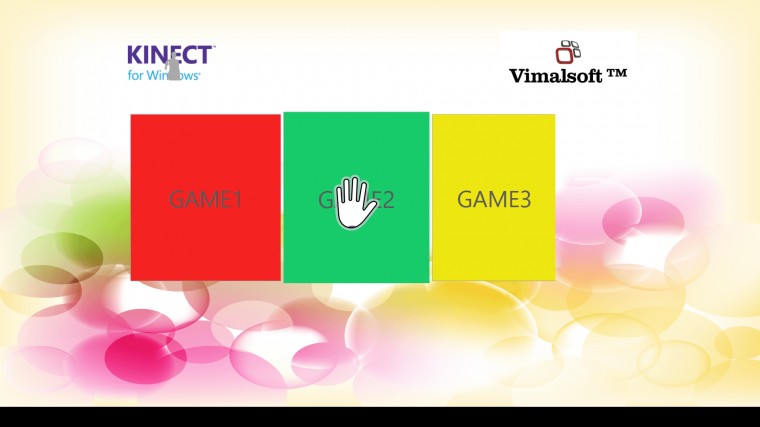
Figure 1.2
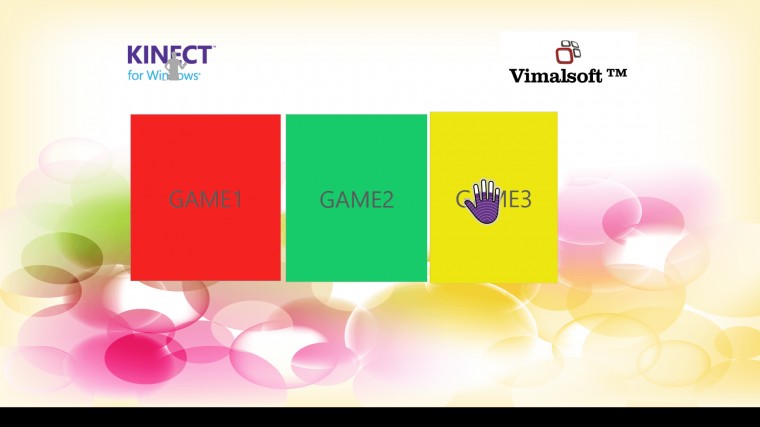
Figure 1.3
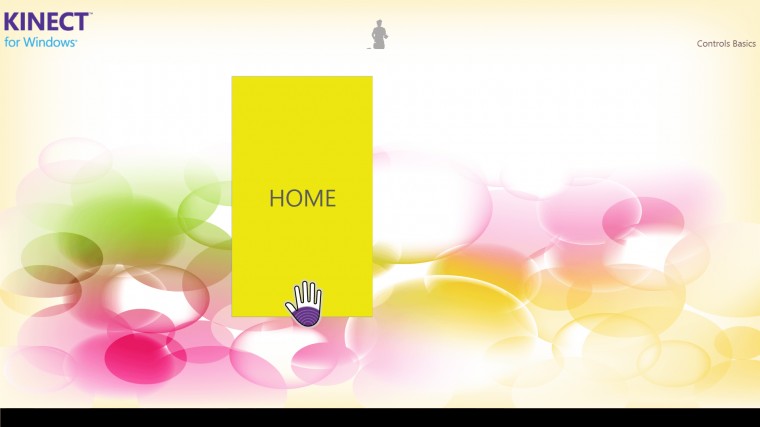
Figure 1.4
What you see is our final navigational example. So basically there are three buttons that we will use as our menus, so when a user select any of the buttons, using the codingforfun sdk, we are able to show animation that is defined in the namespaces as depicted below.
What you see is our final navigational example. So basically there are three buttons that we will use as our menus, so when a user select any of the buttons, using the codingforfun sdk, we are able to show animation that is defined in the namespaces as depicted below.
Code Explanation
Few things have changed from the way we used to do things in sdk 1.6. Well you can still choose to codingforfun toolkit to do hand gestures that interact with your controls, but in this article I will explain how you can use the nice things found in the new sdk. The first thing that is new is the Kinect Region.
KinectRegion
KinectRegion provides a canvas for other KinectInteraction Controls, such as KinectTileButton and KinectScrollViewer controls. All the controls that you want to interact with, must be wrapped inside the Kinect KinectRegion.
KinectTileButton
KinectTileButton control provides a modern-style rectangular button, with optional label text and optional alternate graphics for various interaction states. (For example, the button may be drawn differently when it is pressed.)
This button must be inside the KinectRegion if you need it to be part of the controls that your user will interact with. It is a normal button with click events and it comes with the new sdk 1.7.
This button must be inside the KinectRegion if you need it to be part of the controls that your user will interact with. It is a normal button with click events and it comes with the new sdk 1.7.
KinectScrollViewer
The KinectScrollViewer control provides a scroll box capability, which can be scrolled by gripping an element in the scroll box and sliding the hand towards one side or the other. This control is a container control, and can thus contain other Kinect Control elements such as tile buttons.
This control is handy if you want to create something like image gallery. This can also wrap any control like KinectTileButton and other controls.
This control is handy if you want to create something like image gallery. This can also wrap any control like KinectTileButton and other controls.
UserViewer
The UserViewer control provides a view of what the Kinect interaction layer is looking at. You can see yourself while interacting with your application. This is not compulsory to have in your application, you can use it while developing your application and remove it before you create a final built.
How does it work?
For a KinectRegion to use a Kinect sensor, the sensor that you associate to a KinectRegion must have the depth stream enabled at 640x480 resolution, and it must have the skeleton stream enabled. Interaction will not work properly if either of these streams are disabled or in a different mode. Near mode is supported.
I created a static class that can be accessed by all my pages in my navigation system.
And the main window that shows the Menu, will be the main entry to other pages, so the kinectSensorchooser will be stored on the static class and assigned from here.
Another thing is that , is that Kinect Allow maximum of two skeleton tracking , when tracking a Skeleton , you can decide to track all the skeleton or take one , in this function i track the skeleton closest to Kinect.
When you navigate from the Manu Page to other pages or from one page to another. You will need to get the sensorchooser from the static property that we created earlier.
Generic Class to store the KinectSensorChooser
I created a static class that can be accessed by all my pages in my navigation system.
using Microsoft.Kinect.Toolkit;
using System;
using System.Linq;

namespace WpfApplication1
{
   public static class Generics
    {


       public static int loadingStatus = 0;
       public static KinectSensorChooser GlobalKinectSensorChooser { get; set; }

    }
}
And the main window that shows the Menu, will be the main entry to other pages, so the kinectSensorchooser will be stored on the static class and assigned from here.
Another thing is that , is that Kinect Allow maximum of two skeleton tracking , when tracking a Skeleton , you can decide to track all the skeleton or take one , in this function i track the skeleton closest to Kinect.
using Microsoft.Kinect;
using Microsoft.Kinect.Toolkit;
using Microsoft.Kinect.Toolkit.Controls;
using System;
using System.Collections.Generic;
using System.Linq;
using System.Text;
using System.Threading.Tasks;
using System.Windows;
using System.Windows.Controls;
using System.Windows.Data;
using System.Windows.Documents;
using System.Windows.Input;
using System.Windows.Media;
using System.Windows.Media.Imaging;
using System.Windows.Navigation;
using System.Windows.Shapes;

namespace WpfApplication1
{
    public partial class MainMenu : Page
    {
        #region "Kinect"


        private readonly KinectSensorChooser sensorChooser;


        #endregion
        public MainMenu()
        {
            this.InitializeComponent();

            if (Generics.GlobalKinectSensorChooser == null)
            {
                // initialize the sensor chooser and UI
                this.sensorChooser = new KinectSensorChooser();
                this.sensorChooser.KinectChanged += SensorChooserOnKinectChanged;
                this.sensorChooserUi.KinectSensorChooser = this.sensorChooser;
                this.sensorChooser.Start();
                Generics.GlobalKinectSensorChooser = this.sensorChooser;
            }
            else
            {   // initialize the sensor chooser and UI
                this.sensorChooser = new KinectSensorChooser();
                this.sensorChooser = Generics.GlobalKinectSensorChooser;
                this.sensorChooser.KinectChanged += SensorChooserOnKinectChanged;
                this.sensorChooserUi.KinectSensorChooser = sensorChooser;
            }

            // Bind the sensor chooser's current sensor to the KinectRegion
            var regionSensorBinding = new Binding("Kinect") { Source = this.sensorChooser };
            BindingOperations.SetBinding(this.kinectRegion, KinectRegion.KinectSensorProperty, regionSensorBinding);
        }
        ///


        #region "New Kinect Gesture"

        ///
        /// Called when the KinectSensorChooser gets a new sensor
        ///
        ///
Inside the Navigated Pages
When you navigate from the Manu Page to other pages or from one page to another. You will need to get the sensorchooser from the static property that we created earlier.
using System;
using System.Linq;
using System.Windows;
using System.Windows.Controls;
using System.Windows.Data;
using Microsoft.Kinect;
using Microsoft.Kinect.Toolkit;
using Microsoft.Kinect.Toolkit.Controls;

namespace WpfApplication1
{
    public partial class Game1 : Page
    {

        #region "Kinect"
        private readonly KinectSensorChooser sensorChooser;

        //

        #endregion

        public Game1()
        {
            this.InitializeComponent();
            // initialize the sensor chooser and UI
            this.sensorChooser = new KinectSensorChooser();
            //Assign the sensor chooser with the sensor chooser from the mainwindow.
            //We are reusing the sensorchoosing declared in the first window that can in contact with kinect
            this.sensorChooser = Generics.GlobalKinectSensorChooser;
            //subscribe to the sensorChooserOnKinectChanged event
            this.sensorChooser.KinectChanged += SensorChooserOnKinectChanged;
            //Assign Kinect Sensorchooser to the sensorchooser we got from our static class
            this.sensorChooserUi.KinectSensorChooser = sensorChooser;
            // Bind the sensor chooser's current sensor to the KinectRegion
            var regionSensorBinding = new Binding("Kinect") { Source = this.sensorChooser };
             BindingOperations.SetBinding(this.kinectRegion, KinectRegion.KinectSensorProperty, regionSensorBinding);
        }

        ///

        #region "New Kinect Gesture"

        ///
        /// Execute shutdown tasks
        ///
        ///
MainMenu Xaml Page
<Page x:Class="WpfApplication1.MainMenu"
      xmlns="http://schemas.microsoft.com/winfx/2006/xaml/presentation"
             xmlns:local="clr-namespace:Microsoft.Samples.Kinect.ControlsBasics"
        xmlns:mc="http://schemas.openxmlformats.org/markup-compatibility/2006"
        xmlns:x="http://schemas.microsoft.com/winfx/2006/xaml"
        xmlns:d="http://schemas.microsoft.com/expression/blend/2008"
        xmlns:k="http://schemas.microsoft.com/kinect/2013"
        xmlns:tk="clr-namespace:Microsoft.Kinect.Toolkit;assembly=Microsoft.Kinect.Toolkit"
      mc:Ignorable="d"
        MinWidth="500"
        MinHeight="700"
        FontFamily="Segoe UI"
       Title="Page" Width="1039.2" Height="656">


    <Grid Margin="0,0,0.2,0" Height="700" VerticalAlignment="Top">
        <Grid.RowDefinitions>
            <RowDefinition Height="Auto" />
            <RowDefinition Height="*" />
        </Grid.RowDefinitions>


        <Grid Grid.Row="0"  Margin="10,0,841,20">
            <Image HorizontalAlignment="Left" VerticalAlignment="Bottom" Source="Images\Logo.png" Stretch="None" Margin="0 0 0 4"/>
            <k:KinectUserViewer k:KinectRegion.KinectRegion="{Binding ElementName=kinectRegion}" Height="100" HorizontalAlignment="Center" VerticalAlignment="Top" />
        </Grid>

        <k:KinectRegion x:Name="kinectRegion" Margin="0,143,0,0" Grid.RowSpan="2">
            <Grid x:Name="kinectRegionGrid" Margin="10,20,160,19.8">
                <Grid.RowDefinitions>
                    <RowDefinition Height="*" />
                    <RowDefinition Height="170" />
                </Grid.RowDefinitions>
                      <WrapPanel VerticalAlignment="Center" x:Name="wrapPanel" Orientation="Vertical"  >
                    <k:KinectTileButton    Content="GAME1" Height="348" Width="314"   Background="#FFF52222" FontSize="48" Click="KinectTileButton_Click_1"  />

                    <k:KinectTileButton     Content="GAME2"  Height="350" Width="296"  Background="#FF17CB6A" FontSize="48" Click="KinectTileButton_Click_2"  />
                    <k:KinectTileButton    Content="GAME3" Height="348" Width="259" Background="#FFEDE610" FontSize="48" Click="KinectTileButton_Click_3" />
                </WrapPanel>

            </Grid>
        </k:KinectRegion>
        <Image HorizontalAlignment="Left" VerticalAlignment="Bottom" Source="Images/logo_comp.jpg" Stretch="None" Margin="762,0,0,0.2"/>
        <tk:KinectSensorChooserUI HorizontalAlignment="Center" VerticalAlignment="Top" x:Name="sensorChooserUi" Margin="461,10,538,0" />

    </Grid>


</Page>
Known issues
You might try to run this project and never see a hand cursor. To resolve this, go to the following path
And copy the ddl named KinectInteraction170_32.dll and KinectInteraction170_64.dll to your application’s bin directory and build the application and run it, it should work after that.
I have attached the example project to this article you can browse the code and it is simple as compared to the previous way of doing this. You don’t need to handle the skeleton tracking yourself this time and also adjustment of jitters which was pain in codingforfun.
Vuyiswa Maseko
You might try to run this project and never see a hand cursor. To resolve this, go to the following path
C:\Program Files\Microsoft SDKs\Kinect\Developer Toolkit v1.7.0\Assemblies
And copy the ddl named KinectInteraction170_32.dll and KinectInteraction170_64.dll to your application’s bin directory and build the application and run it, it should work after that.
Conclusion
I have attached the example project to this article you can browse the code and it is simple as compared to the previous way of doing this. You don’t need to handle the skeleton tracking yourself this time and also adjustment of jitters which was pain in codingforfun.
Vuyiswa Maseko
转自:http://www.dotnetfunda.com/articles/article2214-how-to-do-push-to-press-with-kinect-sdk-17.aspx


 被折叠的 条评论
为什么被折叠?
被折叠的 条评论
为什么被折叠?
 到【灌水乐园】发言


