


 这篇博客展示了如何在iOS应用中创建一个可旋转的饼图。提供了代码下载链接和简单说明,使用了第三方饼图库,易于集成和操作。
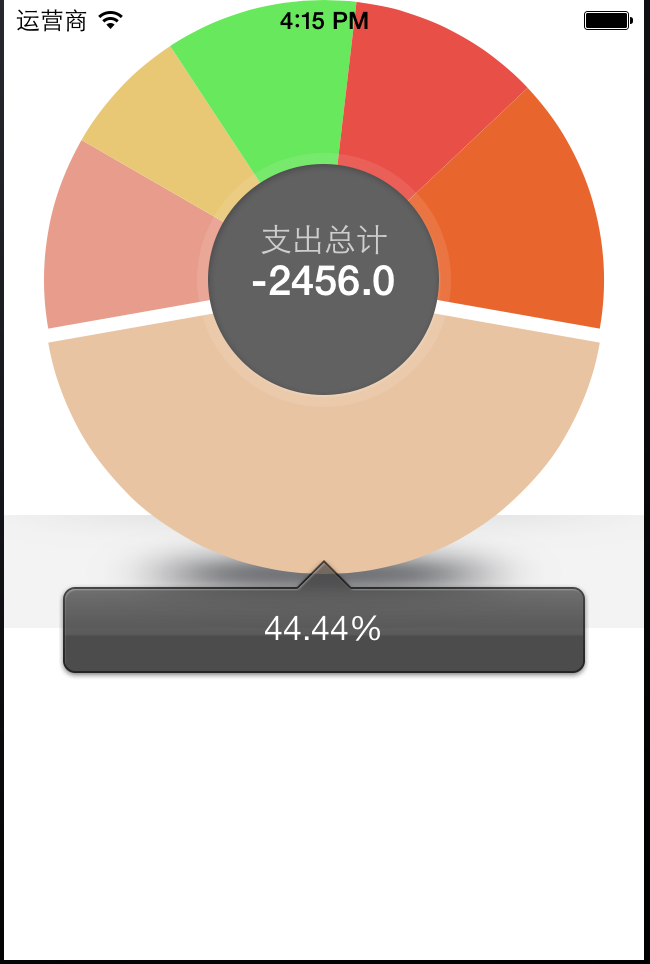
效果图:
代码下载:http://pan.baidu.com/s/1o6BGz0m http://download.csdn.net/detail/qqmcy/7090865
饼图的第三方类在例子中是有的,使用起来也很简单,下面是使用的代码。
ViewController.h
#import <UIKit/UIKit.h>
#import "PieChartView.h"

@interface ViewController : UIViewController<PieChartDelegate>

@property (nonatomic,strong) NSMutableArray *m_valueArray;  //第一组数据的容器
@property (nonatomic,strong) NSMutableArray *m_colorArray; //第一组颜色的容器
@property (nonatomic,strong) NSMutableArray *m_valueArray2;//第二组数据的容器
@property (nonatomic,strong) NSMutableArray *m_colorArray2;//第二组颜色的容器
@property (nonatomic,strong) PieChartView *m_pieChartView; //饼图类
@property (nonatomic,strong) UIView *m_pieContainer;      //饼图的容器
@property (nonatomic)BOOL inOut;   //点击中心的控制开关
@property (nonatomic,strong) UILabel *m_selLabel;  //显示数据的标签


@end
ViewController.m
//
//  ViewController.m
//  可旋转的饼图
//
//  Created by 杜甲 on 14-3-24.
//  Copyright (c) 2014年 杜甲. All rights reserved.
//

#import "ViewController.h"

#define PIE_HEIGHT 280
@interface ViewController ()

@end

@implementation ViewController

- (void)viewDidLoad
{

    self.inOut = YES;
    [super viewDidLoad];
	// Do any additional setup after loading the view, typically from a nib.
    self.m_valueArray = [[NSMutableArray alloc] initWithObjects:
                       [NSNumber numberWithInt:12],
                       [NSNumber numberWithInt:3],
                       [NSNumber numberWithInt:2],
                       [NSNumber numberWithInt:3],
                       [NSNumber numberWithInt:3],
                       [NSNumber numberWithInt:4],
                       nil];
    self.m_valueArray2 = [[NSMutableArray alloc] initWithObjects:
                        [NSNumber numberWithInt:3],
                        [NSNumber numberWithInt:2],
                        [NSNumber numberWithInt:2],
                        nil];


    self.m_colorArray = [NSMutableArray arrayWithObjects:
                       [UIColor colorWithHue:((0/8)%20)/20.0+0.08 saturation:(0%8+3)/10.0 brightness:91/100.0 alpha:1],
                       [UIColor colorWithHue:((1/8)%20)/20.0+0.03 saturation:(1%8+3)/10.0 brightness:91/100.0 alpha:1],
                       [UIColor colorWithHue:((2/8)%20)/20.0+0.12 saturation:(2%8+3)/10.0 brightness:91/100.0 alpha:1],
                       [UIColor colorWithHue:((3/8)%20)/20.0+0.32 saturation:(3%8+3)/10.0 brightness:91/100.0 alpha:1],
                       [UIColor colorWithHue:((4/8)%20)/20.0+0.01 saturation:(4%8+3)/10.0 brightness:91/100.0 alpha:1],
                       [UIColor colorWithHue:((5/8)%20)/20.0+0.05 saturation:(5%8+3)/10.0 brightness:91/100.0 alpha:1],
                       nil];
    self.m_colorArray2 = [[NSMutableArray alloc] initWithObjects:
                        [UIColor purpleColor],
                        [UIColor orangeColor],
                        [UIColor magentaColor],
                        nil];


    //add shadow img
    CGRect pieFrame = CGRectMake((self.view.frame.size.width - PIE_HEIGHT) / 2, 0, PIE_HEIGHT, PIE_HEIGHT);

    UIImage *shadowImg = [UIImage imageNamed:@"shadow.png"];
    UIImageView *shadowImgView = [[UIImageView alloc]initWithImage:shadowImg];
    shadowImgView.frame = CGRectMake(0, pieFrame.origin.y + PIE_HEIGHT*0.92, shadowImg.size.width/2, shadowImg.size.height/2);
    [self.view addSubview:shadowImgView];


    self.m_pieContainer = [[UIView alloc]initWithFrame:pieFrame];
    self.m_pieChartView = [[PieChartView alloc]initWithFrame:self.m_pieContainer.bounds withValue:self.m_valueArray withColor:self.m_colorArray];
    self.m_pieChartView.delegate = self;
    [self.m_pieContainer addSubview:self.m_pieChartView];
    [self.m_pieChartView setAmountText:@"-2456.0"];
    [self.view addSubview:self.m_pieContainer];


    //add selected view
    UIImageView *selView = [[UIImageView alloc]init];
    selView.image = [UIImage imageNamed:@"select.png"];
    selView.frame = CGRectMake((self.view.frame.size.width - selView.image.size.width/2)/2, self.m_pieContainer.frame.origin.y + self.m_pieContainer.frame.size.height, selView.image.size.width/2, selView.image.size.height/2);
    [self.view addSubview:selView];

    self.m_selLabel = [[UILabel alloc]initWithFrame:CGRectMake(0, 24, selView.image.size.width/2, 21)];
    self.m_selLabel.backgroundColor = [UIColor clearColor];
    self.m_selLabel.textAlignment = NSTextAlignmentCenter;
    self.m_selLabel.font = [UIFont systemFontOfSize:17];
    self.m_selLabel.textColor = [UIColor whiteColor];
    [selView addSubview:self.m_selLabel];
    [self.m_pieChartView setTitleText:@"支出总计"];
    self.title = @"对账单";


}

- (void)selectedFinish:(PieChartView *)pieChartView index:(NSInteger)index percent:(float)per
{
     self.m_selLabel.text = [NSString stringWithFormat:@"%2.2f%@",per*100,@"%"];
}

- (void)onCenterClick:(PieChartView *)pieChartView
{
    self.inOut = !self.inOut;
    self.m_pieChartView.delegate = nil;
    [self.m_pieChartView removeFromSuperview];
    self.m_pieChartView = [[PieChartView alloc]initWithFrame:self.m_pieContainer.bounds withValue:self.inOut?self.m_valueArray:self.m_valueArray2 withColor:self.inOut?self.m_colorArray:self.m_colorArray2];
    self.m_pieChartView.delegate = self;
    [self.m_pieContainer addSubview:self.m_pieChartView];
    [self.m_pieChartView reloadChart];

    if (self.inOut) {
        [self.m_pieChartView setTitleText:@"支出总计"];
        [self.m_pieChartView setAmountText:@"-2456.0"];

    }else{
        [self.m_pieChartView setTitleText:@"收入总计"];
        [self.m_pieChartView setAmountText:@"+567.23"];
    }

}

- (void)viewDidAppear:(BOOL)animated
{
    [self.m_pieChartView reloadChart];
}


- (void)didReceiveMemoryWarning
{
    [super didReceiveMemoryWarning];
    // Dispose of any resources that can be recreated.
}

@end


 2092
2092

 被折叠的 条评论
为什么被折叠?
被折叠的 条评论
为什么被折叠?
 到【灌水乐园】发言


