


我们在这篇文章已经介绍了jdk如何实现webservice接口:
http://blog.csdn.net/qq_18895659/article/details/51758546
CXF作为java领域主流的WebService实现框架,Java程序员有必要掌握它。
我们可以去CXF主页:http://cxf.apache.org/
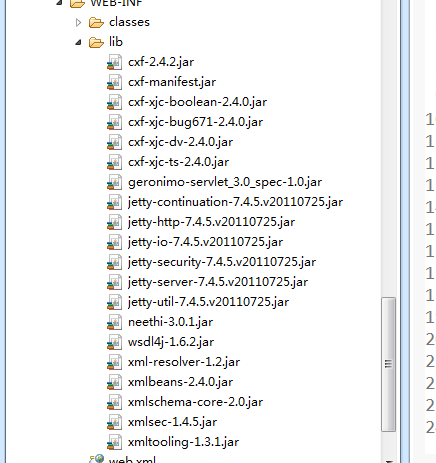
下载相关jar包。
来自百度百科的简介:Apache CXF = Celtix + XFire,开始叫 Apache CeltiXfire,后来更名为 Apache CXF 了,以下简称为 CXF。CXF 继承了 Celtix 和 XFire 两大开源项目的精华,提供了对 JAX-WS 全面的支持,并且提供了多种 Binding 、DataBinding、Transport 以及各种 Format 的支持,并且可以根据实际项目的需要,采用代码优先(Code First)或者 WSDL 优先(WSDL First)来轻松地实现 Web Services 的发布和使用。Apache CXF已经是一个正式的Apache顶级项目。
今天的话,主要是用CXF来开发下WebService服务器端接口,下一篇写开发客户端接口;
注意:1.7有webservice的默认实现。不要用1.5 不然下面你用我的代码会有问题,用1.5的话,还需要另外加jar包。
首先我们先回顾一下用JDK实现服务接口的时候。
我们写一个接口类:
package cxf;
	import javax.jws.WebService;
	@WebService
	public interface helloworld {

	    public String say(String str);
	}
package cxf.imp;
import javax.jws.WebService;
import cxf.helloworld;
@WebService
public class helloworldimp implements helloworld {

	public String say(String str) {

		return "陈洪杰第一个cxf"+str;
	}

}
再写一个发布服务的主类:
package cxf.service;

import javax.xml.ws.Endpoint;
import cxf.helloworld;
import cxf.imp.helloworldimp;

public class service {
	 public static void main(String[] args) {
	        System.out.println("web service start");
	        helloworld implementor = new helloworldimp();
	        String address = "http://192.168.1.103:8080/hello";
	       Endpoint.publish(address, implementor);  // JDK实现
	        System.out.println("服务已启动");
	    }
}
我们运行这个类,然后在浏览器输入http://192.168.1.103:8080/hello?wsdl

接口和接口实现类都不用变,我们在发布服务的主类修改如下。
package cxf.service;

import javax.xml.ws.Endpoint;

import org.apache.cxf.jaxws.JaxWsServerFactoryBean;

import cxf.helloworld;
import cxf.imp.helloworldimp;

public class service {
	 public static void main(String[] args) {
	        System.out.println("web service start");
	        helloworld implementor = new helloworldimp();
	        String address = "http://192.168.1.103:8081/hello";
	      // Endpoint.publish(address, implementor);  // JDK实现
	        JaxWsServerFactoryBean factoryBean = new JaxWsServerFactoryBean();
	        factoryBean.setAddress(address); // 设置暴露地址
	        factoryBean.setServiceClass(helloworld.class); // 接口类
	        factoryBean.setServiceBean(implementor); // 设置实现类
	        factoryBean.create();
	        System.out.println("服务已启动");
	    }
}
到此为止我们的CXF框架的服务接口就此完成了。
写得不好的地方请大神提出。


 164
164


 被折叠的 条评论
为什么被折叠?
被折叠的 条评论
为什么被折叠?
 到【灌水乐园】发言


