


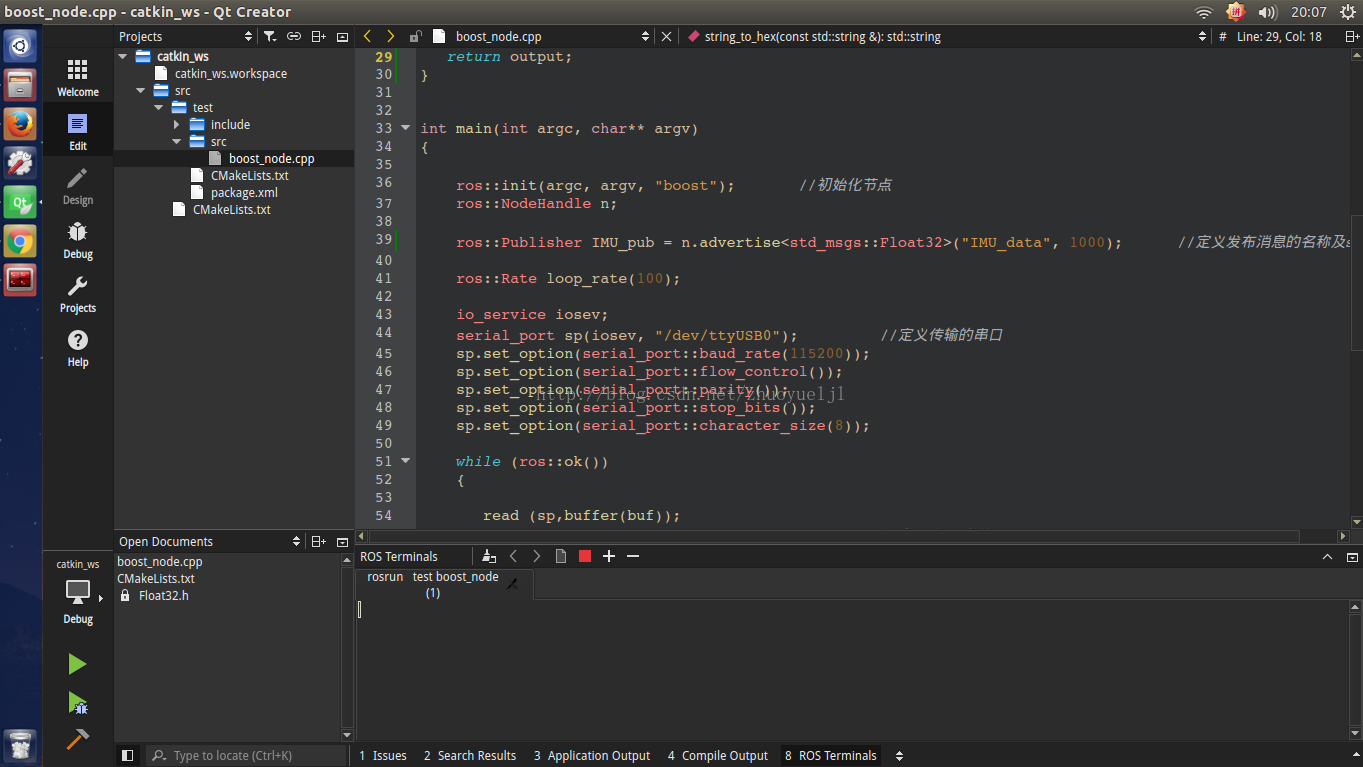
1、源码
重启电脑即可
-
#include <string>
-
#include <ros/ros.h> // 包含ROS的头文件
-
#include <sensor_msgs/JointState.h>
-
#include <tf/transform_broadcaster.h>
-
#include <nav_msgs/Odometry.h>
-
#include <boost/asio.hpp> //包含boost库函数
-
#include <boost/bind.hpp>
-
#include <math.h>
-
#include "std_msgs/String.h" //ros定义的String数据类型
-
#include <std_msgs/Float32.h>
-
-
using namespace std;
-
using namespace boost::asio; //定义一个命名空间,用于后面的读写操作
-
-
unsigned char buf[17]; //定义字符串长度,IMU返回的数据是17个字节一组,可用串口调试助手获得
-
-
std::string string_to_hex(const std::string& input)
-
{
-
static const char* const lut = "0123456789ABCDEF";
-
size_t len = input.length();
-
std::string output;
-
output.reserve(2 * len);
-
for (size_t i = 0; i < len; ++i)
-
{
-
const unsigned char c = input[i];
-
output.push_back(lut[c >> 4]);
-
output.push_back(lut[c & 15]);
-
}
-
return output;
-
}
-
-
-
int main(int argc, char** argv)
-
{
-
-
ros::init(argc, argv, "boost"); //初始化节点
-
ros::NodeHandle n;
-
-
ros::Publisher IMU_pub = n.advertise <std_msgs::Float32>("IMU_data", 1000); //定义发布消息的名称及sulv
-
-
ros::Rate loop_rate(100);
-
-
io_service iosev;
-
serial_port sp(iosev, "/dev/ttyUSB0"); //定义传输的串口
-
sp.set_option(serial_port::baud_rate(115200));
-
sp.set_option(serial_port::flow_control());
-
sp.set_option(serial_port::parity());
-
sp.set_option(serial_port::stop_bits());
-
sp.set_option(serial_port::character_size(8));
-
-
while (ros::ok())
-
{
-
-
read (sp,buffer(buf));
-
string str(&buf[0],&buf[17]); //将数组转化为字符串
-
-
std_msgs::String msg;
-
std::stringstream ss;
-
ss << str;
-
-
std_msgs::Float32 Yaw; //定义机器人偏航角,单位为度数
-
char higher;
-
char lower;
-
higher = buf[5];
-
lower = buf[4];
-
-
Yaw.data= (float)((higher * 256 + lower))/100;
-
cout << Yaw << endl; //输出偏航角到终端
-
-
msg.data = string_to_hex(ss.str());
-
ROS_INFO("%s", msg.data.c_str()); //打印接受到的字符串
-
-
IMU_pub.publish(Yaw); //发布消息
-
-
ros::spinOnce();
-
loop_rate.sleep();
-
-
}
-
-
iosev.run();
-
return 0;
-
}
-
2、结果
新终端,执行
$ roscore最后我们把IMU通过USB口连接装好ROS的Ubuntu14.04的系统的PC,在Qt下编译无错误后,那么我们在Qt下运行就会输出偏航角Yaw的信息,同时发布topic;
如果仍然有错误提示/dev/ttyUSB0 拒绝访问,此时我们就需要对USB的权限进行设置,可以输入
-
$ sudo chmod 666 /dev/ttyUSB0
-
或者
-
$ sudo chmod a+rw /dev/ttyUSB0
解决/dev/ttyUSB0 denied permission永久解决方案
sudo usermod -aG dialout wsh
重启电脑即可


 464
464


 被折叠的 条评论
为什么被折叠?
被折叠的 条评论
为什么被折叠?
 到【灌水乐园】发言


