


引言
最近在做医疗设备相关的项目,故在项目中大量用到了各类图像分割的算法,为了在图像中分割出特定目标,用到的算法可以有很多,比如阈值分割,多通道分割,边缘分割以及一些前沿的组合分割。而对大多数图像来说,分割的一大难点是将待识别的目标与背景分离,其中一种有效简单的方法就是二值化(并不都有效),本博客试着将二值化算法中的OTSU算法进行cuda改写。
任务要求
输入一张8bit的灰度图,通过CUDA在GPU中对图片实现otsu二值化,最后将结果输出至CPU并进行显示,要求输出图与用CPU内实现后的结果一致。
实现思路
关于OTSU(大津法)二值算法的具体实现思路,具体可见此博文 最大类间方差法(大津法OTSU)
该文对最终的方差计算公式进行了一定的变形,减小了总体的计算量。
通过对OTSU算法的阅读,可以发现在遍历计算最大类间方差时,程序存在着一定的时序性,故解决方案为通过并行计算出所有需要的数据,通过数组进行保存,在时序性算法部分(这里指最大值寻找)仍然利用串行的手法,如此完成算法的改写。
实现过程:
1.统计图像灰度直方图hist数组
2.计算图像最大类间方差
3.根据计算出的最佳阈值进行二值化操作
实现环境
VS2013 + CUDA7.5 + Opencv2.4.13
实现代码
#include <cuda_runtime.h>
#include <device_launch_parameters.h>
#include <cuda.h>
#include <device_functions.h>
#include <iostream>
#include <string.h>
#include <opencv2\opencv.hpp>
using namespace std;
using namespace cv;

/*
计算最大类间方差串行程序
只能在CPU端调用,需要将hist数组传出才可计算
计算量变大时(大图像)速度较慢
*/
__host__ int otsuThresh(int* hist, int imgHeight, int imgWidth)
{
    float sum = 0;
    for (int i = 0; i < 256; i++)
    {
        sum += i * hist[i];
    }
    float w0 = 0, u0 = 0;
    float u = sum / (imgHeight * imgWidth);
    float val = 0, maxval = 0;
    float s = 0, n = 0;
    int thresh = 0;
    for (int i = 0; i < 256; i++)
    {
        s += hist[i] * i;
        n += hist[i];
        w0 = n / (imgHeight * imgWidth);
        u0 = s / n;
        val = (u - u0) * (u - u0) * w0 / (1 - w0);
        if (val > maxval)
        {
            maxval = val;
            thresh = i;
        }
    }
    return thresh;
}

//灰度直方图统计
__global__ void imhistInCuda(unsigned char* dataIn, int* hist, int imgHeight, int imgWidth)
{
    int xIndex = threadIdx.x + blockIdx.x * blockDim.x;
    int yIndex = threadIdx.y + blockIdx.y * blockDim.y;

    if (xIndex < imgWidth && yIndex < imgHeight)
    {
        atomicAdd(&hist[dataIn[yIndex * imgWidth + xIndex]], 1);
    }
}

//计算最大类间方差CUDA改编程序
__global__ void OTSUthresh(const int* hist, float* sum, float* s, float* n, float* val, int imgHeight, int imgWidth, int* OtsuThresh)
{
    if (blockIdx.x == 0)
    {
        int index = threadIdx.x;
        atomicAdd(&sum[0], hist[index] * index);
    }
    else
    {
        int index = threadIdx.x;
        if (index < blockIdx.x)
        {
            atomicAdd(&s[blockIdx.x - 1], hist[index] * index);
            atomicAdd(&n[blockIdx.x - 1], hist[index]);
        }
    }
    __syncthreads(); //所有线程同步
    if (blockIdx.x > 0)
    {
        int index = blockIdx.x - 1;
        float u = sum[0] / (imgHeight * imgWidth);
        float w0 = n[index] / (imgHeight * imgWidth);
        float u0 = s[index] / n[index];
        if (w0 == 1)
        {
            val[index] = 0;
        }
        else
        {
            val[index] = (u - u0) * (u - u0) * w0 / (1 - w0);
        }
    }
    __syncthreads(); //所有线程同步
    if (threadIdx.x == 0 && blockIdx.x == 0)
    {
        float maxval = 0;
        for (int i = 0; i < 256; i++)
        {
            if (val[i] > maxval)
            {
                maxval = val[i];
                OtsuThresh[0] = i;
                OtsuThresh[1] = val[i];
            }
        }
    }
}

//阈值化
__global__ void otsuInCuda(unsigned char* dataIn, unsigned char* dataOut, int imgHeight, int imgWidth, int* hThresh)
{
    int xIndex = threadIdx.x + blockIdx.x * blockDim.x;
    int yIndex = threadIdx.y + blockIdx.y * blockDim.y;

    if (xIndex < imgWidth && yIndex < imgHeight)
    {
        if (dataIn[yIndex * imgWidth + xIndex] > hThresh[0])
        {
            dataOut[yIndex * imgWidth + xIndex] = 255;
        }
    }
}

int main()
{
    //传入灰度图
    Mat srcImg = imread("1.jpg", 0);

    int imgHeight = srcImg.rows;
    int imgWidth = srcImg.cols;

    //opencv实现OTSU二值化
    Mat dstImg1;
    threshold(srcImg, dstImg1, 0, 255, THRESH_OTSU);

    //CUDA改编
    Mat dstImg2(imgHeight, imgWidth, CV_8UC1, Scalar(0));

    //在GPU端开辟内存
    unsigned char* d_in;
    int* d_hist;

    cudaMalloc((void**)&d_in, imgHeight * imgWidth * sizeof(unsigned char));
    cudaMalloc((void**)&d_hist, 256 * sizeof(int));

    //传入灰度图至GPU
    cudaMemcpy(d_in, srcImg.data, imgHeight * imgWidth * sizeof(unsigned char), cudaMemcpyHostToDevice);

    dim3 threadsPerBlock1(32, 32);
    dim3 blocksPerGrid1((imgWidth + 32 - 1) / 32, (imgHeight + 32 - 1) / 32);

    imhistInCuda << <blocksPerGrid1, threadsPerBlock1 >> >(d_in, d_hist, imgHeight, imgWidth);

    float* d_sum;
    float* d_s;
    float* d_n;
    float *d_val;
    int* d_t;

    cudaMalloc((void**)&d_sum, sizeof(float));
    cudaMalloc((void**)&d_s, 256 * sizeof(float));
    cudaMalloc((void**)&d_n, 256 * sizeof(float));
    cudaMalloc((void**)&d_val, 256 * sizeof(float));
    cudaMalloc((void**)&d_t, 2 * sizeof(int));

    //定义最大类间方差计算并行规格,其中257为1 + 256,
    //第1个block用来计算图像灰度的sum,后256个block用于计算256个灰度对应的s, n
    dim3 threadsPerBlock2(256, 1);
    dim3 blocksPerGrid2(257, 1);

    OTSUthresh << <blocksPerGrid2, threadsPerBlock2 >> >(d_hist, d_sum, d_s, d_n, d_val, imgHeight, imgWidth, d_t);

    unsigned char* d_out;

    cudaMalloc((void**)&d_out, imgHeight * imgWidth * sizeof(unsigned char));

    otsuInCuda << <blocksPerGrid1, threadsPerBlock1 >> >(d_in, d_out, imgHeight, imgWidth, d_t);

    //输出结果图像
    cudaMemcpy(dstImg2.data, d_out, imgHeight * imgWidth * sizeof(unsigned char), cudaMemcpyDeviceToHost);

    调试用输出
    //int th[2] = { 0, 0 };
    //float n[256];
    //memset(n, 0, sizeof(n));
    //cudaMemcpy(th, d_t, 2 * sizeof(int), cudaMemcpyDeviceToHost);
    //cudaMemcpy(n, d_n, 256 * sizeof(float), cudaMemcpyDeviceToHost);

    cudaFree(d_in);
    cudaFree(d_out);
    cudaFree(d_hist);
    cudaFree(d_sum);
    cudaFree(d_s);
    cudaFree(d_n);
    cudaFree(d_val);
    cudaFree(d_t);

    imwrite("result1.jpg", dstImg1);
    imwrite("result2.jpg", dstImg2);

    return 0;
}- 1
- 2
- 3
- 4
- 5
- 6
- 7
- 8
- 9
- 10
- 11
- 12
- 13
- 14
- 15
- 16
- 17
- 18
- 19
- 20
- 21
- 22
- 23
- 24
- 25
- 26
- 27
- 28
- 29
- 30
- 31
- 32
- 33
- 34
- 35
- 36
- 37
- 38
- 39
- 40
- 41
- 42
- 43
- 44
- 45
- 46
- 47
- 48
- 49
- 50
- 51
- 52
- 53
- 54
- 55
- 56
- 57
- 58
- 59
- 60
- 61
- 62
- 63
- 64
- 65
- 66
- 67
- 68
- 69
- 70
- 71
- 72
- 73
- 74
- 75
- 76
- 77
- 78
- 79
- 80
- 81
- 82
- 83
- 84
- 85
- 86
- 87
- 88
- 89
- 90
- 91
- 92
- 93
- 94
- 95
- 96
- 97
- 98
- 99
- 100
- 101
- 102
- 103
- 104
- 105
- 106
- 107
- 108
- 109
- 110
- 111
- 112
- 113
- 114
- 115
- 116
- 117
- 118
- 119
- 120
- 121
- 122
- 123
- 124
- 125
- 126
- 127
- 128
- 129
- 130
- 131
- 132
- 133
- 134
- 135
- 136
- 137
- 138
- 139
- 140
- 141
- 142
- 143
- 144
- 145
- 146
- 147
- 148
- 149
- 150
- 151
- 152
- 153
- 154
- 155
- 156
- 157
- 158
- 159
- 160
- 161
- 162
- 163
- 164
- 165
- 166
- 167
- 168
- 169
- 170
- 171
- 172
- 173
- 174
- 175
- 176
- 177
- 178
- 179
- 180
- 181
- 182
- 183
- 184
- 185
- 186
- 187
- 188
- 189
- 190
- 191
- 192
- 193
- 194
- 195
- 196
- 197
- 198
实现结果
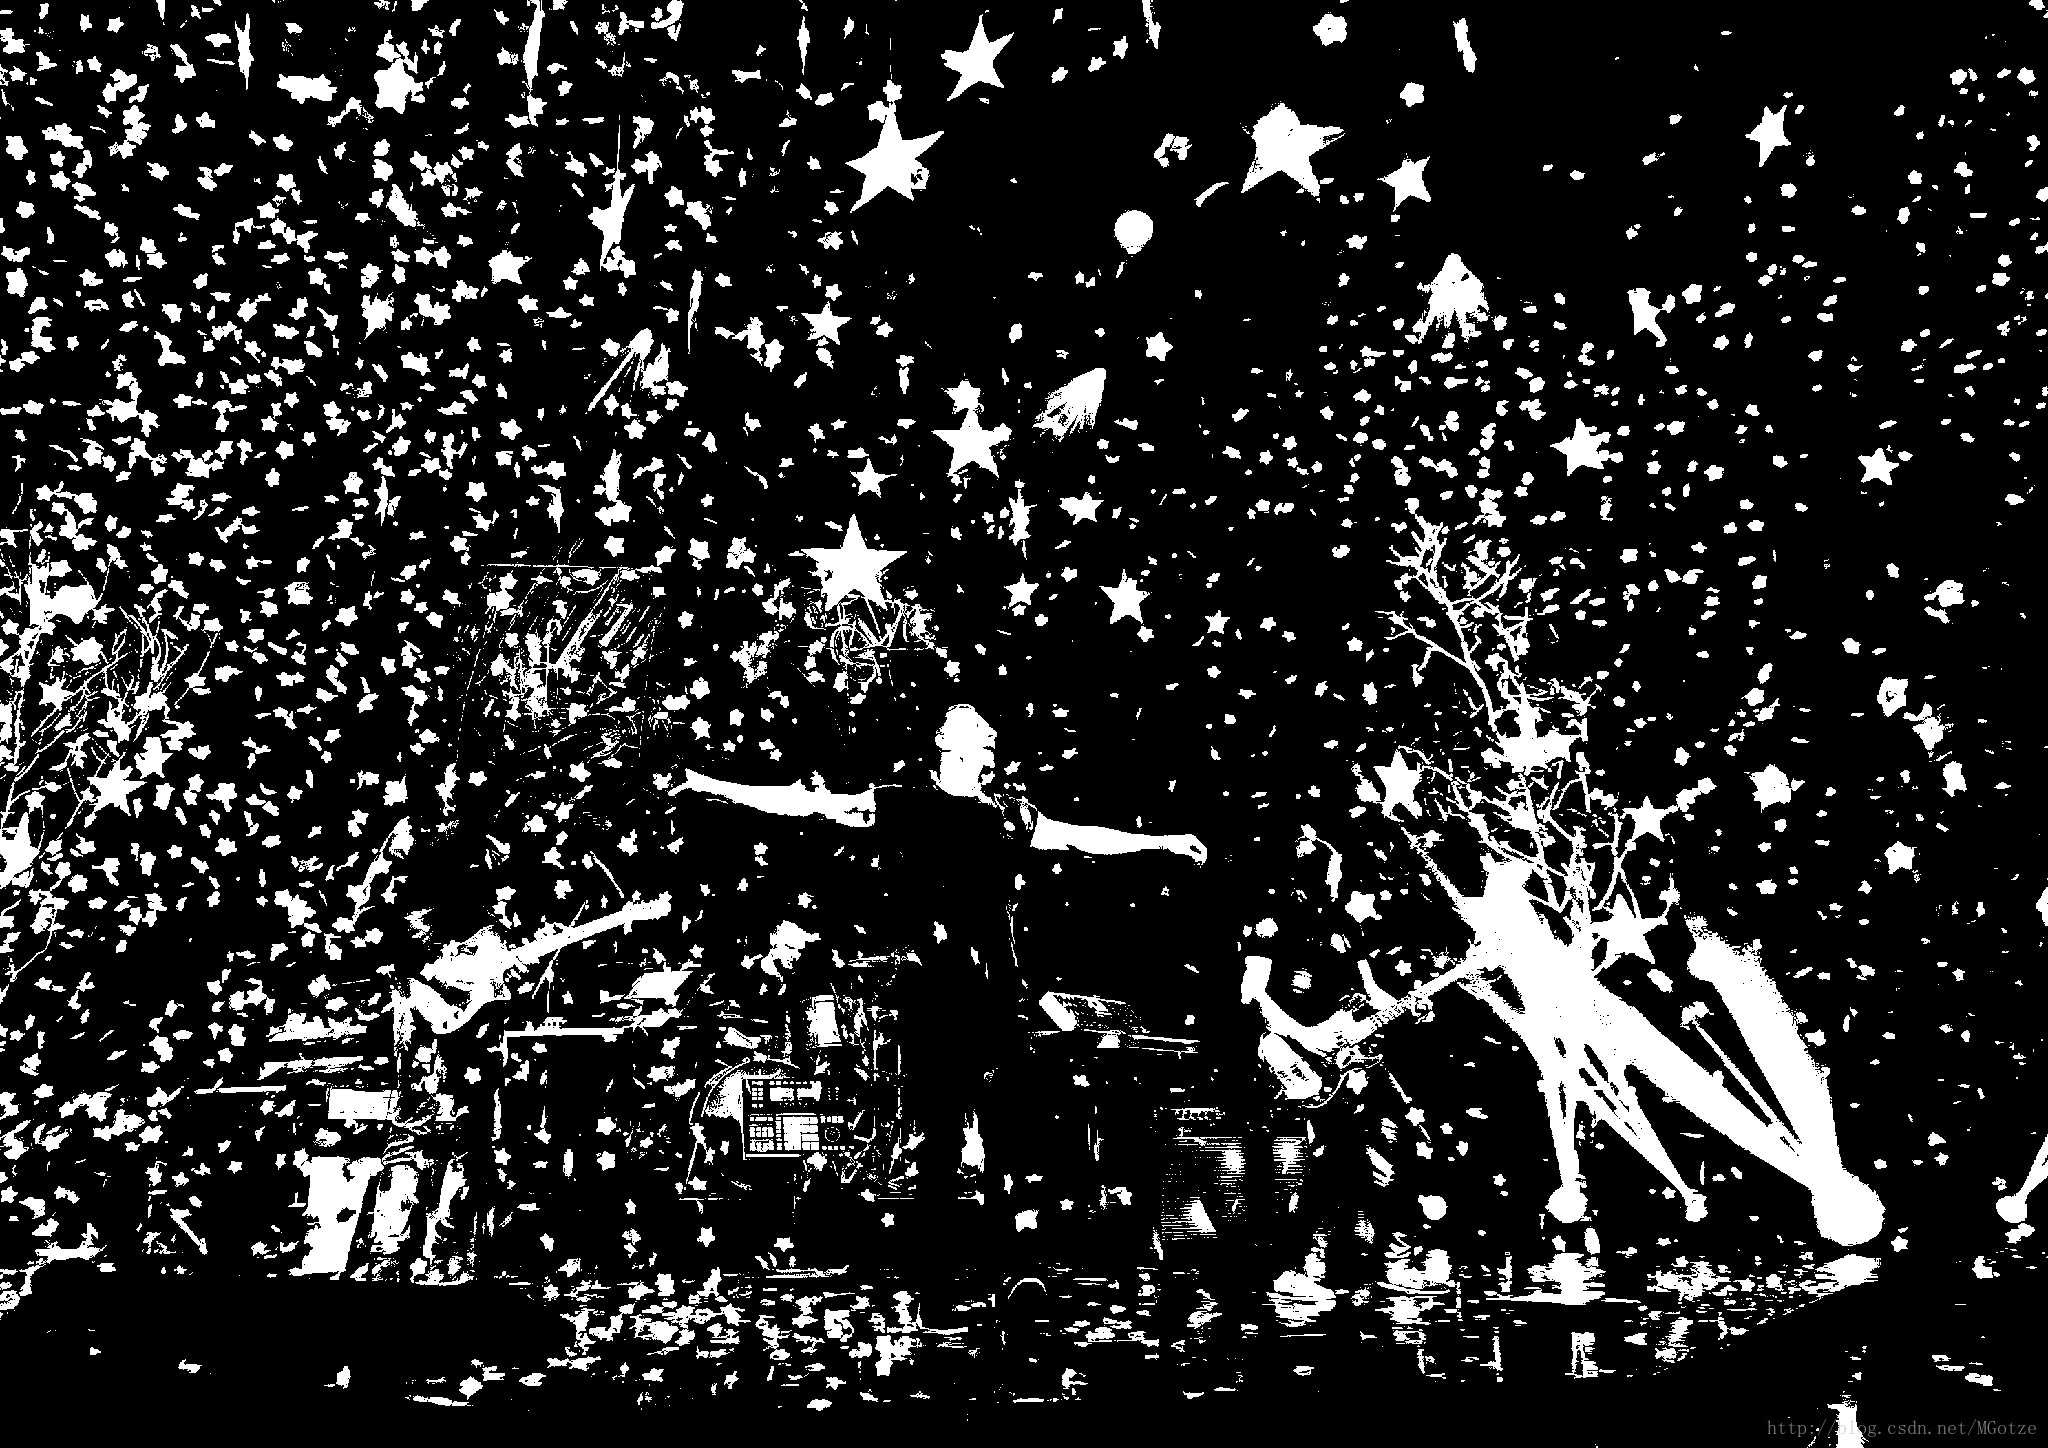
贴上我大酷玩演唱会图,进行验证~
原图

OpenCV实现结果图

CUDA实现后图像
关于本文以及CUDA的一些思考
在本文的OTSU算法中,其实在改编的过程中,一直怀疑把那段计算最大类间方差的串行代码(代码中host部分)改成部分并行部分串行并没有起到提速的作用,而事实上我自己做了测速,发现确实基本没什么区别,分析了下原因在于:
1.计算量不大,GPU加深没发挥真正的作用
2.改写的过程涉及时序的部分只能采用串行,而串行的效率GPU反而低于CPU
3.算法还未优化至最佳
而从刚开始接触CUDA到现在陆陆续续也写了不少CUDA的代码了,给刚入坑的朋友提几点不成熟的建议~:
1.CUDA不是万能的,很多时候一些复杂的算法无法改写,尤其是涉及时序性的
2.加速的关键在于对于GPU内存的使用规划以及原算法的性能
3.有成熟的库函数能用的时候可不用CUDA,因为提速效果不是很明显(可能是我显卡渣的原因==),例如上面的OTSU算法,OpenCV实现20ms左右,CUDA实现10ms左右
4.CUDA的时间花费大部分都在GPU传至CPU上(一般占总时间50%以上),所以在进行编码的时候能不传数据出来就尽量不要传,尽量在GPU中完成所有算法的实现,争取一进一出~
5.CUDA中传变量只能通过数组的形式,所以就算你的变量数量为1,也要定义数组,并把数组的头指针传给核函数


 413
413


 被折叠的 条评论
为什么被折叠?
被折叠的 条评论
为什么被折叠?
 到【灌水乐园】发言


