


NDK开发入门之HelloWorld
对于Android这个行业来讲,那些刚入门还没有花费太多时间的同学们,我觉得还是就此打住,因为以你现在速度去学习,顶多也就做一简单的应用,写几个Activity啊之类的,可以说连公司的实战经验都没有,如果去应聘,在我看来那些初创公司不敢要你,大公司对于技术水平来看我觉得连笔试都过不了,笔试而已!!不如花更多的时间去学习长远的人工智能这个模块。
本片只是简单教大家写个NDK之HelloWorld,给大家一个最初的感触,若想深入学习,请关注我后续会有相关文章更新。
一、环境要求
万事开头难,又到了大家最喜欢的配置环境环节了,还好现在NDK开发主要有两种,第一种是NDK-Build比较古老了;第二种是CMake来进行构建开发。我们使用第二种Cmake的方式,当然我觉得官方更是推荐这个方式。官方文档传送门。
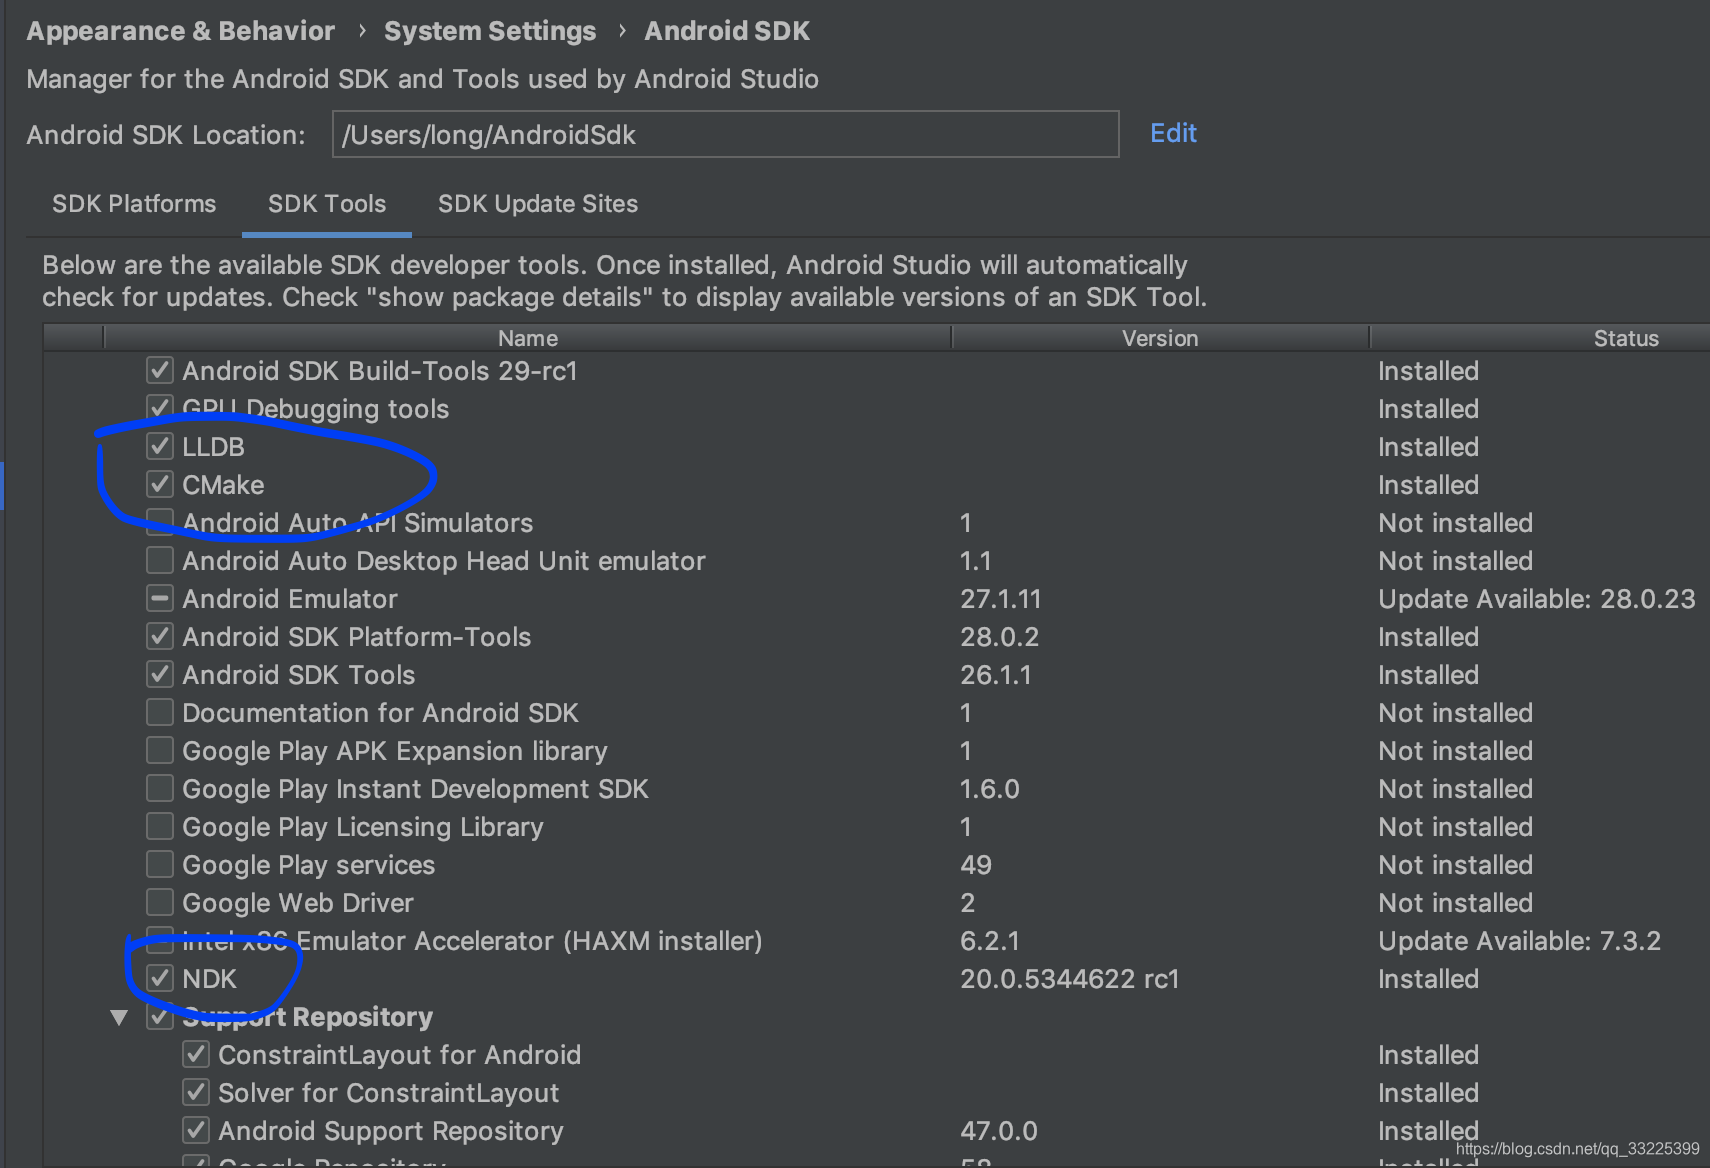
- 首先打开我们的SDK-Manger,查看我们的SDK Tools模块查看你的 LLDB、CMake 和 NDK 是否已经安装,如下图:(当然我的已经安装好了)
- 检查你的Android studio版本是否是2.2或者更高版本,当然你不告诉我你的工具是eclipse,尴尬,那还是请大神移步到eclipse相关NDK开发的文章吧,小庙容不下。。。。
二、创建我们的第一个NDK项目
由于我的as版本比较新,版本低的老铁可能就无语的,先不管了,版本低的同学直接和平常的项目没什么区别,如下图:
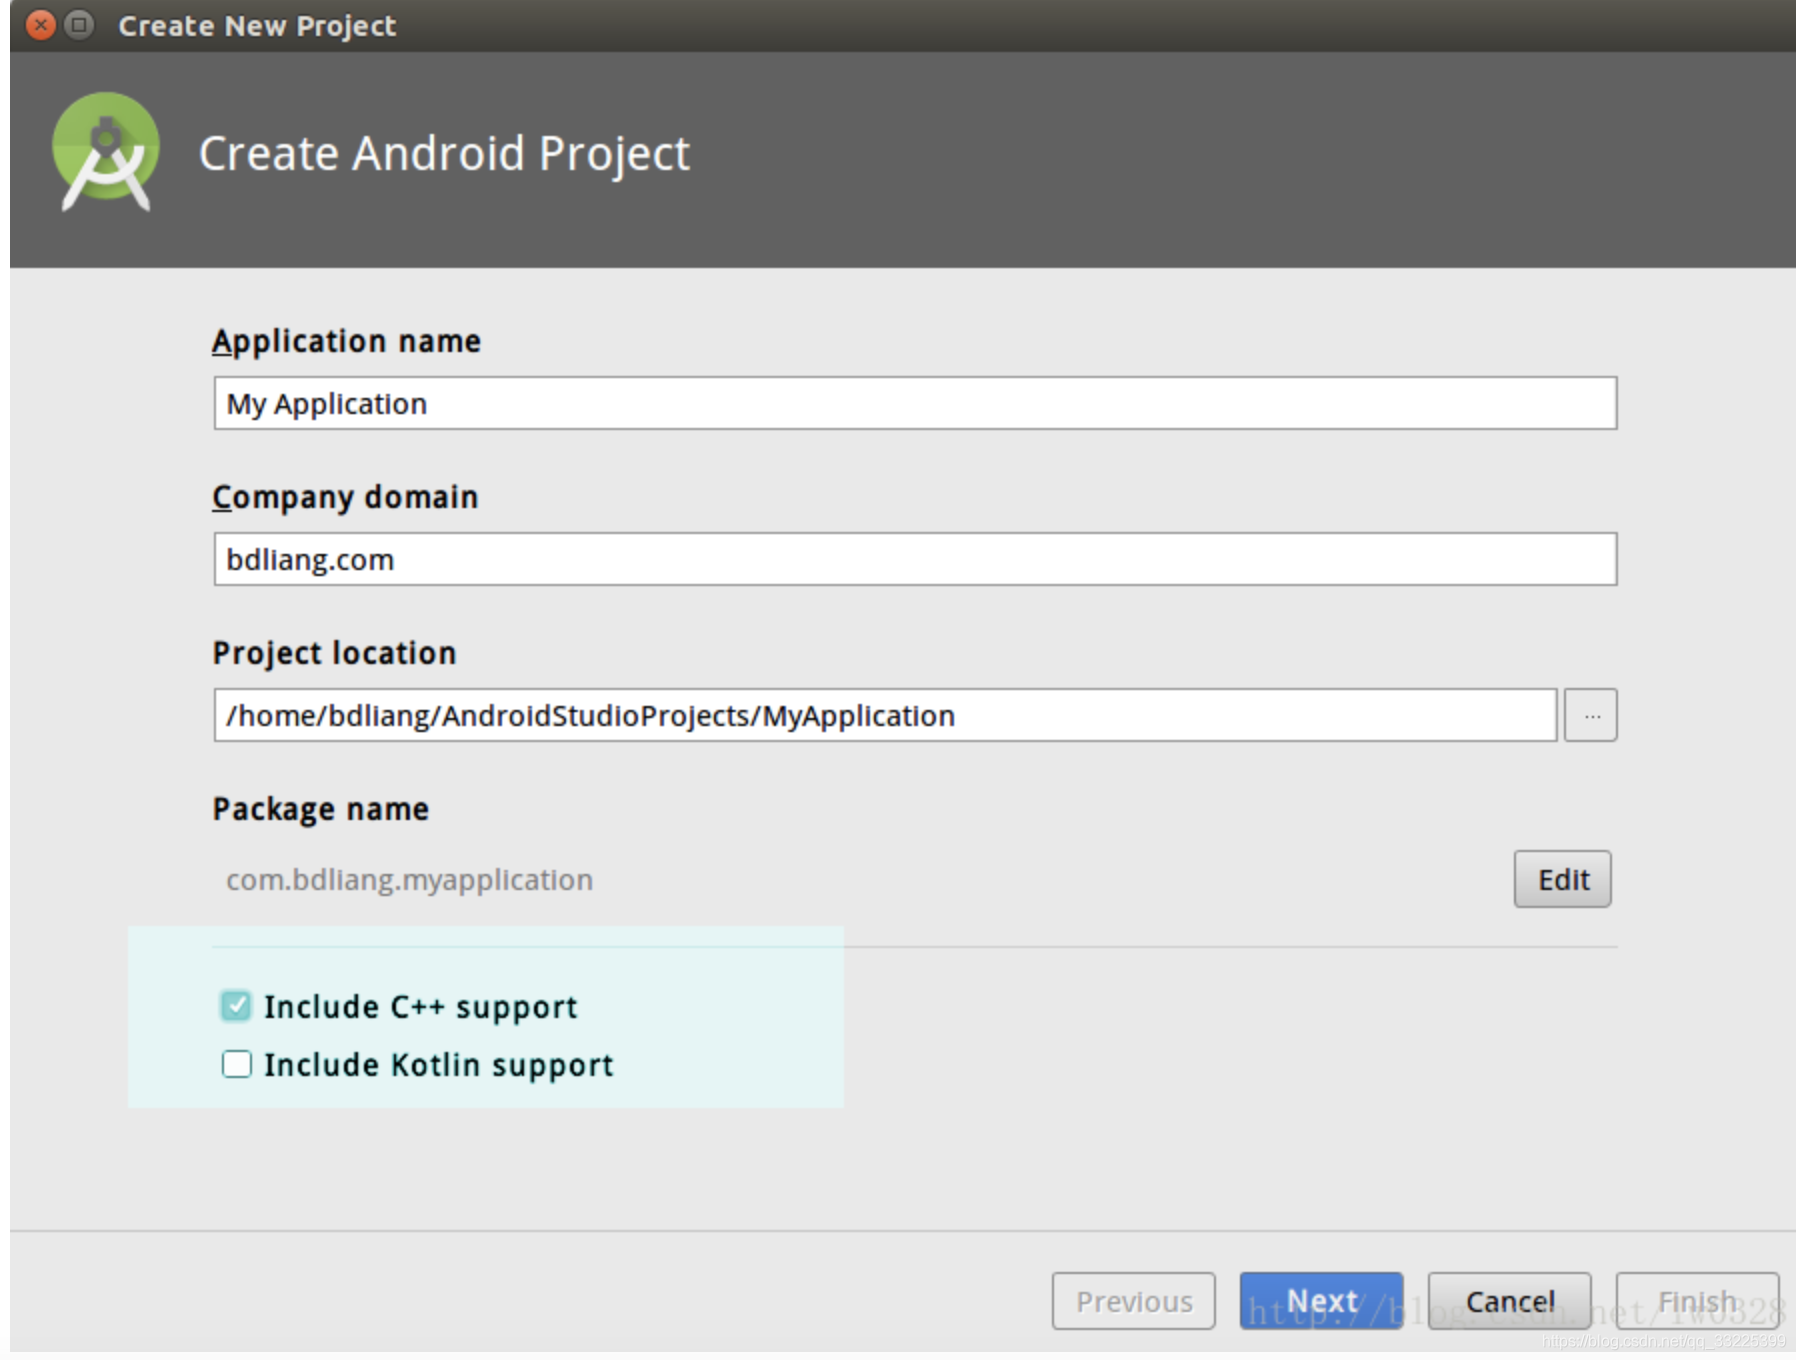
注意不要忘记勾选"Include C++ support"选项,先看我这个版本(3.4 RC 2)如何创建吧.
- 若as没有打开项目选择Start a new Android Studio project或者File->new->New Project.
- 选择Native C++项目,然后编写我们的包名和项目名称,我的是NDKApplication,包名:vip.zhuahilong.ndkapplication

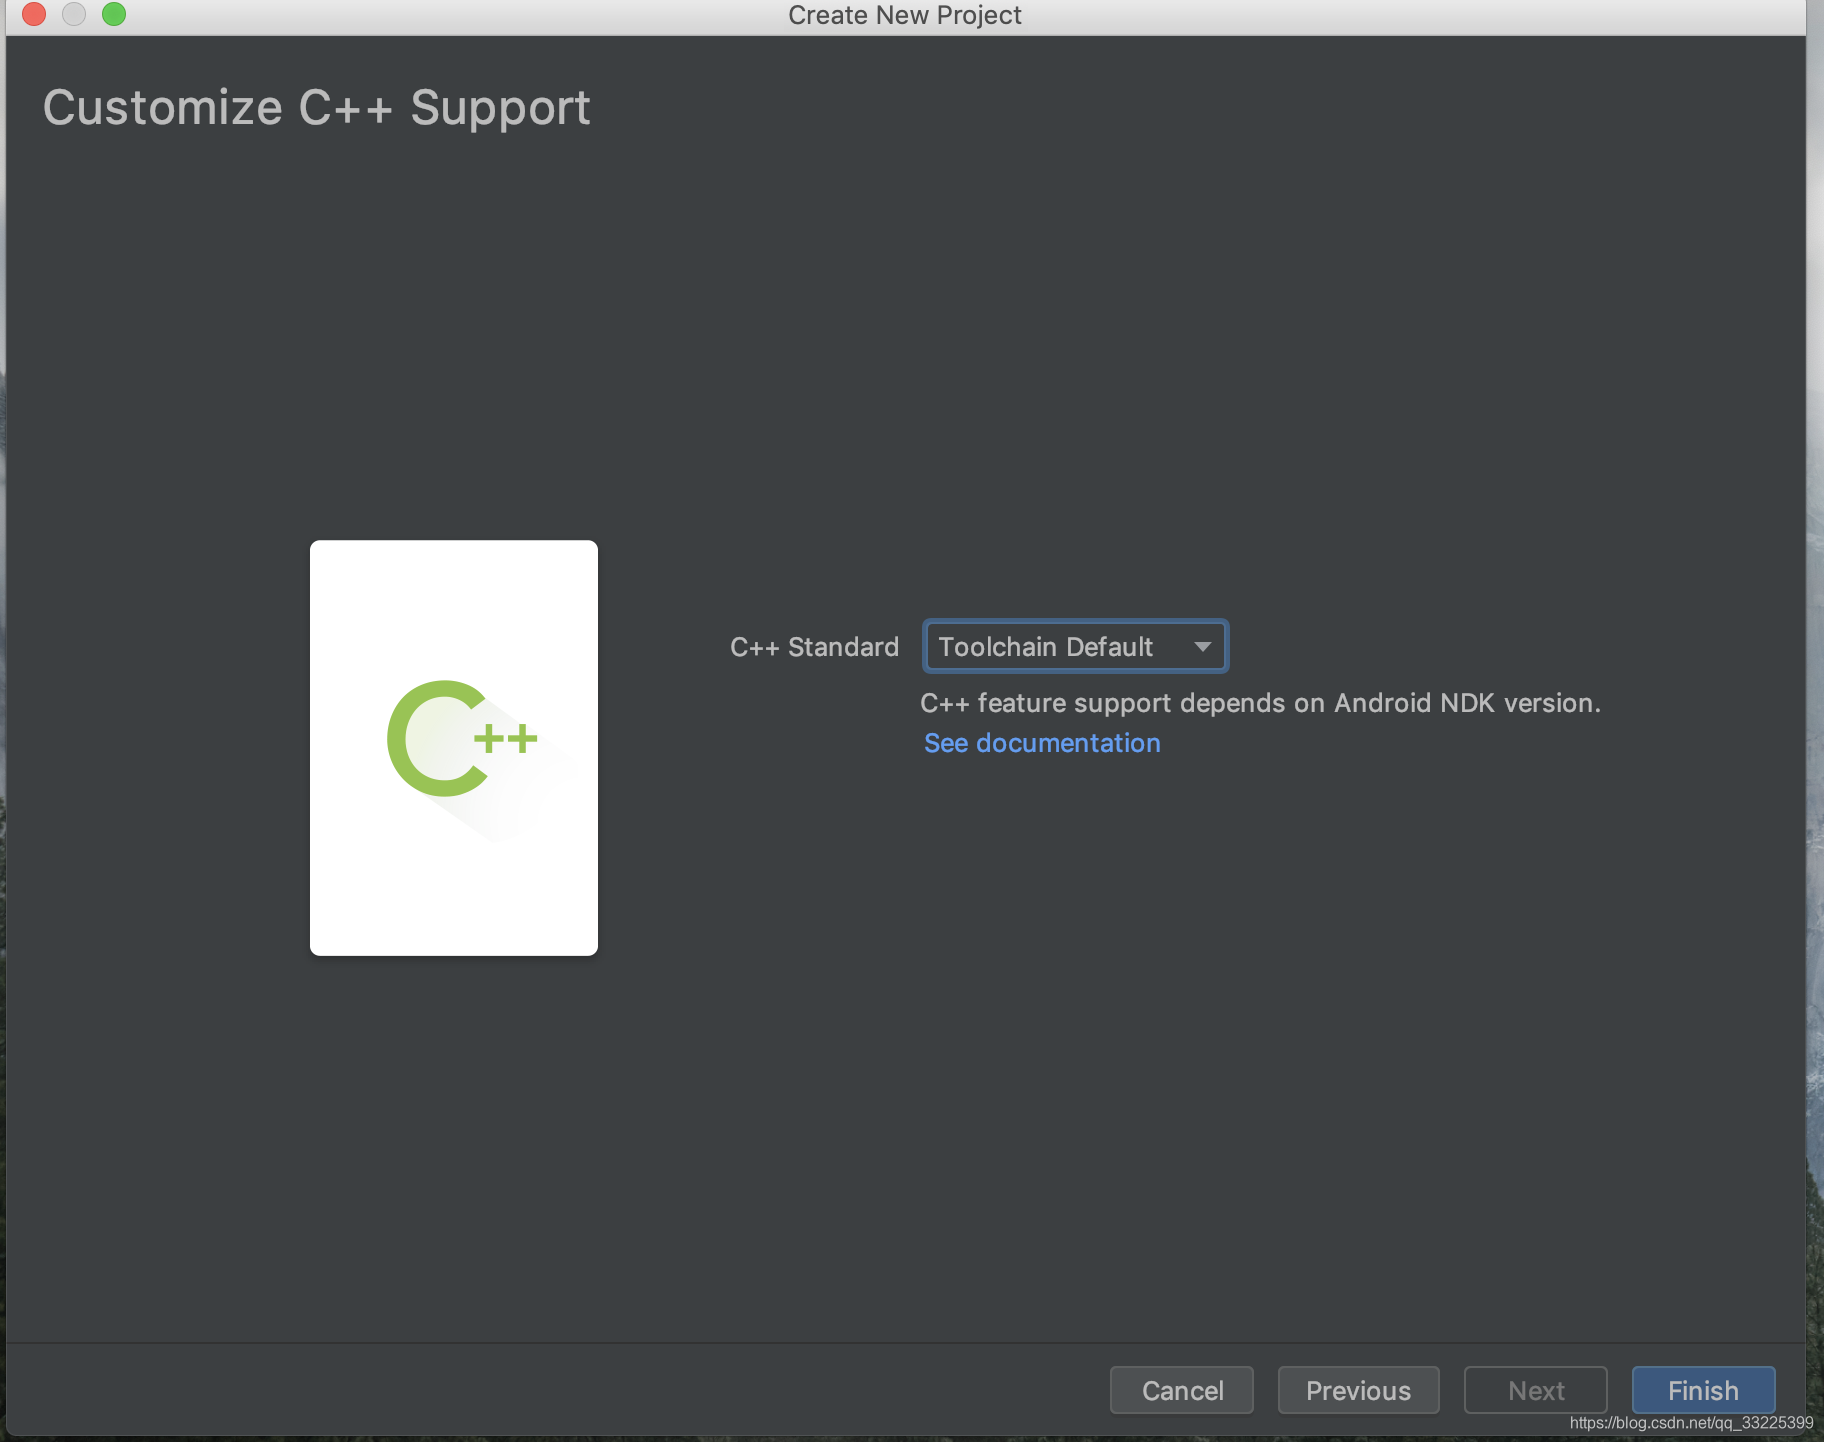
- 然后是选择C++版本,我们选择默认的即可,最后finish,完成!
- 尴尬本来是没有这一步的,但是部分人可能点击创建后会gradle同步失败,失败的同学门看我的这篇文章,创建后工程目录为(好吧,由于as版本不同选择的工程不一样会有一点差距,可以忽略为0,并不影响我们继续工作):
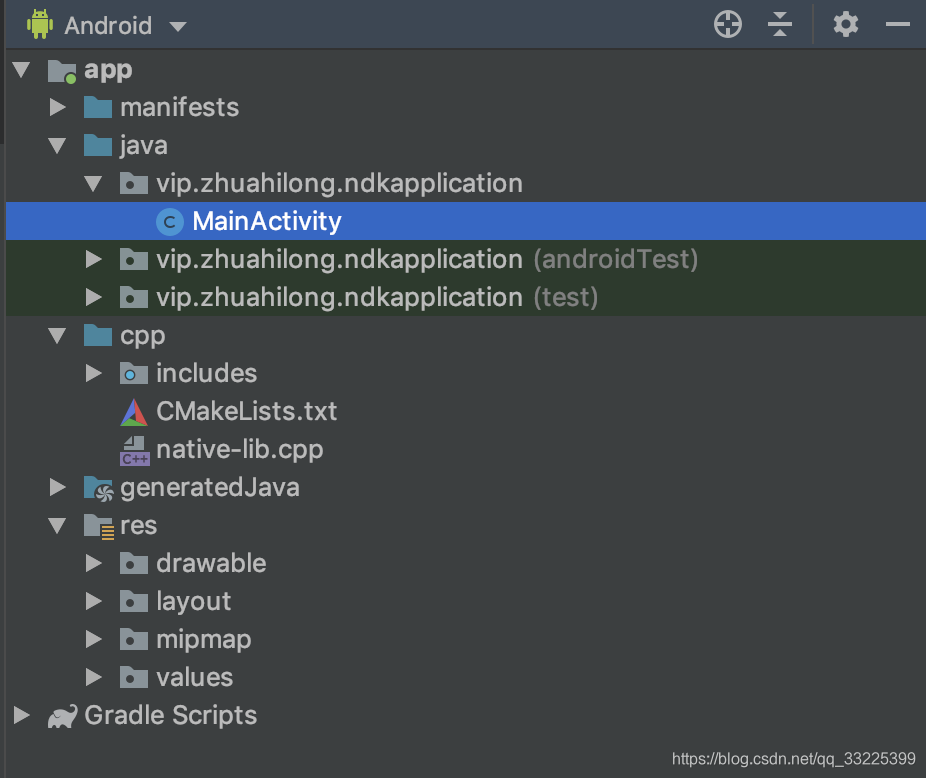
ps:勾选"Include C++ support" 创建完的工程,他的Cmake文件会出在Gradle Scripts下的模块里。
三、分析我们默认创建后的代码
- 首先来看一下MainActivity:
public class MainActivity extends AppCompatActivity {

    // Used to load the 'native-lib' library on application startup.
    static {
        System.loadLibrary("native-lib");
    }

    @Override
    protected void onCreate(Bundle savedInstanceState) {
        super.onCreate(savedInstanceState);
        setContentView(R.layout.activity_main);

        // Example of a call to a native method
        TextView tv = findViewById(R.id.sample_text);
        tv.setText(stringFromJNI());
    }

    /**
     * A native method that is implemented by the 'native-lib' native library,
     * which is packaged with this application.
     */
    public native String stringFromJNI();
}
其中 System.loadLibrary(“native-lib”);是加载我们动态库文件,你们不要以为是加载我们的native-lib.cpp文件,动态库文件是由我们编译生成的,具体后面再讲,我们在MainActivity里定义了一个native方法:stringFromJNI(),而这个方法正好对应的是native-lib.cpp文件里的方法如下:
#include <jni.h>
#include <string>

extern "C" JNIEXPORT jstring JNICALL
Java_vip_zhuahilong_ndkapplication_MainActivity_stringFromJNI(
        JNIEnv *env,
        jobject /* this */) {
    std::string hello = "Hello from C++";
    return env->NewStringUTF(hello.c_str());
}
四、改造为简单的SDK?
想必大家肯定玩过地图吧,或者大家肯定加载过动态.so库文件,我们现在就改造这个项目,改造成别人能继承的SDK。
- 在项目的基础上创建一个Android library,名为NdkLibrary,并且让我们的NDKApplication项目进行依赖这个library。
- 在library中创建我们的NDKManager类如下:
package vip.zhuahilong.ndklibrary;

import android.app.Application;

public class NDKManager {

    static {
        System.loadLibrary("native-lib");
    }

    private Application mApplication;


    public static NDKManager init(Application application) {
        return new NDKManager(application);
    }

    private NDKManager(Application application) {
        if (application == null) {
            throw new NullPointerException("The param application is null!");
        }
        this.mApplication = application;
    }

    /**
     * 史上最简单的native方法
     * @return
     */
    public native String getShowMessage();

    /**
     * 加密
     * @param message
     * @return
     */
    public native String encodeString(String message);


    /**
     * 解密
     * @param message
     * @return
     */
    public native String decodeString(String message);
}
在我们native-lib.cpp会生成两个对应的方法如下:
#include <jni.h>
#include <string>


extern "C"
JNIEXPORT jstring JNICALL
Java_vip_zhuahilong_ndklibrary_NDKManager_getShowMessage(JNIEnv *env, jobject instance) {

    char *str = "should show message";

    return env->NewStringUTF(str);
}

/**
 * 加密操作
 */
extern "C"
JNIEXPORT jstring JNICALL
Java_vip_zhuahilong_ndklibrary_NDKManager_encodeString(JNIEnv *env, jobject instance,
                                                       jstring message_) {
    int len = env->GetStringLength(message_);

    const char *message = env->GetStringUTFChars(message_, 0);

    char *cStr = const_cast<char *>(message);

    for (int i = 0; i < len; ++i) {
        cStr[i] = static_cast<char>(cStr[i] - 10);
    }

    return env->NewStringUTF(message);
}


/**
 * 解密操作
 * @param env
 * @param instance
 * @param message_
 * @return
 */
extern "C"
JNIEXPORT jstring JNICALL
Java_vip_zhuahilong_ndklibrary_NDKManager_decodeString(JNIEnv *env, jobject instance,
                                                       jstring message_) {
    int len = env->GetStringLength(message_);

    const char *message = env->GetStringUTFChars(message_, 0);

    char *cStr = const_cast<char *>(message);

    for (int i = 0; i < len; ++i) {
        *(cStr + i) += 10;
    }

    return env->NewStringUTF(message);
}
而我们在MainActivit里写六个控件,三个button和三个TextView,第一个button(最简单的NATIVE方法)调用我们getShowMessage()并将返回的结果返回到左侧的textView中;第二个Button(进行加密,加密内容为字符串“NdkApplication),并将加密后的结果显示到第一个TextView上;第二个button(将加密后的结果拿过来进行解密),并将解密后的结果放到左侧的TextView上进行展示。下面分别是MainActivity和布局文件:
public class MainActivity extends AppCompatActivity implements View.OnClickListener {

    private TextView easyNative;
    private Button easyButton;
    private TextView encodeString;
    private Button encode;
    private TextView decodeString;
    private Button decode;
    private String encodResult;

    @Override
    protected void onCreate(Bundle savedInstanceState) {
        super.onCreate(savedInstanceState);
        setContentView(R.layout.activity_main);
        initView();
        easyButton.setOnClickListener(this);
        encode.setOnClickListener(this);
        decode.setOnClickListener(this);
    }

    private void initView() {
        easyNative = ((TextView) findViewById(R.id.easyNative));
        easyButton = ((Button) findViewById(R.id.easyButton));
        encodeString = ((TextView) findViewById(R.id.encodeStr));
        encode = ((Button) findViewById(R.id.encode));
        decodeString = ((TextView) findViewById(R.id.decodeStr));
        decode = ((Button) findViewById(R.id.decode));
    }

    @Override
    public void onClick(View v) {
        App application = (App) getApplication();
        NDKManager ndkManager = application.getNDKManager();
        switch (v.getId()) {
            case R.id.easyButton:
                String showMessage = ndkManager.getShowMessage();
                easyNative.setText(showMessage);
                break;
            case R.id.encode:
                String encodStr = encodeString.getText().toString();
                if (TextUtils.isEmpty(encodStr)) {
                    Toast.makeText(application, "请先获取最简单Native值", Toast.LENGTH_SHORT).show();
                    return;
                }
                encodResult = ndkManager.encodeString(encodStr);
                easyNative.setText(encodResult);
                break;
            case R.id.decode:
                if (TextUtils.isEmpty(encodResult)) {
                    Toast.makeText(application, "can't be null", Toast.LENGTH_SHORT).show();
                    return;
                }
                String s = ndkManager.decodeString(encodResult);
                decodeString.setText(s);
                break;
        }
    }
}```
<LinearLayout
    android:layout_width="match_parent"
    android:layout_height="?actionBarSize">

    <TextView
        android:id="@+id/easyNative"
        android:layout_width="0dp"
        android:gravity="center"
        android:layout_height="match_parent"
        android:layout_weight="2" />

    <Button
        android:id="@+id/easyButton"
        android:layout_width="0dp"
        android:layout_height="match_parent"
        android:layout_weight="2"
        android:text="最简单的Native方法" />
</LinearLayout>

<View
    android:layout_width="match_parent"
    android:layout_height="1px"
    android:background="@color/colorPrimary" />

<LinearLayout
    android:layout_width="match_parent"
    android:layout_height="?actionBarSize">

    <TextView
        android:id="@+id/encodeStr"
        android:layout_width="0dp"
        android:gravity="center"
        android:text="NdkApplication"
        android:layout_height="match_parent"
        android:layout_weight="2" />

    <Button
        android:id="@+id/encode"
        android:layout_width="0dp"
        android:layout_height="match_parent"
        android:layout_weight="2"
        android:text="加密" />
</LinearLayout>

<View
    android:layout_width="match_parent"
    android:layout_height="1px"
    android:background="@color/colorPrimary" />

<LinearLayout
    android:layout_width="match_parent"
    android:layout_height="?actionBarSize">

    <TextView
        android:id="@+id/decodeStr"
        android:layout_width="0dp"
        android:gravity="center"
        android:text="null"
        android:layout_height="match_parent"
        android:layout_weight="2" />

    <Button
        android:id="@+id/decode"
        android:layout_width="0dp"
        android:layout_height="match_parent"
        android:layout_weight="2"
        android:text="解密" />
</LinearLayout>

<View
    android:layout_width="match_parent"
    android:layout_height="1px"
    android:background="@color/colorPrimary" />
```
最终要的一步不要忘记里,就是初始化我们的NDKManager,新建App类继承Application并在配置清单里进行配置,app类如下:
import vip.zhuahilong.ndklibrary.NDKManager;

public class App extends Application {

    private NDKManager mNDKManager;

    @Override
    public void onCreate() {
        super.onCreate();
        mNDKManager = NDKManager.init(this);
    }

    public NDKManager getNDKManager() {
        return mNDKManager;
    }
}
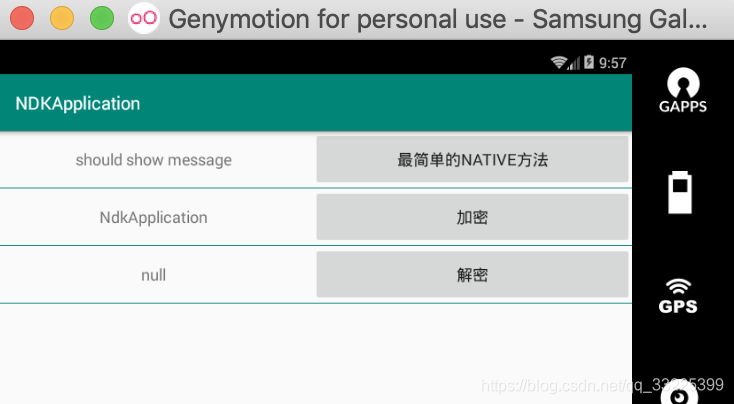
万事大吉,来看一下我们的运行效果图:
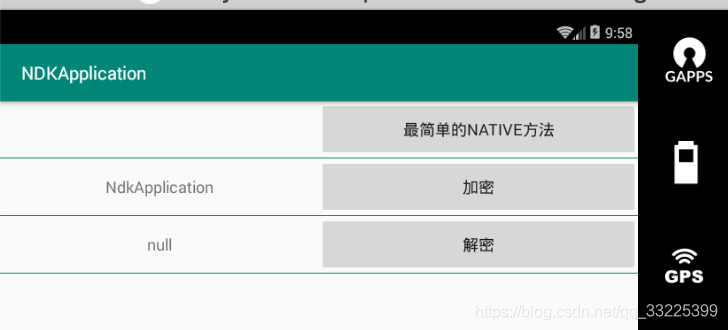
- 点击第一个button,成功的接收到cpp文件的返回的值:
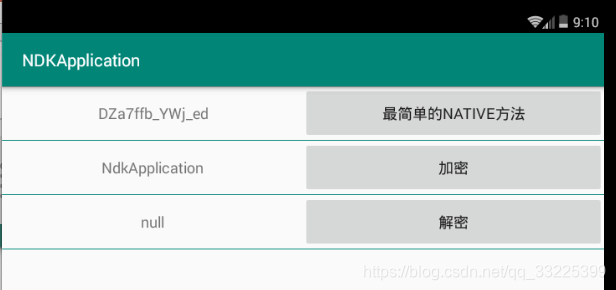
- 点击第二个Button,同样和我们预想的一样,加密NdkApplication得到加密结果并在第一个TextView中显示,加密结果为(DZa7ffb_YWj_ed):
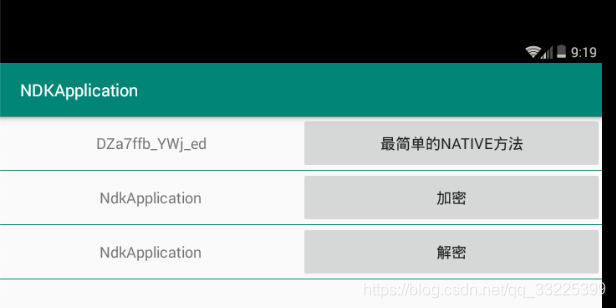
- 点击第三个button,对字符串“DZa7ffb_YWj_ed“进行解密,得到的结果显示在左侧的TextView中,解密结果为(NdkApplication):
这样我们的NDK工程就写完了,等等,怎么感觉怪怪的,不是说改造成别人能使用的SDK吗?别急且看下回分解(续集),哈哈!!!


 898
898


 被折叠的 条评论
为什么被折叠?
被折叠的 条评论
为什么被折叠?
 到【灌水乐园】发言


