


前言
我在前一段时间突发奇想,就使用java来调用chatgpt的接口,然后写了一个简单小程序,也上了热榜第一,java调用chatgpt接口,实现专属于自己的人工智能助手,事实上,这个程序毛病挺多的,最不能让人接受的一点就是返回速度非常缓慢(即使使用非常好的外网服务器)。
现在,我改进了一下程序,使用异步请求的方式,基本可以实现秒回复。并且还基于webSocket编写了一个微信小程序来进行交互,可以直接使用微信小程序来进行体验。
现在我将所有代码都上传了github(链接在文章结尾),大家可以clone下来,部署到服务器上,真正实现自己的聊天机器人!!!
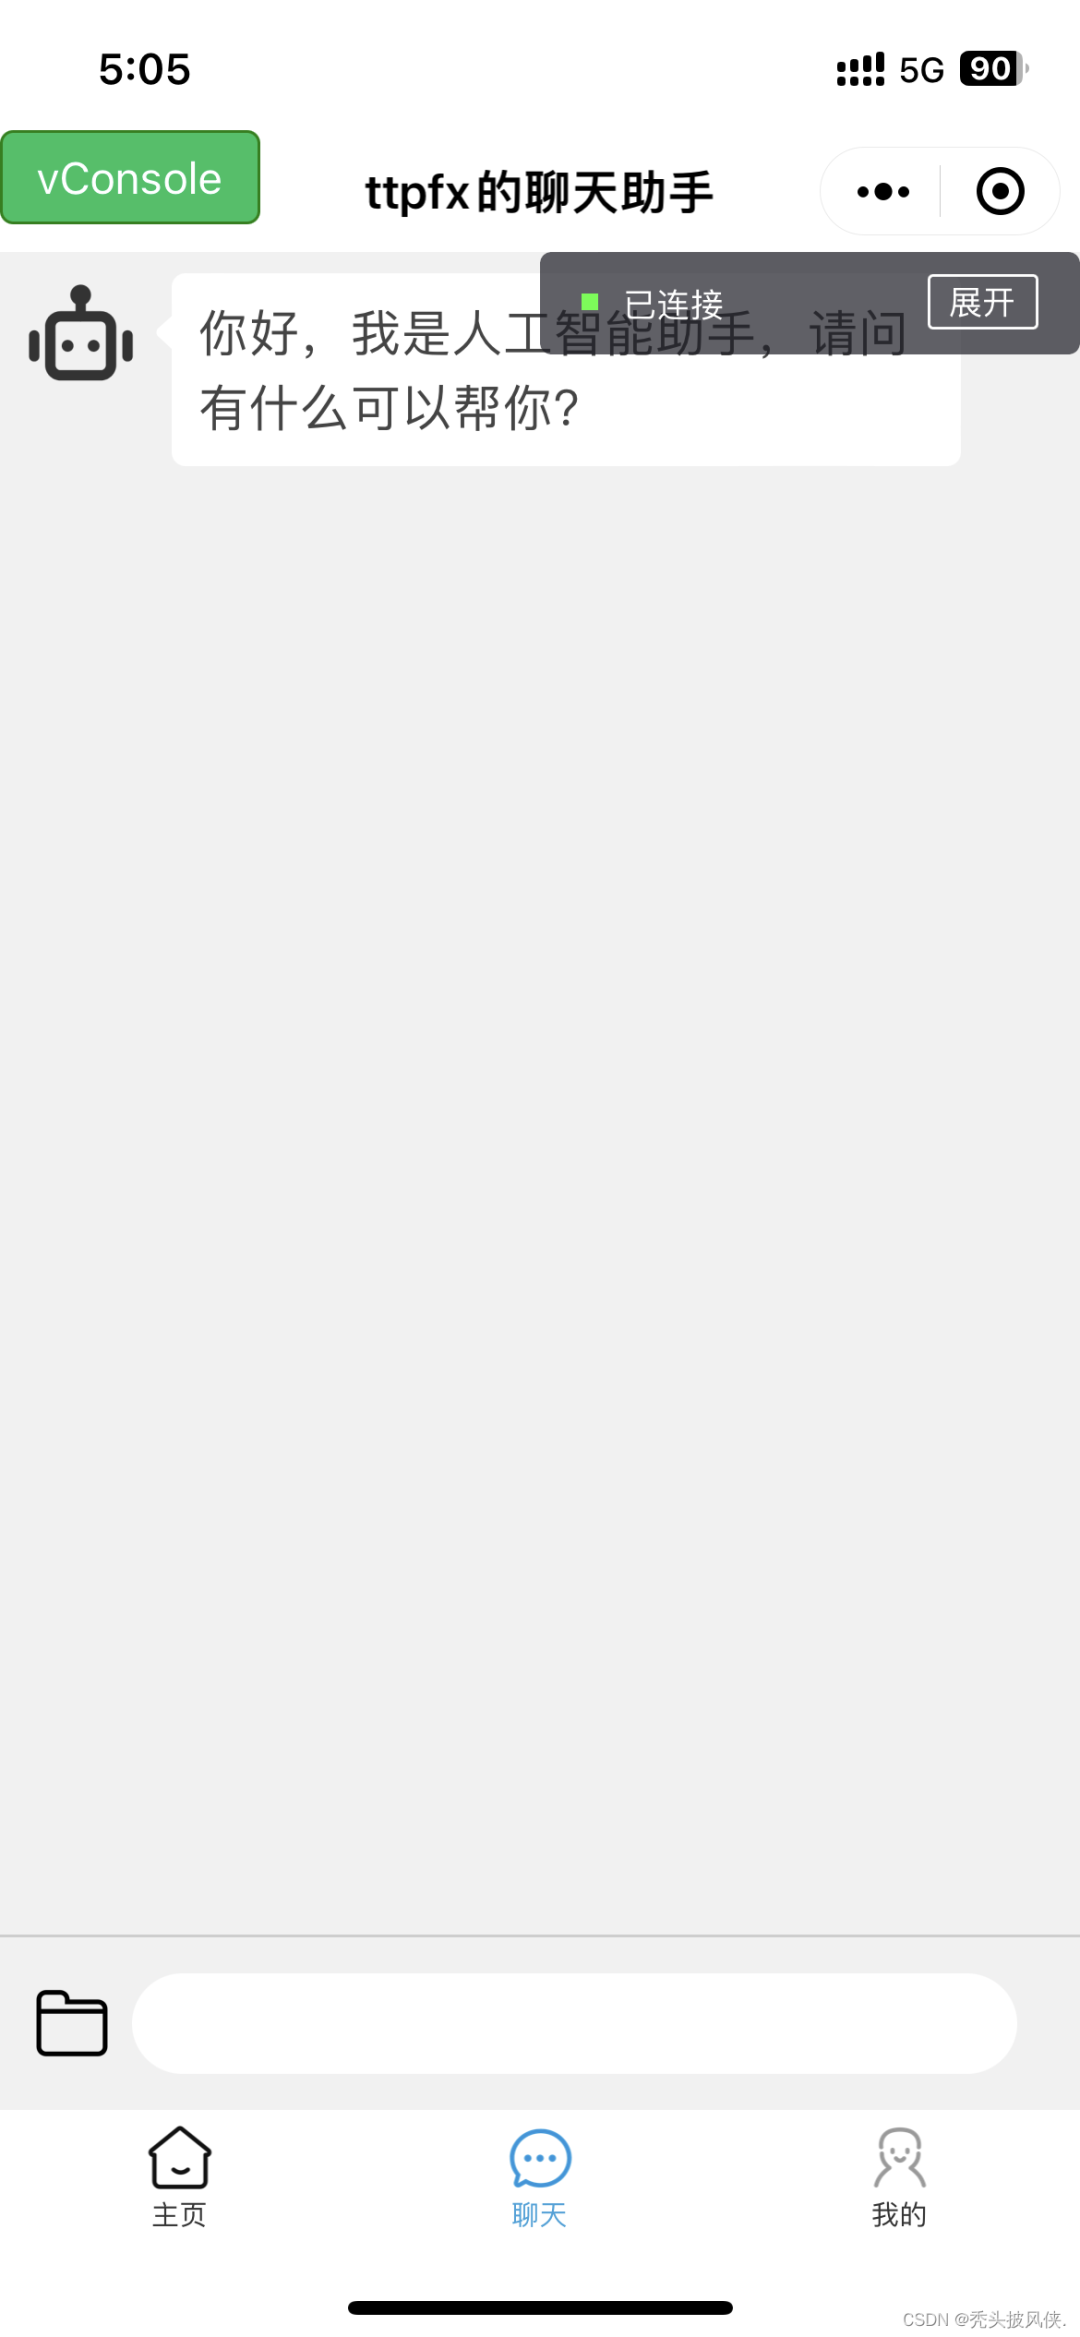
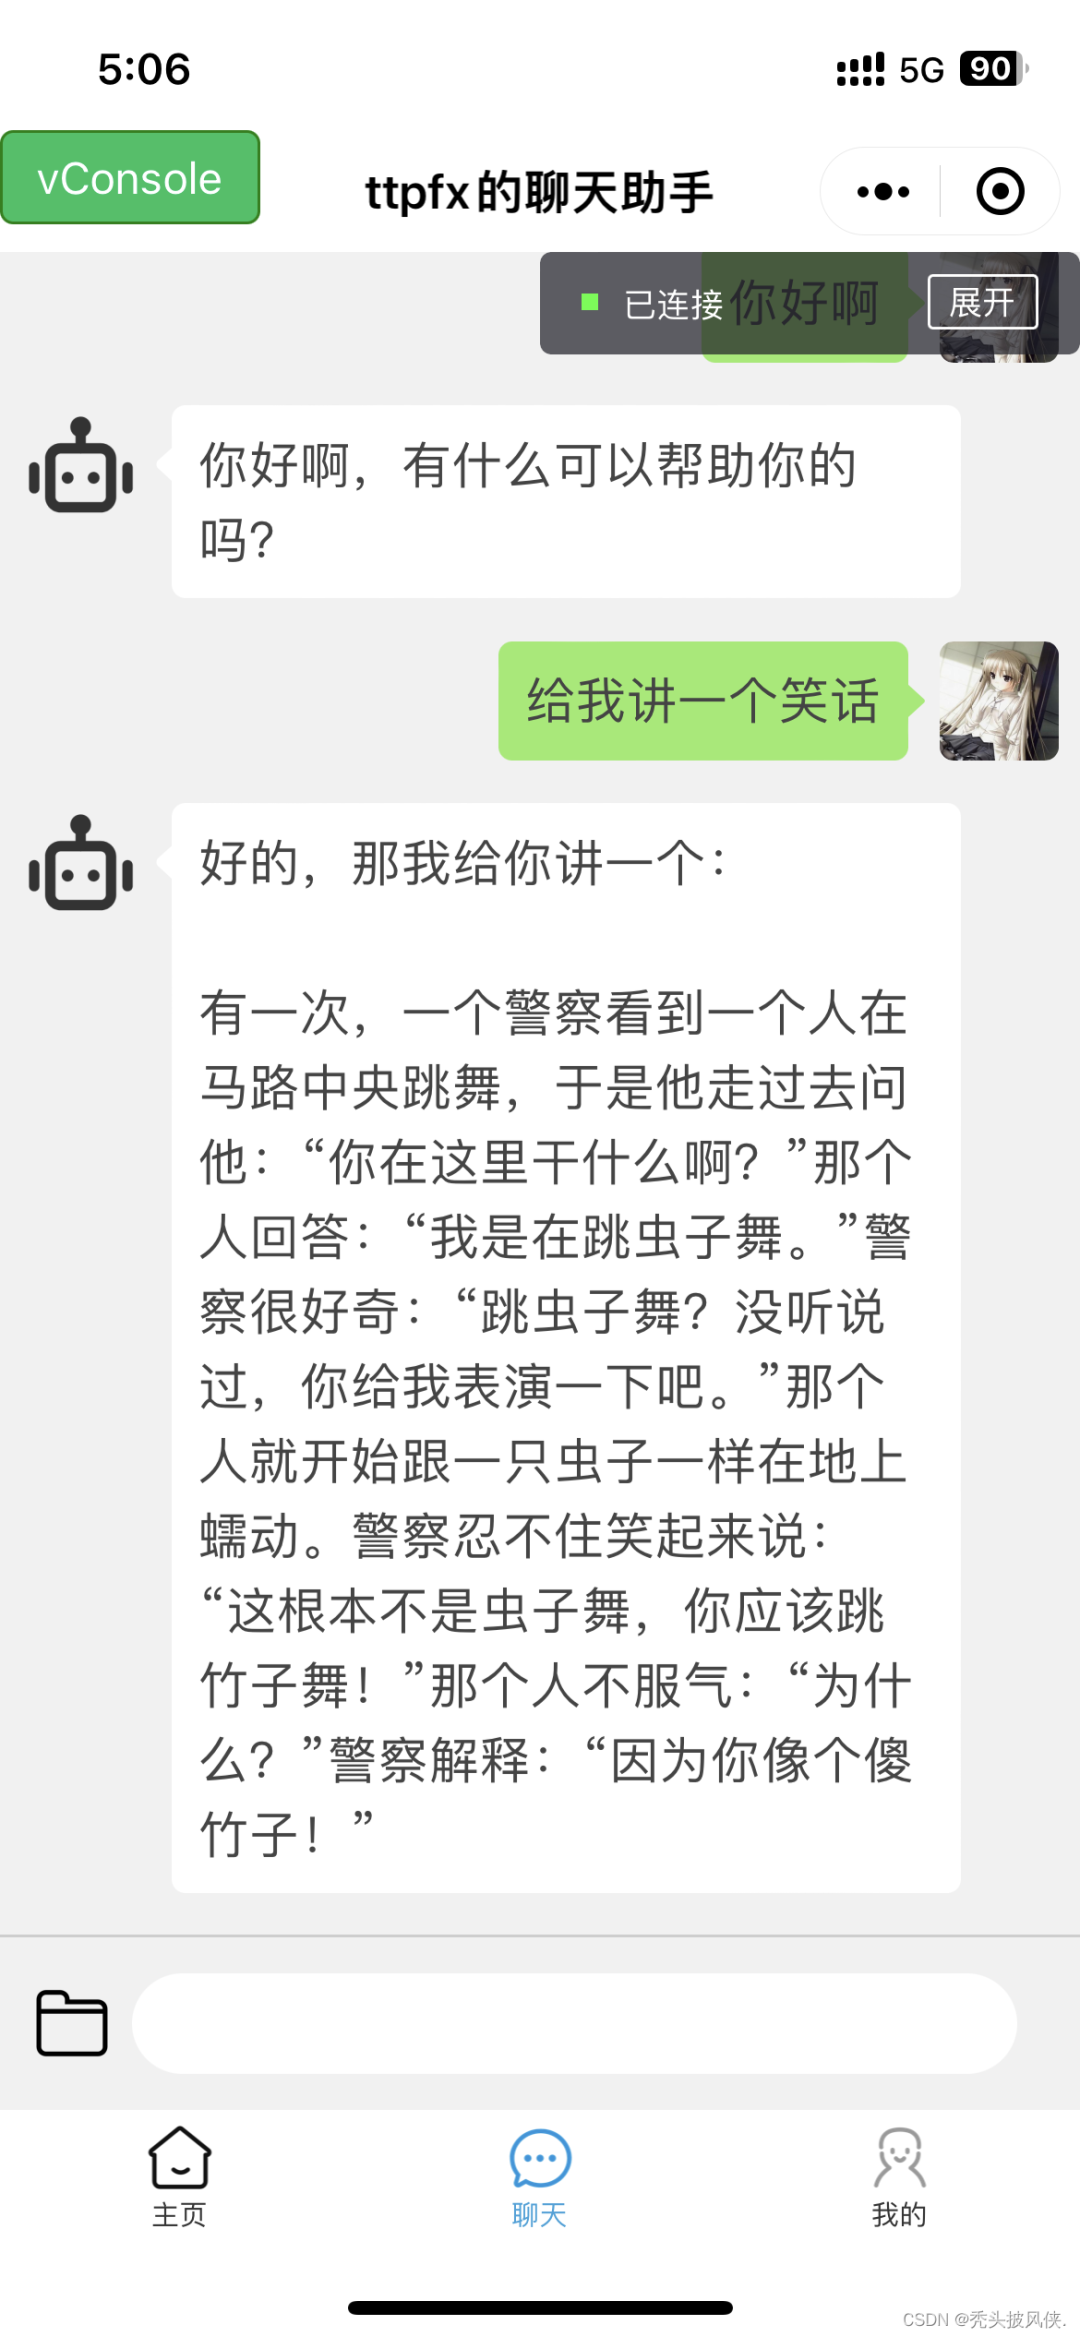
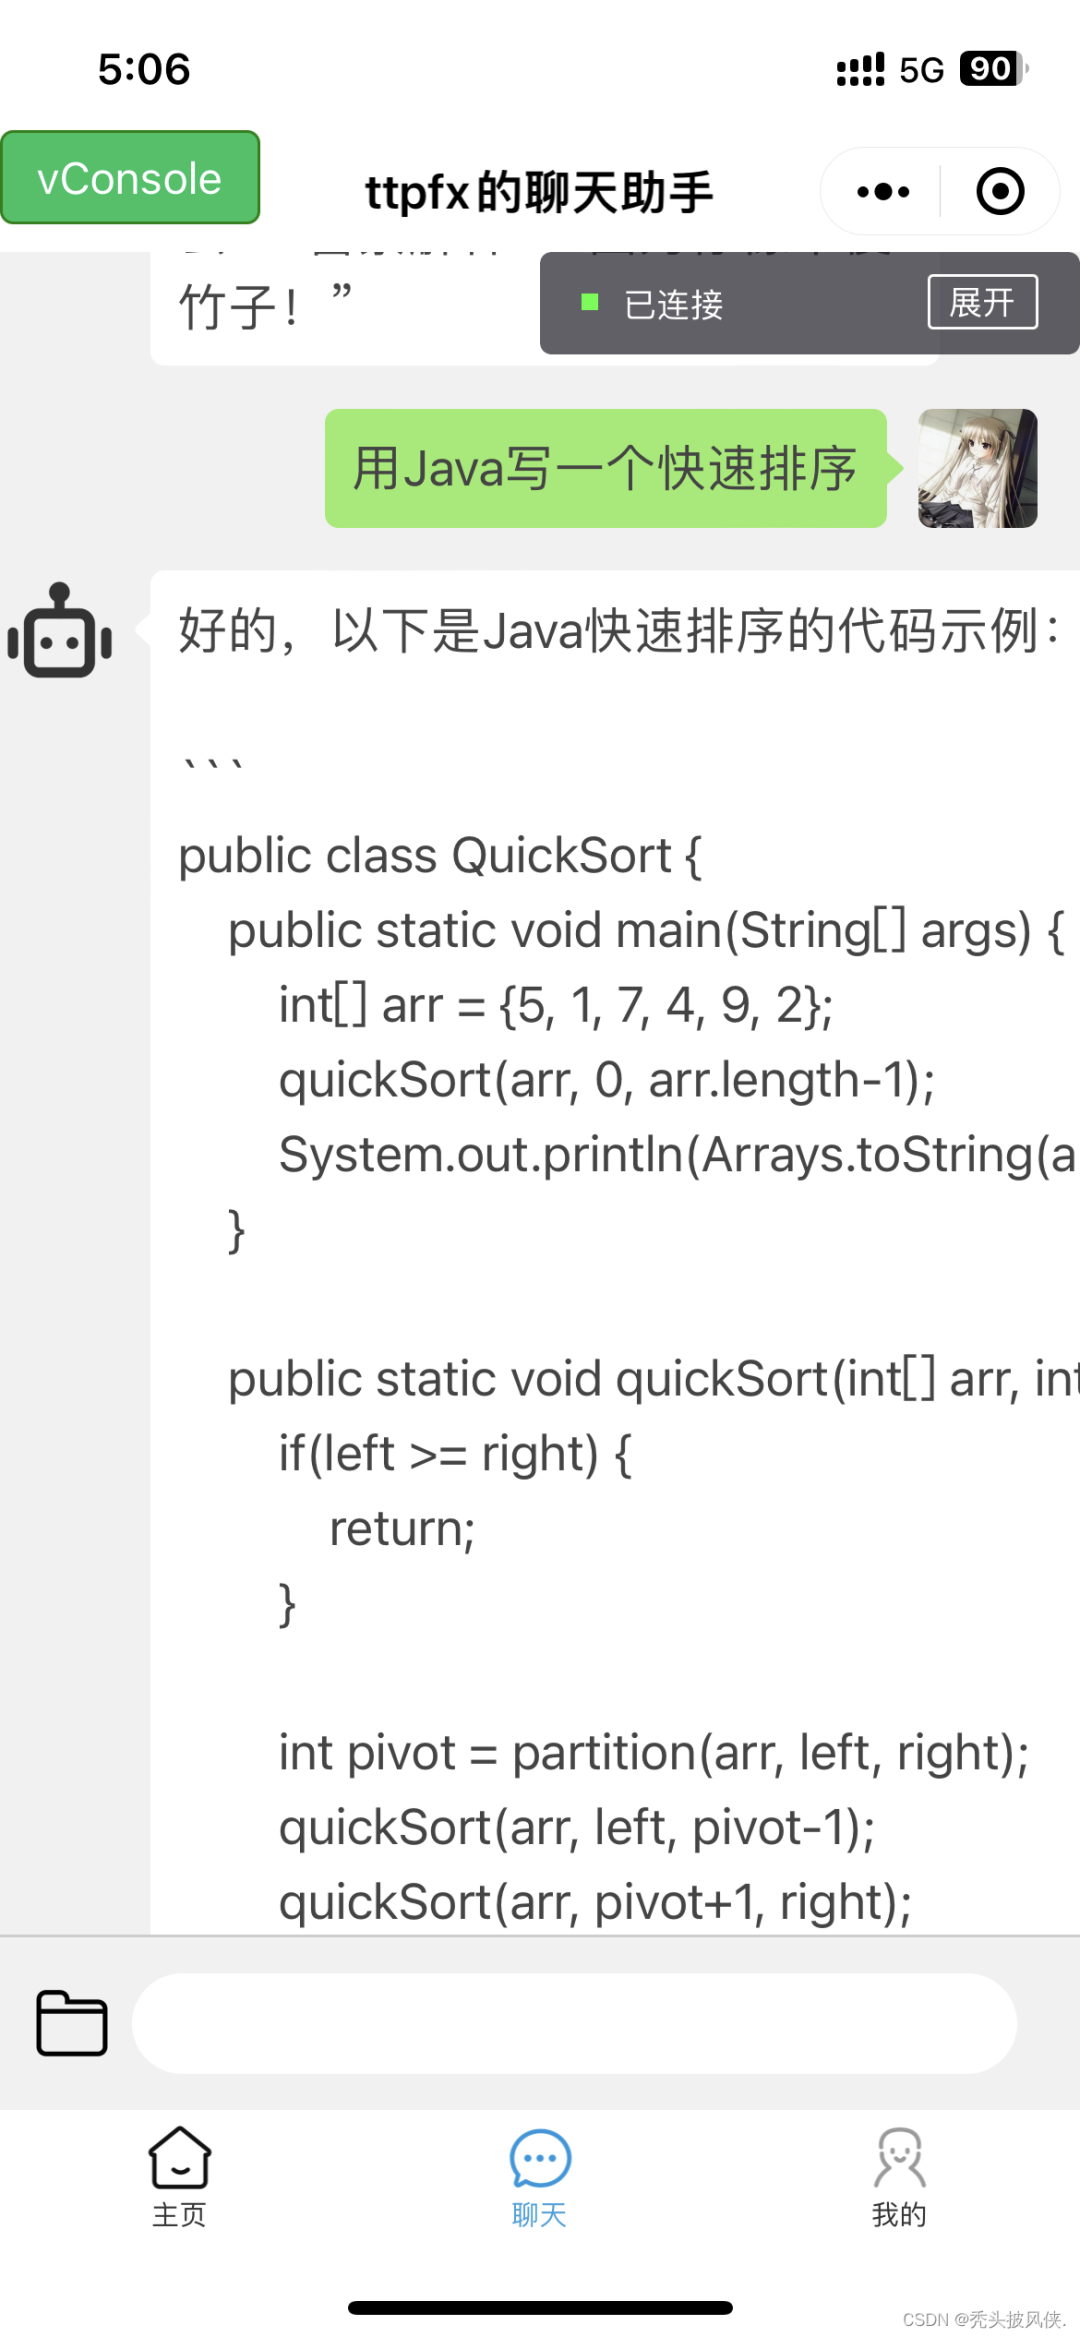
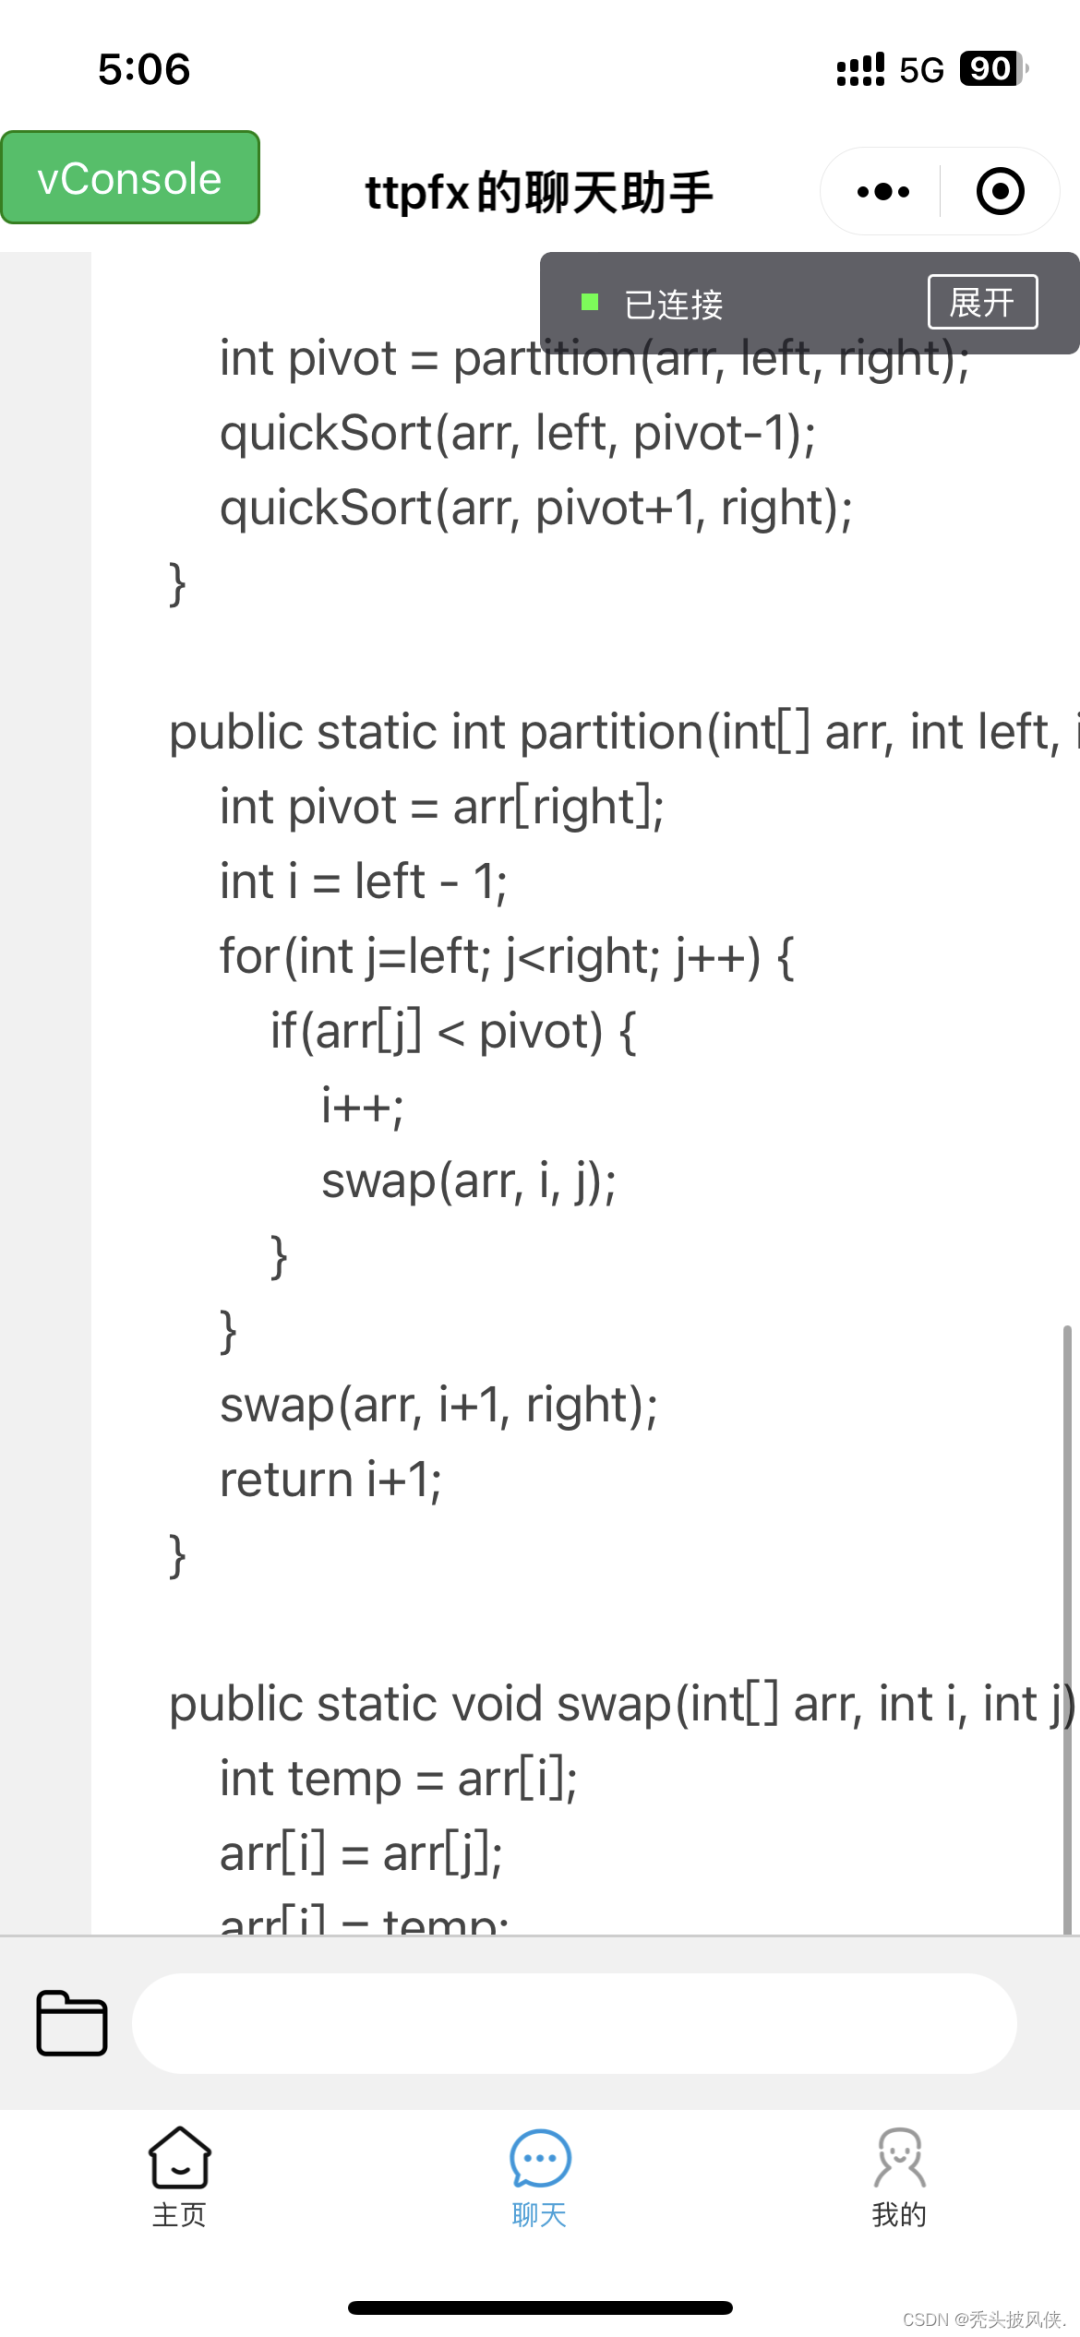
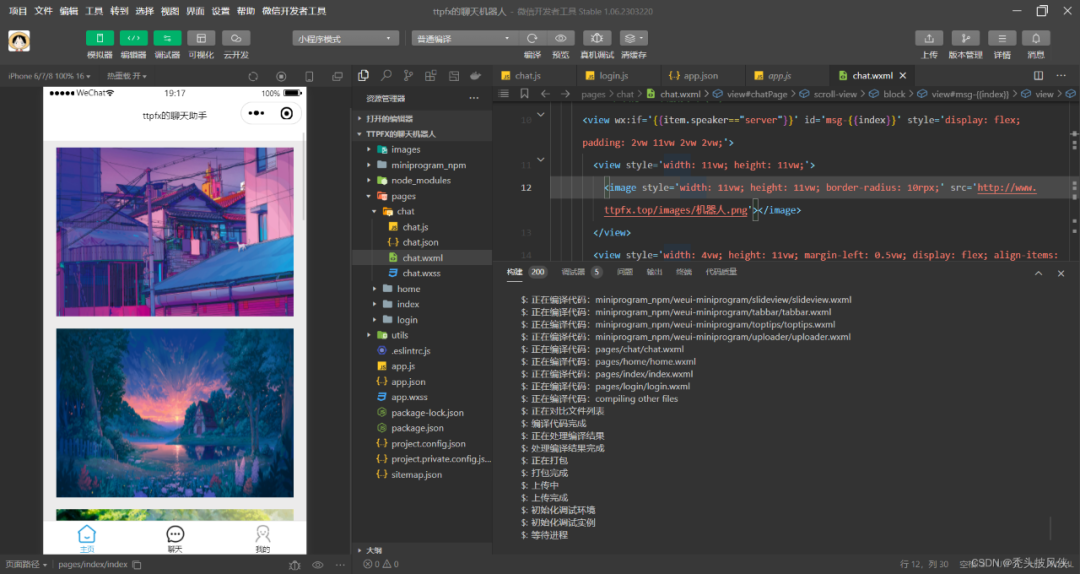
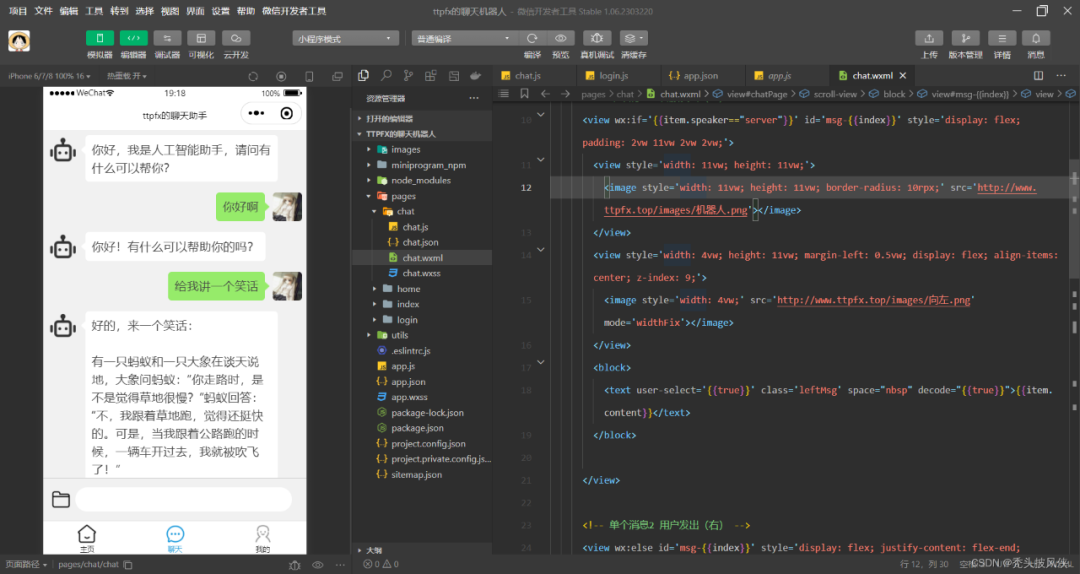
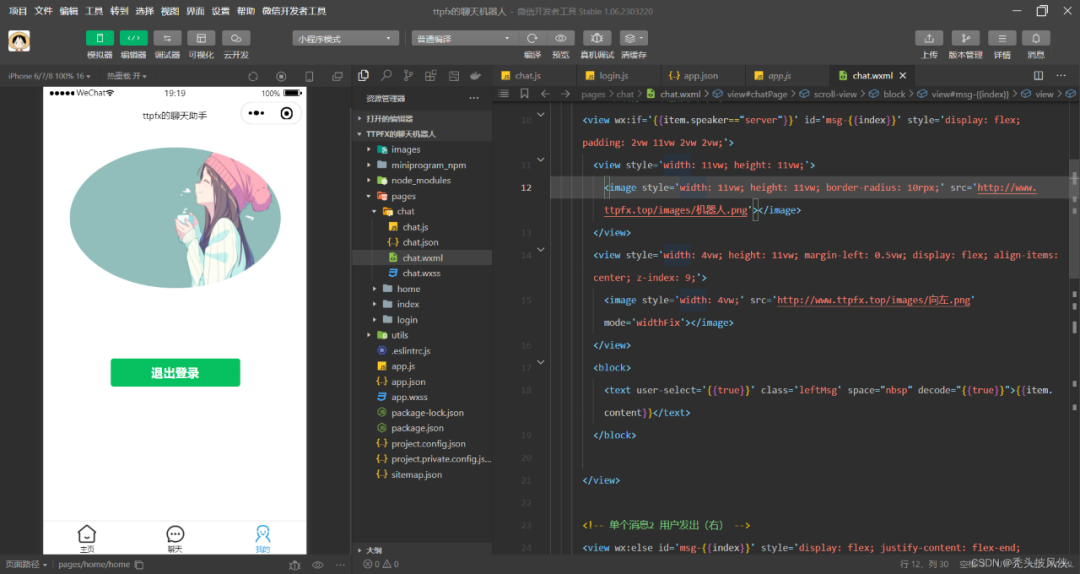
效果展示
部分截图如下
原理说明
在 java调用chatgpt接口,实现专属于自己的人工智能助手 我说明了java调用chatgpt的基本原理,这里的代码就是对这个代码的改进,使用异步请求的方式来进行。
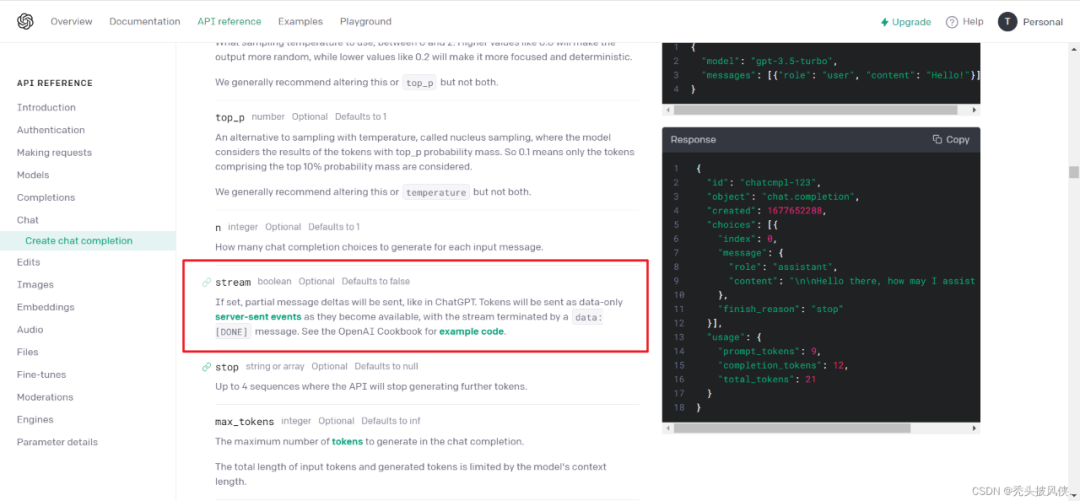
注意看官方文档,我们在请求时可以提供一个参数stream,然后就可以实现按照流的形式进行返回,这种方式基本可以做到没有延迟就给出答案。
由于这次改进的思路主要就是将请求改为了异步,其他的基本一样,所以就不做解释,直接给出代码了,代码上面都有注释。
/**
     * 这个方法用于测试的,可以在控制台打印输出结果
     *
     * @param chatGptRequestParameter 请求的参数
     * @param question                问题
     */
    public void printAnswer(ChatRequestParameter chatGptRequestParameter, String question) {
        asyncClient.start();
        // 创建一个post请求
        AsyncRequestBuilder asyncRequest = AsyncRequestBuilder.post(url);


        // 设置请求参数
        chatGptRequestParameter.addMessages(new ChatMessage("user", question));


        // 请求的参数转换为字符串
        String valueAsString = null;
        try {
            valueAsString = objectMapper.writeValueAsString(chatGptRequestParameter);
        } catch (JsonProcessingException e) {
            e.printStackTrace();
        }


        // 设置编码和请求参数
        ContentType contentType = ContentType.create("text/plain", charset);
        asyncRequest.setEntity(valueAsString, contentType);
        asyncRequest.setCharset(charset);


        // 设置请求头
        asyncRequest.setHeader(HttpHeaders.CONTENT_TYPE, "application/json");
        // 设置登录凭证
        asyncRequest.setHeader(HttpHeaders.AUTHORIZATION, "Bearer " + apiKey);


        // 下面就是生产者消费者模型
        CountDownLatch latch = new CountDownLatch(1);
        // 用于记录返回的答案
        StringBuilder sb = new StringBuilder();
        // 消费者
        AbstractCharResponseConsumer<HttpResponse> consumer = new AbstractCharResponseConsumer<HttpResponse>() {
            HttpResponse response;


            @Override
            protected void start(HttpResponse response, ContentType contentType) throws HttpException, IOException {
                setCharset(charset);
                this.response = response;
            }


            @Override
            protected int capacityIncrement() {
                return Integer.MAX_VALUE;
            }


            @Override
            protected void data(CharBuffer src, boolean endOfStream) throws IOException {
                // 收到一个请求就进行处理
                String ss = src.toString();
                // 通过data:进行分割,如果不进行此步,可能返回的答案会少一些内容
                for (String s : ss.split("data:")) {
                    // 去除掉data:
                    if (s.startsWith("data:")) {
                        s = s.substring(5);
                    }
                    // 返回的数据可能是(DONE)
                    if (s.length() > 8) {
                        // 转换为对象
                        ChatResponseParameter responseParameter = objectMapper.readValue(s, ChatResponseParameter.class);
                        // 处理结果
                        for (Choice choice : responseParameter.getChoices()) {
                            String content = choice.getDelta().getContent();
                            if (content != null && !"".equals(content)) {
                                // 保存结果
                                sb.append(content);
                                // 将结果使用webSocket传送过去
                                System.out.print(content);
                            }
                        }
                    }
                }
            }


            @Override
            protected HttpResponse buildResult() throws IOException {
                return response;
            }


            @Override
            public void releaseResources() {
            }
        };


        // 执行请求
        asyncClient.execute(asyncRequest.build(), consumer, new FutureCallback<HttpResponse>() {


            @Override
            public void completed(HttpResponse response) {
                latch.countDown();
                chatGptRequestParameter.addMessages(new ChatMessage("assistant", sb.toString()));
                System.out.println("回答结束!!!");
            }


            @Override
            public void failed(Exception ex) {
                latch.countDown();
                System.out.println("failed");
                ex.printStackTrace();
            }


            @Override
            public void cancelled() {
                latch.countDown();
                System.out.println("cancelled");
            }


        });
        try {
            latch.await();
        } catch (InterruptedException e) {
            e.printStackTrace();
        }
    }
大家代码可以直接不看,反正最终的效果就是可以实现问了问题就返回结果。运行效果如下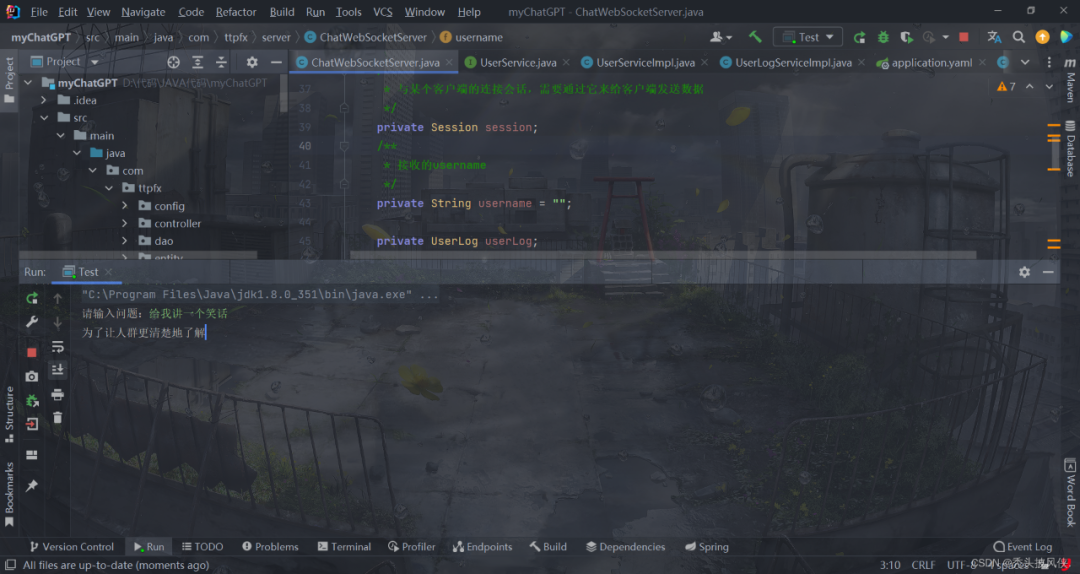
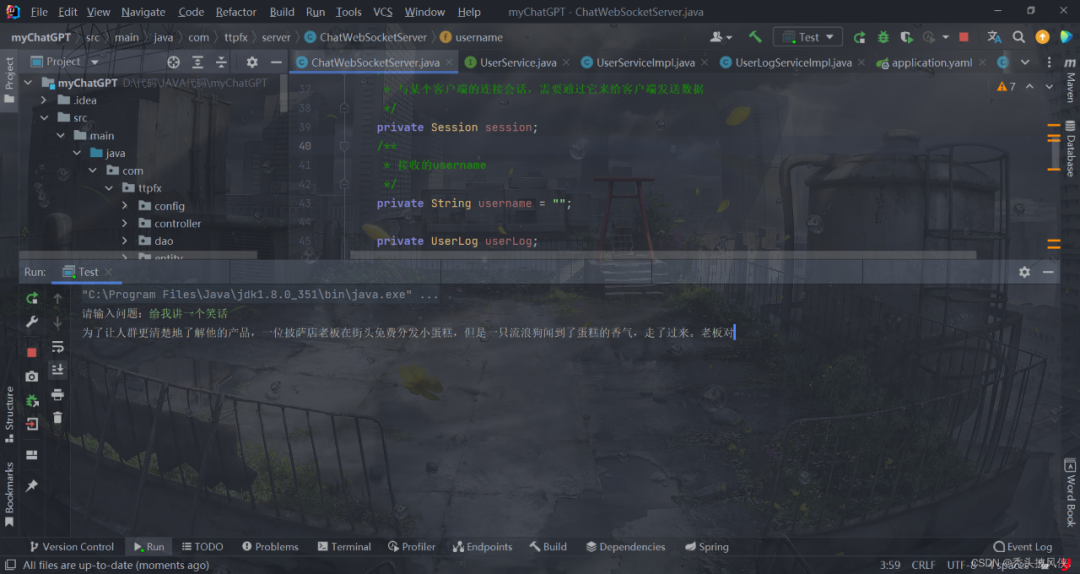 可以发现,输出就类似于官方的那种效果,一个字一个字的输出
服务器端代码说明
我使用java搭建了一个简单的服务器端程序,提供最基础的用户登录校验功能,以及提供了WebSocket通信。
用户校验的代码
package com.ttpfx.controller;


import com.ttpfx.entity.User;
import com.ttpfx.service.UserService;
import com.ttpfx.utils.R;
import org.springframework.web.bind.annotation.RequestMapping;
import org.springframework.web.bind.annotation.RestController;


import javax.annotation.Resource;
import java.util.Objects;
import java.util.concurrent.ConcurrentHashMap;


/**
 * @author ttpfx
 * @date 2023/3/29
 */
@RestController
@RequestMapping("/user")
public class UserController {


    @Resource
    private UserService userService;


    public static ConcurrentHashMap<String, User> loginUser = new ConcurrentHashMap<>();


    public static ConcurrentHashMap<String, Long> loginUserKey = new ConcurrentHashMap<>();
    @RequestMapping("/login")
    public R login(String username, String password) {
        if (username == null) return R.fail("必须填写用户名");


        User user = userService.queryByName(username);
        if (user == null) return R.fail("用户名不存在");
        String targetPassword = user.getPassword();
        if (targetPassword == null) return R.fail("用户密码异常");
        if (!targetPassword.equals(password)) return R.fail("密码错误");


        loginUser.put(username, user);
        loginUserKey.put(username, System.currentTimeMillis());
        return R.ok(String.valueOf(loginUserKey.get(username)));
    }


    @RequestMapping("/logout")
    public R logout(String username) {
        loginUser.remove(username);
        loginUserKey.remove(username);
        return R.ok();
    }


    @RequestMapping("/checkUserKey")
    public R checkUserKey(String username, Long key){
        if (username==null || key == null)return R.fail("用户校验异常");
        if (!Objects.equals(loginUserKey.get(username), key)){
            return R.fail("用户在其他地方登录!!!");
        }
        return R.ok();
    }


    @RequestMapping("/loginUser")
    public R loginUser(){
        return R.ok("success",loginUser.keySet());
    }
}
基于webSocket通信的代码
package com.ttpfx.server;


import com.fasterxml.jackson.databind.ObjectMapper;
import com.ttpfx.entity.UserLog;
import com.ttpfx.model.ChatModel;
import com.ttpfx.service.UserLogService;
import com.ttpfx.service.UserService;
import com.ttpfx.vo.chat.ChatRequestParameter;
import org.springframework.stereotype.Component;


import javax.annotation.Resource;
import javax.websocket.*;
import javax.websocket.server.PathParam;
import javax.websocket.server.ServerEndpoint;
import java.io.IOException;
import java.time.LocalDateTime;
import java.util.concurrent.ConcurrentHashMap;


/**
 * @author ttpfx
 * @date 2023/3/28
 */
@Component
@ServerEndpoint("/chatWebSocket/{username}")
public class ChatWebSocketServer {


    /**
     * 静态变量,用来记录当前在线连接数。应该把它设计成线程安全的。
     */
    private static int onlineCount = 0;
    /**
     * concurrent包的线程安全Map,用来存放每个客户端对应的MyWebSocket对象。
     */
    private static ConcurrentHashMap<String, ChatWebSocketServer> chatWebSocketMap = new ConcurrentHashMap<>();


    /**
     * 与某个客户端的连接会话,需要通过它来给客户端发送数据
     */
    private Session session;
    /**
     * 接收的username
     */
    private String username = "";


    private UserLog userLog;


    private static UserService userService;
    private static UserLogService userLogService;


    @Resource
    public void setUserService(UserService userService) {
        ChatWebSocketServer.userService = userService;
    }


    @Resource
    public void setUserLogService(UserLogService userLogService) {
        ChatWebSocketServer.userLogService = userLogService;
    }


    private ObjectMapper objectMapper = new ObjectMapper();
    private static ChatModel chatModel;


    @Resource
    public void setChatModel(ChatModel chatModel) {
        ChatWebSocketServer.chatModel = chatModel;
    }


    ChatRequestParameter chatRequestParameter = new ChatRequestParameter();


    /**
     * 建立连接
     * @param session 会话
     * @param username 连接用户名称
     */
    @OnOpen
    public void onOpen(Session session, @PathParam("username") String username) {
        this.session = session;
        this.username = username;
        this.userLog = new UserLog();
        // 这里的用户id不可能为null,出现null,那么就是非法请求
        try {
            this.userLog.setUserId(userService.queryByName(username).getId());
        } catch (Exception e) {
            e.printStackTrace();
            try {
                session.close();
            } catch (IOException ex) {
                ex.printStackTrace();
            }
        }
        this.userLog.setUsername(username);
        chatWebSocketMap.put(username, this);
        onlineCount++;
        System.out.println(username + "--open");
    }


    @OnClose
    public void onClose() {
        chatWebSocketMap.remove(username);
        System.out.println(username + "--close");
    }


    @OnMessage
    public void onMessage(String message, Session session) {
        System.out.println(username + "--" + message);
        // 记录日志
        this.userLog.setDateTime(LocalDateTime.now());
        this.userLog.setPreLogId(this.userLog.getLogId() == null ? -1 : this.userLog.getLogId());
        this.userLog.setLogId(null);
        this.userLog.setQuestion(message);
        long start = System.currentTimeMillis();
        // 这里就会返回结果
        String answer = chatModel.getAnswer(session, chatRequestParameter, message);
        long end = System.currentTimeMillis();
        this.userLog.setConsumeTime(end - start);
        this.userLog.setAnswer(answer);
        userLogService.save(userLog);
    }


    @OnError
    public void onError(Session session, Throwable error) {
        error.printStackTrace();
    }


    public void sendMessage(String message) throws IOException {
        this.session.getBasicRemote().sendText(message);
    }


    public static void sendInfo(String message, String toUserId) throws IOException {
        chatWebSocketMap.get(toUserId).sendMessage(message);
    }
}
我们只需要编写简单的前端代码,就可以实现和后端的socket通信。对于后端,我们只需要改一下apiKey和数据库配置就可以直接运行了。
微信小程序代码说明
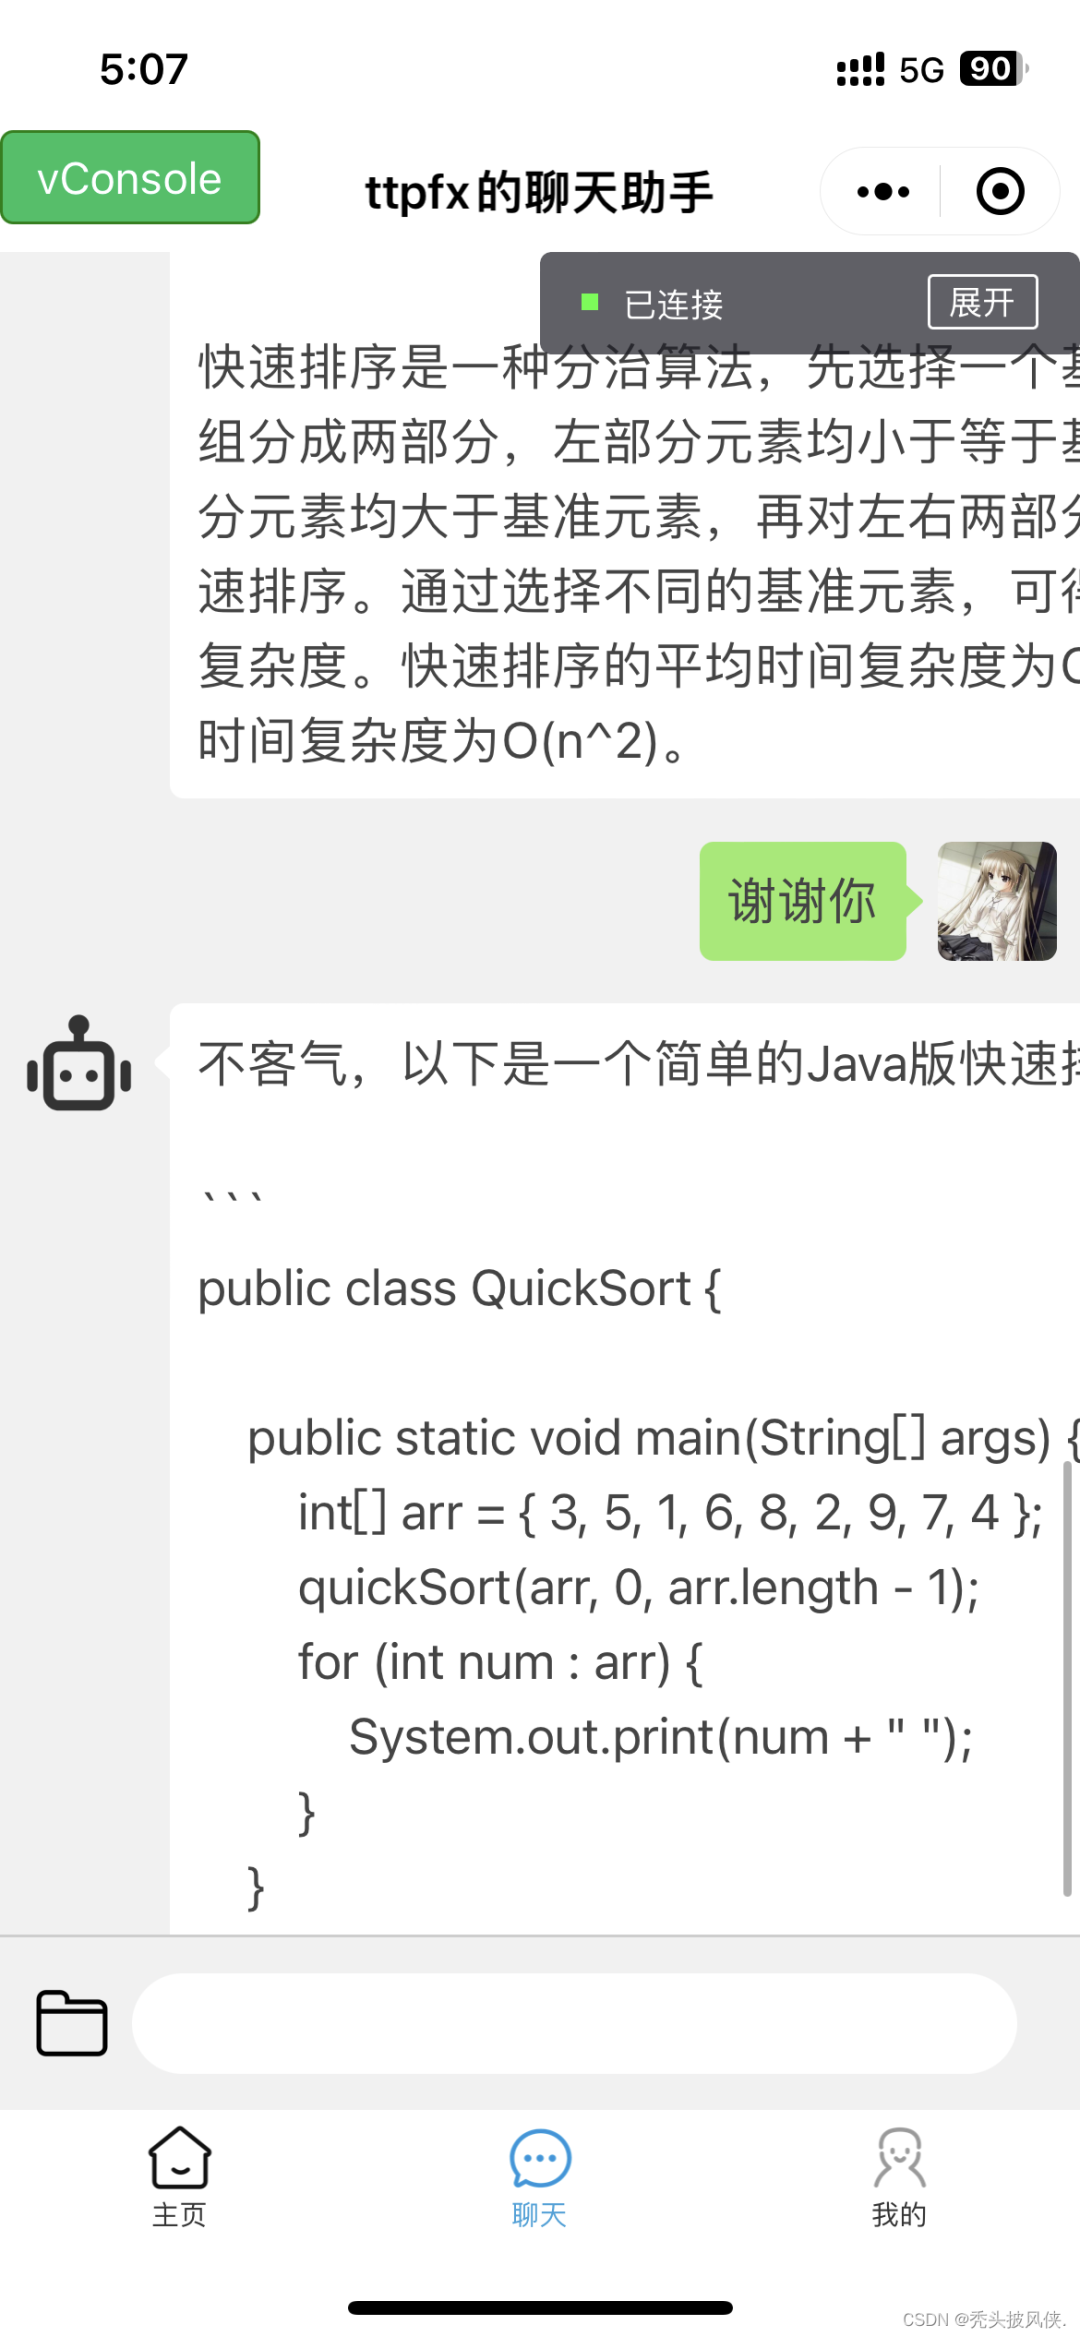
我写了一个简单微信小程序来和后端进行通信,界面如下
大家只需要下载源代码,然将程序中的ip改为自己服务器的ip即可
代码链接
github的地址为 https://github.com/c-ttpfx/chatgpt-java-wx
可以直接使用 git clone https://github.com/c-ttpfx/chatgpt-java-wx.git 下载代码到本地
我在github里面说明了安装使用的基本步骤,大家按照步骤使用即可
总结
上面聊天小程序就是我花2天写出来的,可能会有一些bug,我自己测试的时候倒是没有怎么遇到bug,聊天和登录功能都能正常使用。
对于微信小程序,由于我不是专业搞前端的,就只东拼西凑实现了最基本的功能(登录、聊天),大家可以自己写一个,反正后端接口都提供好了嘛,也不是很难,不想写也可以将就使用我的。
 扫码关注
扫码关注

往
期
推
荐
1、java多线程之线程安全(重点,难点)

2、微信闪退Bug罪魁祸首竟是二维码引擎,附源代码分析

3、抖音服务器带宽有多大,才能供上亿人同时刷?

4、Java网络编程之UDP和TCP套接字

5、一天吃透计算机网络八股文

6、IDE装上ChatGPT,彻底炸裂!


 1万+
1万+


 被折叠的 条评论
为什么被折叠?
被折叠的 条评论
为什么被折叠?
 到【灌水乐园】发言


