


1.这里编写一个类似QQ主界面的小Demo,方便以后用的时候可以直接看。首先我们需要搭建界面,一般内容界面都是写在Fragment里面。新建activity_main.xml作为程序的主布局文件,在里面加入如下代码:
<LinearLayout xmlns:android="http://schemas.android.com/apk/res/android"
    xmlns:tools="http://schemas.android.com/tools"
    android:layout_width="match_parent"
    android:layout_height="match_parent"
    android:orientation="vertical"
    tools:context="com.example.administrator.slipline.MainActivity">
    <android.support.v4.view.ViewPager
        android:id="@+id/viewPager"
        android:layout_width="match_parent"
        android:layout_height="0dp"
        android:layout_weight="8" />
    <ImageView
        android:layout_width="1dp"
        android:layout_height="1dp"
        android:background="#65a0d3"
        android:id="@+id/imageView_line"/>

    <include
        android:id="@+id/include"
        layout="@layout/buttom_item"
        android:layout_width="match_parent"
        android:layout_height="0px"
        android:layout_alignParentBottom="true"
        android:layout_weight="0.7" />
</LinearLayout>
2.include插入的是底部按钮的布局,新建buttom_item.xml在里面添加代码:
<?xml version="1.0" encoding="utf-8"?>
<LinearLayout xmlns:android="http://schemas.android.com/apk/res/android"
android:layout_width="match_parent"
android:layout_height="match_parent"
android:orientation="vertical">
<View
android:layout_width="match_parent"
android:layout_height="1px"
android:background="#dcdcdc"></View>
<FrameLayout
android:layout_width="match_parent"
android:layout_height="wrap_content">
<LinearLayout
android:layout_width="match_parent"
android:layout_height="match_parent"
android:orientation="horizontal">
<Button
android:layout_width="0px"
android:layout_height="wrap_content"
android:layout_weight="0.2"
android:visibility="invisible" />
<Button
android:id="@+id/btn_1"
android:layout_width="0px"
android:layout_height="wrap_content"
android:layout_weight="1"
android:background="#00000000"
android:text="消息"
android:textColor="#6c6c6c"
android:textSize="35px" />
<Button
android:layout_width="0px"
android:layout_height="wrap_content"
android:layout_weight="0.3"
android:visibility="invisible" />
<Button
android:id="@+id/btn_2"
android:layout_width="0px"
android:layout_height="wrap_content"
android:layout_weight="1"
android:background="#00000000"
android:text="联系"
android:textColor="#6c6c6c"
android:textSize="35px" />
<Button
android:layout_width="0px"
android:layout_height="wrap_content"
android:layout_weight="0.3"
android:visibility="invisible" />
<Button
android:id="@+id/btn_3"
android:layout_width="0px"
android:layout_height="wrap_content"
android:layout_weight="1"
android:background="#00000000"
android:text="动态"
android:textColor="#6c6c6c"
android:textSize="35px" />
<Button
android:layout_width="0px"
android:layout_height="wrap_content"
android:layout_weight="0.2"
android:visibility="invisible" />
</LinearLayout>
</FrameLayout>
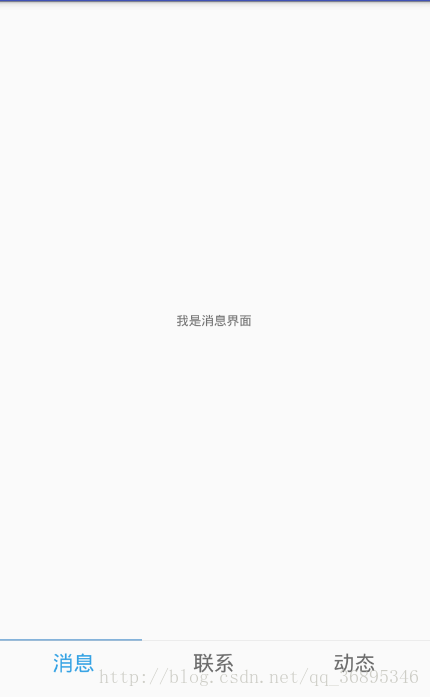
</LinearLayout>3.我把界面分成的三份,所以在里面我们要在Fragment里面创建第一个消息界面的布局,新建fragmenta_item.xml 所以代码如下:
<LinearLayout xmlns:android="http://schemas.android.com/apk/res/android"
    android:layout_width="match_parent"
    android:layout_height="match_parent"
    android:orientation="vertical">
    <TextView
        android:layout_margin="10dp"
        android:id="@+id/textView"
        android:text="我是消息界面"
        android:layout_width="match_parent"
        android:layout_height="match_parent"
        android:gravity="center"/>
</LinearLayout>- 然后要去创建对应这个布局的Fragment。新建FragmentA作为消息界面继承自Fragment,代码如下所示:
public class FragmentA extends Fragment {
    @Override
    public View onCreateView(LayoutInflater inflater, @Nullable ViewGroup container, @Nullable Bundle savedInstanceState) {
        View view = inflater.inflate(R.layout.fragmenta_item, container, false);
        return view;
    }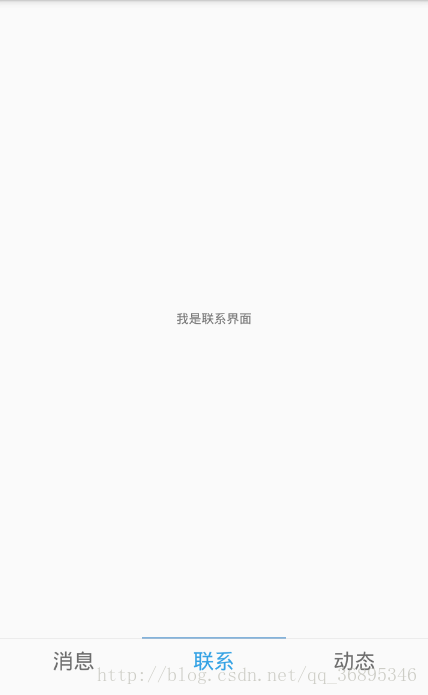
}- 后面就是一样的,把其它几个Fragment以及对应的布局创建出来。新建fragmentb_item.xml作为联系人界面的布局,代码如下所示:
<LinearLayout xmlns:android="http://schemas.android.com/apk/res/android"
    android:layout_width="match_parent"
    android:layout_height="match_parent"
    android:orientation="vertical">
    <TextView
        android:text="我是联系界面"
        android:layout_margin="10dp"
        android:layout_width="match_parent"
        android:layout_height="match_parent"
        android:id="@+id/textView"
        android:gravity="center"/>
</LinearLayout>- 然后要去创建对应这个布局的Fragment。新建FragmentB作为联系人界面继承自Fragment,代码如下所示:
public class FragmentB extends Fragment {
    @Override
    public View onCreateView(LayoutInflater inflater, @Nullable ViewGroup container, @Nullable Bundle savedInstanceState) {
        View view = inflater.inflate(R.layout.fragmentb_item, container, false);
        return view;
    }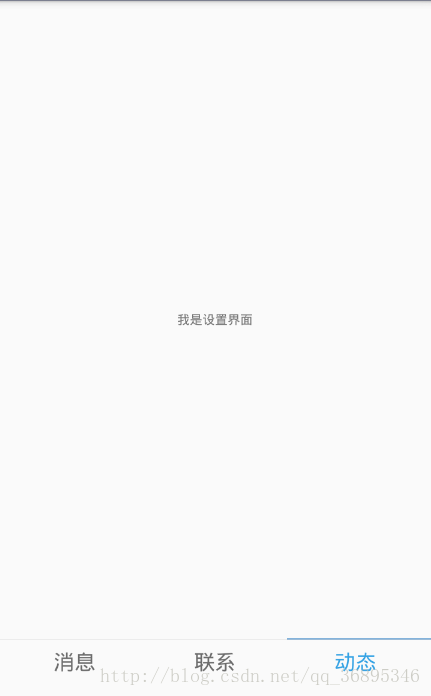
}- 新建fragmentc_item.xml作为设置界面的布局,代码如下所示:
<LinearLayout xmlns:android="http://schemas.android.com/apk/res/android"
    android:layout_width="match_parent"
    android:layout_height="match_parent"
    xmlns:app="http://schemas.android.com/apk/res-auto"
    android:orientation="vertical">
    <TextView
        android:layout_margin="10dp"
        android:id="@+id/textView"
        android:gravity="center"
        android:text="我是设置界面"
        android:layout_width="match_parent"
        android:layout_height="match_parent"
      />
</LinearLayout>- 再新建FragmentC作为设置界面继承自Fragment,代码如下所示:
public class FragmentC extends Fragment {


    @Nullable
    @Override
    public View onCreateView(LayoutInflater inflater, @Nullable ViewGroup container, @Nullable Bundle savedInstanceState) {

        View view = inflater.inflate(R.layout.fragmentc_item, container, false);
        return view;
    }

}
4.把每一个Fragment,以及它们所对应的布局文件都创建好了。接下来也就是最关键的步骤了,打开或新建MainActivity作为主Activity,代码如下所示:
import android.os.Bundle;
import android.support.v4.app.Fragment;
import android.support.v4.view.ViewPager;
import android.support.v7.app.AppCompatActivity;
import android.util.DisplayMetrics;
import android.view.View;
import android.widget.Button;
import android.widget.ImageView;
import android.widget.LinearLayout;

import com.example.administrator.slipline.Fragment.FragmentA;
import com.example.administrator.slipline.Fragment.FragmentB;
import com.example.administrator.slipline.Fragment.FragmentC;

import java.util.ArrayList;
import java.util.List;

public class MainActivity extends AppCompatActivity implements View.OnClickListener {
    private ViewPager viewPager;
    private List<Fragment> list;
    private Button btn1, btn2, btn3;
    private Adapter adapter;
    private ImageView imageView_line;
    private LinearLayout.LayoutParams params;
    int widthpixels;

    @Override
    protected void onCreate(Bundle savedInstanceState) {
        super.onCreate(savedInstanceState);
        setContentView(R.layout.activity_main);
        init();
        //添加动画
        //viewPager.setPageTransformer(true,new ZoomOutPageTransformer());
        viewPager.setPageTransformer(true,new DepthPageTransformer());
        btn1.setTextColor(getResources().getColor(R.color.bule));
        list=new ArrayList<>();
        list.add(new FragmentA());
        list.add(new FragmentB());
        list.add(new FragmentC());

        adapter=new Adapter(getSupportFragmentManager(),list);
        viewPager.setAdapter(adapter);

        getLineWidth();//获取屏幕宽度的方法(加横线的方法)

        //翻页事件
        viewPager.setOnPageChangeListener(new ViewPager.OnPageChangeListener() {
            @Override
            public void onPageScrolled(int position, float positionOffset, int positionOffsetPixels) {
                params.leftMargin= (int) (((widthpixels/3))*(position+positionOffset));
                imageView_line.setLayoutParams(params);


            }

            @Override
            public void onPageSelected(int position) {
                switch (position){
                    case 0:
                        getColors();
                        btn1.setTextColor(getResources().getColor(R.color.bule));
                        viewPager.setCurrentItem(0);

                        break;
                    case 1:
                        getColors();
                        btn2.setTextColor(getResources().getColor(R.color.bule));
                        viewPager.setCurrentItem(1);

                        break;
                    case 2:
                        getColors();
                        btn3.setTextColor(getResources().getColor(R.color.bule));
                        viewPager.setCurrentItem(2);

                        break;
                }

            }
            @Override
            public void onPageScrollStateChanged(int state) {
            }
        });

    }
    //得到控件的实例
    private void init() {
        btn1= (Button) findViewById(R.id.btn_1);
        btn2= (Button) findViewById(R.id.btn_2);
        btn3= (Button) findViewById(R.id.btn_3);

        findViewById(R.id.btn_1).setOnClickListener(this);
        findViewById(R.id.btn_2).setOnClickListener(this);
        findViewById(R.id.btn_3).setOnClickListener(this);

        viewPager= (ViewPager) findViewById(R.id.viewPager);
        imageView_line= (ImageView) findViewById(R.id.imageView_line);
        params = (LinearLayout.LayoutParams)imageView_line.getLayoutParams();
    }

    @Override
    //点击事件
    public void onClick(View v) {
        switch (v.getId()){
            case R.id.btn_1:
                getColors();
                btn1.setTextColor(getResources().getColor(R.color.bule));
                viewPager.setCurrentItem(0);
                break;
            case R.id.btn_2:
                getColors();
                btn2.setTextColor(getResources().getColor(R.color.bule));
                viewPager.setCurrentItem(1);
                break;
            case R.id.btn_3:
                getColors();
                btn3.setTextColor(getResources().getColor(R.color.bule));
                viewPager.setCurrentItem(2);
                break;
        }

    }
    //按钮的原始颜色
    private  void getColors(){
        btn1.setTextColor(getResources().getColor(R.color.black));
        btn2.setTextColor(getResources().getColor(R.color.black));
        btn3.setTextColor(getResources().getColor(R.color.black));

    }

    //获取屏幕宽度的方法
    public void getLineWidth() {
        //获取显示的像素
        DisplayMetrics metrics=new DisplayMetrics();
        //获取屏幕管理者 从窗口管理者中获取默认显示,从而获取整个屏幕的像素,metrics就具备了真个屏幕的像素
        getWindowManager().getDefaultDisplay().getMetrics(metrics);
        //通过metrice获取屏幕宽的像素
        widthpixels=metrics.widthPixels;
        params.width=widthpixels/3;
        imageView_line.setLayoutParams(params);
    }

}
5.最后是适配器新建Adapter继承自FragmentPagerAdapter ,代码如下:
import android.support.v4.app.Fragment;
import android.support.v4.app.FragmentManager;
import android.support.v4.app.FragmentPagerAdapter;
import java.util.List;

public class Adapter extends FragmentPagerAdapter {
    private FragmentManager manager;
    private List<Fragment> list;

    public Adapter(FragmentManager manager, List<Fragment> list) {
        super(manager);
        this.manager=manager;
        this.list=list;
    }

    @Override
    public Fragment getItem(int position) {
        return list.get(position);
    }

    @Override
    public int getCount() {
        return list.size();
    }
}
最后附上效果图:


 1010
1010


 被折叠的 条评论
为什么被折叠?
被折叠的 条评论
为什么被折叠?
 到【灌水乐园】发言


