


ArcGIS
一、安装 ArcGIS 官方加载依赖 esri-loader
npm install esri-loader --save-dev
二、初始化地图
InitMap.vue
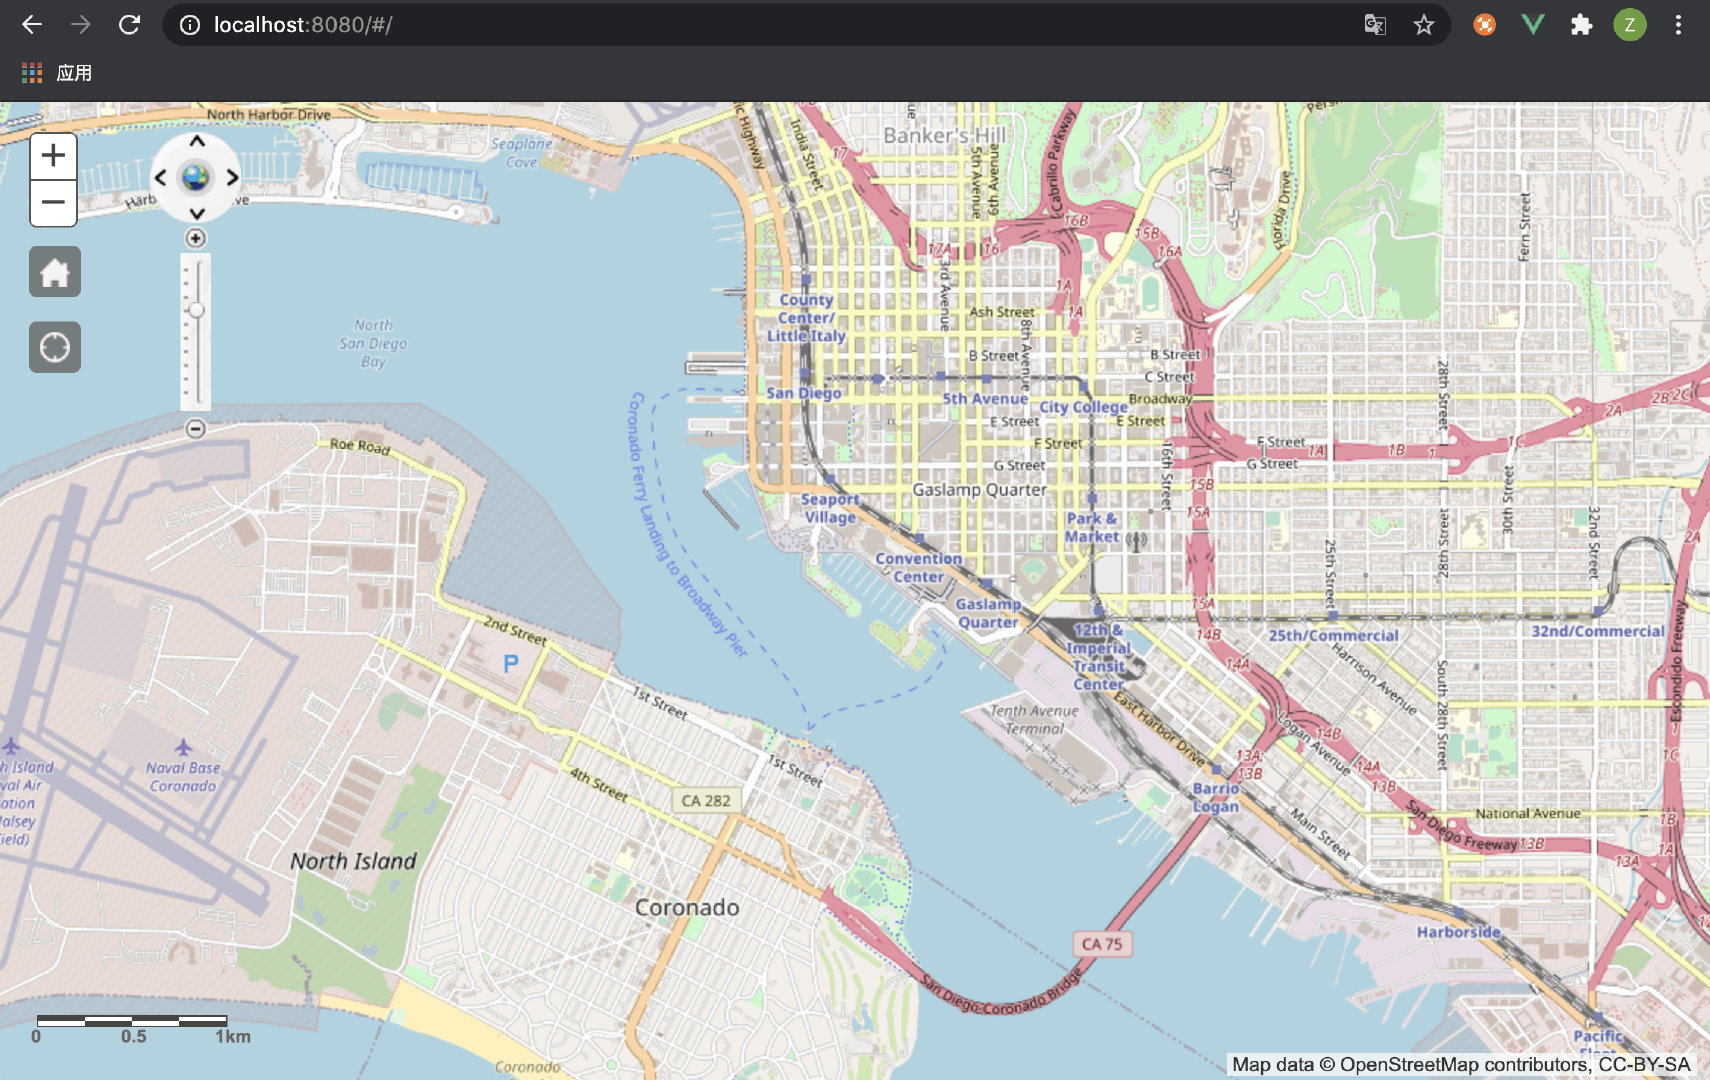
<template>
  <div id="map-container"
       style="width:100%;height:100%;">
    <div id="HomeButton"></div>
    <div id="LocateButton"></div>
    <div id="navigation-toolbar"
         class="navigation-toolbar">
      <div class="nt-translation">
        <button id="resize"></button>
        <button id="east"></button>
        <button id="west"></button>
        <button id="south"></button>
        <button id="north"></button>
      </div>
      <div class="nt-zoom">
        <div class="rule"></div>
        <button id="site"></button>
        <button id="zoomUp"></button>
        <button id="zoomDowm"></button>
      </div>
    </div>
  </div>
</template>
<script>
import { loadCss, loadModules } from 'esri-loader'
export default {
  name: 'InitMap',
  data() {
    return {
      navToolbar: null,
      map: '',
      gisConstructor: {}, // gis 构造函数
      gisModules: [
        'esri/toolbars/navigation', // 地图导航工具
        'dojo/_base/declare',
        'esri/dijit/OverviewMap', // 小地图
        'esri/dijit/Scalebar', // 比例尺
        'esri/dijit/LocateButton', // 当前位置
        'esri/dijit/HomeButton', // 返回到地图默认开始范围
        'esri/layers/OpenStreetMapLayer', // OSM
        'esri/geometry/Extent', // 范围
        'esri/map',
      ],
    }
  },
  mounted() {
    this.init()
  },
  methods: {
    /**
     * @name: 地图点击事件
     */
    mapClickFun() {
      this.map.on('click', e => {
        console.log(e)
      })
    },

    /**
     * @name: 初始化地图
     */
    init() {
      // 加载 css
      // loadCss('http://localhost/js.arcgis.com/3.32/esri/css/esri.css')
      loadCss('https://js.arcgis.com/3.32/esri/css/esri.css')
      // 加载模块
      loadModules(this.gisModules, {
        // url: 'http://localhost/js.arcgis.com/3.32/init.js'
        url: 'https://js.arcgis.com/3.32/',
      })
        .then(this.initMap)
        .then(this.mapClickFun)
    },
    initMap(args) {
      // 将 ArcGIS 的每个功能模块都存放到 gisConstructor 中
      for (let k in args) {
        let name = this.gisModules[k].split('/').pop()
        this.gisConstructor[name] = args[k]
      }
      /**
       * 添加 OSM 有两种方式
       * 方式一:在初始化 map 时设置 basemap 属性 basemap: 'osm'
       * 方式二:加载 OpenStreetMapLayer 模块,创建 OSM layer,再添加 layer 到 map 中,可单独对 OSM 进行配置
       */
      let basemap = new this.gisConstructor.OpenStreetMapLayer({
        id: 'OSMlayer',
        visible: true,
        opacity: 1,
        // displayLevels: [1, 2, 3] // 在指定缩放等级下显示
      })
      this.map = new this.gisConstructor.map('map-container', {
        // center: [116.395645038, 39.9299857781],
        // basemap: 'osm',
        zoom: 12,
        logo: false,
        slider: true,
      })
      this.map.addLayer(basemap)

      // 设置初始化范围
      let extent = {
        xmin: -117.1839455,
        ymin: 32.68087830000002,
        xmax: -117.15035189999998,
        ymax: 32.732100979999984,
      }
      /*
        如果坐标系是 4490,初始化范围需要设置空间参考坐标系
        new this.gisConstructor.SpatialReference({
          wkid: 4490
        })
      */
      this.map.setExtent(
        new this.gisConstructor.Extent(
          extent.xmin,
          extent.ymin,
          extent.xmax,
          extent.ymax
        )
      )

      // 返回到地图默认开始范围(现在是根据 center 设置的,如何根据 extent 设置?)
      // let home = new this.gisConstructor.HomeButton(
      //   {
      //     map: this.map,
      //   },
      //   'HomeButton'
      // )
      // home.startup()

      // 当前位置
      // let geoLocate = new this.gisConstructor.LocateButton(
      //   {
      //     map: this.map,
      //   },
      //   'LocateButton'
      // )
      // geoLocate.startup()

      // 比例尺
      // eslint-disable-next-line no-unused-vars
      let scalebar = new this.gisConstructor.Scalebar({
        map: this.map,
        // "dual" displays both miles and kilometers
        // "english" is the default, which displays miles
        // use "metric" for kilometers
        scalebarUnit: 'metric',
      })

      // 小地图
      // let overviewMapDijit = new this.gisConstructor.OverviewMap({
      //   map: this.map,
      //   visible: true,
      // })
      // overviewMapDijit.startup()

      // 自定义导航空间(地图平移,缩放,设置范围等功能)
      let innerDOM = document.getElementById('navigation-toolbar')
      let allBtn = innerDOM.querySelectorAll('button')
      let siteDOM = ''
      for (let i = 0; i < allBtn.length; i++) {
        if (allBtn[i].getAttribute('id') === 'site') {
          siteDOM = allBtn[i]
          siteDOM.style.top = this.map.getLevel() + 20 + 'px'
        }
        allBtn[i].onclick = event => {
          let domID = event.target.getAttribute('id')
          switch (domID) {
            case 'resize':
              this.map.setExtent(
                new this.gisConstructor.Extent(
                  extent.xmin,
                  extent.ymin,
                  extent.xmax,
                  extent.ymax
                )
              )
              break
            case 'east':
              this.map.panRight()
              break
            case 'west':
              this.map.panLeft()
              break
            case 'north':
              this.map.panDown()
              break
            case 'south':
              this.map.panUp()
              break
            case 'zoomUp':
              this.map.setLevel(this.map.getLevel() + 1)
              break
            case 'zoomDowm':
              this.map.setLevel(this.map.getLevel() - 1)
              break
            case 'site':
              // this.map.setLevel()
              break
          }
          siteDOM.style.top = this.map.getLevel() + 20 + 'px'
        }
      }
      siteDOM.style.top = this.map.getLevel() + 20 + 'px'
    },
  },
}
</script>

<style lang="scss">
#map-container {
  position: relative;
}
#HomeButton {
  position: absolute;
  top: 95px;
  left: 20px;
  z-index: 50;
}
#LocateButton {
  position: absolute;
  top: 145px;
  left: 20px;
  z-index: 50;
}
.esriScalebarLabel {
  width: auto !important;
}
.esriOverviewMap.ovwTR {
  top: 50px !important;
}
#navigation-toolbar {
  position: absolute;
  top: 50px;
  left: 100px;
  z-index: 9;
  text-align: center;
  .nt-translation {
    width: 60px;
    height: 60px;
    background-image: url('../assets/images/navtoolbar/ico02.png');
    background-repeat: no-repeat;
    background-size: contain;
    position: relative;
    button {
      width: 20px;
      height: 20px;
      &#resize {
        width: 26px;
        height: 26px;
        background-image: url('../assets/images/navtoolbar/ico03.png');
        background-repeat: no-repeat;
        background-size: contain;
        top: 50%;
        left: 50%;
        margin-left: -13px;
        margin-top: -13px;
      }
      &#east {
        top: 50%;
        right: 0;
        margin-top: -10px;
      }
      &#west {
        top: 50%;
        left: 0;
        margin-top: -10px;
      }
      &#south {
        left: 50%;
        bottom: 0;
        margin-left: -10px;
      }
      &#north {
        left: 50%;
        top: 0;
        margin-left: -10px;
      }
    }
  }
  .nt-zoom {
    position: relative;
    height: 120px;
    margin-top: 20px;
    .rule {
      width: 20px;
      height: 104px;
      background-image: url('../assets/images/navtoolbar/ico01.jpg');
      background-repeat: no-repeat;
      background-size: contain;
      position: absolute;
      top: 0;
      left: 50%;
      margin-left: -10px;
    }
    button {
      width: 16px;
      height: 16px;
      background-repeat: no-repeat;
      background-size: contain;
      &#zoomUp {
        left: 50%;
        top: -18px;
        margin-left: -8px;
        background-image: url('../assets/images/navtoolbar/ico04.png');
      }
      &#zoomDowm {
        left: 50%;
        bottom: -4px;
        margin-left: -8px;
        background-image: url('../assets/images/navtoolbar/ico05.png');
      }
      &#site {
        width: 11px;
        height: 11px;
        left: 50%;
        top: 5px;
        margin-left: -5px;
        background-image: url('../assets/images/navtoolbar/ico06.png');
      }
    }
  }
  button {
    cursor: pointer;
    position: absolute;
    background: none;
    outline: 0;
    border: 0;
  }
}
</style>
esri-loader 方法:
- getScript () 从库里面获取 js 文件
- isLoaded () 检测模块是否加载完成
- loadModules( [ ], options) 用于加载 arcgis 模块
- loadCss( url ) 用于加载 css 文件
- loadScript({url: “xxxxxxxx” }) 将 js 加载到页面上
如果将依赖部署到了本地或其他服务器上,需要修改 init.js,否则依赖可能会加载失败,在 init.js 中搜索:
baseUrl:
修改后边地址,例如:
baseUrl:"http://localhost/js.arcgis.com/3.32/dojo"
也可以设置为动态地址,通过 js 获取当前文件所在的服务器地址:
baseUrl:document.scripts[document.scripts.length - 1].src.substring(0, document.scripts[document.scripts.length - 1].src.lastIndexOf("/") + 1) + "/dojo"


 2363
2363


 被折叠的 条评论
为什么被折叠?
被折叠的 条评论
为什么被折叠?
 到【灌水乐园】发言


