


nodejs官方维护了一套ABI(应用二进制接口),用于完成nodejs和C++的通信。
官网介绍的Node-API是C API,对应的node-addon-api是它的C++版本,更容易使用,本文介绍的也是这个C++的版本。
通过一个示例来说明如何使用node-addon-api
一、初始化项目
1.创建node-addon-api文件夹
mkdir node-addon-api2.初始化一个空项目(生成package.json文件)
npm init -y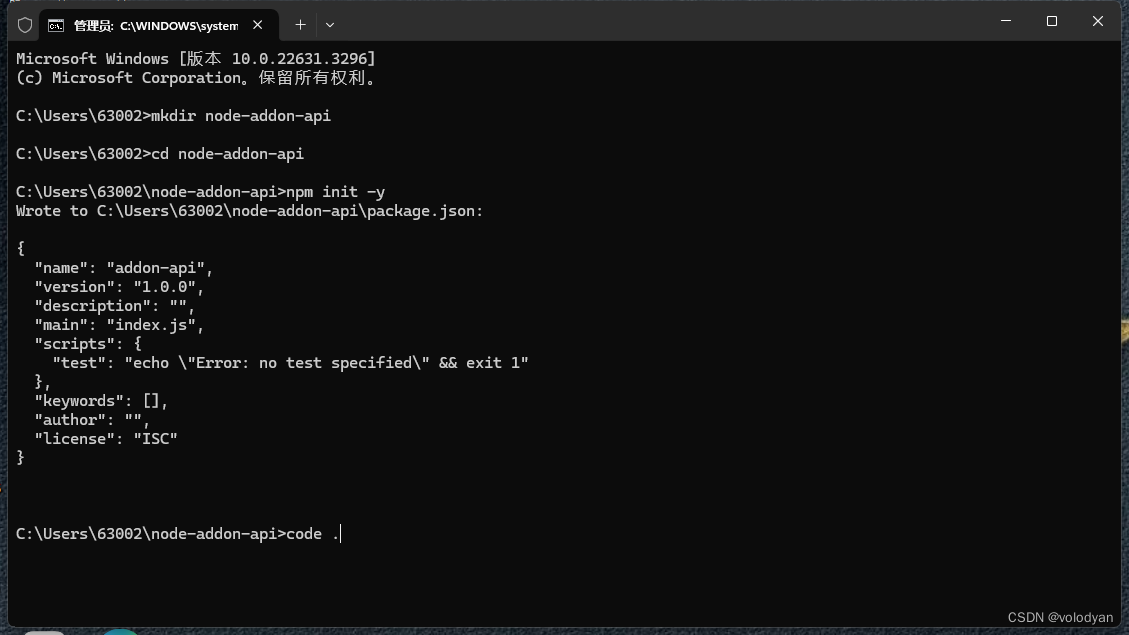
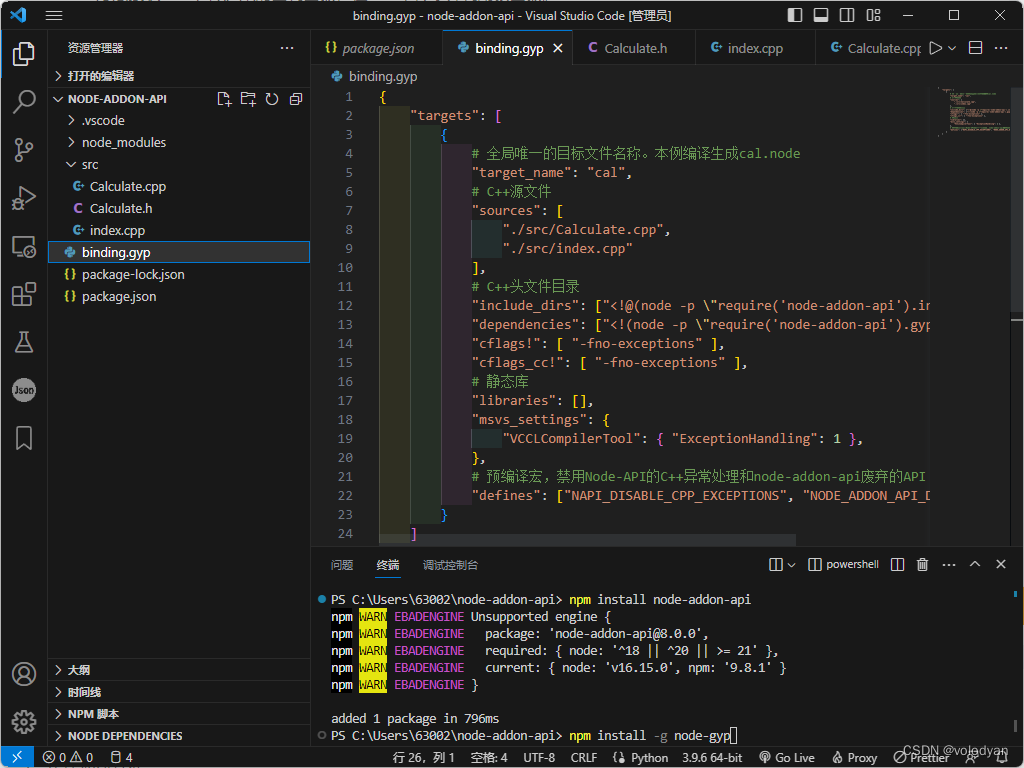
二、安装node-addon-api
npm install node-addon-api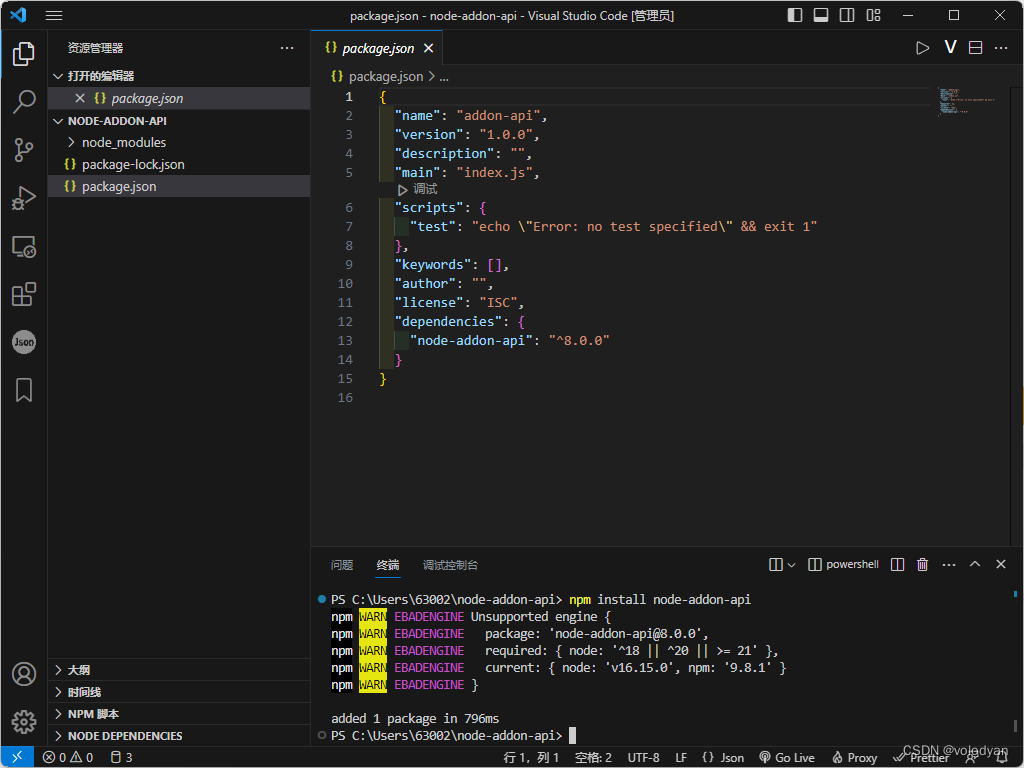
三、编写一个Calculate类,用于求两个数的和
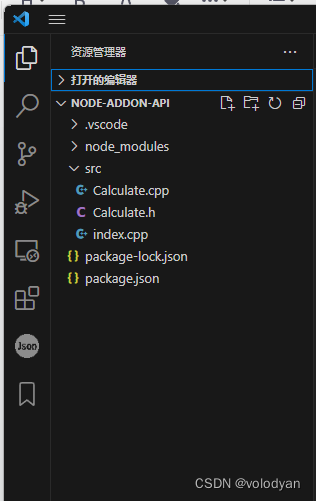
1.创建src/Calculate.h
#ifndef __Calculate__
#define __Calculate__

class Calculate
{
public:
    static double add(double, double);
};

#endif
2.创建src/Calculate.cpp
#include "Calculate.h"

double Calculate::add(double a, double b)
{
    return a + b;
}
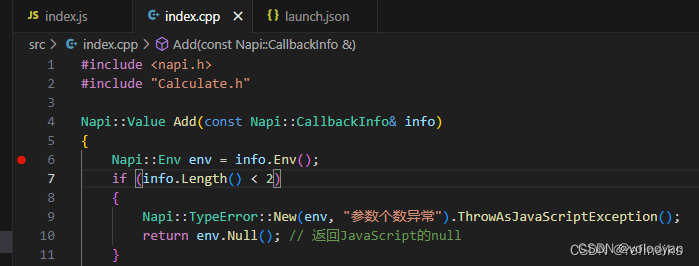
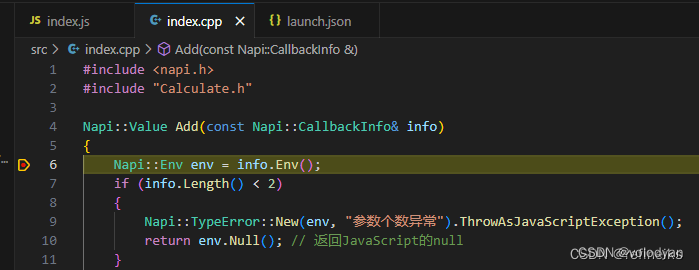
3.创建src/index.cpp,编写C++和nodejs的中间文件
node-addon-api在C++代码中使用,完成数据类型的统一和接口的暴露
通过 node-addon-api 暴露与 nodejs 通信的参数
#include <napi.h>
#include "Calculate.h"

Napi::Value Add(const Napi::CallbackInfo& info)
{
    Napi::Env env = info.Env();
    if (info.Length() < 2)
    {
        Napi::TypeError::New(env, "参数个数异常").ThrowAsJavaScriptException();
        return env.Null(); // 返回JavaScript的null
    }
    if (!info[0].IsNumber() || !info[1].IsNumber())
    {
        Napi::TypeError::New(env, "参数类型异常").ThrowAsJavaScriptException();
        return env.Null();
    }
    // Napi::Value -> Napi::Number
    double arg0 = info[0].As<Napi::Number>().DoubleValue();
    double arg1 = info[1].As<Napi::Number>().DoubleValue();
    double sum = Calculate::add(arg0, arg1);
    Napi::Number result = Napi::Number::New(env, sum);
    return result;
}

void About(const Napi::CallbackInfo& info)
{
    Napi::Env env = info.Env();
    Napi::Function cb = info[0].As<Napi::Function>();
    // C++中向JavaScript传过来的函数传递参数并执行它
    cb.Call(env.Global(), { Napi::String::New(env, "这是一个计算类") });
}

Napi::Object Init(Napi::Env env, Napi::Object exports)
{
    exports.Set(
        Napi::String::New(env, "add"),
        Napi::Function::New(env, Add)
    );

    exports.Set(
        Napi::String::New(env, "about"),
        Napi::Function::New(env, About)
    );

    return exports;
}

// 第一个参数为模块名称,与binding.gyp中target_name对应
NODE_API_MODULE(cal, Init);
上面的代码暴露给nodejs两个方法:
Add方法接收nodejs传过来的两个数值,返回它们的和给调用Add的nodejs程序。
About方法接收nodejs传过来的回调函数,在C++中传参并调用该函数。
Add方法的最后,C++的double转换成了Napi::Value,实现了不同语言间的转换。CallbackInfo用于接收JavaScript传递给C++的参数,用中括号索引。
凡是用node-addon-api来混合开发的程序都需要这样一个中间文件。
四、binding.gyp,编译
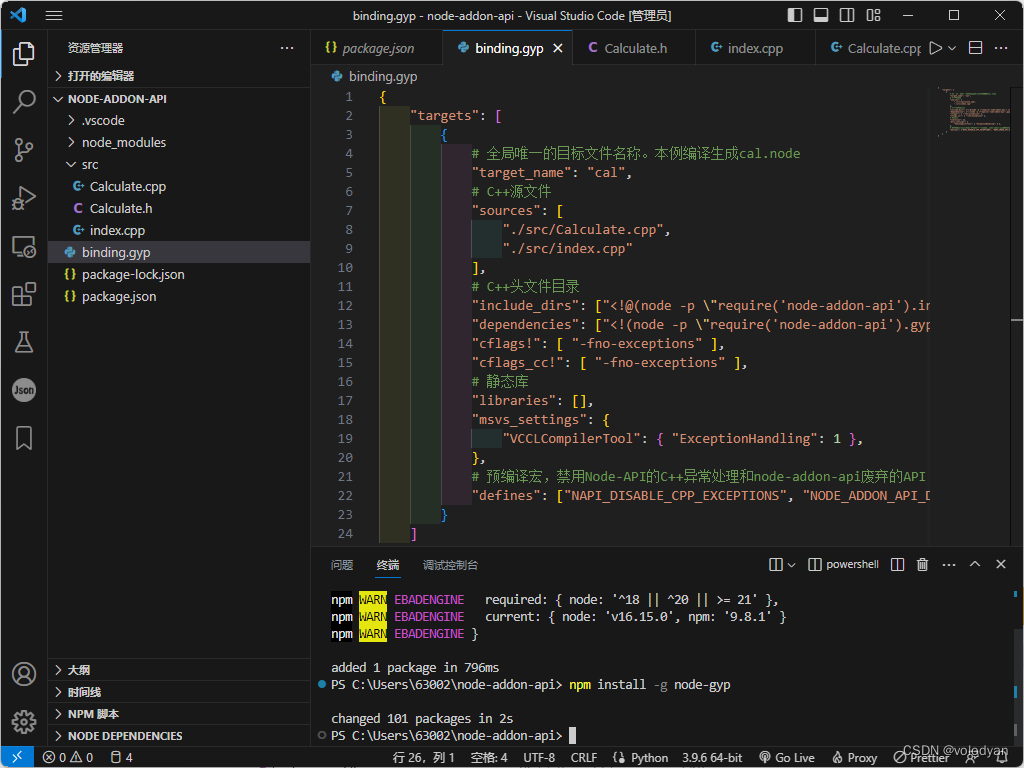
安装编译工具node-gyp,把C++程序编译成后缀名为.node的Native Addon二进制文件(本质是动态链接库,只不过后缀是.node,而不是.dll)。
npm install -g node-gypnode-gyp作用类似于CMake,需要有python环境,根据配置文件binding.gyp进行编译。
binding.gyp 作用相当于CMake的CMakeLists.txt,告诉node-gyp如何去构建
{
    "targets": [
        {
            # 全局唯一的目标文件名称。本例编译生成cal.node
            "target_name": "cal",
            # C++源文件
            "sources": [
                "./src/Calculate.cpp",
                "./src/index.cpp"
            ],
            # C++头文件目录
            "include_dirs": ["<!@(node -p \"require('node-addon-api').include\")"],
            "dependencies": ["<!(node -p \"require('node-addon-api').gyp\")"],
            "cflags!": [ "-fno-exceptions" ],
            "cflags_cc!": [ "-fno-exceptions" ],
            # 静态库
            "libraries": [],
            "msvs_settings": {
                "VCCLCompilerTool": { "ExceptionHandling": 1 },
            },
            # 预编译宏,禁用Node-API的C++异常处理和node-addon-api废弃的API
            "defines": ["NAPI_DISABLE_CPP_EXCEPTIONS", "NODE_ADDON_API_DISABLE_DEPRECATED"]
        }
    ]
}
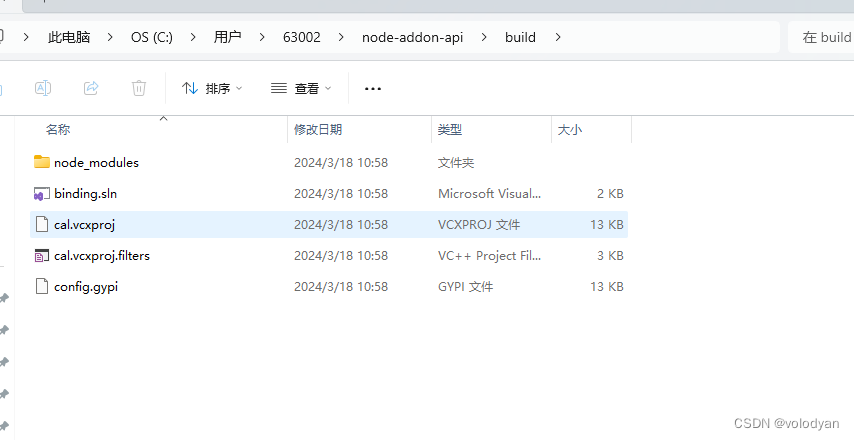
五、生成构建文件
创建 binding.gyp 文件后,为当前平台生成项目构建文件。
node-gyp configure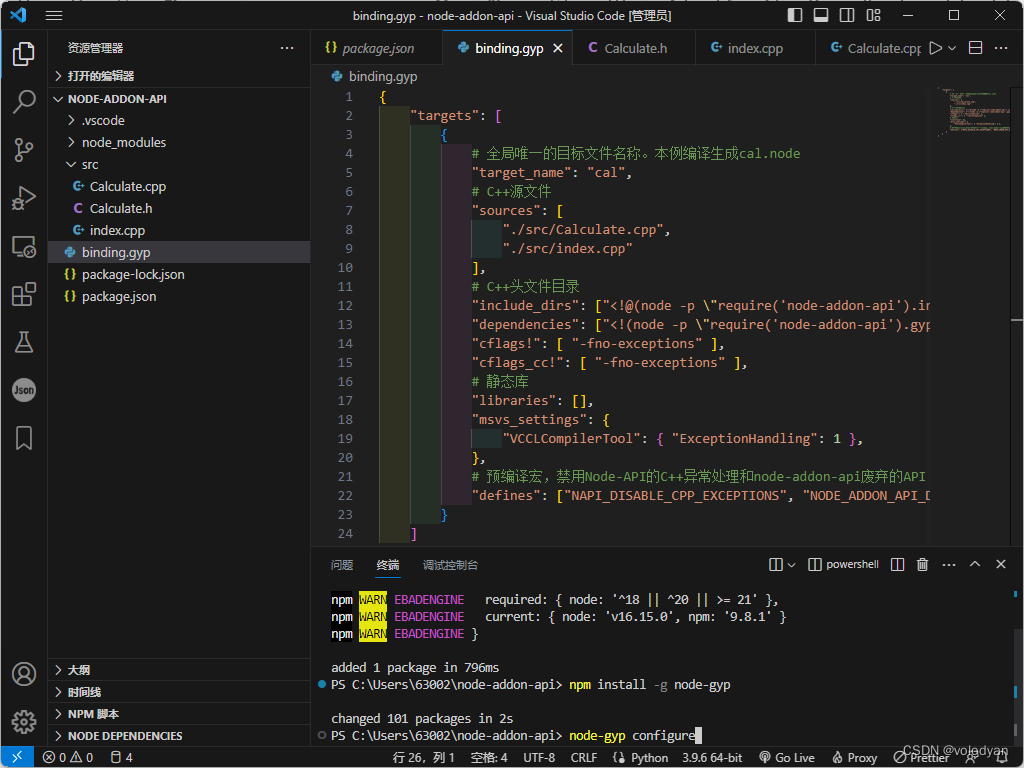
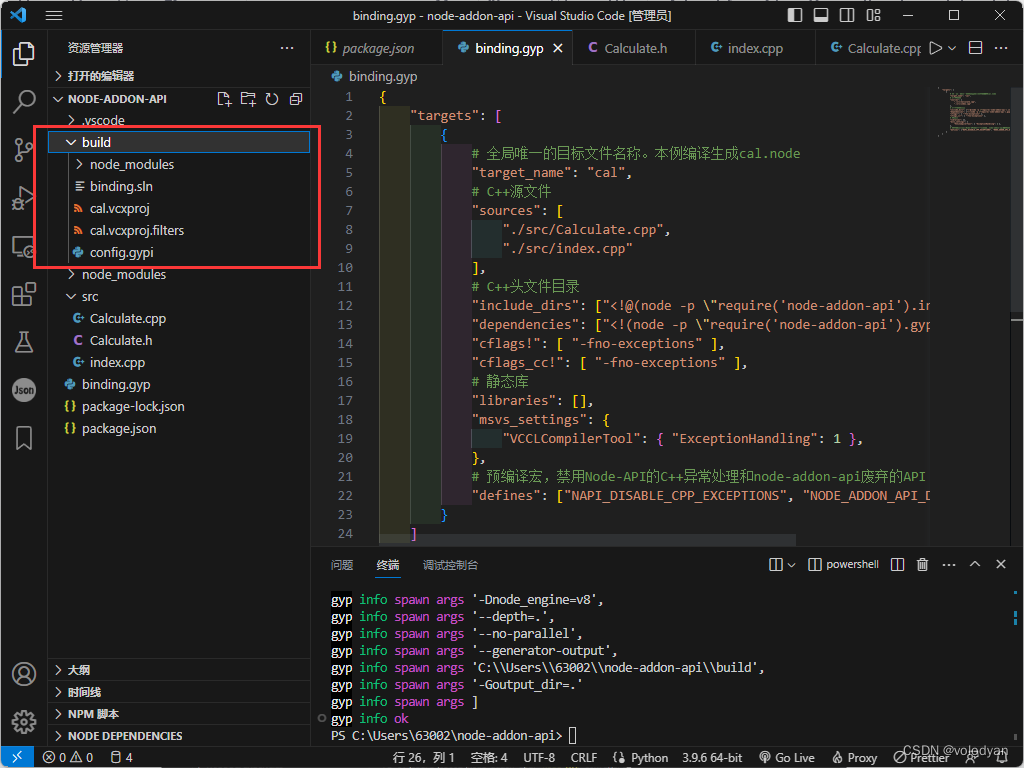
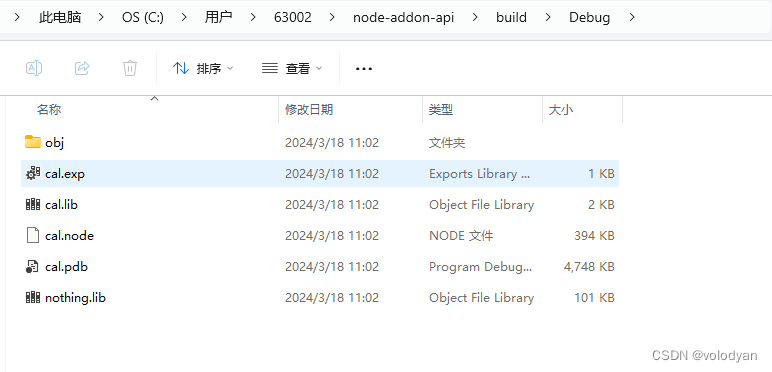
新生成一个build文件夹,结构如下图。
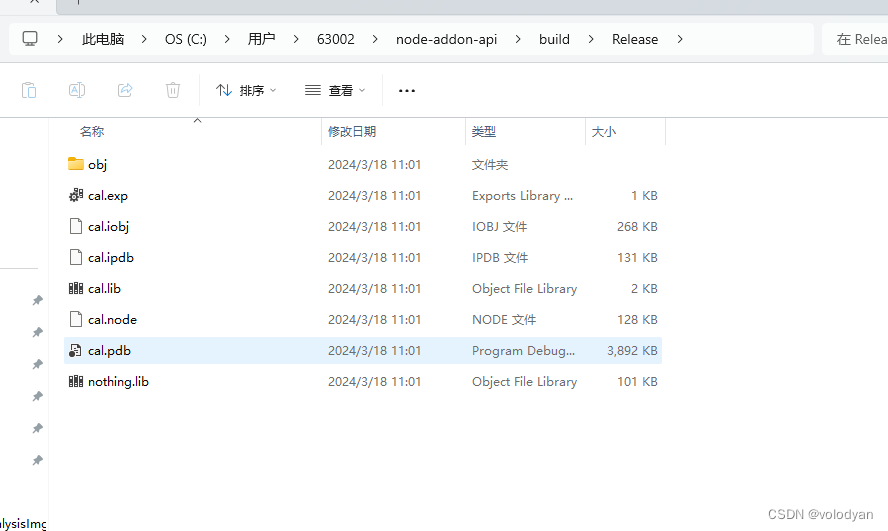
六、构建并编译
根据需要选择生成Release或者Debug版本
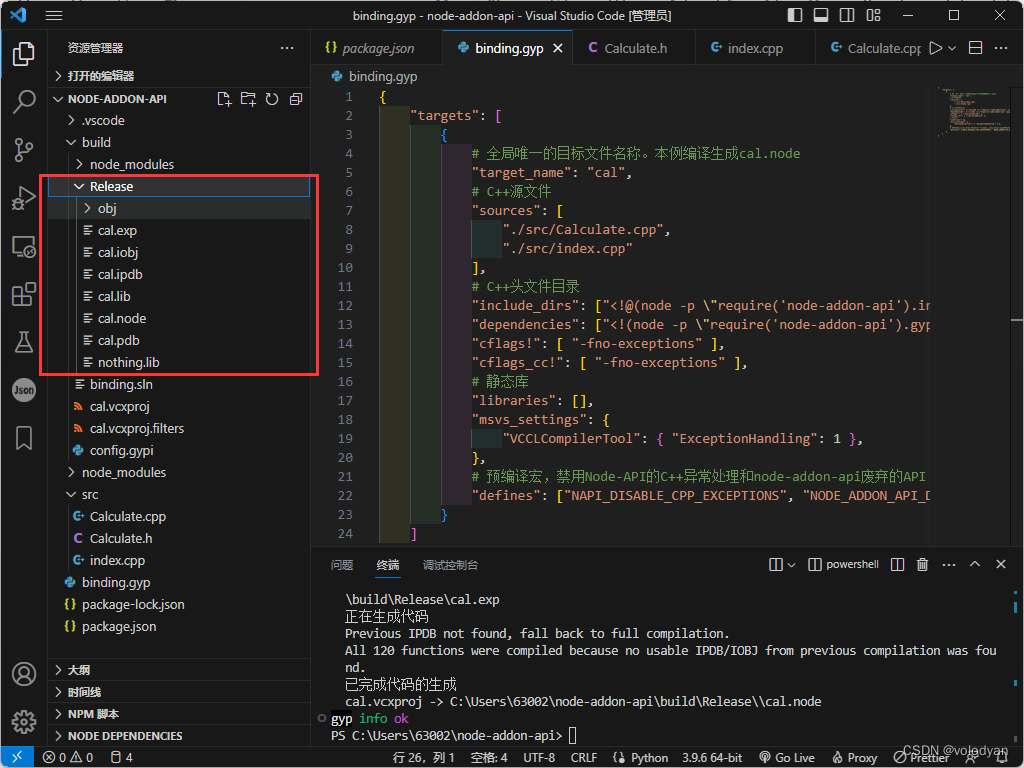
1.Release版本:
node-gyp build在build下生成一个Release文件夹
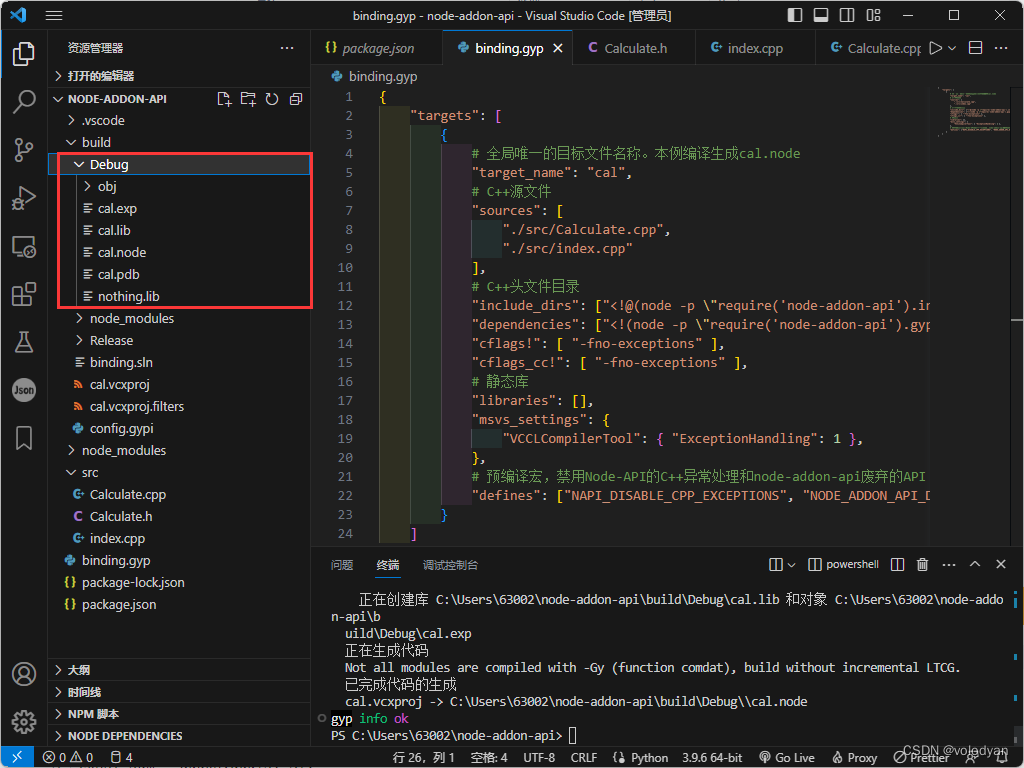
2.Debug版本:
node-gyp build --debug在build下生成一个Debug文件夹
七、nodejs调用
在nodejs中以模块的方式(require)引入C++编译得到的二进制文件
根目录创建index.js
const addon = require("./build/Debug/cal.node");

const sum = addon.add(5, 3);
console.log("sum = " + sum);

addon.about(function (msg) {
    console.log(msg);
});
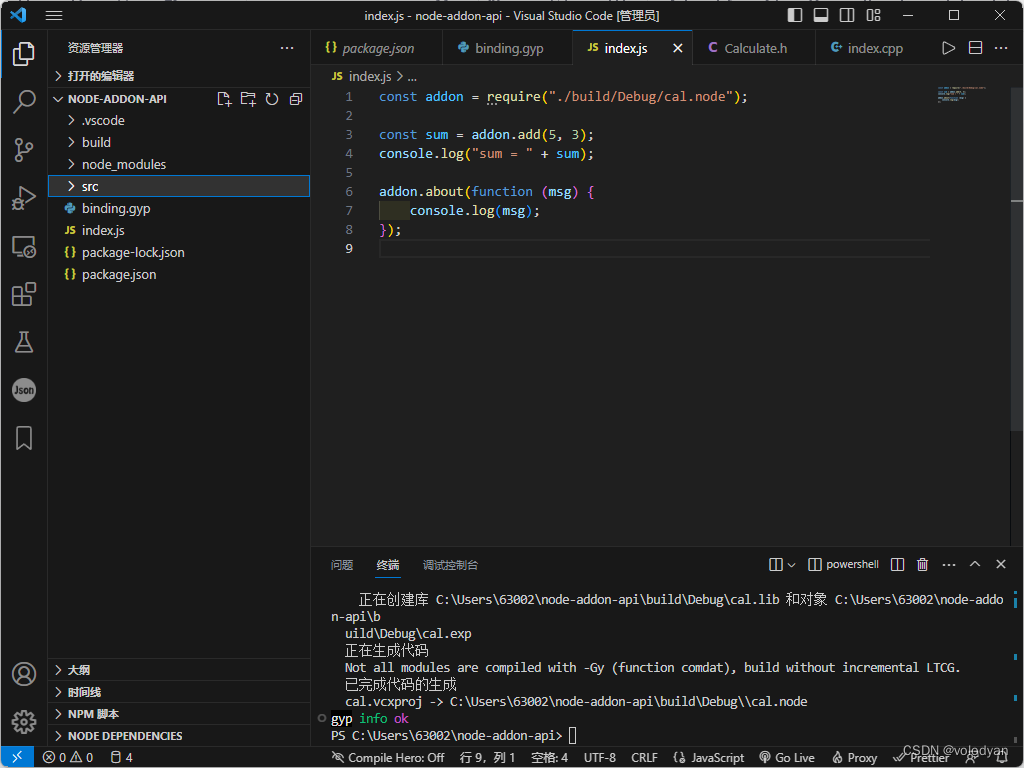
在控制台执行 node index.js 即可看到结果
node index.js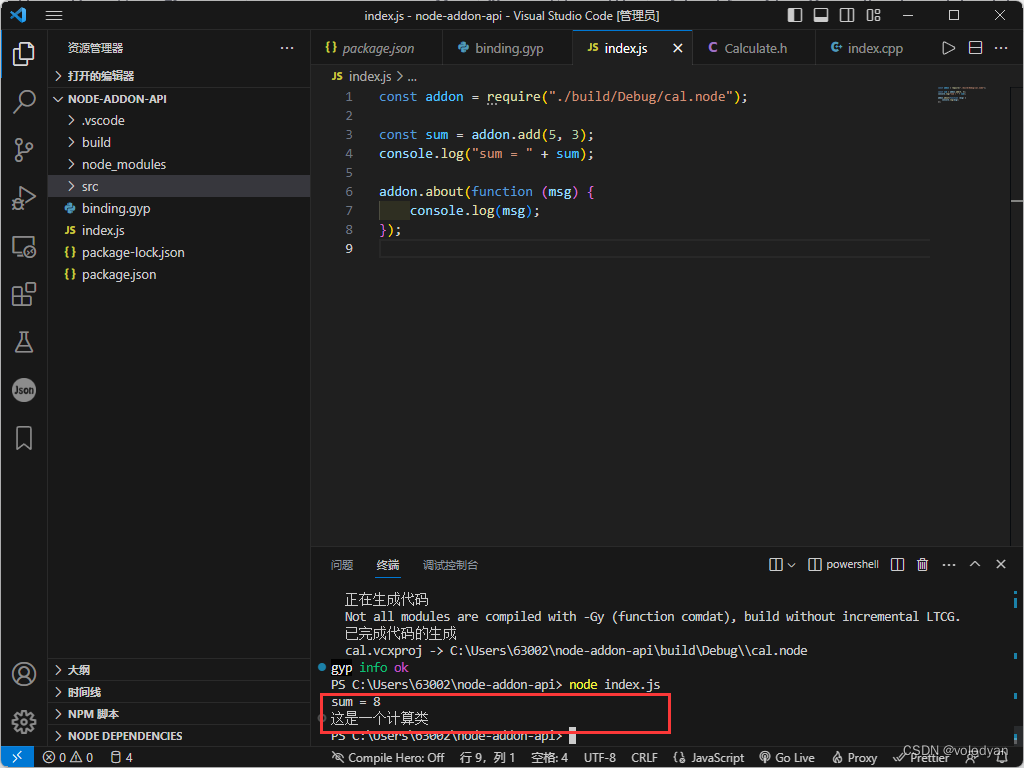
调试配置
光把程序写出来还不够,走通调试流程也是必不可少的
创建VS Code的调试配置文件launch.json
{
    // Use IntelliSense to learn about possible attributes.
    // Hover to view descriptions of existing attributes.
    // For more information, visit: https://go.microsoft.com/fwlink/?linkid=830387
    "version": "0.2.0",
    "configurations": [
        {
            "type": "node",
            "request": "launch",
            "name": "JS Debug Build",
            "console": "integratedTerminal",
            "program": "${workspaceFolder}/index.js"
        },
        {
            "name": "Windows Attach",
            "type": "cppvsdbg",
            "request": "attach",
            "processId": "${command:pickProcess}"
        }
    ]
}
configurations第一个花括号的内容是nodejs的调试启动项;第二个花括号是C++的调试启动项
request可以是"launch"(启动)或"attach"(附加)
console是终端选项,设置为integratedTerminal则使用VSCode内部集成终端显示调试结果
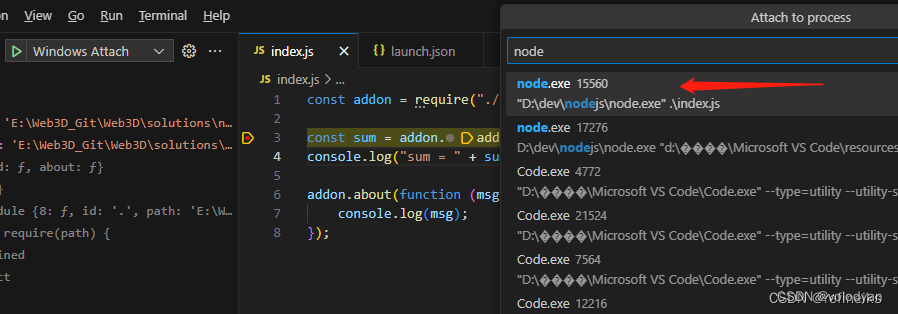
操作步骤:
1)js文件打好断点
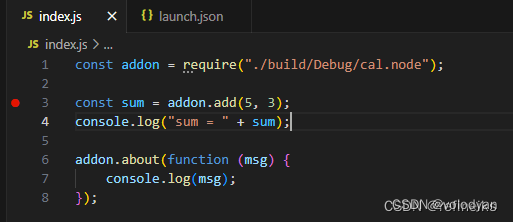
2)切换到调试面板,选择js的调试启动项,开始调试
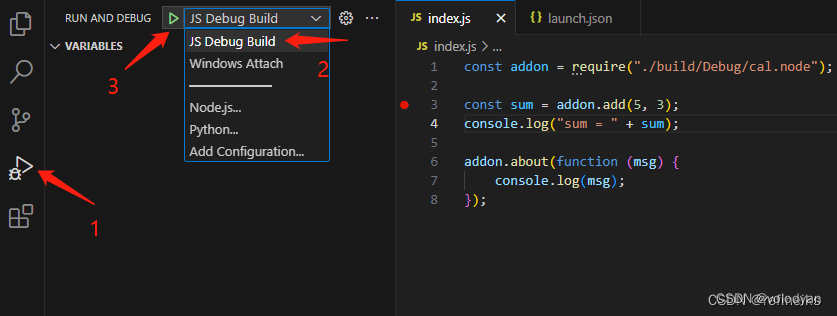
3)切换到C++调试启动项,再次启动
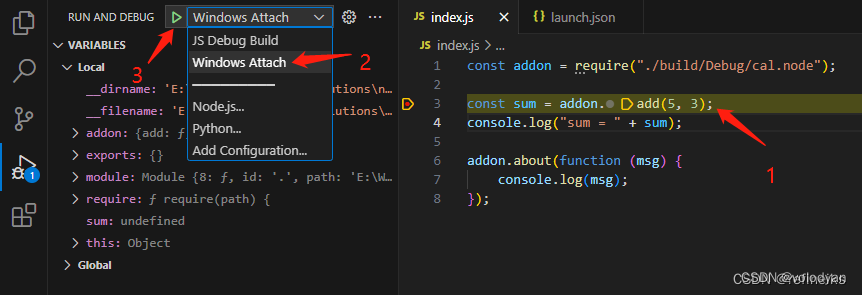
这时会弹出一个"Attach to process"的选择框,附加到node.exe进入C++调试
4)在C++代码中打好断点,F11进去
偶尔进不去,node-gyp rebuild --debug 一下就好,不知道为什么
node-gyp常用命令
node-gyp configurenode-gyp build 编译release版本
node-gyp build --debug 编译debug版本
node-gyp clean 清除编译生成的内容(build文件夹)
node-gyp rebuild 重新编译release版本
node-gyp rebuild --debug 重新编译debug版本
node-gyp help 查看帮助
VS Code的一个报错处理
虽然程序能正常运行,但是VS Code的C++提示会报下图所示的错误,意思是找不到node-addon-api依赖的node_api.h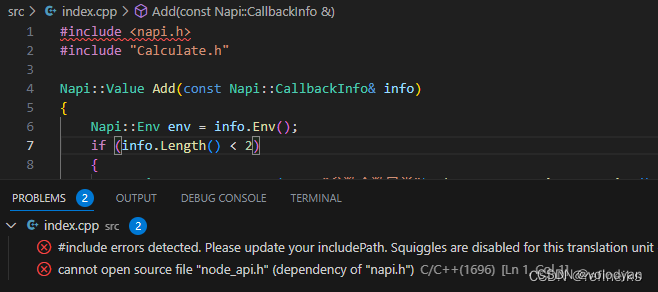
node_api.h位于
C:\Users\<用户名>\AppData\Local\node-gyp\Cache\<Node版本号>\include\node
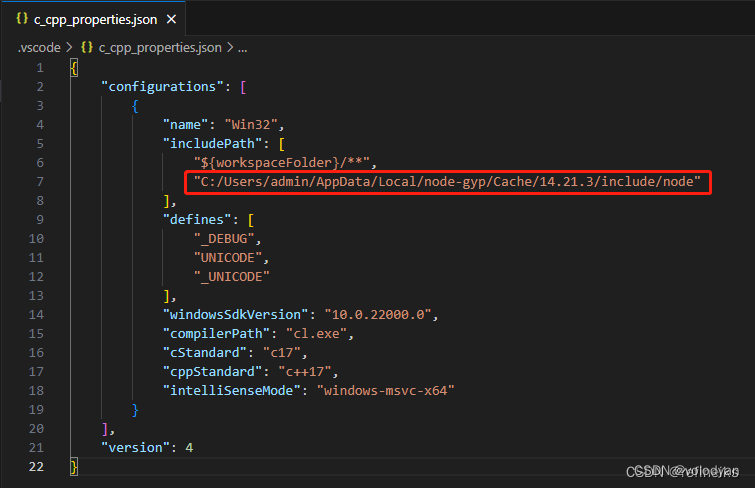
ctrl + shift + p,在Command Palette中选择模板创建c_cpp_properties.json

把node_api.h的路径写到c_cpp_properties.json的includePath下即可去除错误提示。解决了这个问题,还能获得更多的智能提示。
本文相关代码和配置可以在这里下载
本文参考了:
Configure binding.gyp file in C++ Addon - Node.js
Debugging NodeJS C++ addons using VS Code
Node.js native addons: where is node_api.h located?
原文链接:https://blog.csdn.net/2301_79959413/article/details/133343585


 1万+
1万+


 被折叠的 条评论
为什么被折叠?
被折叠的 条评论
为什么被折叠?
 到【灌水乐园】发言


