


武警部队勤务指挥 三维电子沙盘开发教程 第七课 利用WPF建立3d gis数字地球(非axhost方式)
影粒子:粒子应用
或者flash一类的工具生成如下的PNG序列:
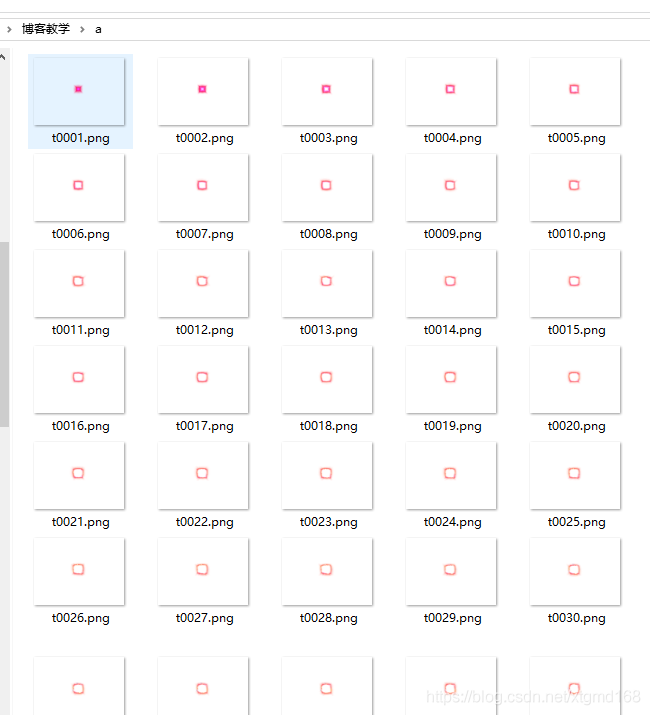
然后下面利 用https://blog.csdn.net/xtgmd168/article/details/85264680 中所介绍的方法。将它变成一个简单的粒子显示元素:
新建一个UserControl完成序列PNG的动态显示:
AmiImage.xaml
<UserControl x:Class="Teach3DGIS.AmiImage"
             xmlns="http://schemas.microsoft.com/winfx/2006/xaml/presentation"
             xmlns:x="http://schemas.microsoft.com/winfx/2006/xaml"
             xmlns:mc="http://schemas.openxmlformats.org/markup-compatibility/2006"
             xmlns:d="http://schemas.microsoft.com/expression/blend/2008"
             xmlns:local="clr-namespace:Teach3DGIS"
             mc:Ignorable="d"
             Height="450" Width="800">

</UserControl>
AmiImage.cs
using System;
using System.Collections.Generic;
using System.Linq;
using System.Text;
using System.Threading.Tasks;
using System.Windows;
using System.Windows.Controls;
using System.Windows.Data;
using System.Windows.Documents;
using System.Windows.Input;
using System.Windows.Media;
using System.Windows.Media.Imaging;
using System.Windows.Navigation;
using System.Windows.Shapes;
using System.IO;

namespace Teach3DGIS
{
    /// <summary>
    /// AmiImage.xaml 的交互逻辑
    /// </summary>
    public partial class AmiImage : UserControl
    {
        public AmiImage()
        {
            InitializeComponent();
        }
        private List<string> FileList = new List<string>();
        private System.Windows.Threading.DispatcherTimer ATimer;
        private int index = 0;
        public AmiImage(string Path)
        {
            InitializeComponent();
            DirectoryInfo v1 = new DirectoryInfo(Path);
            foreach(FileInfo V2 in v1.GetFiles("*.png"))
            {
                FileList.Add(V2.FullName);
            }
            ATimer = new System.Windows.Threading.DispatcherTimer();
            ATimer.Tick += ATimer_Tick;
            ATimer.Interval = new TimeSpan(0, 0, 0, 0,5);
            ATimer.Start();
        }

        private void ATimer_Tick(object sender, EventArgs e)
        {
            this.Background = new ImageBrush(new BitmapImage(new Uri(FileList[index])));
            index++;
            if (index == FileList.Count - 1)
                index = 0;
        }
    }
}
主程序中代码如下:
 private void Button_Click_9(object sender, RoutedEventArgs e)
        {
            gis3d.GetJWEvent += Gis3d_GetJWEvent1;
            gis3d.State = GisLib.WindowsMT.GisState.获取经纬度;


        }

        private void Gis3d_GetJWEvent1(System.Windows.Media.Media3D.Point3D value)
        {
            gis3d.GetJWEvent -= Gis3d_GetJWEvent;
            gis3d.State = GisLib.WindowsMT.GisState.漫游;

            AmiImage y1 = new AmiImage(AppDomain.CurrentDomain.BaseDirectory + "a");


            NewGisBiao.M3D.UserGisUI3dObject2 JuLiSechBiao = new NewGisBiao.M3D.UserGisUI3dObject2(); //新建一个承载UI对象的东东
            JuLiSechBiao.PareantEarth = (NewGisBiao.Base.GISInterfaseForBiao)IniRead.IniReadWrite.MPareant;//设置它的GIS球对象
            JuLiSechBiao.Manage = IniRead.IniReadWrite.BiaoManage;//设置它的标号管理器

            JuLiSechBiao.MaxZoom = 9;//最大显示层,当小于9层的时候不显示

            JuLiSechBiao.MUIValue = y1;//UI对象

            JuLiSechBiao.DHi = 0.01;//相对于地形的高度
            JuLiSechBiao.ZScal = 0.6;//相对缩放
            JuLiSechBiao.Scal.ScaleX = 1; //固定东东
            JuLiSechBiao.Scal.ScaleY = 1;
            JuLiSechBiao.Scal.ScaleZ = 1;

            JuLiSechBiao.AutoScal = true;//是否自动缩放,不管在哪一层都是一样大
            JuLiSechBiao.AutoAngle = true;//是否自动角度,使终对着摄像机
            JuLiSechBiao.CenterType = JunBiao.CenteType.左下角;//中心点类型
            IniRead.IniReadWrite.BiaoManage.AddJunBiao(JuLiSechBiao);//增加到军标管理对象中。也可以不加
            JuLiSechBiao.MWidth = 250;//三维面片的大小
            JuLiSechBiao.MHeight = 150;
            JuLiSechBiao.MRX = 90;
            if (IniRead.IniReadWrite.MPareant is MTGIS3D) //手动刷新一下自动角度。。。bug
            {
                ((MTGIS3D)IniRead.IniReadWrite.MPareant).TextAxisAngleX.Angle += 0.001;
                ((MTGIS3D)IniRead.IniReadWrite.MPareant).TextAxisAngleX.Angle -= 0.001;
            }


            JuLiSechBiao.Center = new Point(value.X, value.Y);//设置中心点

            JuLiSechBiao.ISShow = true;//显示

        }
效果如下:
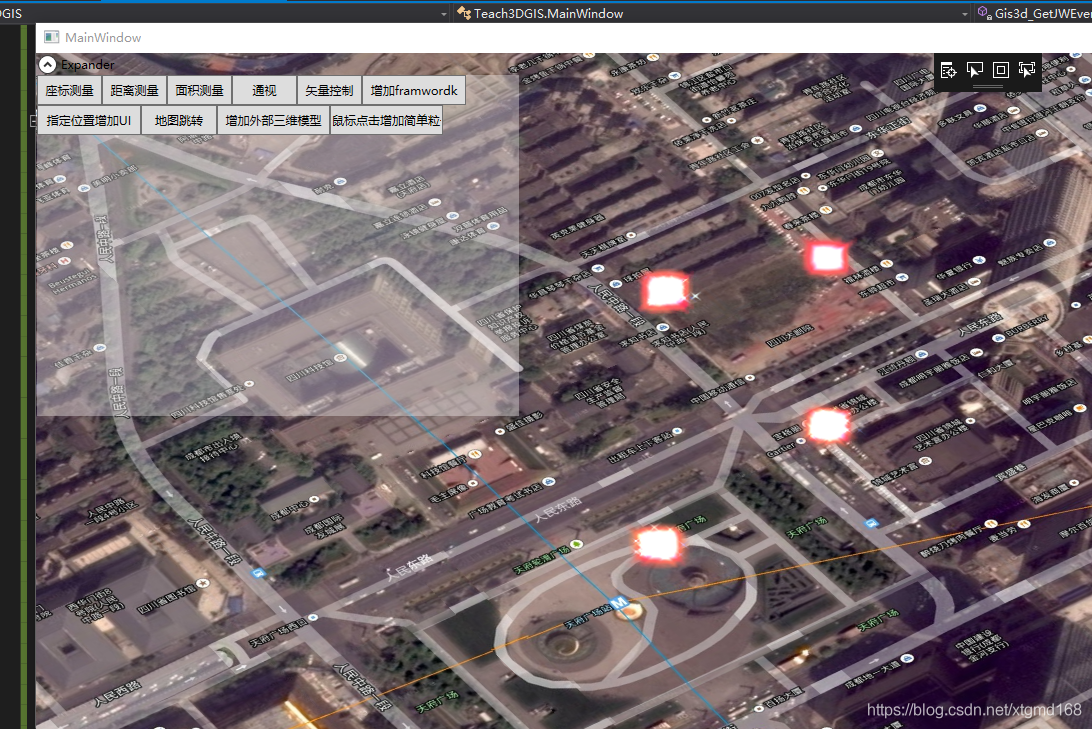
当然有一些效果是平贴在地上的,如光圈效果等:如下: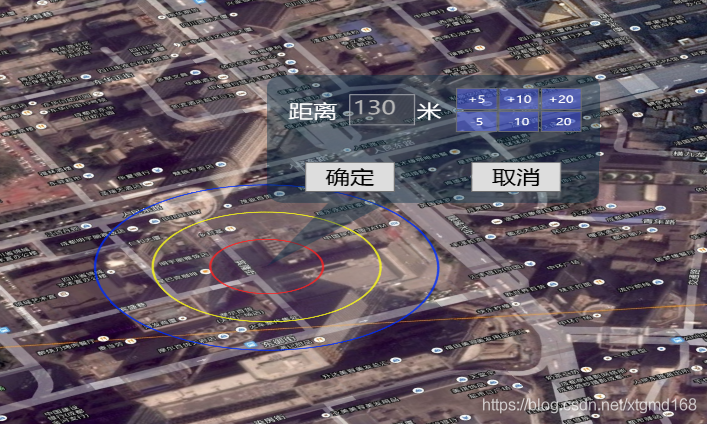
这里很明显就是用了两个对象,两个UI。其中一个UI的autoangle为false再通过调整 MRX MRY 设置一个死的角度就成上面这样了。效果还不错吧。WPF可以让我们尽情的发挥UI的优势。
http://www.chinamtouch.com QQ:40140203
作者:xtgmd168 发表于 2018/12/27 10:46:48 原文链接 https://blog.csdn.net/xtgmd168/article/details/85273270


 871
871


 被折叠的 条评论
为什么被折叠?
被折叠的 条评论
为什么被折叠?
 到【灌水乐园】发言


