


一、简介
是一个RPC框架,主要用于微服务之间的服务调用,主要特点是标准化,跨语言
二、架构
主要结构可以近似地理解为Tcp/Ip的多层架构

最底层transport对应传输层,protocol协议层,processor应用层,服务器与客户端层层对应,实现RPC能力。
三、安装
1、mac
如果没有版本要求,则:
brew install thrift
如果有版本要求,则要用对应版本的脚本安装,这个比较复杂,这里暂且不赘述
2、windows
官网下载.exe,文件名里的版本号去掉,配环境变量即可使用
3、linux
参见:
centos7安装thrift
四、IDL简介
1、IDL编写
由于Thrift有跨语言的特性,那当然需要一种中介语言来实现对服务标准化的描述,这个语言就是IDL(Interface description language,接口描述语言)。
基本语法
首先创建Hello.thrift文件,内容如下:
namespace java com.yanyu
struct People{
	1:string name
}
service Hello{
	string say(1:string name)
}
struct定义一种数据结构(对象),service定义一种服务(函数),经过thrift编译,生成对应特定语言的接口文件,例如:
thrift -r -gen java Hello.thrift
即可生成对应文件
2、IDL结构
生成的文件非常大,内容复杂,但最重要的就Iface,Client,Processor三个东西,Iface对应服务,Client是为客户端预留的使用方法,Processor是服务处理。
3、IDL支持的数据类型
基本数据类型
bool: 布尔值 (true or false)
byte: 有符号字节
i16: 16位有符号整型
i32: 32位有符号整型
i64: 64位有符号整型
double: 64位浮点型
string: Encoding agnostic text or binary string
binary: Blob (byte array) a sequence of unencoded bytes,这是string类型的一种变形,主要是为.java使用
容器类型
list: 元素类型为t的有序表,容许元素重复。对应c++的vector,Java的ArrayList或者其他语言的数组
set: 元素类型为t的无序表,不容许元素重复。对应c++中的set,Java中的HashSet,python中的set,php中没有set,则转换为list类型了
map: 键类型为t,值类型为t的kv对,键不容许重复。对用c++中的map, Java的HashMap, PHP 对应 array, Python/Ruby 的dictionary。
枚举类型
特别提示:在具体工作中遇到过枚举类型的BUG,不建议使用枚举类型,用int可以完美替代枚举类型的功能
enum TestType {
  Type_OK = 0, // (0)
  Type_EXIT = 1, // (1)
  Type_EXIT = 2, // (2)
  Type_ADD = 3 // (3)
}
特别地,struct不支持继承
下面结合实例进行说明
step1 写IDL
namespace java com.yanyu.thrift.idl
service HelloService{
	string say(1:string name)
}
step2 服务端
01 pom文件
<properties>
        <java.version>1.8</java.version>
    </properties>

    <dependencies>
        <dependency>
            <groupId>org.springframework.boot</groupId>
            <artifactId>spring-boot-starter-web</artifactId>
        </dependency>

        <dependency>
            <groupId>org.projectlombok</groupId>
            <artifactId>lombok</artifactId>
            <optional>true</optional>
        </dependency>
        <dependency>
            <groupId>org.springframework.boot</groupId>
            <artifactId>spring-boot-starter-test</artifactId>
            <scope>test</scope>
        </dependency>
        <!-- https://mvnrepository.com/artifact/org.apache.thrift/libthrift -->
        <dependency>
            <groupId>org.apache.thrift</groupId>
            <artifactId>libthrift</artifactId>
            <version>0.11.0</version>
        </dependency>
02 配置文件
# springboot的端口
server.port=9876
# thrift服务器的端口
thrift.port=8801
# 最小线程数
thrift.minWorkerThreads=1
# 最大线程数
thrift.maxWorkerThreads=10
03 将编译好的HelloService.java放到namespace指定的位置
04 写一个controller实现HelloService.Iface接口
@Slf4j
@Controller
public class ServerController implements HelloService.Iface {
    @Override
    public String say(String name) throws TException {
        log.info("服务正在被客户端调用,参数为{}",name);
        return "Hello! "+name;
    }
}
05 手写thrift服务器,用于启动thrift
@Slf4j
@Component
public class ThriftServer {

    @Value("${thrift.port}")
    private int port;
    @Value("${thrift.minWorkerThreads}")
    private int minThreads;
    @Value("${thrift.maxWorkerThreads}")
    private int maxThreads;

    // 协议工厂
    private TBinaryProtocol.Factory protocolFactory;
    // 传输工厂
    private TTransportFactory transportFactory;

    // 依赖注入控制器
    @Autowired
    private ServerController serverController;

    // 启动器
    public void init(){
        protocolFactory = new TBinaryProtocol.Factory();
        transportFactory = new TTransportFactory();
    }

    // 核心功能开启
    public void start(){
        HelloService.Processor processor = new HelloService.Processor<HelloService.Iface>(serverController);
        init();
        try{
            TServerTransport transport = new TServerSocket(port);
            TThreadPoolServer.Args tArgs = new TThreadPoolServer.Args(transport);
            tArgs.processor(processor);
            tArgs.protocolFactory(protocolFactory);
            tArgs.transportFactory(transportFactory);
            tArgs.minWorkerThreads(minThreads);
            tArgs.maxWorkerThreads(maxThreads);
            TServer server = new TThreadPoolServer(tArgs);
            log.info("thrift服务启动成功, 端口={}", port);
            server.serve();
        }catch (Exception e){
            log.error("服务启动失败,",e);
        }
    }
}
06 在启动器里用springboot容器获取bean,启动
@SpringBootApplication
public class ThriftServerApplication {
    private static ThriftServer thriftServer;

    public static void main(String[] args) {
        ApplicationContext context = SpringApplication.run(ThriftServerApplication.class, args);
        try{
            thriftServer=context.getBean(ThriftServer.class);
            thriftServer.start();
        }catch (Exception e){
            e.printStackTrace();
        }
    }

}
控制台打印内容为:
2020-12-14 09:41:38.712  INFO 1109 --- [           main] o.s.b.w.embedded.tomcat.TomcatWebServer  : Tomcat started on port(s): 9876 (http) with context path ''
2020-12-14 09:41:38.721  INFO 1109 --- [           main] c.xu.testthrift.ThriftServerApplication  : Started ThriftServerApplication in 2.176 seconds (JVM running for 2.63)
2020-12-14 09:41:38.727  INFO 1109 --- [           main] com.xu.testthrift.util.ThriftServer      : thrift服务启动成功, 端口=8801
springboot一个端口,thrift一个端口
step3 客户端
01 pom
同服务端
02 配置文件
server.port=9875
thrift.host=127.0.0.1
thrift.port=8801
由于是本机测试,所以host是127.0.0.1,如果你有自己的微服务环境,就改成你自己的host,只是测试的话不用改
port对应服务端中thrift的端口,必须一致,否则thrift会找错服务
03 实现HelloService.Client
public class HelloClient {
    private HelloService.Client helloService;
    private TBinaryProtocol protocol;
    private TSocket transport;
    private String host;
    private int port;
    public String getHost() {
        return host;
    }
    public void setHost(String host) {
        this.host = host;
    }
    public int getPort() {
        return port;
    }
    public void setPort(int port) {
        this.port = port;
    }

    public void init(){
        transport = new TSocket(host,port);
        protocol = new TBinaryProtocol(transport);
        helloService = new HelloService.Client(protocol);
    }

    public HelloService.Client getHelloService(){
        return helloService;
    }
    public void open() throws TTransportException {
        transport.open();
    }

    public void close(){
        transport.close();
    }
}
注意,此处的协议、传输方式必须和服务端一一对应
04 定义一个配置文件,用于启动thrift客户端服务
@Configuration
public class HelloClientConfig {
    @Value("${thrift.host}")
    private String host;
    @Value("${thrift.port}")
    private int port;

    @Bean(initMethod = "init")
    public HelloClient helloClient(){
        HelloClient helloClient = new HelloClient();
        helloClient.setHost(host);
        helloClient.setPort(port);
        return helloClient;
    }
}
注意,这里把HelloClient托管给bean容器,所以在HelloCLient类千万不要加@Component
05 写一个controller用于调用服务
@RestController
@Slf4j
public class ClientController {
    @Autowired
    private HelloClient helloClient;

    @GetMapping("/myHello")
    public String getHello(){
        log.info("开始调用远程服务...");
        String msg=null;
        try {
            helloClient.open();
            msg=helloClient.getHelloService().say("bafan");
        }catch (Exception e){
            log.error("调用失败",e);
        }finally {
            helloClient.close();
        }
        if(!StringUtils.hasText(msg))return "发生不可知错误";
        return msg;
    }
}
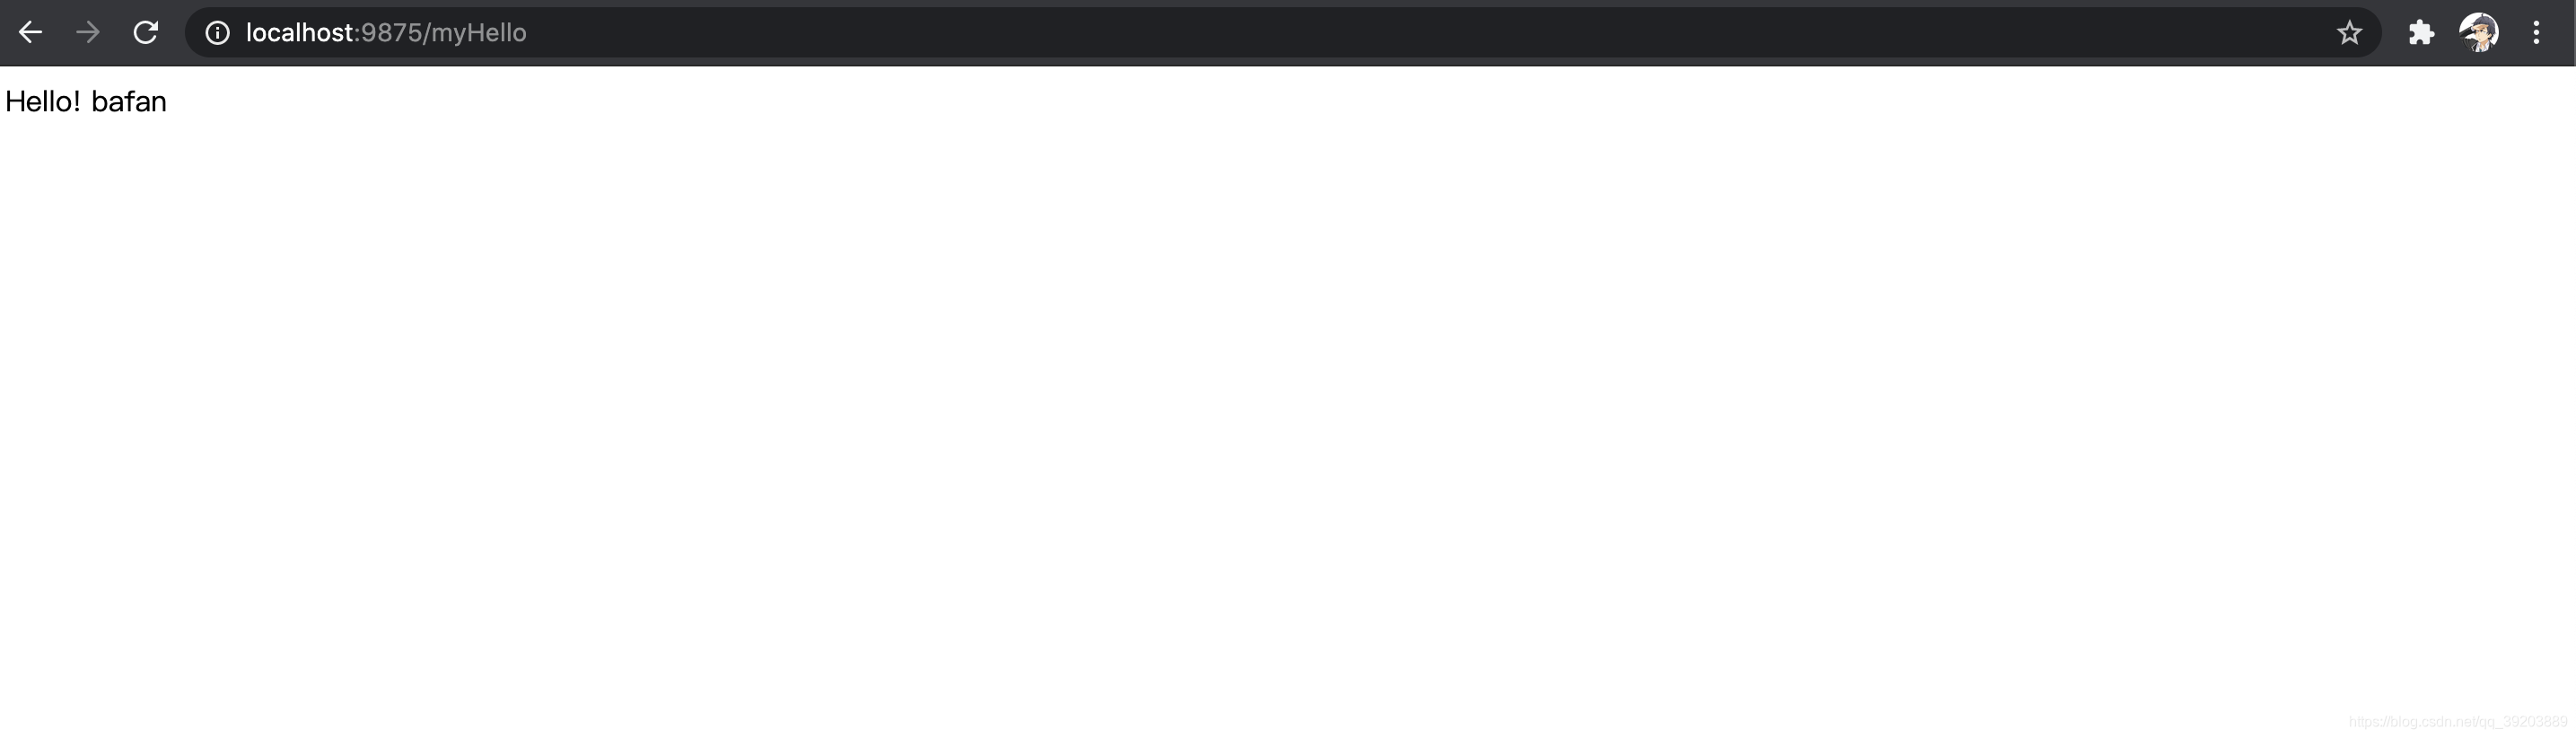
页面效果:
完毕
如果使用上还有什么问题,欢迎联系我一起讨论
邮箱3352336739@qq.com,主题请写“java技术研讨”


 1664
1664


 被折叠的 条评论
为什么被折叠?
被折叠的 条评论
为什么被折叠?
 到【灌水乐园】发言


