


1.导入依赖
        <dependency>
            <groupId>commons-io</groupId>
            <artifactId>commons-io</artifactId>
            <version>2.6</version>
        </dependency>
2.编写封装类 返回信息
public class FileInfo {

    private String path;

    public FileInfo(String path) {
        this.path = path;
    }

    public String getPath() {
        return path;
    }

    public void setPath(String path) {
        this.path = path;
    }

}
3.编写controller 实现文件上传与下载
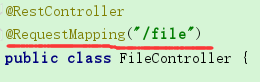
3.1创建
@RestController
@RequestMapping("/file")
public class FileController {
/**
* 上传图片
* @param file
* @param req
* @return
* @throws Exception
*/
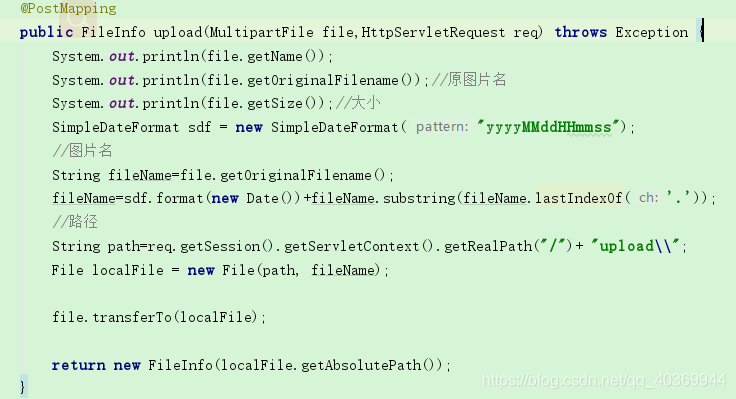
@PostMapping
public FileInfo upload(MultipartFile file,HttpServletRequest req) throws Exception {
System.out.println(file.getName());
System.out.println(file.getOriginalFilename());//原图片名
System.out.println(file.getSize());//大小
SimpleDateFormat sdf = new SimpleDateFormat("yyyyMMddHHmmss");
//图片名
String fileName = URLEncoder.encode(file.getOriginalFilename(), "UTF-8");
fileName=sdf.format(new Date())+fileName.substring(fileName.lastIndexOf('.'));
//路径
String path=req.getSession().getServletContext().getRealPath("/")+ "upload\\";
File localFile = new File(path, fileName);
file.transferTo(localFile);
//返回json格式
return new FileInfo(localFile.getAbsolutePath());
}
/**
* 下载图片
* @param id
* @param request
* @param response
*/
@GetMapping("/{id}")//id为要下载的图片名:123.jsp
public void download(@PathVariable String id, HttpServletRequest request, HttpServletResponse response) {
String path=request.getSession().getServletContext().getRealPath("/")+ "upload\\";
//根据url获取输入流
//URL url = new URL(zipUrl);
//HttpURLConnection conn = (HttpURLConnection)url.openConnection();
//设置超时间为3秒
//conn.setConnectTimeout(3*1000);
//防止屏蔽程序抓取而返回403错误
//conn.setRequestProperty("User-Agent", "Mozilla/4.0 (compatible; MSIE 5.0; Windows NT; DigExt)");
//得到输入流
//InputStream inputStream = conn.getInputStream();
//-------------------------------------------
//下载
try (InputStream inputStream = new FileInputStream(new File(path, id ));
OutputStream outputStream = response.getOutputStream();) {
response.setContentType("application/x-download");
response.addHeader("Content-Disposition", "attachment;filename=" + id);
IOUtils.copy(inputStream, outputStream);
} catch (Exception e) {
e.printStackTrace();
}
}
}如果路径异常,用以下方法获取路径:
    /**
     * 获取图片上传路径
     * @return
     * @throws Exception
     */
    public static String getPath() throws Exception {
        //路径
        File path = new File(ResourceUtils.getURL("classpath:").getPath());
        if (!path.exists()) {
            path = new File("");
        }
//如果上传目录为/static/images/upload/,则可以如下获取
        File upload = new File(path.getAbsolutePath(), "static/upload/");

        if (!upload.exists()) {
            upload.mkdirs();
//            System.out.println(upload.getAbsolutePath());
            //在开发测试模式时,得到地址为:{项目跟目录}/target/static/images/upload/
            //在打成jar正式发布时,得到的地址为:{发布jar包目录}/static/images/upload/
        }
        return upload.getAbsolutePath();
    }
3.2@RestController和@Controller区别
@RestController注解相当于@ResponseBody + @Controller合在一起的作用。
1) 如果只是使用@RestController注解Controller,则Controller中的方法无法返回jsp页面,或者html,配置的视图解析器 InternalResourceViewResolver不起作用,返回的内容就是Return 里的内容。
转json请看https://blog.csdn.net/qq_40369944/article/details/83898752
2) 如果需要返回到指定页面,则需要用 @Controller配合视图解析器InternalResourceViewResolver才行。
如果需要返回JSON,XML或自定义mediaType内容到页面,则需要在对应的方法上加上@ResponseBody注解。
4.测试
4.1上传
4.1.1html:
<form action="/file" method="post"  enctype="multipart/form-data" >
        <input type="file" name="file">
        <input type="submit" value="ok">
    </form>
4.1.2页面:
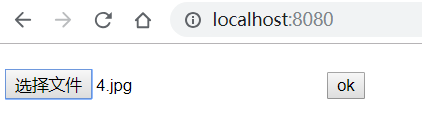
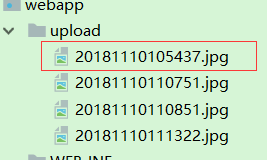
4.1.3结果:

4.2下载

我就直接根据项目中的图片名下载
get方式 地址:
![]()
浏览器下载:


 3255
3255


 被折叠的 条评论
为什么被折叠?
被折叠的 条评论
为什么被折叠?
 到【灌水乐园】发言


