


为什么需要自定义starter:
项目中经常使用的功能可以包装成自定义的starter,方便调用以及使用。
SpringBoot是怎样定义starterd:
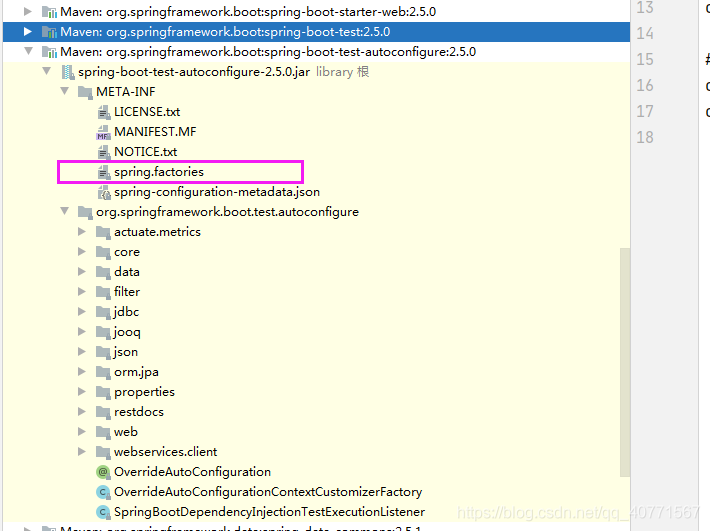
以test statrt为例:
![]()
我们发现我们导入test stater包之后,Spring会引入两个依赖
一个是 org.springframework.boot:spring-boot-test
这个里边没什么东西,主要是告诉我们需要导入什么依赖
另一个是 org.springframework.boot:spring-boot-test-autoconfigure
这个里边有个很重要的spring.factories
这个里边的内容是告诉spring需要导入哪些配置
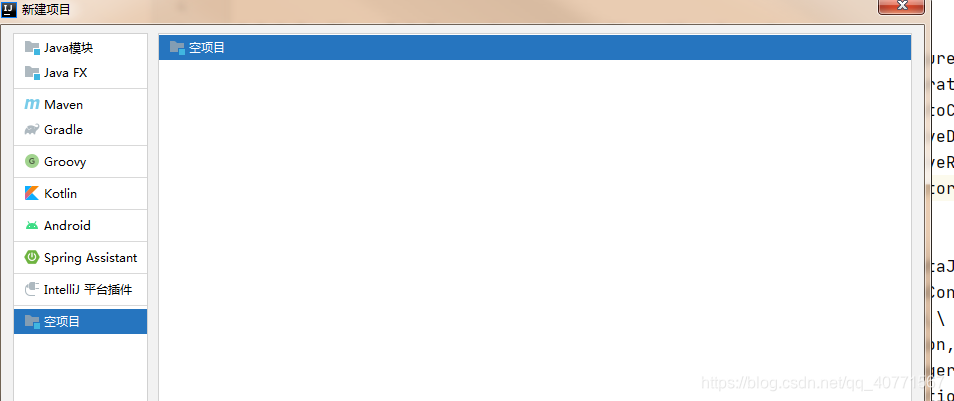
我们照此搭建我们的自定义stater
1、创建一个新的空项目
![]()
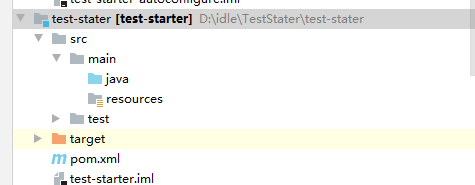
2、添加第一个普通模块
test-starter 这个模块主要是启动器模块,它会引入auto configure模块

![]()
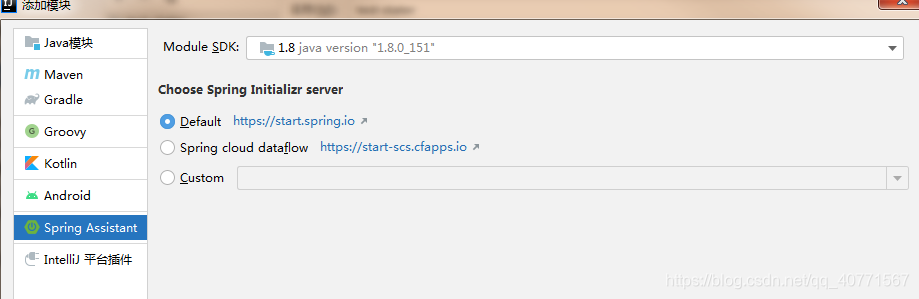
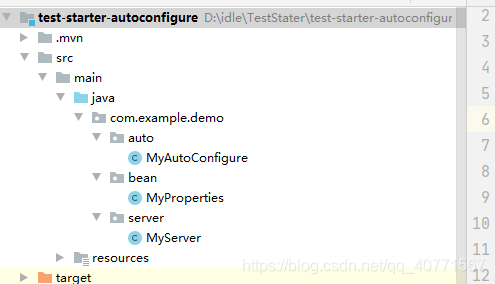
3、创建第二个Spring普通项目
命名为test-starter-autoconfigure 这个就是自动配置模块
![]()
4.、查看自动配置模块的pom文件 将它引入到starter中
(1)、查看pom
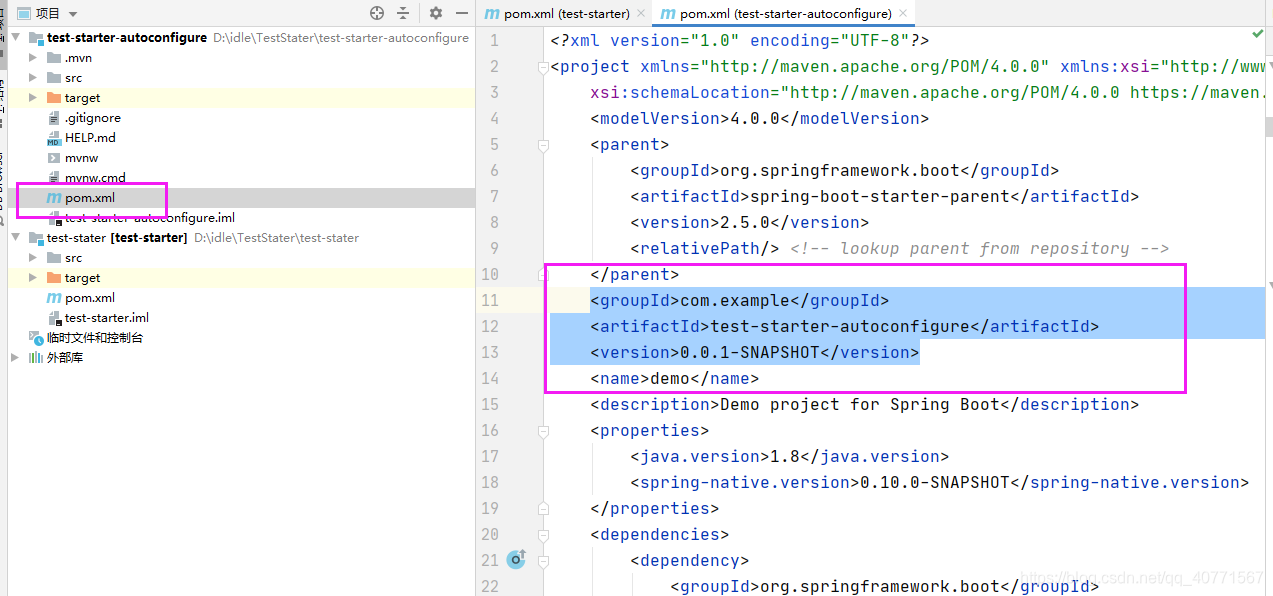
![]()
(2)、在starter中引入
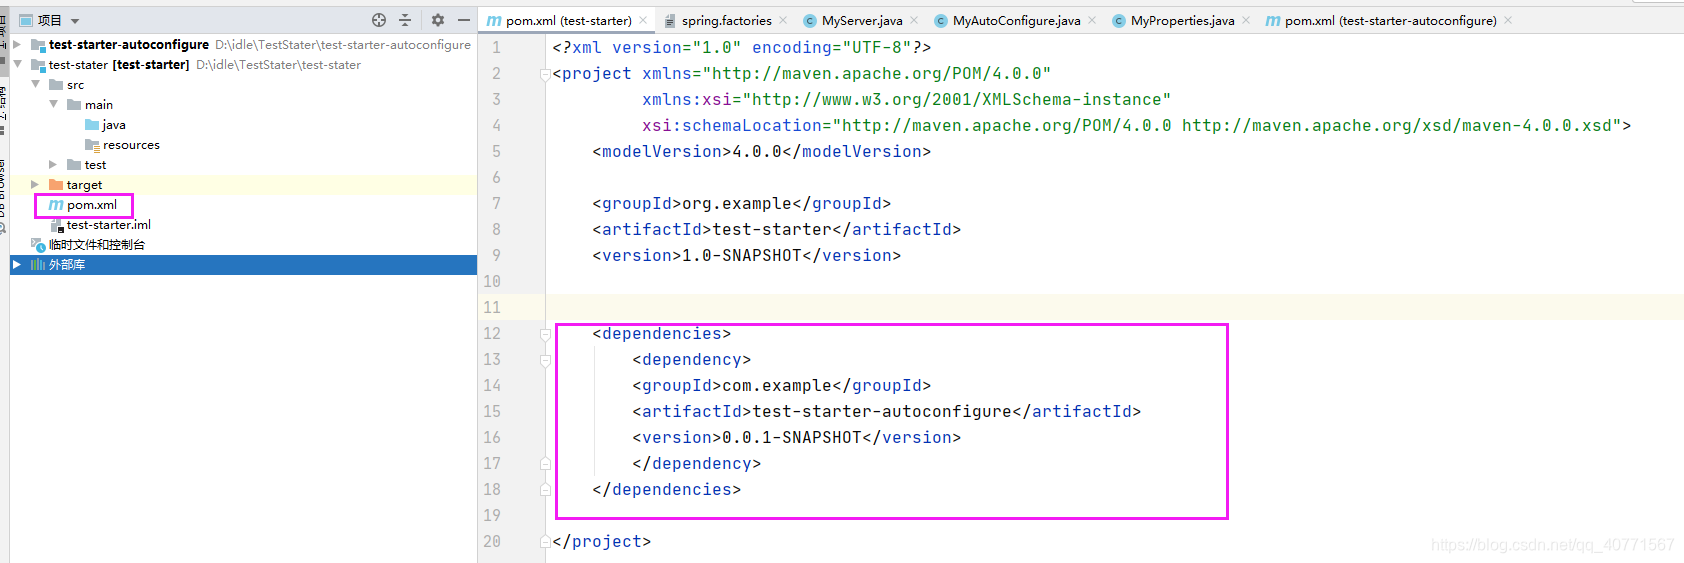
这样我们使用starter 就会帮我们引入我们的autoconfigure
5、创建我们的server 用来返回前缀+名字
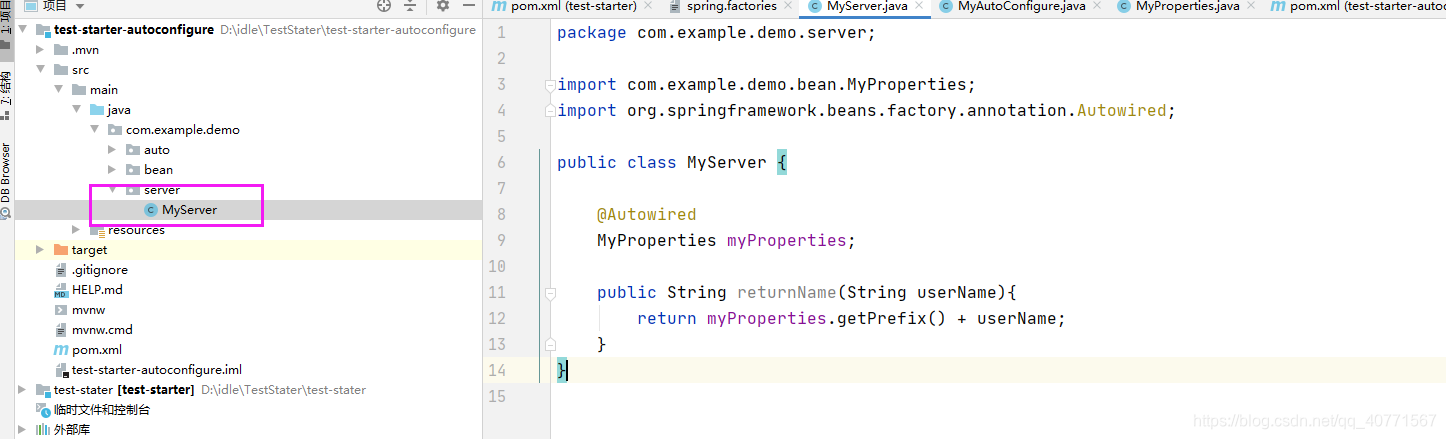
package com.example.demo.server;

import com.example.demo.bean.MyProperties;
import org.springframework.beans.factory.annotation.Autowired;

public class MyServer {

    @Autowired
    MyProperties myProperties;

    public String returnName(String userName){
        return myProperties.getPrefix() + userName;
    }
}
6、创建 MyProperties 类,这里用来绑定配置
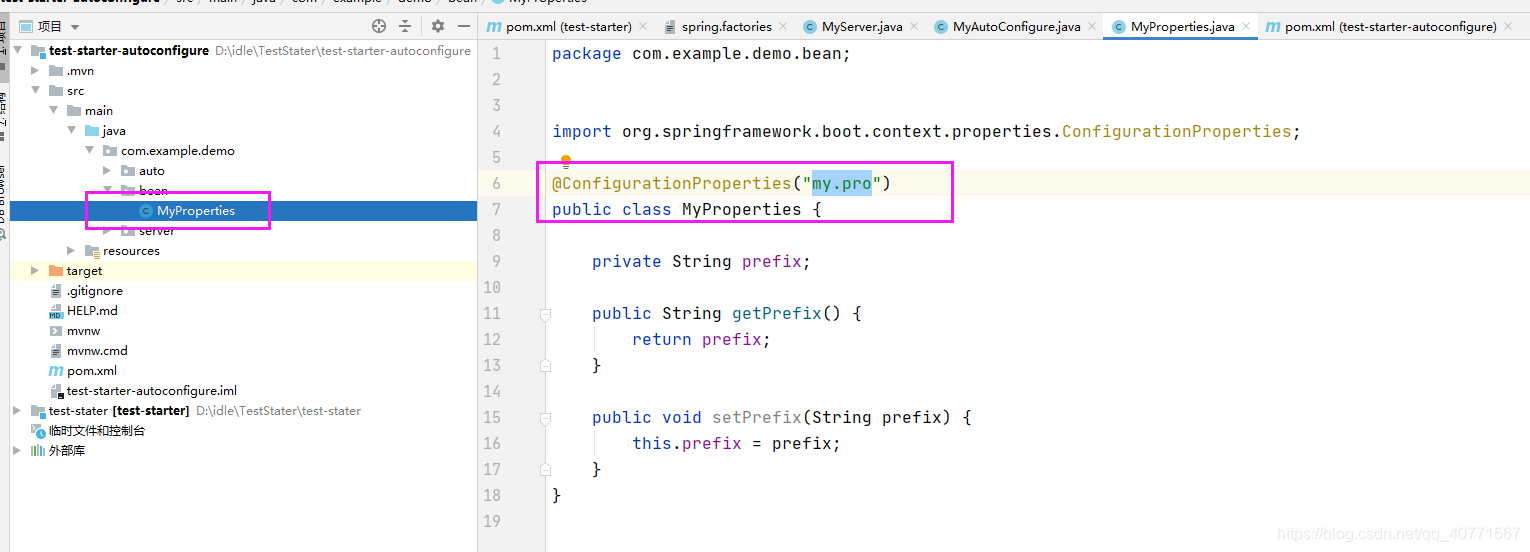
package com.example.demo.bean;


import org.springframework.boot.context.properties.ConfigurationProperties;

@ConfigurationProperties("my.pro")
public class MyProperties {

    private String prefix;

    public String getPrefix() {
        return prefix;
    }

    public void setPrefix(String prefix) {
        this.prefix = prefix;
    }
}
这里的意思是与配置文件中的 my.pro 开头的配置进行绑定
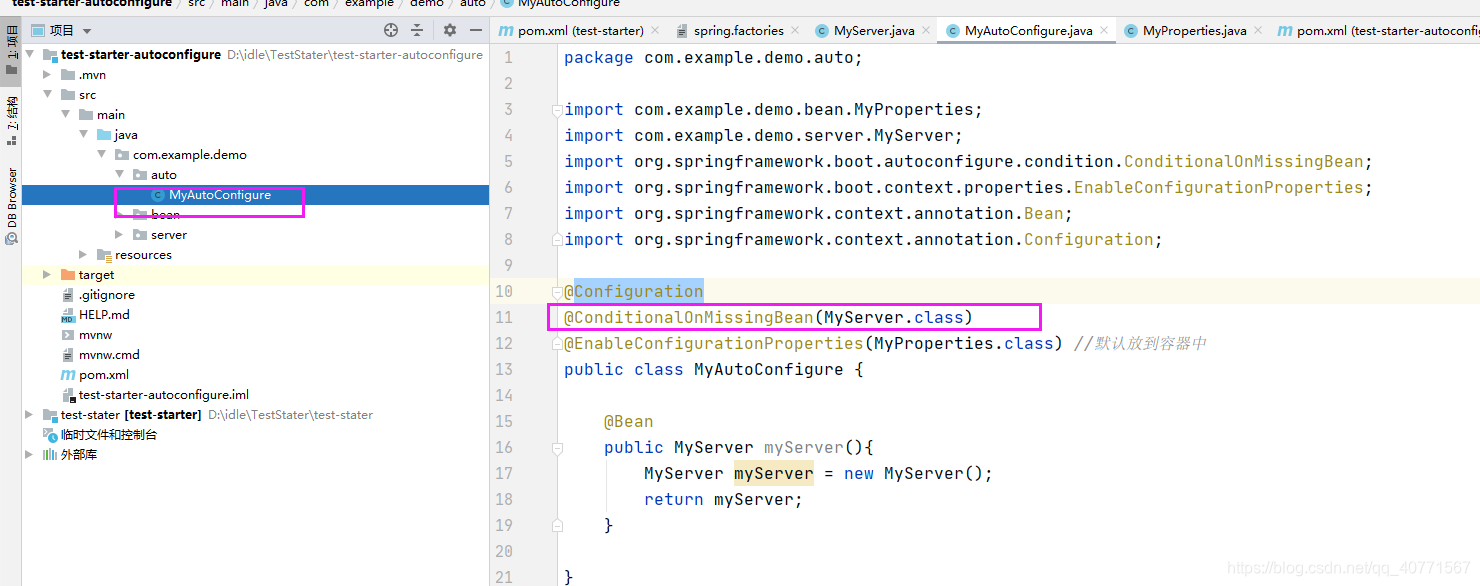
7、创建Configuration类 注入sever
为什么不直接在server类中将server注入的原因就是我们要控制组件的注入。
package com.example.demo.auto;

import com.example.demo.bean.MyProperties;
import com.example.demo.server.MyServer;
import org.springframework.boot.autoconfigure.condition.ConditionalOnMissingBean;
import org.springframework.boot.context.properties.EnableConfigurationProperties;
import org.springframework.context.annotation.Bean;
import org.springframework.context.annotation.Configuration;

@Configuration
@ConditionalOnMissingBean(MyServer.class)
@EnableConfigurationProperties(MyProperties.class) //默认放到容器中
public class MyAutoConfigure {

    @Bean
    public MyServer myServer(){
        MyServer myServer = new MyServer();
        return myServer;
    }

}
容器中没有这个server我们才注入。
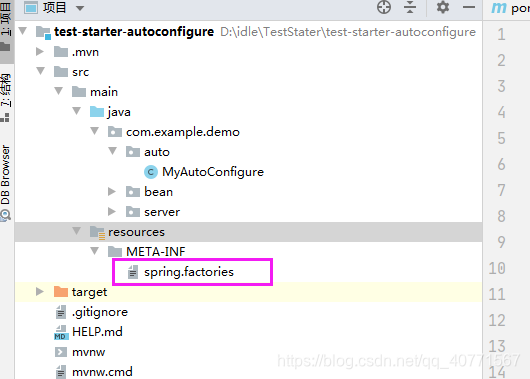
8、创建 META-INF 文件夹,放入factories文件
文件内容是告诉spring帮我们导入(扫描)哪个文件
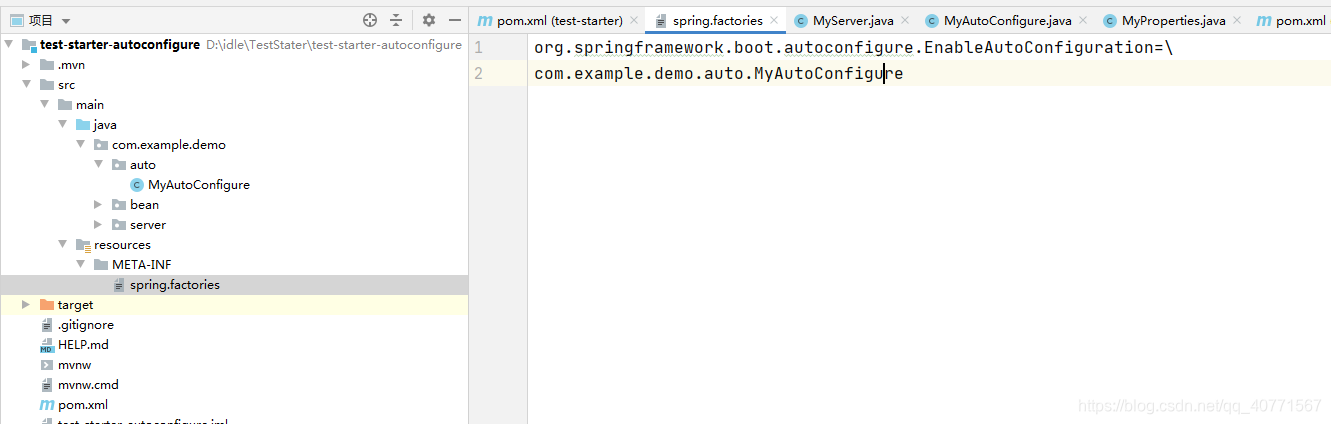
org.springframework.boot.autoconfigure.EnableAutoConfiguration=\
com.example.demo.auto.MyAutoConfigure
9、打包
打包autoconfigure:
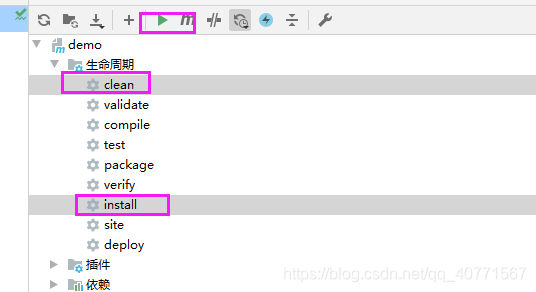
打包starter:
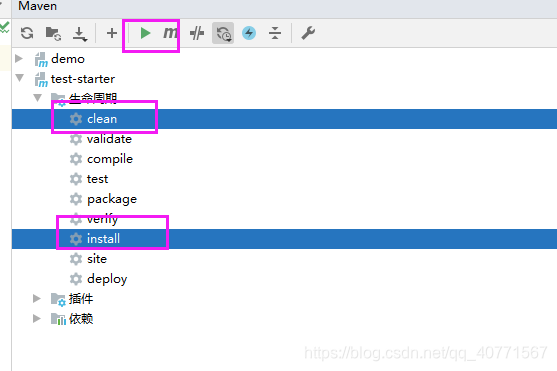
这样就安装到了mave仓库
10、使用
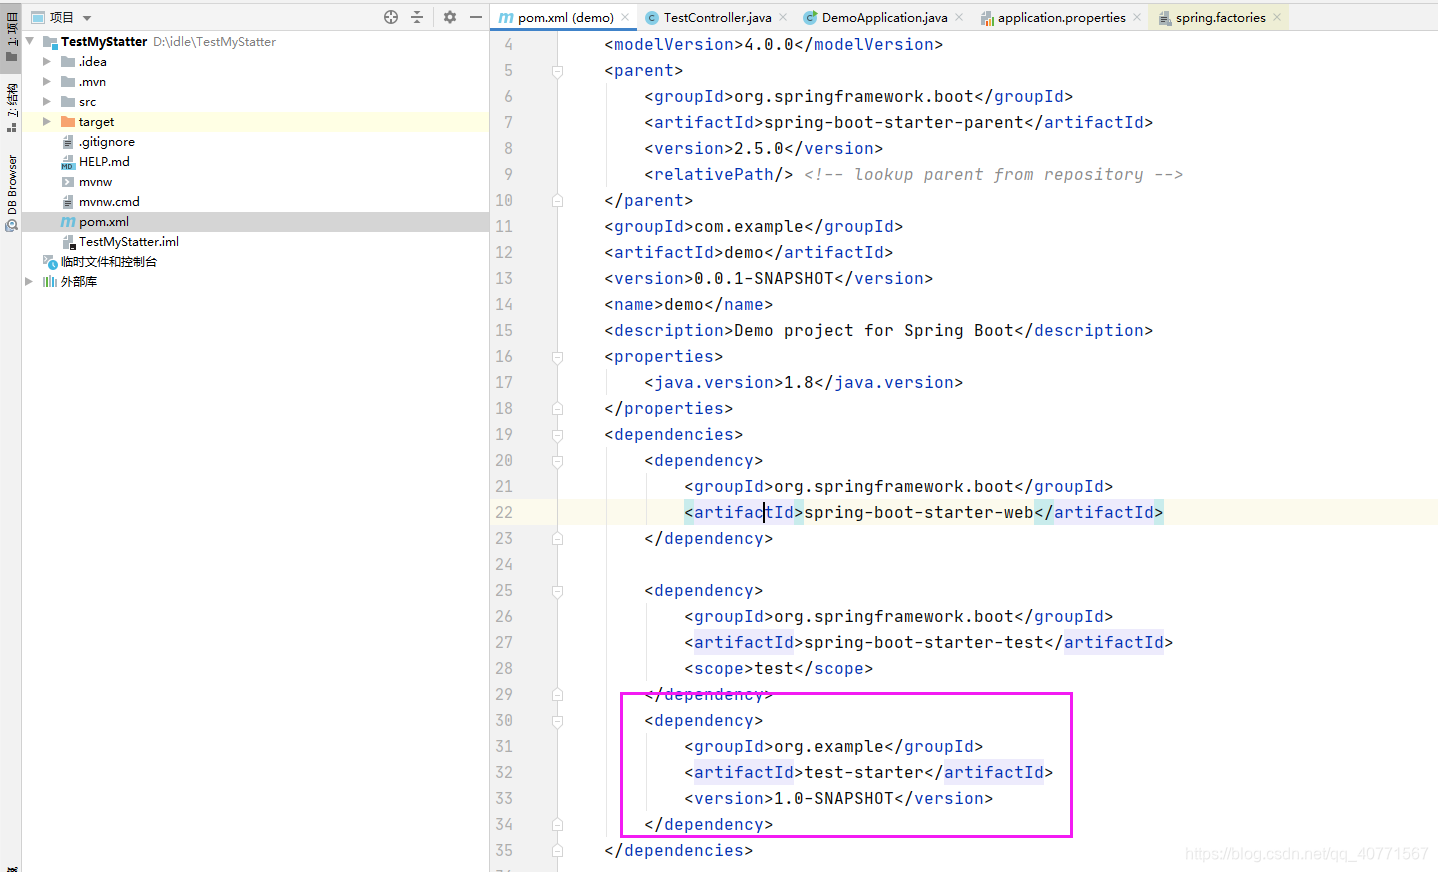
(1)、创建一个普通的spring项目,引入starter的pom中的相关配置 将starter引入
(2)、刷新 mavern,然后创建 controller使用
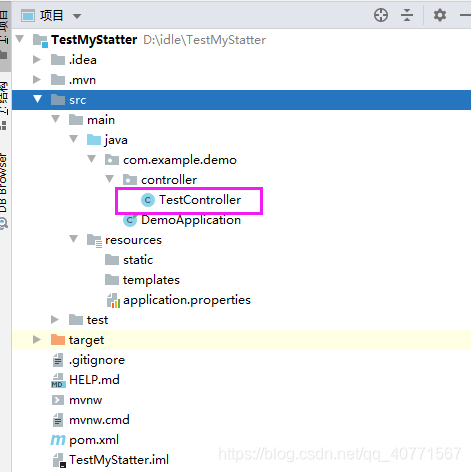
package com.example.demo.controller;

import com.example.demo.server.MyServer;
import org.springframework.beans.factory.annotation.Autowired;
import org.springframework.web.bind.annotation.GetMapping;
import org.springframework.web.bind.annotation.RestController;

@RestController
public class TestController {
    @Autowired
    MyServer myServer;

    @GetMapping("/hello")
    public String getName(){
        return myServer.returnName("test");
    }

}
(3)、修改配置文件、编写前缀
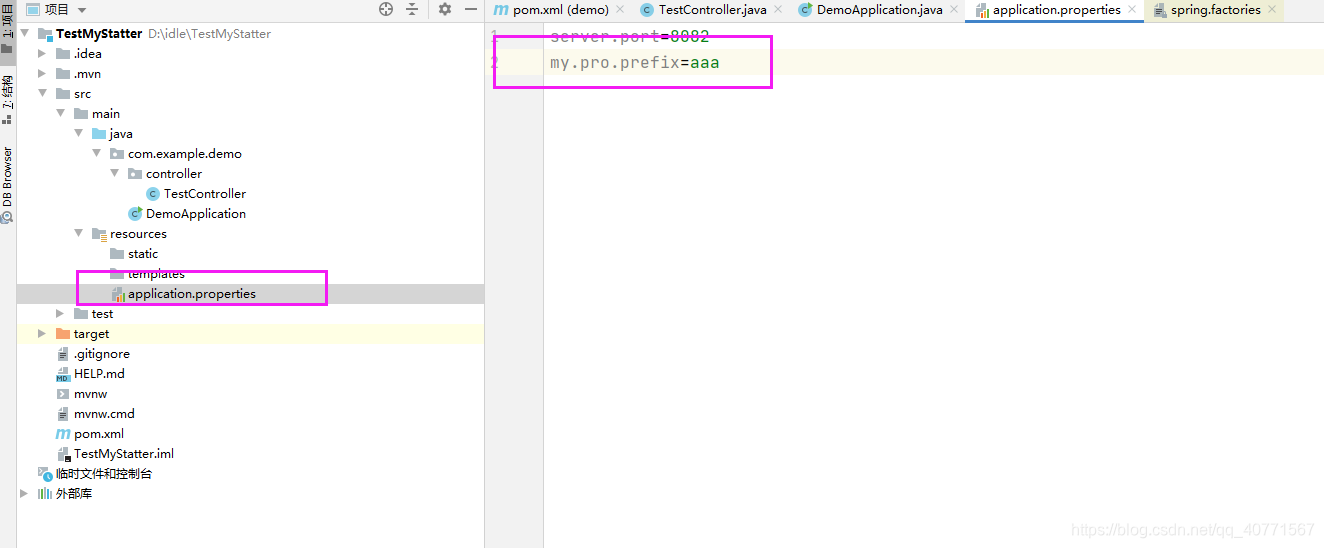
(4)、运行并查看结果


 1048
1048


 被折叠的 条评论
为什么被折叠?
被折叠的 条评论
为什么被折叠?
 到【灌水乐园】发言


