


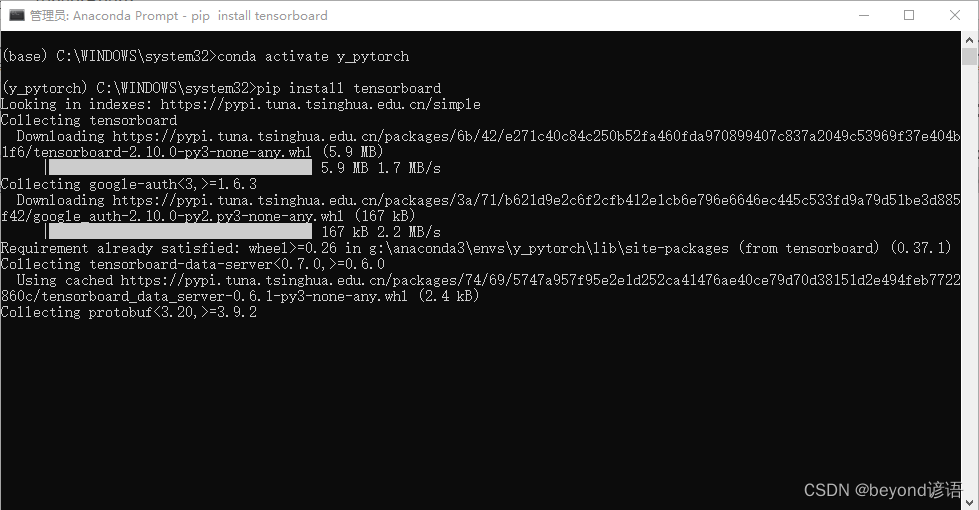
一、安装TensorBoard
管理员身份运行Anaconda Prompt,进入自己的环境环境 conda activate y_pytorch,pip install tensorboard 进行下载,也可以通过conda install tensorboard进行下载。其实通俗点,pip相当于菜市场,conda相当于大型正规超市。
二、SummaryWriter类
所有编译均在PyChram下进行
from torch.utils.tensorboard import SummaryWriter
按着Ctrl,点击SummaryWriter,进入查看该类的使用说明文档
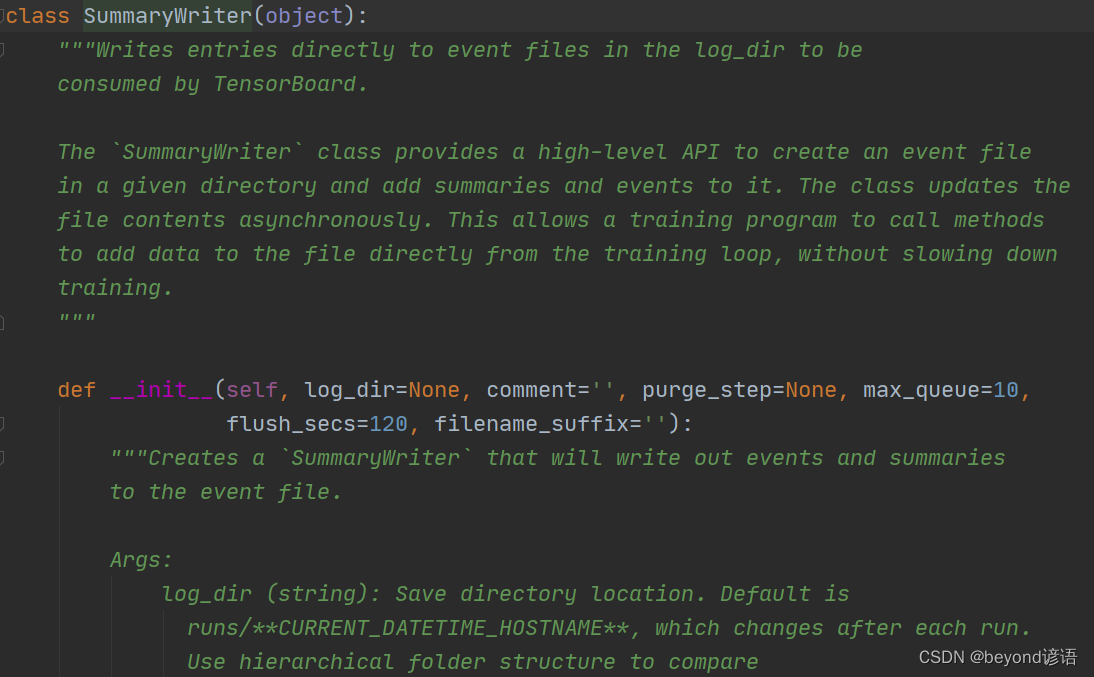
    """Writes entries directly to event files in the log_dir to be
    consumed by TensorBoard.
    将条目直接写入log_dir中的事件文件,供TensorBoard使用

    The `SummaryWriter` class provides a high-level API to create an event file
    in a given directory and add summaries and events to it. The class updates the
    file contents asynchronously. This allows a training program to call methods
    to add data to the file directly from the training loop, without slowing down
    training.
    """
    看不懂没关系,DL翻译一下就行了呗,大概就是,SummaryWriter类会生成一个文件,
    这个文件会被TensorBoard所解析使用,也就是说可以通过TensorBoard进行可视化展示
#这个是SummaryWriter的初始化函数
    def __init__(self, log_dir=None, comment='', purge_step=None, max_queue=10,
                 flush_secs=120, filename_suffix=''):
        """Creates a `SummaryWriter` that will write out events and summaries
        to the event file.

        Args:
            log_dir (string): Save directory location. Default is
              runs/**CURRENT_DATETIME_HOSTNAME**, which changes after each run.
              Use hierarchical folder structure to compare
              between runs easily. e.g. pass in 'runs/exp1', 'runs/exp2', etc.
              for each new experiment to compare across them.
#保存的文件为log_dir所指定的位置,默认为runs/**CURRENT_DATETIME_HOSTNAME**这个位置

#同理,后面的参数可以进行翻译,然后进行学习即可
            comment (string): Comment log_dir suffix appended to the default
              ``log_dir``. If ``log_dir`` is assigned, this argument has no effect.
            purge_step (int):
              When logging crashes at step :math:`T+X` and restarts at step :math:`T`,
              any events whose global_step larger or equal to :math:`T` will be
              purged and hidden from TensorBoard.
              Note that crashed and resumed experiments should have the same ``log_dir``.
            max_queue (int): Size of the queue for pending events and
              summaries before one of the 'add' calls forces a flush to disk.
              Default is ten items.
            flush_secs (int): How often, in seconds, to flush the
              pending events and summaries to disk. Default is every two minutes.
            filename_suffix (string): Suffix added to all event filenames in
              the log_dir directory. More details on filename construction in
              tensorboard.summary.writer.event_file_writer.EventFileWriter.

        Examples::
#如何使用,使用案例
            from torch.utils.tensorboard import SummaryWriter

            # create a summary writer with automatically generated folder name.
            writer = SummaryWriter()
            # folder location: runs/May04_22-14-54_s-MacBook-Pro.local/
#参数啥都不加,默认生成的文件会放入runs/May04_22-14-54_s-MacBook-Pro.local/位置

            # create a summary writer using the specified folder name.
            writer = SummaryWriter("my_experiment")
            # folder location: my_experiment
#指定位置,生成的文件会放入指定位置

            # create a summary writer with comment appended.
            writer = SummaryWriter(comment="LR_0.1_BATCH_16")
            # folder location: runs/May04_22-14-54_s-MacBook-Pro.localLR_0.1_BATCH_16/

        """
了解完SummaryWriter之后,开始为其创建对象
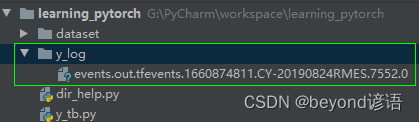
writer = SummaryWriter("y_log")#对应生成的文件会放入y_log文件夹下
三、add_scalar()方法
将标量数据添加到summary中
writer.add_scalar()#按住Ctrl,点击add_scalar方法,查看该方法的使用说明
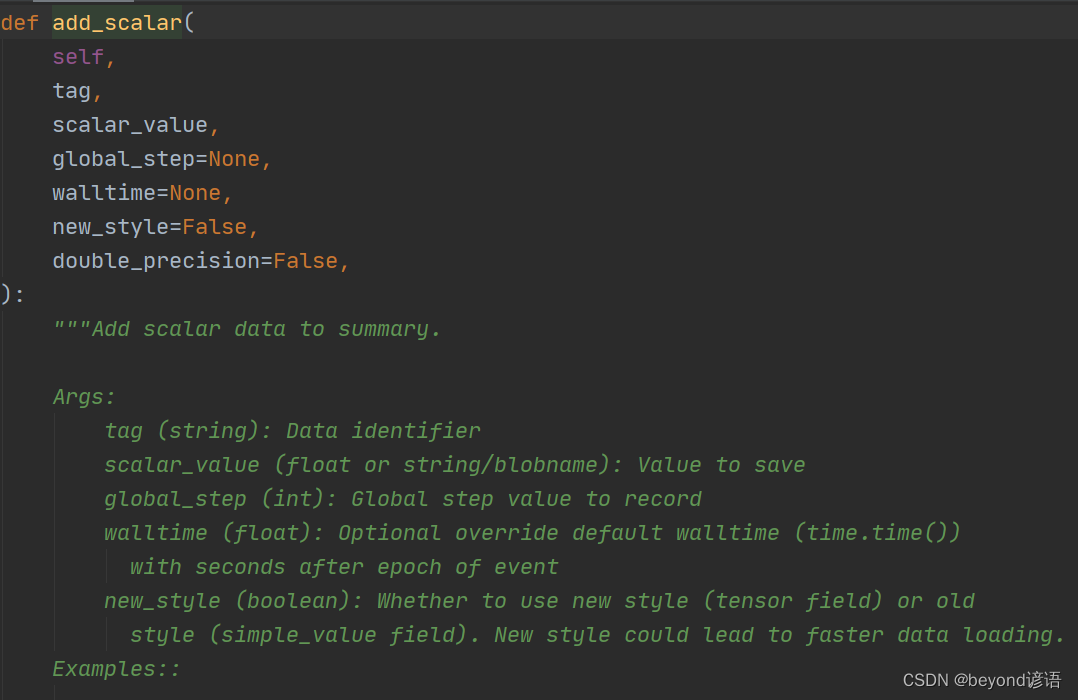
        """Add scalar data to summary.
#将标量数据添加到summary中

        Args:#参数
            tag (string): Data identifier
#图标的title名称
            scalar_value (float or string/blobname): Value to save
#要保存的数据值,一般用作y轴
            global_step (int): Global step value to record
#记录全局的步长值,一般用作x轴
            walltime (float): Optional override default walltime (time.time())
              with seconds after epoch of event
            new_style (boolean): Whether to use new style (tensor field) or old
              style (simple_value field). New style could lead to faster data loading.
        Examples::

            from torch.utils.tensorboard import SummaryWriter
            writer = SummaryWriter()
            x = range(100)
            for i in x:
                writer.add_scalar('y=2x', i * 2, i)
            writer.close()

        Expected result:

        .. image:: _static/img/tensorboard/add_scalar.png
           :scale: 50 %

        """
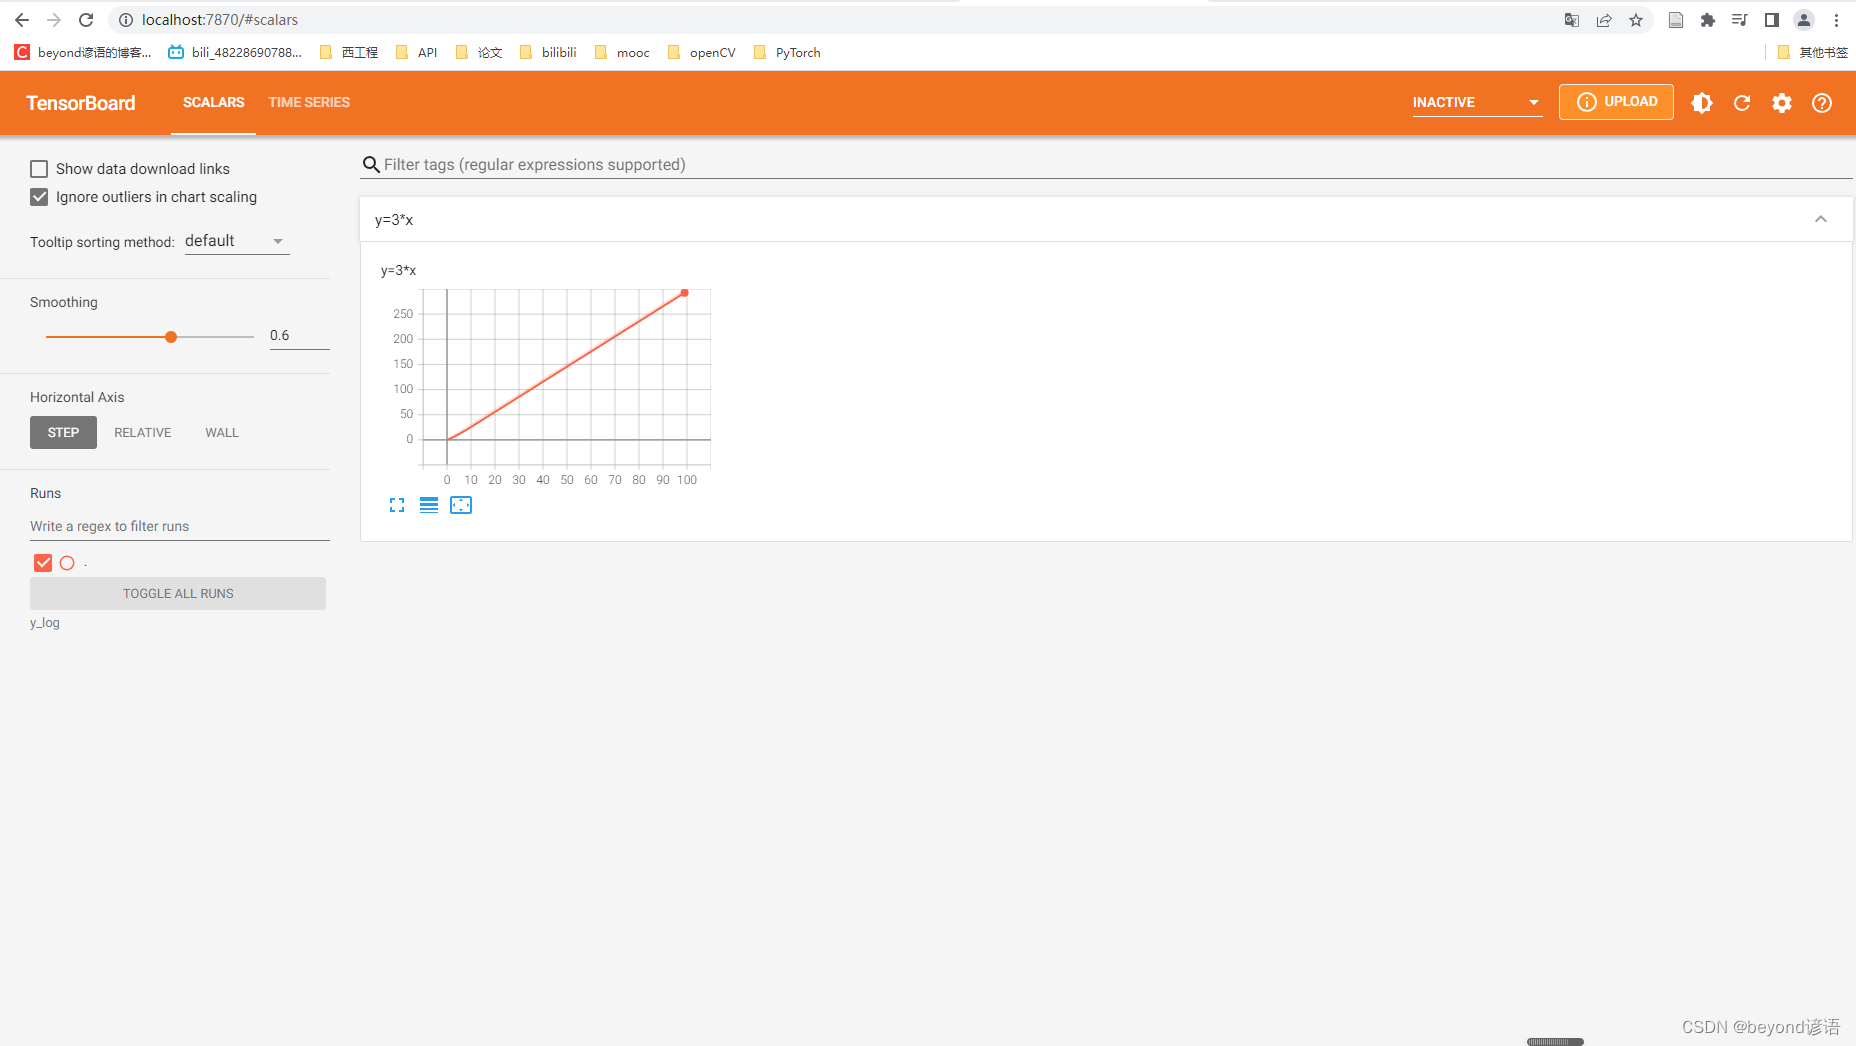
绘制一个y=3*x的图,通过tensorboard进行展示
from torch.utils.tensorboard import SummaryWriter

writer = SummaryWriter("y_log")#文件所存放的位置在y_log文件夹下

for i in range(100):
    writer.add_scalar("y=3*x",3*i,i)#图标的title为y=3*x,y轴为3*i,x轴为i
#要注意的是title若一样,则会发生拟合现象,会出错。一般不同图像要对应不同的title,一个title会对应一张图。

writer.close()
运行完之后,发现多了个文件夹,里面存放的就是tensorboard的一些事件文件
在Terminal下运行tensorboard --logdir=y_log --port=7870,logdir为打开事件文件的路径,port为指定端口打开;
通过指定端口7870进行打开tensorboard,若不设置port参数,默认通过6006端口进行打开。

点击该链接或者复制链接到浏览器打开即可
四、add_image()方法
将图像数据添加到summary中
同样的道理,进行查看该方法的使用说明
writer.add_image()#按住Ctrl,点击aadd_image方法,查看该方法的使用说明
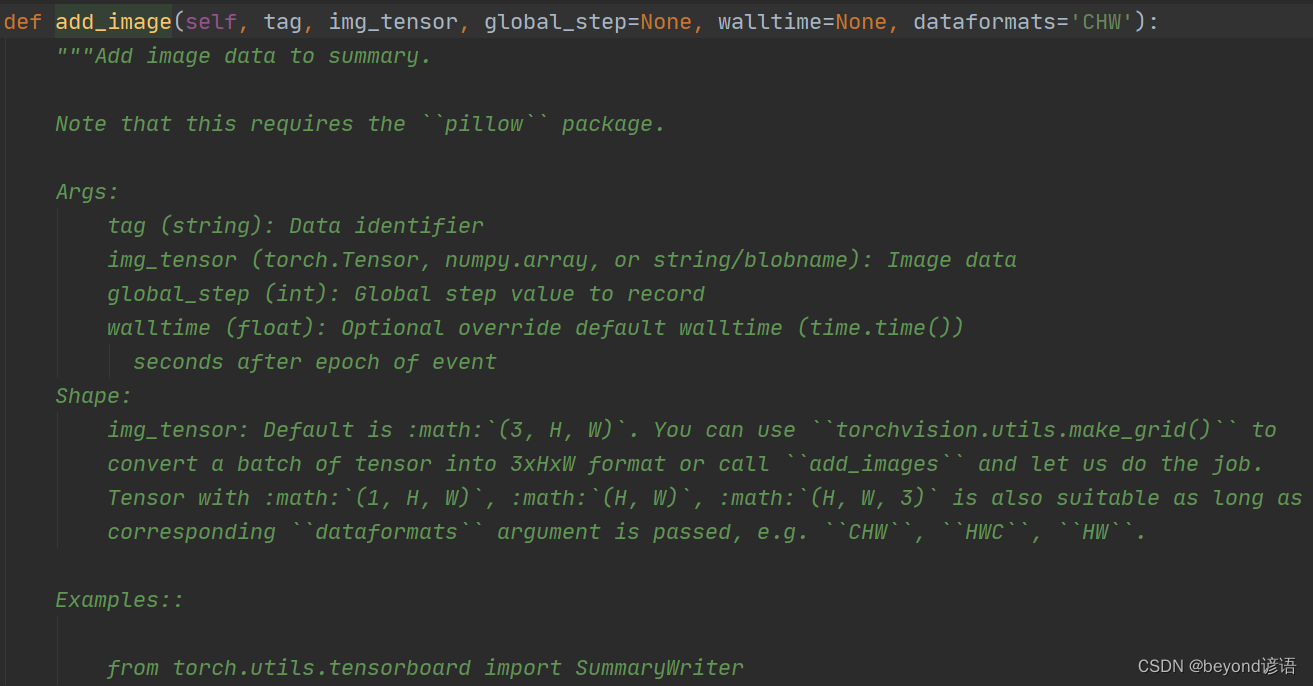
        """Add image data to summary.
#将图像数据添加到summary中
        Note that this requires the ``pillow`` package.

        Args:#参数
            tag (string): Data identifier
#对数据的定义,也就是在tensorboard中显示的时候title是啥
            img_tensor (torch.Tensor, numpy.array, or string/blobname): Image data
#这里对图像的要求必须是这几类,需要将图片类型进行转换
            global_step (int): Global step value to record
#记录的全局步长,也就是第几张图片
            walltime (float): Optional override default walltime (time.time())
              seconds after epoch of event
        Shape:
            img_tensor: Default is :math:`(3, H, W)`. You can use ``torchvision.utils.make_grid()`` to
            convert a batch of tensor into 3xHxW format or call ``add_images`` and let us do the job.
            Tensor with :math:`(1, H, W)`, :math:`(H, W)`, :math:`(H, W, 3)` is also suitable as long as
            corresponding ``dataformats`` argument is passed, e.g. ``CHW``, ``HWC``, ``HW``.
##图片的类型应该为(3, H, W),若不一样则可以通过dataformats参数进行设置
        Examples::

            from torch.utils.tensorboard import SummaryWriter
            import numpy as np
            img = np.zeros((3, 100, 100))
            img[0] = np.arange(0, 10000).reshape(100, 100) / 10000
            img[1] = 1 - np.arange(0, 10000).reshape(100, 100) / 10000

            img_HWC = np.zeros((100, 100, 3))
            img_HWC[:, :, 0] = np.arange(0, 10000).reshape(100, 100) / 10000
            img_HWC[:, :, 1] = 1 - np.arange(0, 10000).reshape(100, 100) / 10000

            writer = SummaryWriter()
            writer.add_image('my_image', img, 0)

            # If you have non-default dimension setting, set the dataformats argument.
            writer.add_image('my_image_HWC', img_HWC, 0, dataformats='HWC')
            writer.close()

        Expected result:

        .. image:: _static/img/tensorboard/add_image.png
           :scale: 50 %

        """
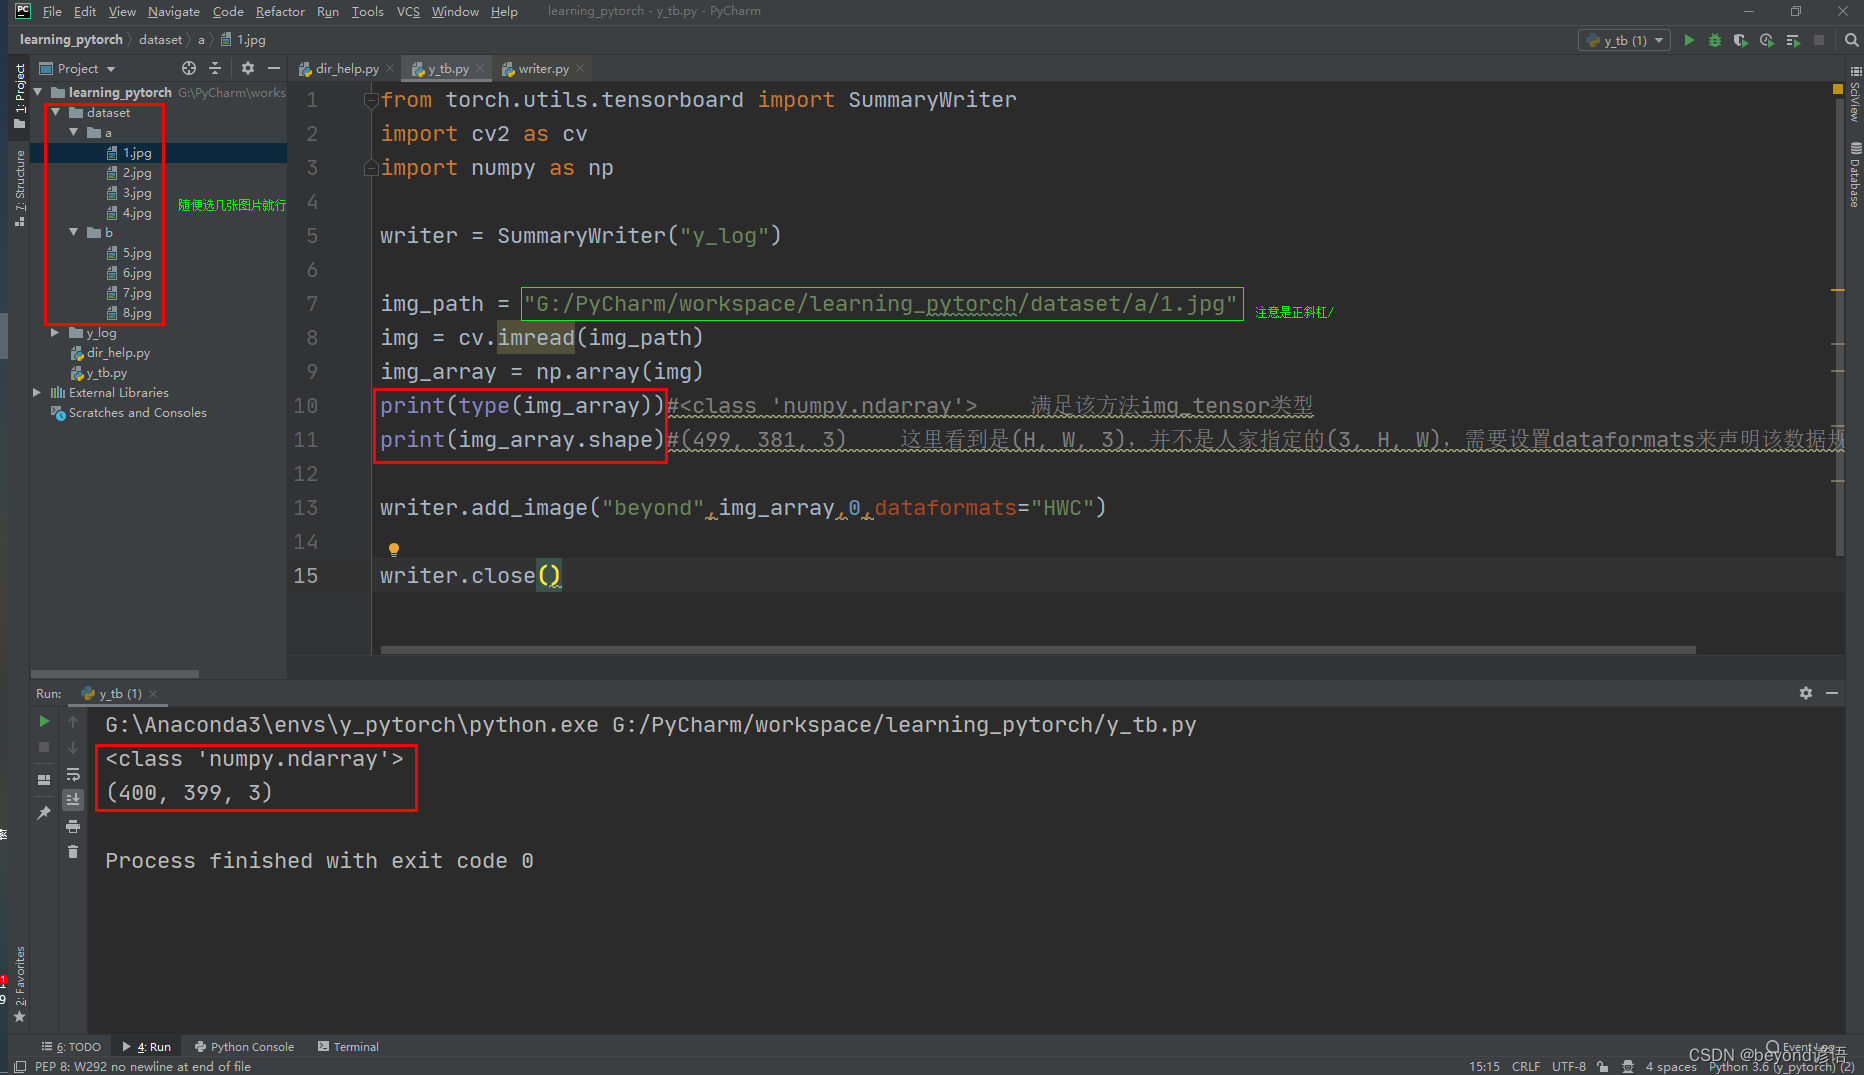
添加图片到tensorboard中
from torch.utils.tensorboard import SummaryWriter
import cv2 as cv
import numpy as np
writer = SummaryWriter("y_log")
img_path = "G:/PyCharm/workspace/learning_pytorch/dataset/a/1.jpg"
img = cv.imread(img_path)
img_array = np.array(img)
print(type(img_array))#<class 'numpy.ndarray'> 满足该方法img_tensor类型
print(img_array.shape)#(499, 381, 3) 这里看到是(H, W, 3),并不是人家指定的(3, H, W),需要设置dataformats来声明该数据规格为HWC
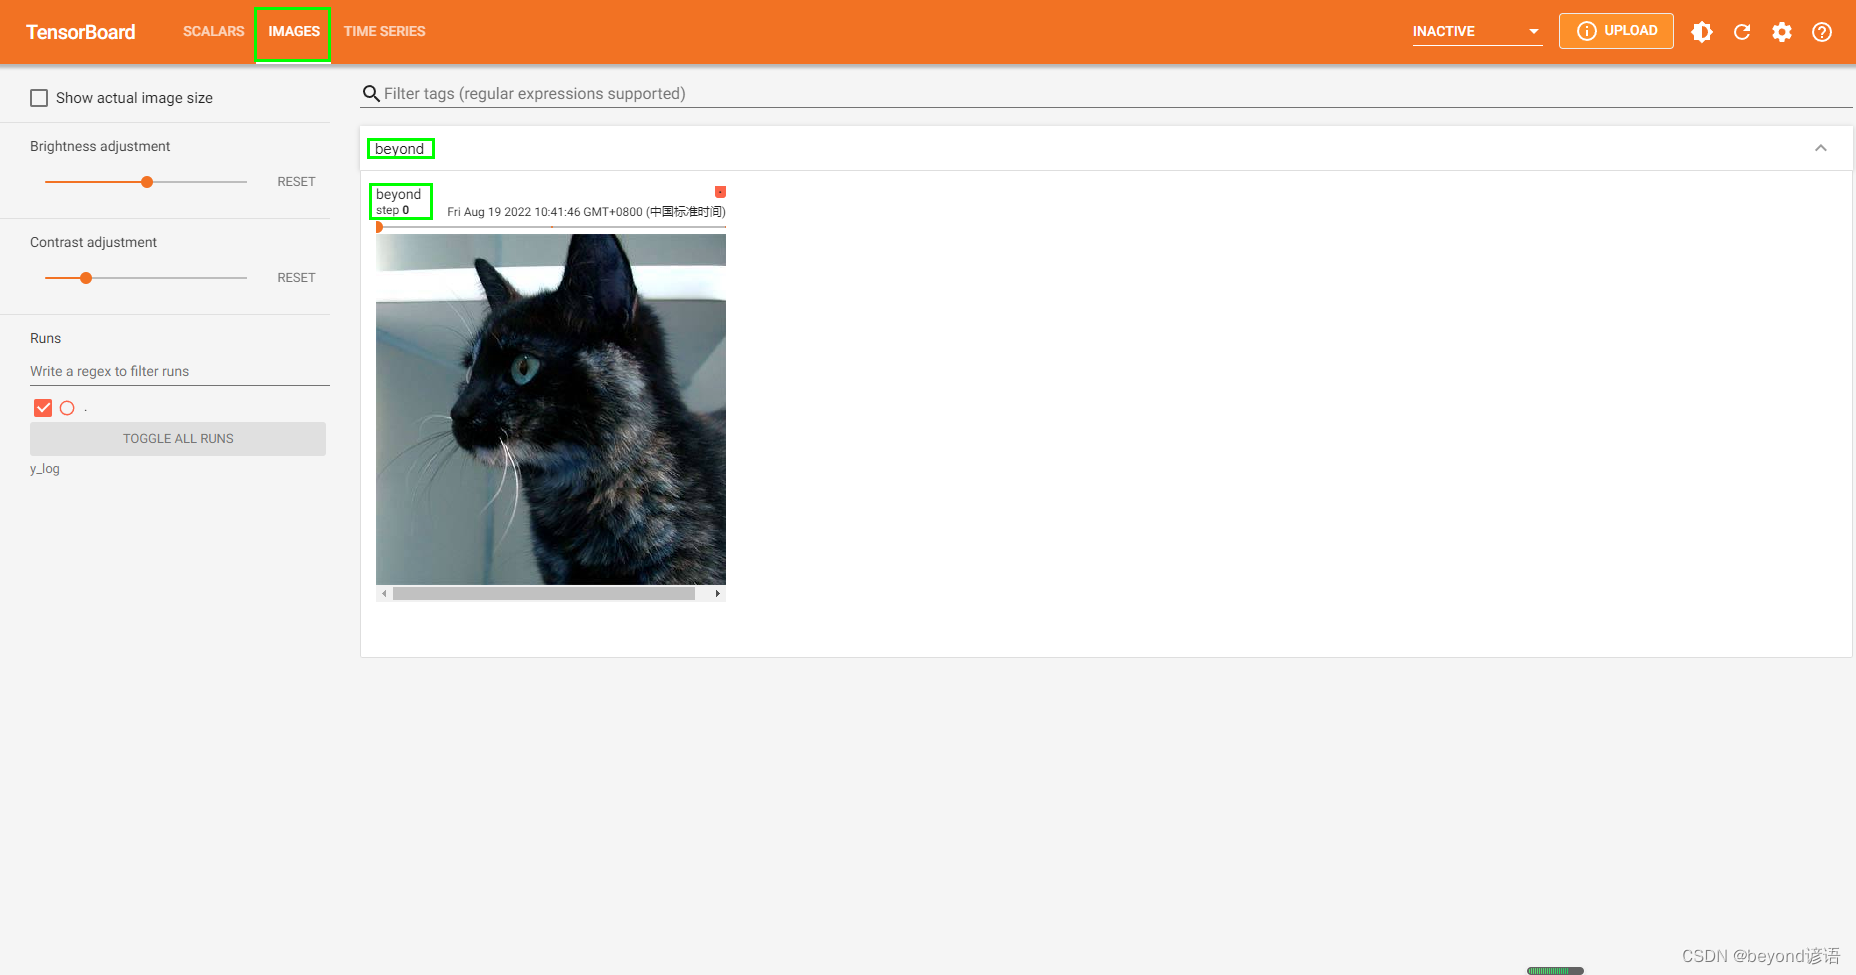
writer.add_image("beyond",img_array,0,dataformats="HWC")#将来在tensorbord显示的title为beyond
writer.close()
在Terminal下运行tensorboard --logdir=y_log --port=7870,logdir为打开事件文件的路径,port为指定端口打开;
通过指定端口7870进行打开tensorboard,若不设置port参数,默认通过6006端口进行打开。
点击该链接或者复制链接到浏览器打开即可


 2万+
2万+


 被折叠的 条评论
为什么被折叠?
被折叠的 条评论
为什么被折叠?
 到【灌水乐园】发言


