


文章目录
前言
测试环境
安装前准备
- 安装前准备
- To set up the yum repository(添加源)
安装nginx - 查看nginx源是否添加成功
- 安装并查看
- 启动nginx
- 从浏览器端查看
总结
前言
上篇文章我们介绍了nginx的相关知识,并进行了编译安装nginx, 学习apache的时候我们知道apache是可以用yum安装的,那nginx是否也可以呢,今天我们就来探讨下,关于yum安装nginx的那些事。
测试环境
操作系统:
[root@ecs-c13b ~]# cat /etc/redhat-release
CentOS Linux release 7.5.1804 (Core)
内核:
[root@ecs-c13b ~]# uname -r
3.10.0-1062.12.1.el7.x86_64
当前系统中的软件环境:
大家最好找一台干净的机器,我这里因为条件限制,暂时找了一台跑mysql的机器来操作。
[root@ecs-c13b ~]# netstat -antup
Active Internet connections (servers and established)
Proto Recv-Q Send-Q Local Address           Foreign Address         State       PID/Program name
tcp        0      0 0.0.0.0:22              0.0.0.0:*               LISTEN      2970/sshd
tcp        0      0 192.168.0.192:39040     100.125.1.41:443        ESTABLISHED 9037/hostguard
tcp        0     36 192.168.0.192:22        120.244.152.188:22217   ESTABLISHED 20942/sshd: root@pt
tcp6       0      0 :::3306                 :::*                    LISTEN      21184/mysqld
tcp6       0      0 :::22                   :::*                    LISTEN      2970/sshd
udp        0      0 0.0.0.0:68              0.0.0.0:*                           701/dhclient
udp        0      0 127.0.0.1:323           0.0.0.0:*                           642/chronyd
udp6       0      0 ::1:323                 :::*                                642/chronyd
安装前准备
官网:http://nginx.org/en/linux_packages.html#RHEL-CentOS
大多数时候我们都需要按照官网来做,这就跟你买了一个豆浆机,会附带一个说明书。你可以按照说明书进行操作。当然你能从网上找到豆浆机的操作方法吗? 也可以,但是你需要去筛选看看是不是你的型号的,看看是第几代产品等等。
1. 安装前准备
yum install yum-utils
2. To set up the yum repository(添加源)
create the file named /etc/yum.repos.d/nginx.repo with the following contents:
[root@ecs-c13b ~]# vim /etc/yum.repos.d/nginx.repo
[nginx-stable]
name=nginx stable repo
baseurl=http://nginx.org/packages/centos/$releasever/$basearch/
gpgcheck=1
enabled=1
gpgkey=https://nginx.org/keys/nginx_signing.key
module_hotfixes=true

[nginx-mainline]
name=nginx mainline repo
baseurl=http://nginx.org/packages/mainline/centos/$releasever/$basearch/
gpgcheck=1
enabled=0
gpgkey=https://nginx.org/keys/nginx_signing.key
module_hotfixes=true
安装nginx
1. 查看nginx源是否添加成功
[root@ecs-c13b ~]# yum search nginx
2. 安装并查看
[root@ecs-c13b ~]# yum install nginx
[root@ecs-c13b ~]# rpm -qa | grep nginx
nginx-1.18.0-1.el7.ngx.x86_64
[root@ecs-c13b ~]#
3. 启动nginx
[root@ecs-c13b ~]# systemctl start nginx
[root@ecs-c13b ~]# systemctl enable nginx
Created symlink from /etc/systemd/system/multi-user.target.wants/nginx.service to /usr/lib/systemd/system/nginx.service.
[root@ecs-c13b ~]# systemctl status nginx
● nginx.service - nginx - high performance web server
   Loaded: loaded (/usr/lib/systemd/system/nginx.service; enabled; vendor preset: disabled)
   Active: active (running) since Fri 2020-07-31 08:52:55 CST; 15s ago
     Docs: http://nginx.org/en/docs/
 Main PID: 21326 (nginx)
   CGroup: /system.slice/nginx.service
           ├─21326 nginx: master process /usr/sbin/nginx -c /etc/nginx/nginx.conf
           └─21327 nginx: worker process

Jul 31 08:52:55 ecs-c13b systemd[1]: Starting nginx - high performance web server...
Jul 31 08:52:55 ecs-c13b systemd[1]: Started nginx - high performance web server.
[root@ecs-c13b ~]#
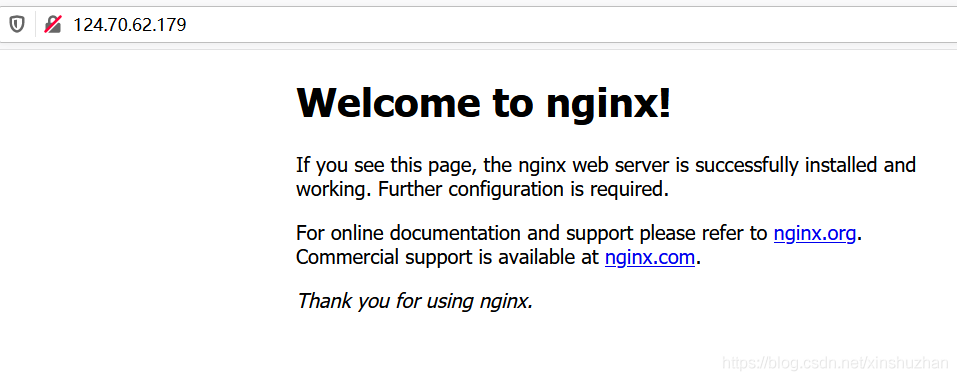
4. 从浏览器端查看
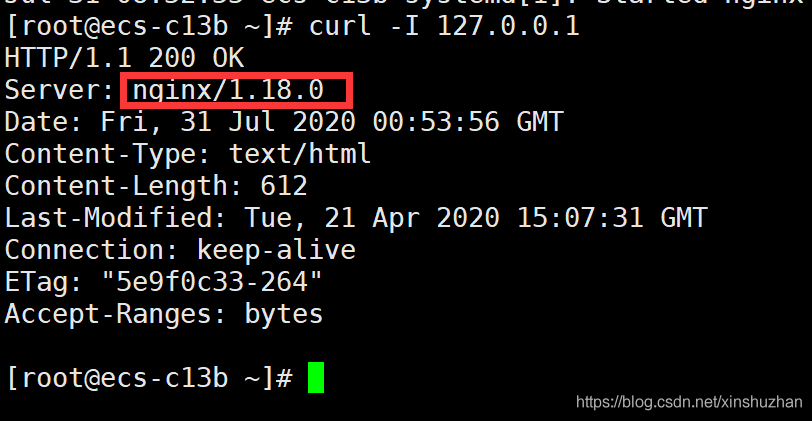
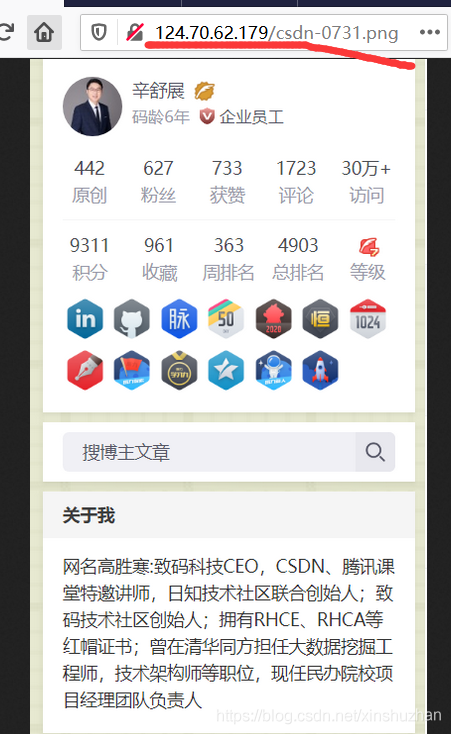
我们在网站根目录传一张图片:
[root@ecs-c13b html]# pwd
/usr/share/nginx/html
[root@ecs-c13b html]# ls
50x.html csdn-0731.png index.html
[root@ecs-c13b html]#
重新查看网页:
总结
nginx的安装相对来说比较简单,使用哪种方式安装都可以,在工作中自由选择。


 11万+
11万+


 被折叠的 条评论
为什么被折叠?
被折叠的 条评论
为什么被折叠?
 到【灌水乐园】发言


