


开篇之前先提示一下,魅族手机就不用测了,暂时获取不到clientid,此乃神坑,建议用小米/华为。
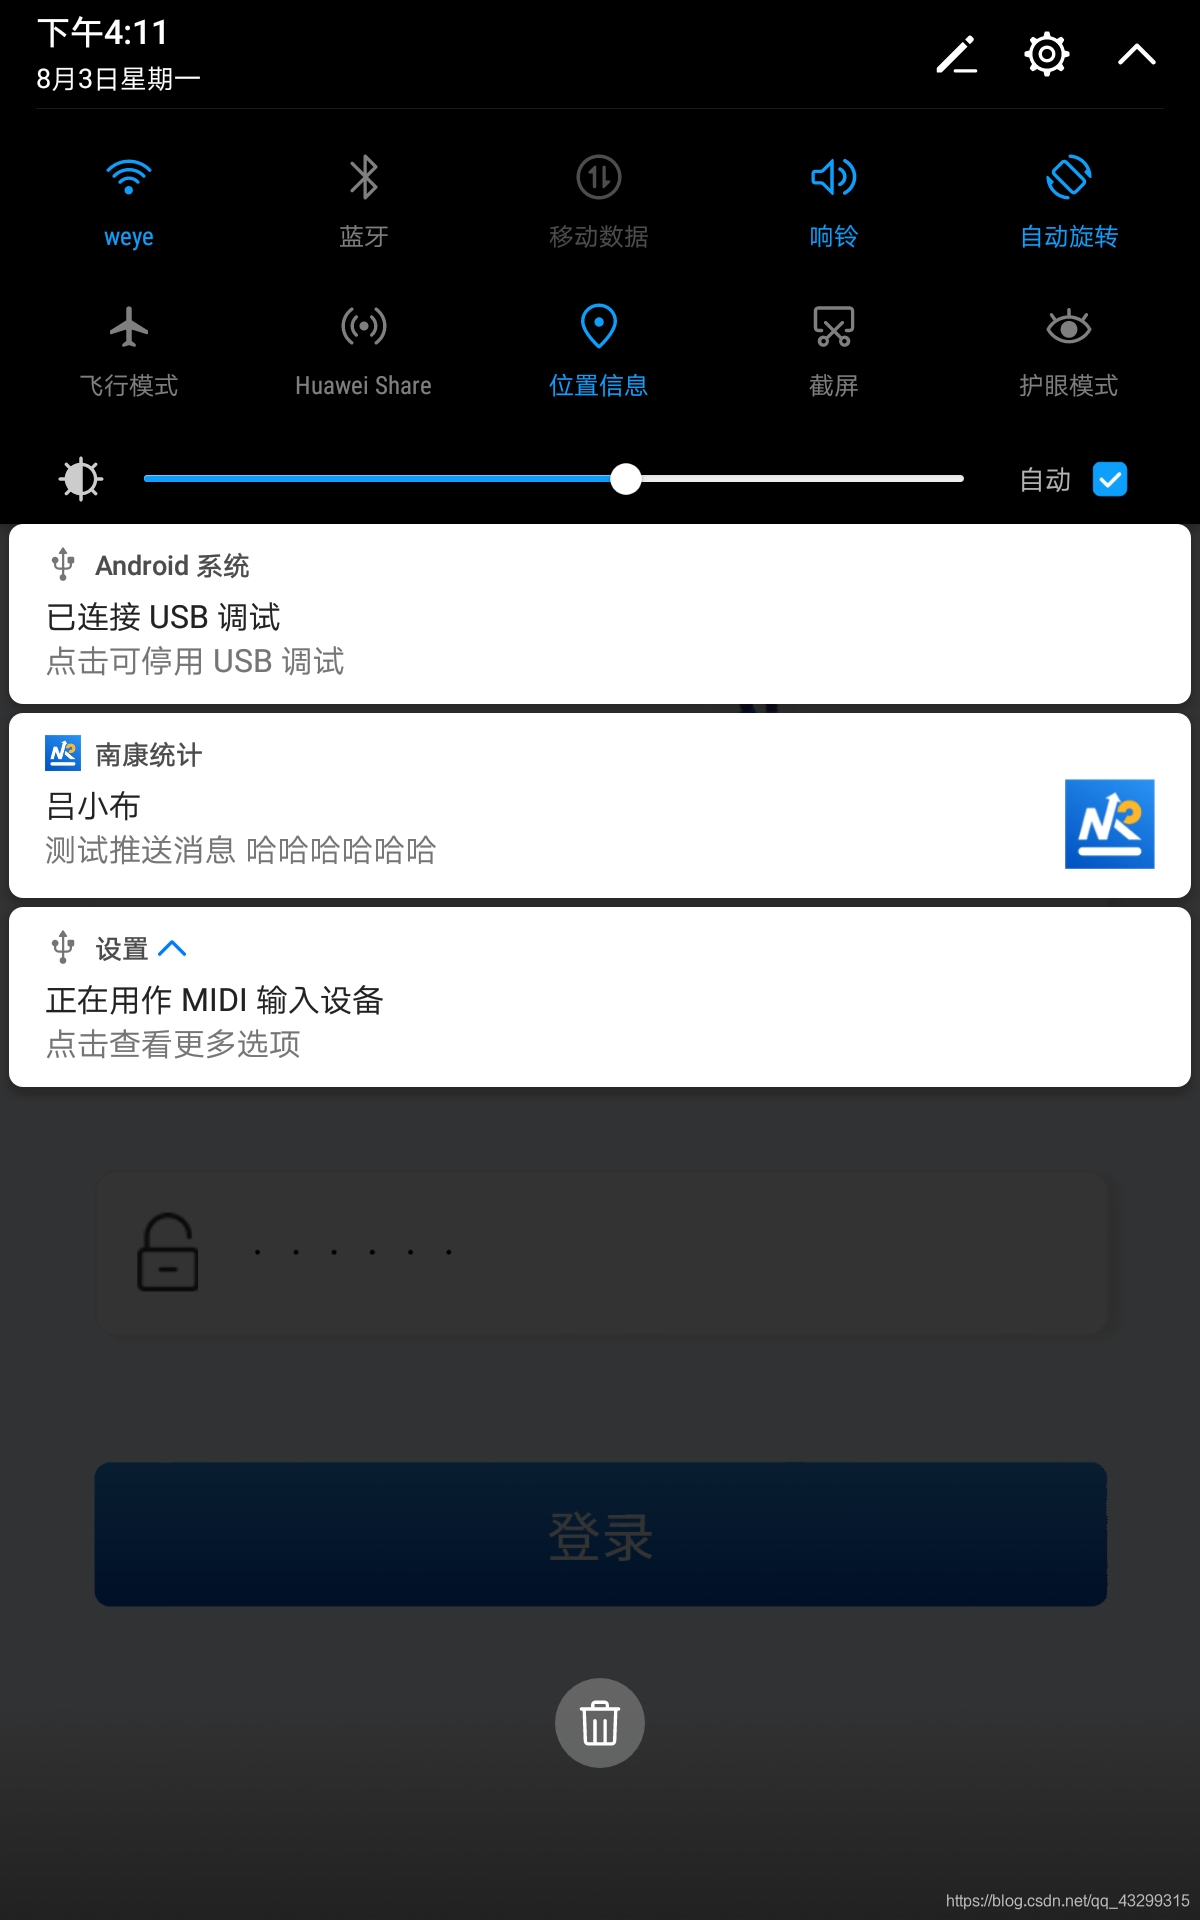
实际效果
一、开通unipush
1、登录DCloud开发者中心,选择你要开通unipush的应用。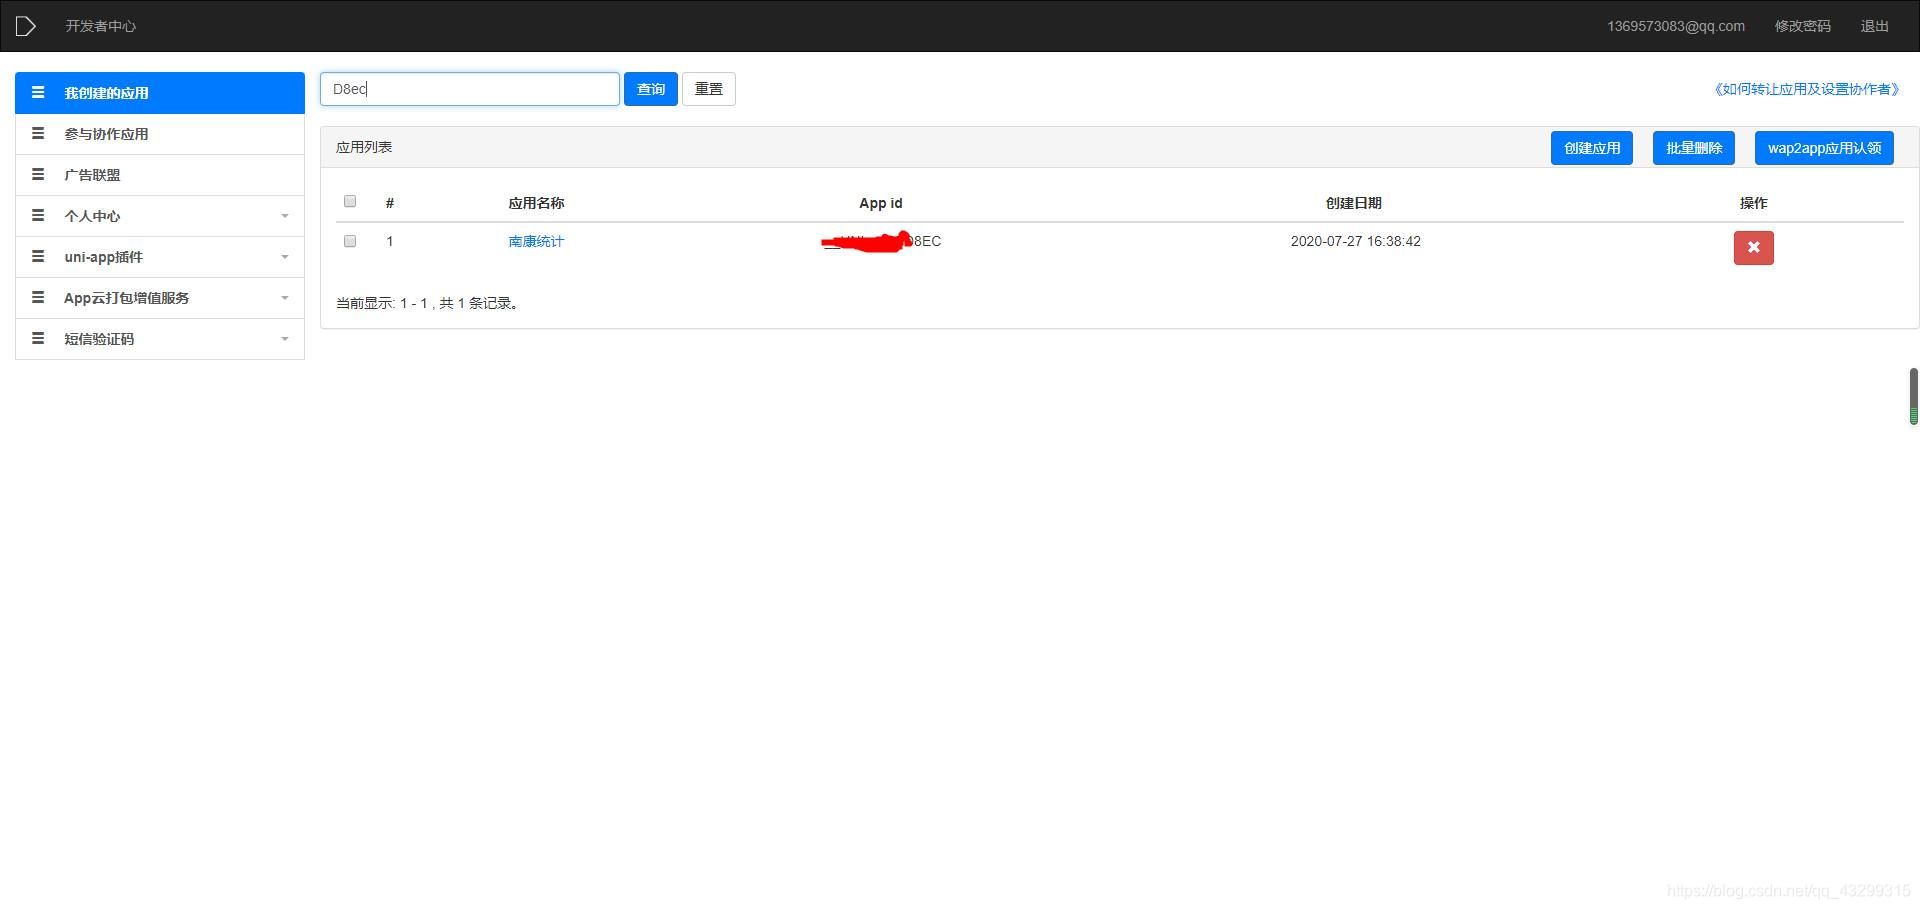
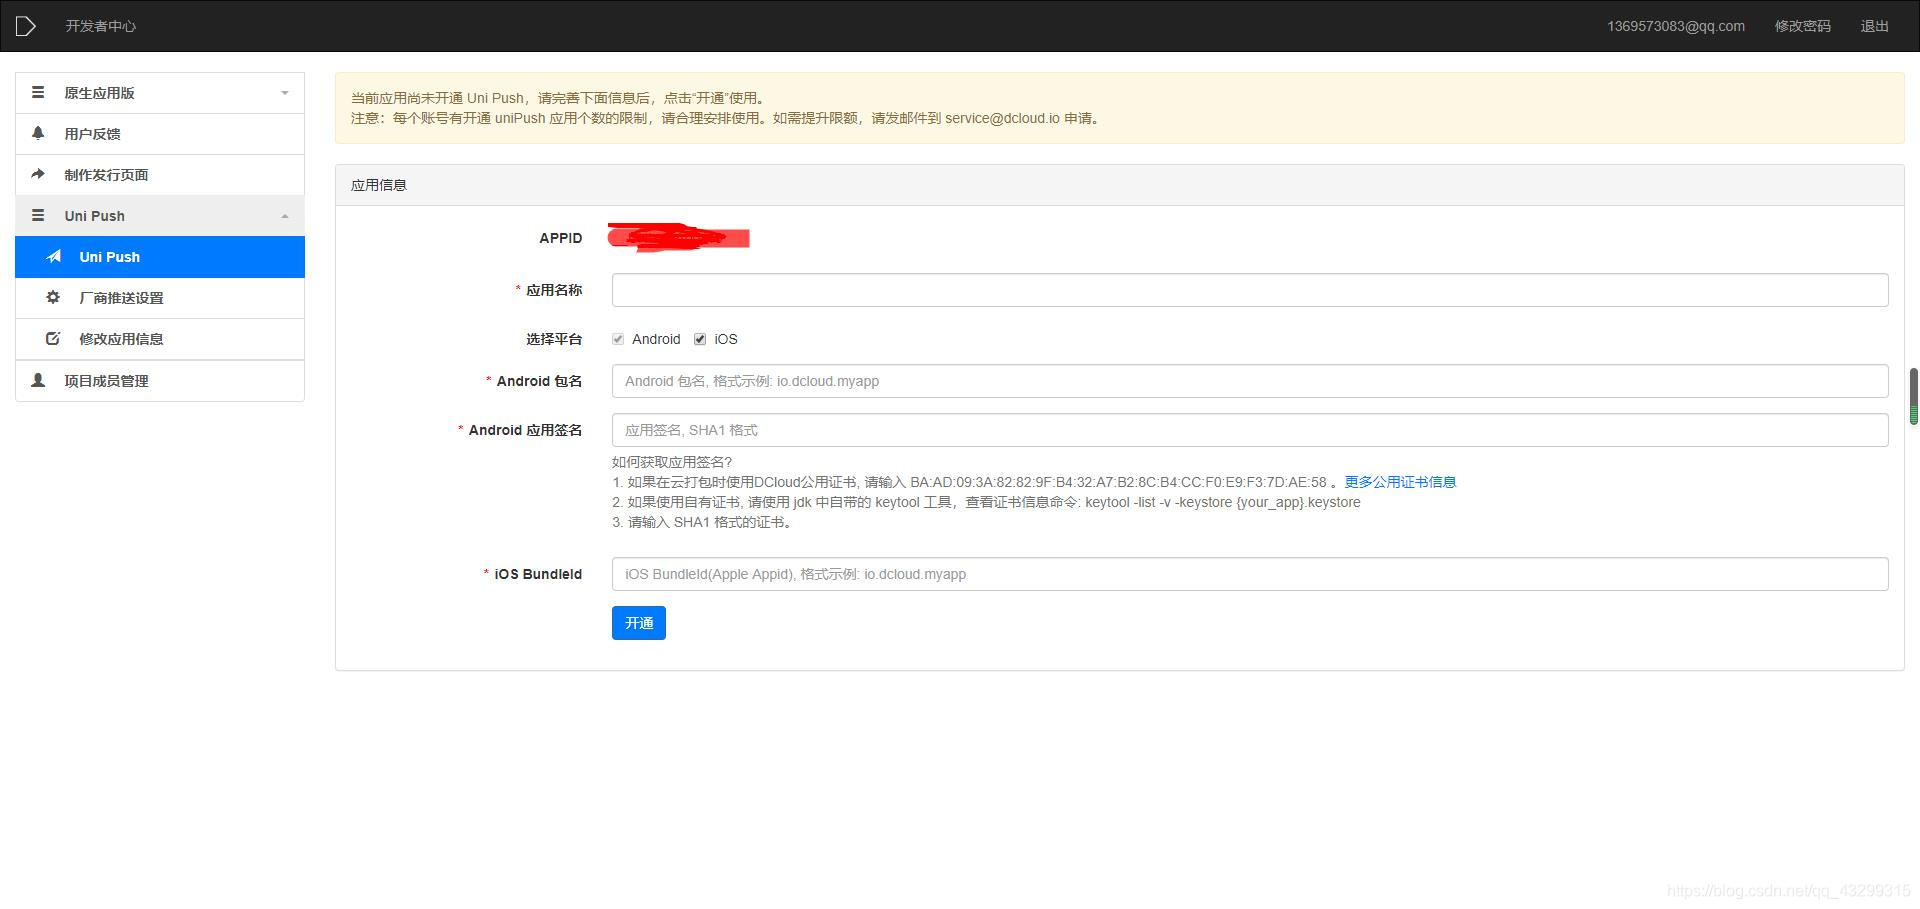
2、如下图,填写开通unipush必要内容
android 包名: 为hbuilder云打包时所用的android 包名
android应用签名?
- 如果在云打包时使用DCloud公用证书, 请输入 BA:AD:09:3A:82:82:9F:B4:32:A7:B2:8C:B4:CC:F0:E9:F3:7D:AE:58 。更多公用证书信息
- 如果使用自有证书, 请使用 jdk 中自带的 keytool 工具,查看证书信息命令: keytool -list -v -keystore {your_app}.keystore
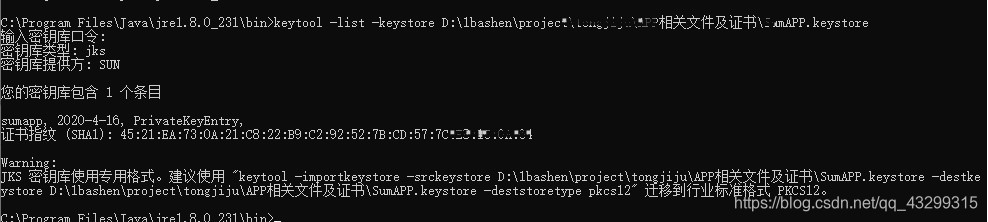
划重点 如果不知道如何查看应用签名?参考博客
(1)、安装jre
(2)、找到keytool.exe文件所在目录 用cmd打开
(3)、keytool -list -v -keystore xxx(keysotre文件所在目录)
如果以上内容填完 点击开通
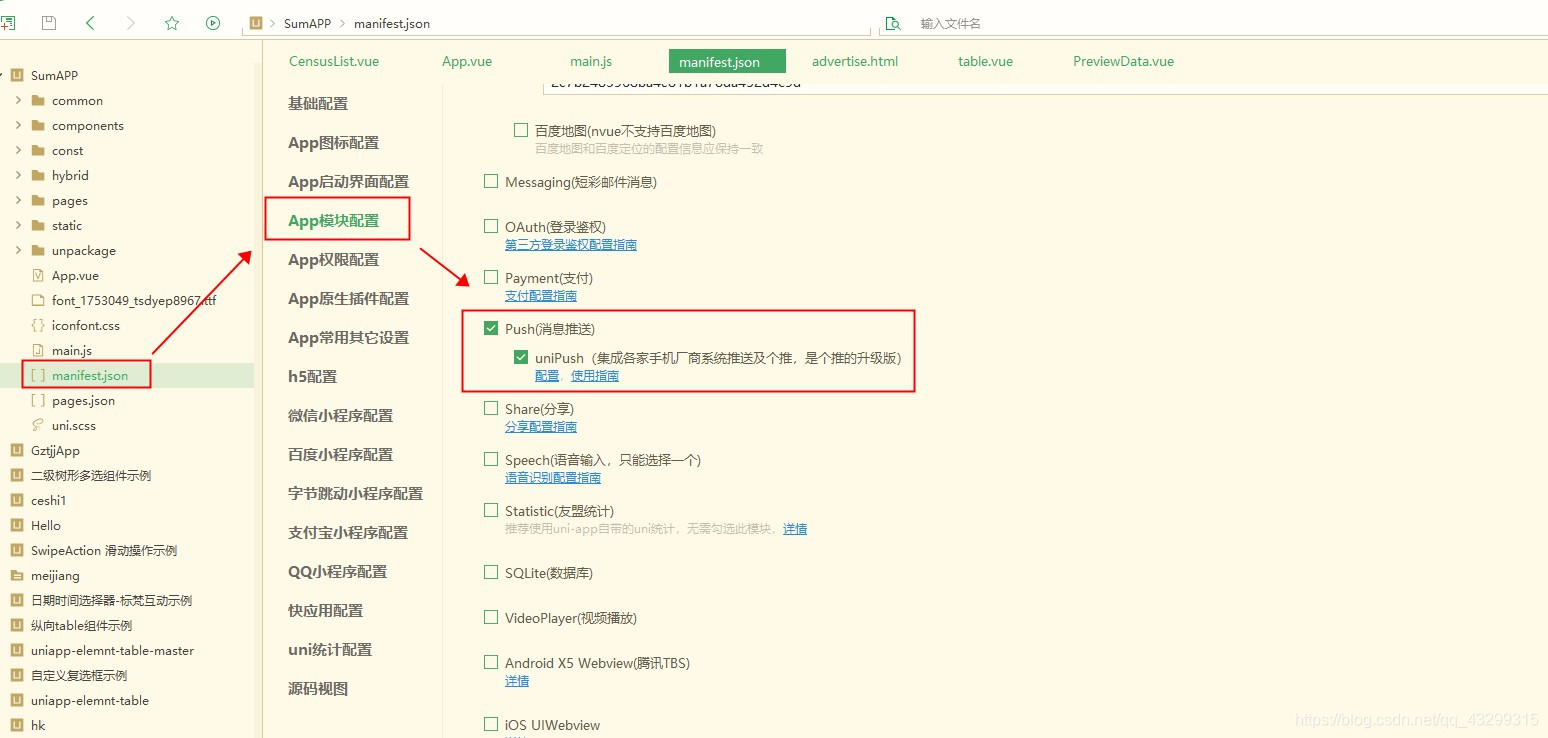
二、项目文件勾选push模块
manifest.json ---> App模块配置 ---> push
三、代码编写、打包、测试个推
1、App.vue onLaunch内写入一下代码,打个自定义基座测试。
		let info = plus.push.getClientInfo();
		console.log(info);
			/* 5+  push 消息推送 ps:使用:H5+的方式监听,实现推送*/
		plus.push.addEventListener("click", function(msg) {
			console.log(JSON.stringify(msg));
			console.log(msg.payload);
				//这里可以写跳转业务代码
		}, false);
			// 监听在线消息事件
		plus.push.addEventListener("receive", function(msg) {
			// plus.ui.alert(2);
			//这里可以写跳转业务代码
			console.log("recevice:" + JSON.stringify(msg))
		}, false);
2、安装自定义基座后运行,看控制台是否输出如下代码
//info
		{
			"id": "unipush",
			"token": "ed4b5dd********5e167034e3591c940",
			"clientid": "ed4b********86a5e167034e3591c940",
			"appid": "RymQM0********uqYH4anA",
			"appkey": "6Y6m9********hscJquxf6"
		}
如果clientid不为空,则可以去DCloud开发者中心测试推送消息了。
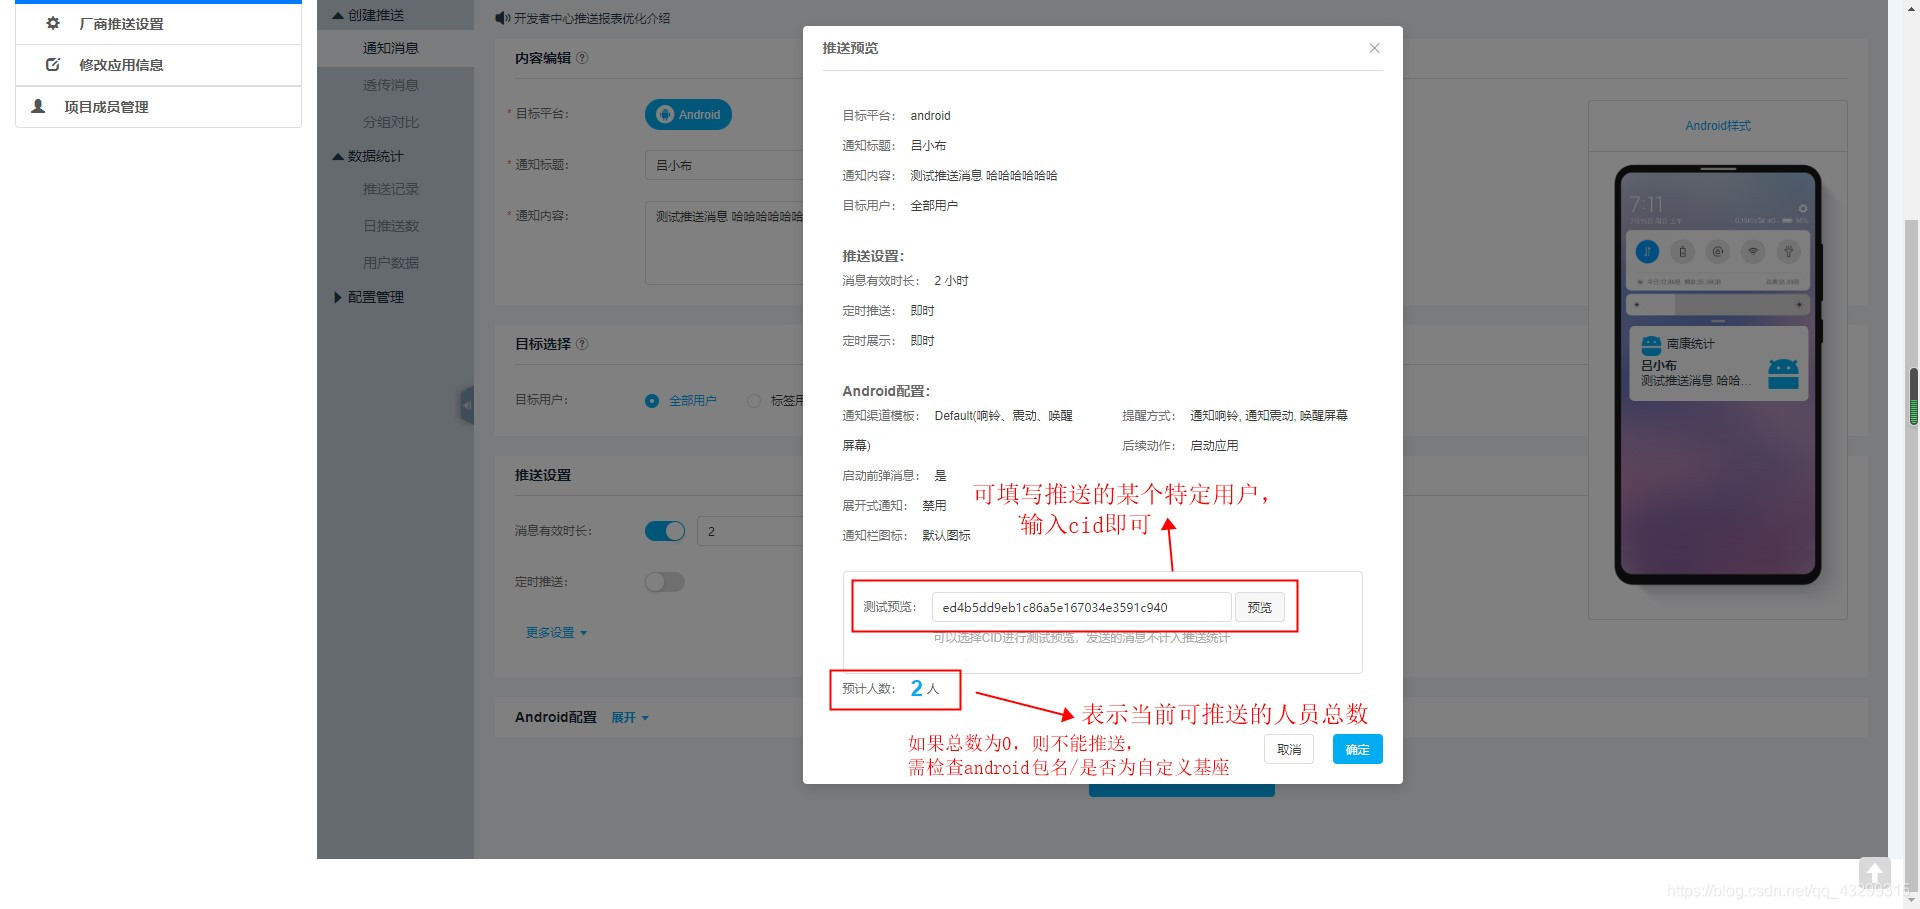
3、测试推送消息
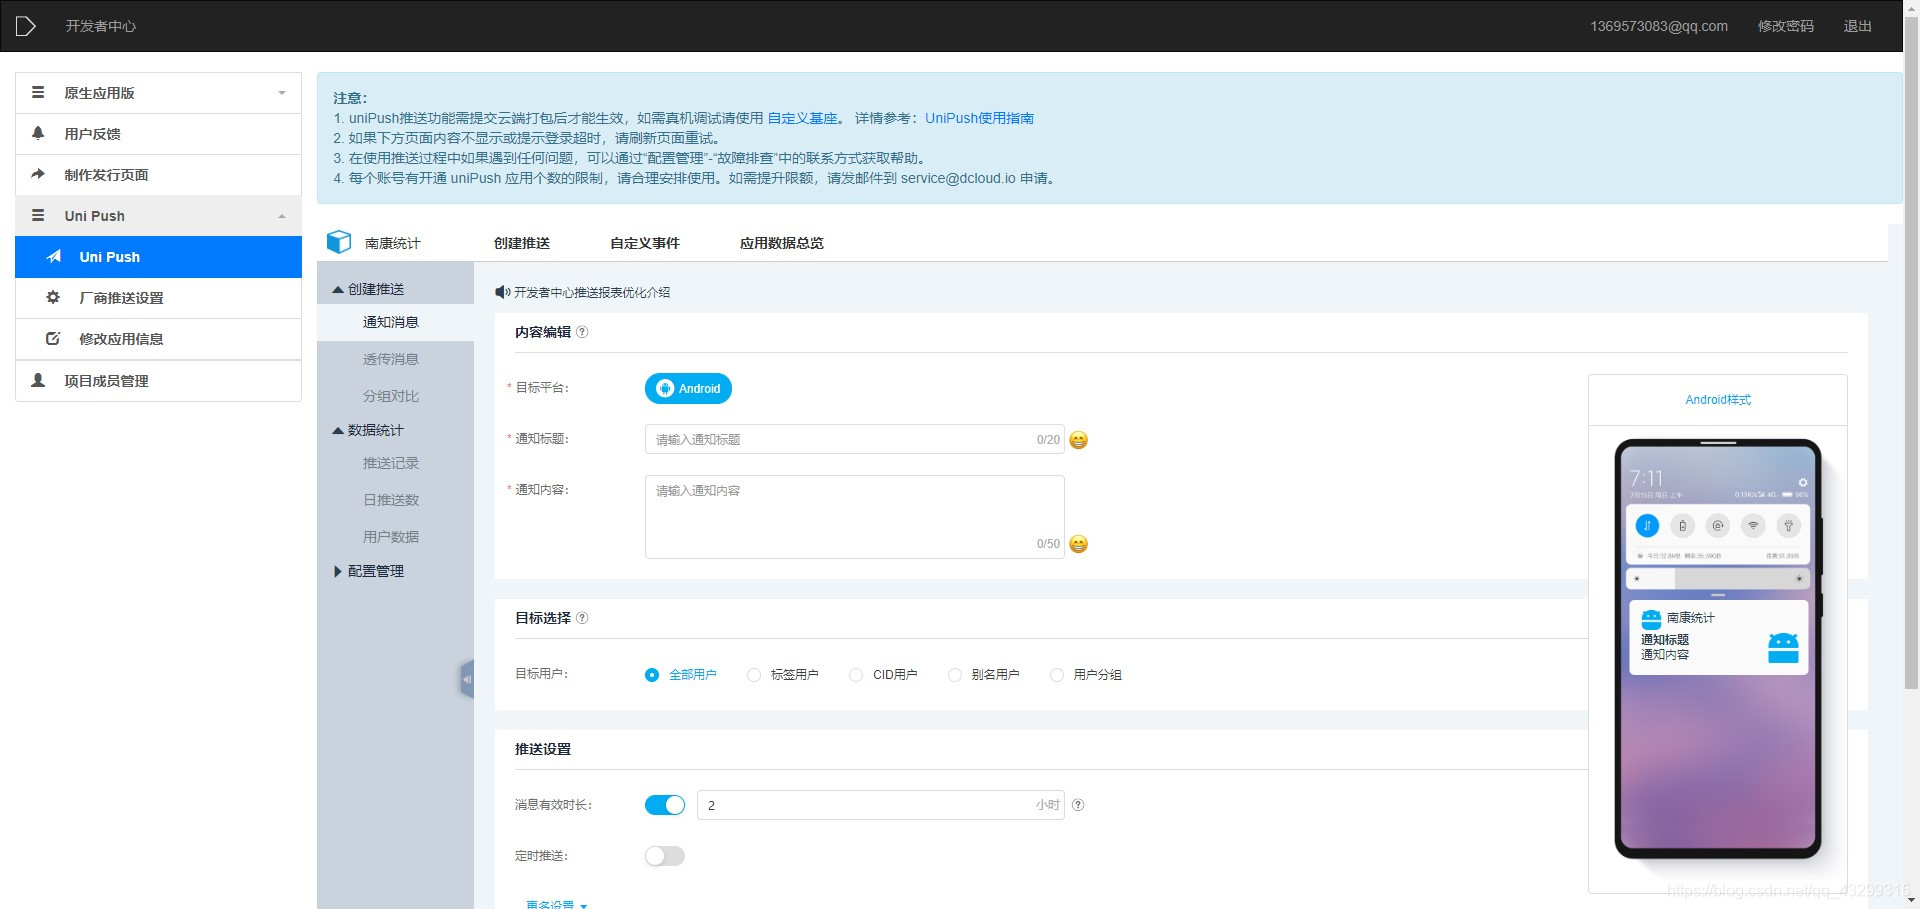
填写标题、内容 ---> 预览 ---> 确认
[1]: https://blog.csdn.net/wxzjn1027/article/details/85259689


 1821
1821


 被折叠的 条评论
为什么被折叠?
被折叠的 条评论
为什么被折叠?
 到【灌水乐园】发言


