


这一节的内容包括鼠标操作,包括鼠标移动、单击、捕获、拖放
项目文件
鼠标操作的最基本事件——移动:
MouseEnter:鼠标移动到元素时触发事件
MouseLeave:鼠标离开元素时触发事件
PreviewMouseMove:隧道路由事件,鼠标移动时触发MouseEventArgs事件
MouseMove:冒泡路由事件,鼠标移动时触发MouseEventArgs事件
一个对象:
MouseEventArgs:触发事件
捕获鼠标位置
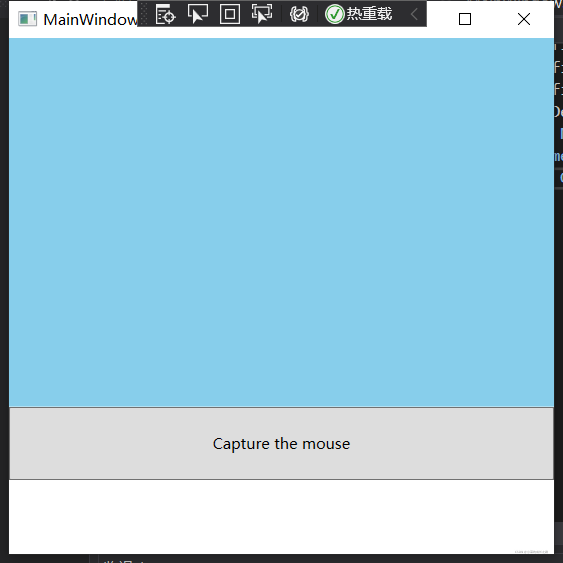
举例,在WPF项目中,捕获鼠标的位置。当鼠标在上方蓝色矩形中移动时,在最下方TextBlock中显示鼠标位置。
xaml代码如下:
<Window x:Class="MouseEvent.MainWindow"
xmlns="http://schemas.microsoft.com/winfx/2006/xaml/presentation"
xmlns:x="http://schemas.microsoft.com/winfx/2006/xaml"
xmlns:d="http://schemas.microsoft.com/expression/blend/2008"
xmlns:mc="http://schemas.openxmlformats.org/markup-compatibility/2006"
xmlns:local="clr-namespace:MouseEvent"
mc:Ignorable="d"
Title="MainWindow" Height="450" Width="450">
<Grid>
<Grid.RowDefinitions>
<RowDefinition Height="5*"/>
<RowDefinition Height="1*"/>
<RowDefinition Height="1*"/>
</Grid.RowDefinitions>
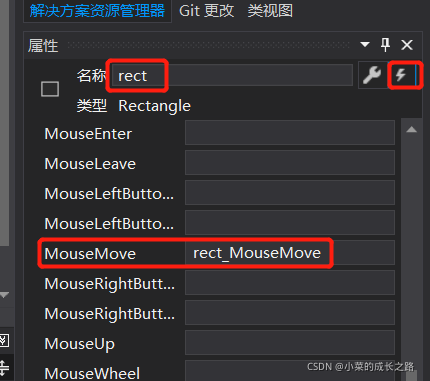
<Rectangle Name="rect" Fill="SkyBlue" MouseMove="rect_MouseMove"/>
<Button Name="cmdCapture" Grid.Row="1" Content="Capture the mouse"/>
<TextBlock Grid.Row="2" Name="lblInfo"></TextBlock>
</Grid>
</Window>
选择矩形,新建事件rect_MouseMove
在MainWindow.xaml.cs中定义函数:
private void rect_MouseMove(object sender, MouseEventArgs e)
        {
            Point pt = e.GetPosition(this);  // 用GetPosition方法获取当前点的坐标
            this.lblInfo.Text = ("You are at ("+pt.X+","+pt.Y+") in window coordinate.");  // 将当前坐标显示在TextBlock中
        }
实现效果:
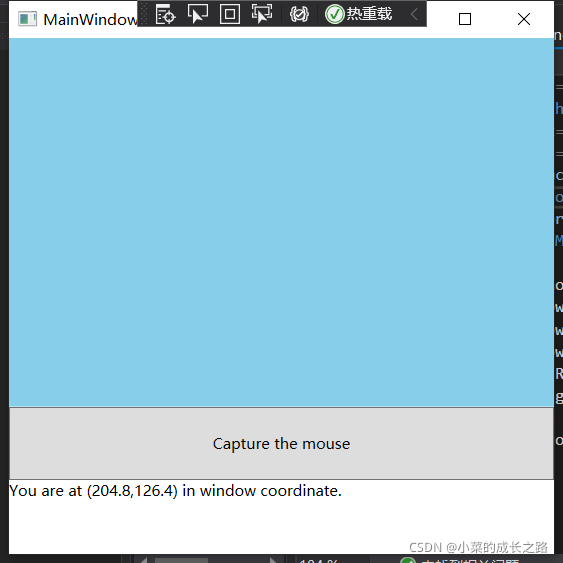
鼠标移动时显示坐标。
鼠标单击事件
鼠标左键右键触发不通事件。
事件:
PreviewMouseLeftButtonDown:鼠标单击左键触发事件(隧道)
PreviewMouseRightButtonDown:鼠标单击右键触发事件
MouseLeftButtonDown:鼠标单击左键触发事件(冒泡)
MouseRightButtonDown:鼠标单击右键触发事件
PreviewMouseLeftButtonUp:鼠标左键释放事件(隧道)
PreviewMouseRightButtonUp:鼠标右键释放事件
MouseLeftButtonUp:鼠标左键释放事件(冒泡)
MouseRightButtonUp:鼠标右键释放事件
捕获鼠标
鼠标被某个元素捕获,窗体中其他元素就无法触发鼠标事件,也就是说,用户无法单击窗体中按钮、文本框等元素。
以上窗体中第二行为一个捕获鼠标的按钮。
为按钮新建Click事件:
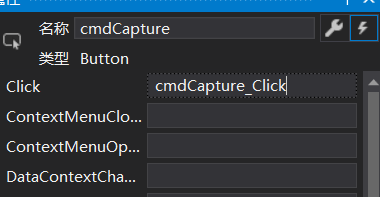
在MainWindow.xaml.cs中定义函数
private void cmdCapture_Click(object sender, RoutedEventArgs e)
        {
            Mouse.Capture(this.rect);  // 用矩形捕获鼠标
            this.cmdCapture.Content = "Mouse is now captured";
        }
在按下捕获按钮之前,窗体可以点击其他元素,放大缩小。按下捕获按钮之后,鼠标被矩形rect所捕获,其他元素无法触发鼠标事件,窗体无法缩放、关闭。
鼠标拖放
顾名思义,单击鼠标并拖动,可以将某些内容移动。
例如下面的例子(改变启动项目即可),将TextBox中的文本内容移到label中:
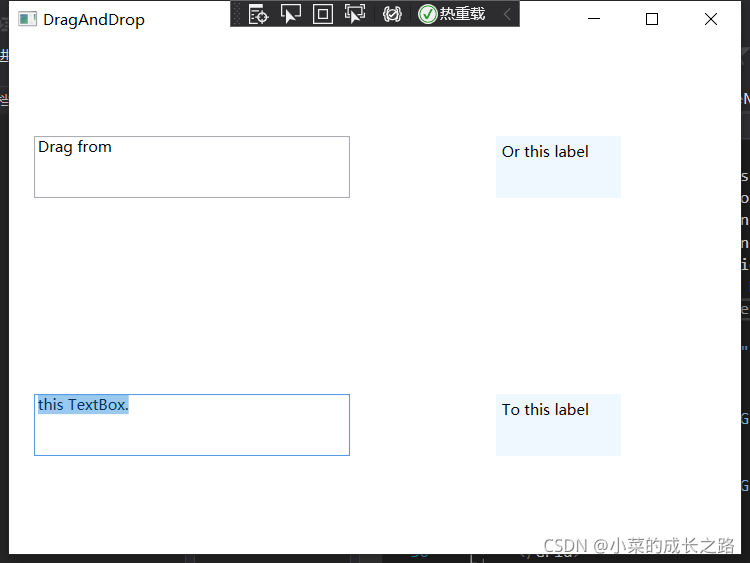
TextBox本来就内置拖动逻辑,所以可以选中并拖动,也可以直接接受拖动的文本内容。但是label默认情况下是不能接受文本。为了实现拖动,需要设定鼠标拖动。为上面的label新建MouseDown事件:
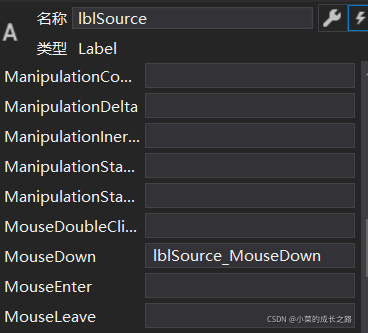
private void lblSource_MouseDown(object sender, MouseButtonEventArgs e)
        {
            Label lbl = (Label)sender;
            DragDrop.DoDragDrop(lbl, lbl.Content, DragDropEffects.Copy);  // 三个参数分别是元素,对象,效果(复制)
        }
并将下面的label的允许放置属性设为true:
<Label Name="lblTarget" Grid.Row="1" Grid.Column="1" Width="100" Height="50" Background="AliceBlue" AllowDrop="true" Drop="lblTarget_Drop">
            To this label
</Label>
并为这个label定义Drop事件:

private void lblTarget_Drop(object sender, DragEventArgs e)
        {
            ((Label)sender).Content = e.Data.GetData(DataFormats.Text);  // 作为目标接受从源拖放过来的内容,将拖放过来的对象强制转换为label
        }
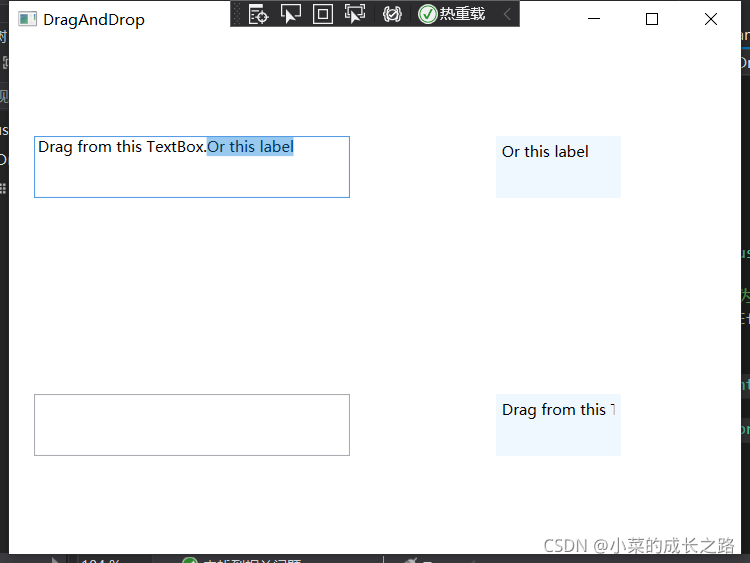
这样就可以在几个元素之间拖动文本内容了:
完整代码项目文件


 8792
8792


 被折叠的 条评论
为什么被折叠?
被折叠的 条评论
为什么被折叠?
 到【灌水乐园】发言


