1.List组件
<template>
<div class="container">
<!-- 展示用户列表 -->
<div class="row">
<div
v-show="info.users.length"
v-for="(item, index) in info.users"
:key="item.id"
>
<div class="col-sm-4 item">
<img
class="hover-image"
:src="item.avatar_url"
@click="targetPage(item.html_url)"
/>
<h5>{{ item.login }}</h5>
</div>
<br v-if="isHuanhang(index)" />
</div>
</div>
<!-- 展示欢迎词 -->
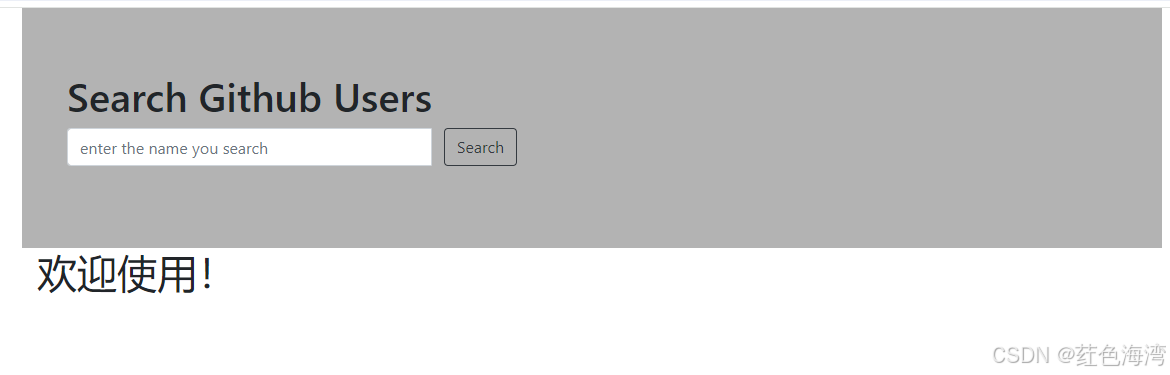
<h1 v-show="info.isFirst">欢迎使用!</h1>
<!-- 展示加载中 -->
<h1 v-show="info.isLoading">加载中....</h1>
<!-- 展示错误信息 -->
<h1 v-show="info.errMsg">{{ info.errMsg }}</h1>
</div>
</template>
<script>
export default {
name: "MyList",
data() {
return {
info: {
users: [],
isFirst: true,
isLoading: false,
errMsg: "",
},
};
},
methods: {
getList(listObj) {
//1.第一种方式
// this.info = {...this.info,...listObj};
//2.第二种方式
Object.assign(this.info, listObj);
},
isHuanhang(index) {
if (index % 3 === 0) {
return true;
} else {
return false;
}
},
targetPage(url) {
window.open(url, "_blank");
},
},
mounted() {
this.$bus.$on("sendList", this.getList);
},
beforeDestroy() {
this.$bus.$off("sendList");
},
};
</script>
<style scoped>
.item {
width: 300px;
height: 150px;
margin-top: 30px;
margin-right: 76px;
padding: 150px;
display: flex;
flex-direction: column; /* 纵向排列子项 */
justify-content: center; /* 水平居中 */
align-items: center; /* 垂直居中 */
border: 1px solid #ccc; /* 可选:给容器加个边框 */
box-sizing: border-box; /* 包括边框和内边距在内的总宽高 */
}
img {
width: 150x;
height: 120px;
}
.hover-image {
cursor: pointer; /* 设置鼠标悬浮时光标变成手指 */
}
</style>
2.search 组件
<template>
  <div class="container-xl">
    <div class="row bc">
      <div
        class="col-xl search-box d-flex flex-column justify-content-end"
      >
        <h1 class="text-bottom margin-left-dom">Search Github Users</h1>
      </div>
    </div>
    <div class="row bc">
      <div class="col-xl search-box" >
        <div class="input-group mb-3 margin-left-dom inputWidth">
          <input
            type="text"
            class="form-control"
            placeholder="enter the name you search"
            v-model="keyWord"
          />
            <button class="btn btn-outline-dark dom-margin" type="button" @click="searchUsers" >Search</button>
        </div>
      </div>
    </div>
  </div>
</template>

<script>
import axios from 'axios';


export default {
  name: "MySearch",
  data() {
    return {
      keyWord:''
    }
  },
  methods:{
    searchUsers(){
         this.$bus.$emit('sendList',{
        isFirst: false,
        isLoading: true,
        });


      axios.get('https://api.github.com/search/users',{
        params:{
          q:this.keyWord
        }
      }).then(res=>{
         this.$bus.$emit('sendList',{
          users: res.data.items,
        isLoading: false,
        });
      },err=>{
        console.log(err);
        this.$bus.$emit('sendList',{
            users: [],
            isLoading: false,
            errMsg: '请求失败,请稍后再试!'
        });
      })
    }

  }
};
</script>

<style scoped>

.bc{
background-color: rgba(13, 14, 14, 0.313);

}

.search-box {
  height: 120px;
}

.margin-left-dom {
  margin-left: 30px;
}

.inputWidth {
  width: 450px;
}
.dom-margin{
  margin-left: 12px;
}
</style>
3.App组件
<template>
  <div id="appContainer">

    <MySearch/>
    <MyList/>

  </div>
</template>

<script>

 import MySearch from './components/MySearch.vue'
 import MyList from './components/MyList.vue'
export default {
  name: "App",
  components: {
    MySearch,MyList
  },
  methods:{

  }
};
</script>

<style>

</style>
4.引入bootStarp
<!DOCTYPE html>
<html lang="">
  <head>
    <meta charset="utf-8">
    <!-- 针对IE浏览器 得一个特殊配置,含义是让IE浏览器以最高得渲染级别渲染页面 -->
    <meta http-equiv="X-UA-Compatible" content="IE=edge">
    <!-- 开启移动端得理想视口 -->
    <meta name="viewport" content="width=device-width,initial-scale=1.0">
    <!-- 配置页签图标 -->
    <link rel="icon" href="<%= BASE_URL %>favicon.ico">
    <!-- 配置网页的标题 package.json name:'vue_test'当作网页的标题 -->
     <link rel="stylesheet" href="<%= BASE_URL %>css/bootstrap.css">
    <title><%= htmlWebpackPlugin.options.title %></title>
  </head>
  <body>
    <!-- 当浏览器不支持JS时,noscript中的 元素就会被渲染 -->
    <noscript>
      <strong>We're sorry but <%= htmlWebpackPlugin.options.title %> doesn't work properly without JavaScript enabled. Please enable it to continue.</strong>
    </noscript>
    <!-- 容器 -->
    <div id="app"></div>
    <!-- built files will be auto injected -->
  </body>
</html>
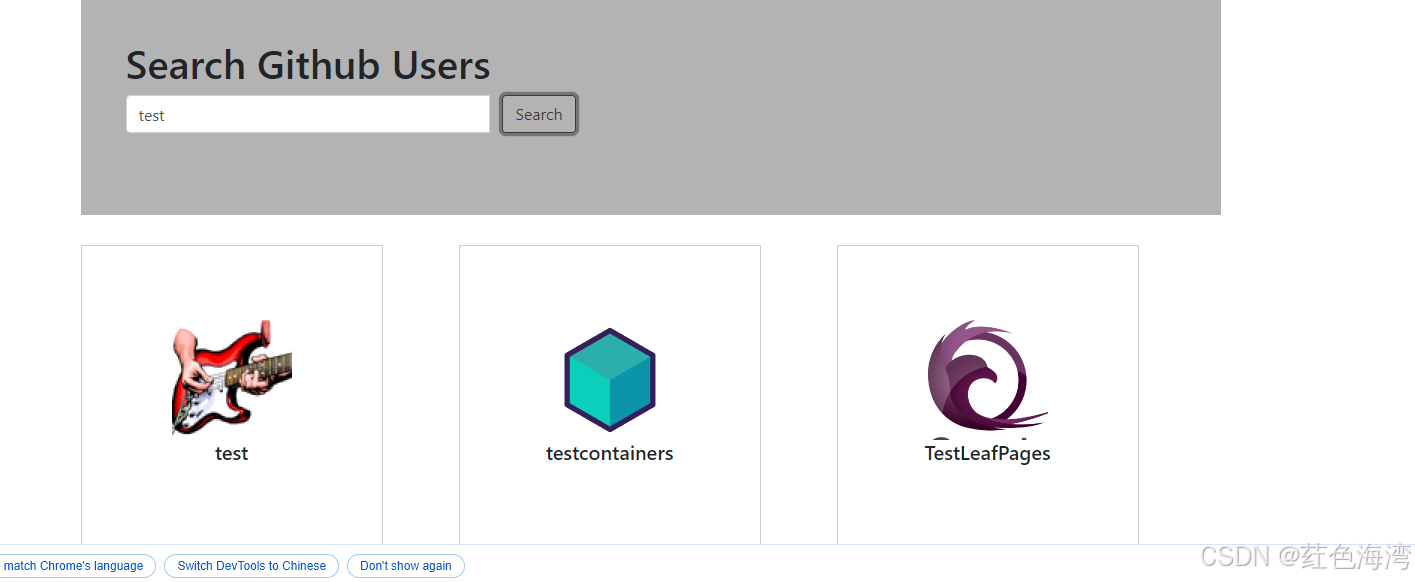
5.展示


 578
578

 被折叠的 条评论
为什么被折叠?
被折叠的 条评论
为什么被折叠?
 到【灌水乐园】发言


