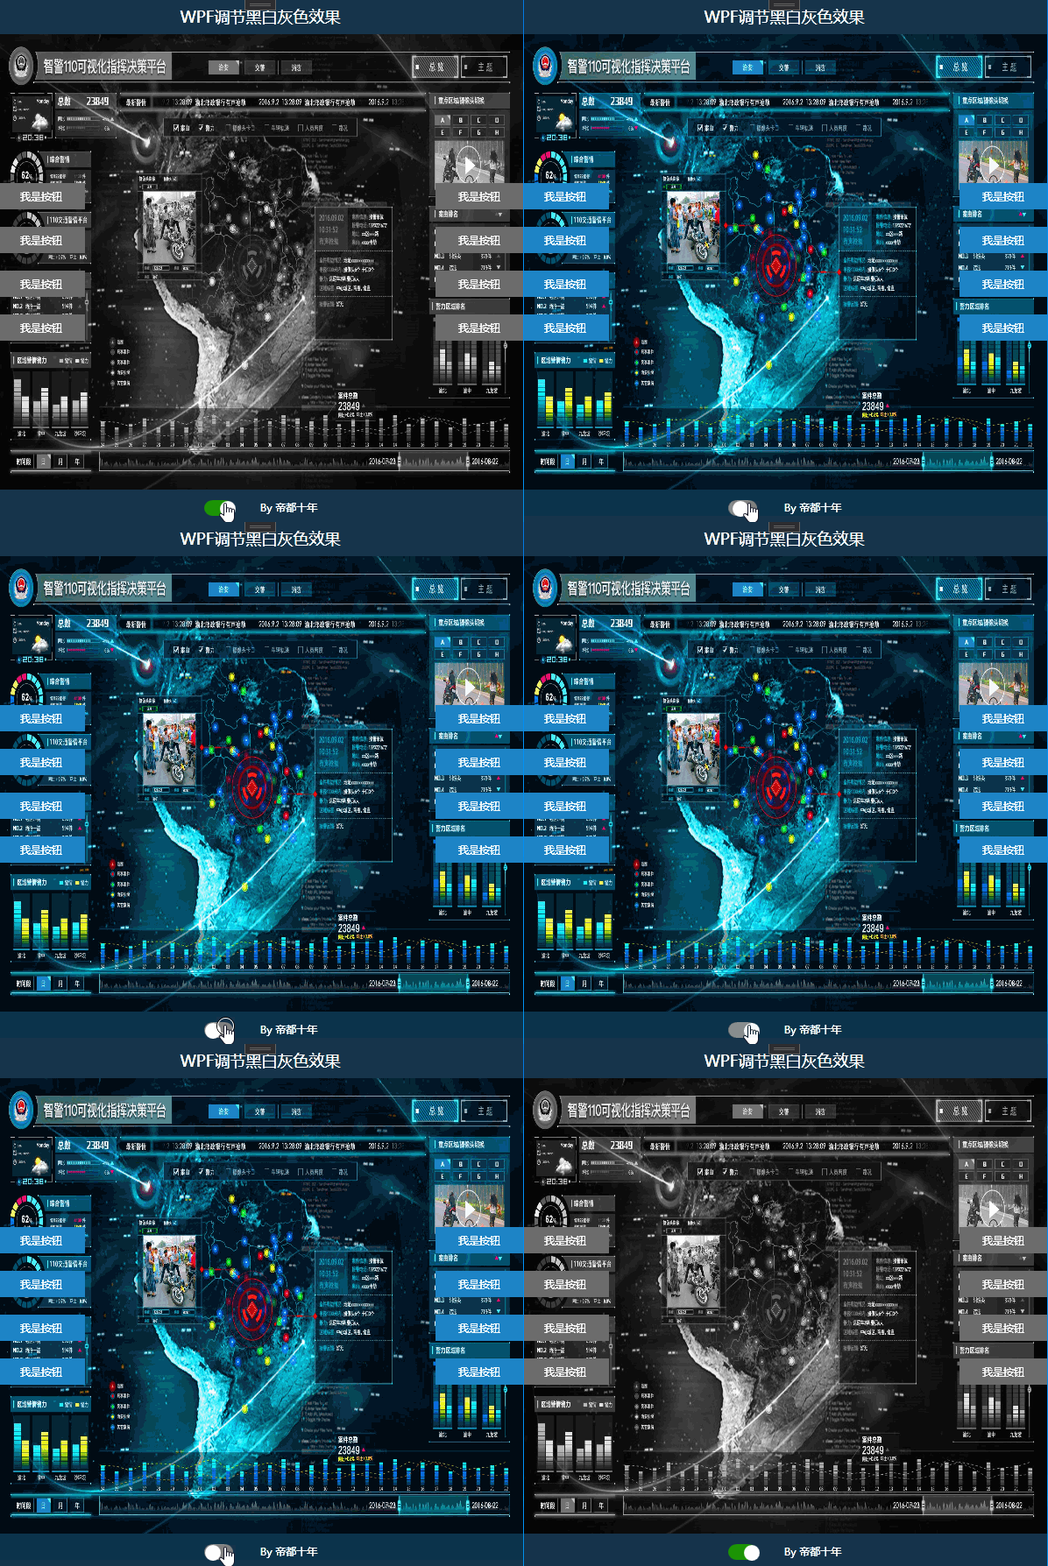
一大早就看到群友讨论怎么快速让界面黑白灰效果,这不突然想起来N年前咱简单通过ShaderEffects调节过饱和度、对比度、亮度;今天再次玩耍一下;来看看最终实现的效果: 1、核心代码:
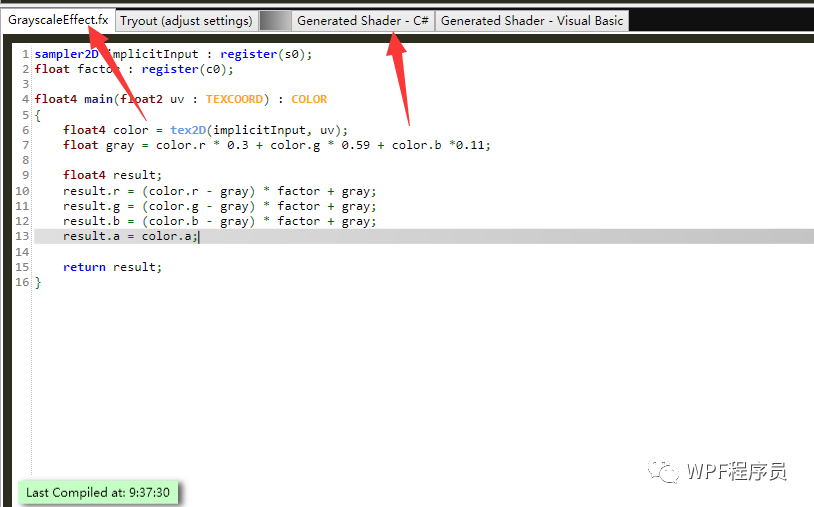
sampler2D implicitInput : register(s0);
float factor : register(c0);
float4 main(float2 uv : TEXCOORD) : COLOR
{
    float4 color = tex2D(implicitInput, uv);
    float gray = color.r * 0.3 + color.g * 0.59 + color.b *0.11;
    float4 result;
    result.r = (color.r - gray) * factor + gray;
    result.g = (color.g - gray) * factor + gray;
    result.b = (color.b - gray) * factor + gray;
    result.a = color.a;
    return result;
}
2、在Shazzam中编译生成cs和ps文件:
 3、来看看cs文件:
public class GrayscaleEffectEffect : ShaderEffect
    {
        public static readonly DependencyProperty InputProperty = ShaderEffect.RegisterPixelShaderSamplerProperty("Input", typeof(GrayscaleEffectEffect), 0);
        public static readonly DependencyProperty FactorProperty = DependencyProperty.Register("Factor", typeof(double), typeof(GrayscaleEffectEffect), new UIPropertyMetadata(((double)(0D)), PixelShaderConstantCallback(0)));
        public GrayscaleEffectEffect()
        {
            PixelShader pixelShader = new PixelShader();
            pixelShader.UriSource = new Uri("/MapDemo;component/ShaderEffects/GrayscaleEffectEffect.ps", UriKind.Relative);
            this.PixelShader = pixelShader;


            this.UpdateShaderValue(InputProperty);
            this.UpdateShaderValue(FactorProperty);
        }
        public Brush Input
        {
            get
            {
                return ((Brush)(this.GetValue(InputProperty)));
            }
            set
            {
                this.SetValue(InputProperty, value);
            }
        }
        public double Factor
        {
            get
            {
                return ((double)(this.GetValue(FactorProperty)));
            }
            set
            {
                this.SetValue(FactorProperty, value);
            }
        }
    }
4、前台调用就很简单
<Grid Grid.Row="1">
    <Grid.Background>
        <ImageBrush ImageSource="Images/Back.jpg" Stretch="Fill"/>
    </Grid.Background>
    <Grid.Effect>
        <ShaderEffects:GrayscaleEffectEffect Factor="{Binding ElementName=BlackTbtn,Path=IsChecked,Converter={StaticResource ToggleButtonIsCheckedToGrayscaleEffectEffectConverter}}"/>
    </Grid.Effect>
</Grid>
5、最后来个参考
http://bursjootech.blogspot.com/2008/06/grayscale-effect-pixel-shader-effect-in.html最终简单的效果先这样吧 ;以后有时间的话,可以再去摸索一下更复杂的效果
 ;编程不息、Bug不止、无Bug、无生活
 ;改bug的冷静、编码的激情、完成后的喜悦、挖坑的激动 、填坑的兴奋;这也许就是屌丝程序员的乐趣吧;今天就到这里吧;希望自己有动力一步一步坚持下去;生命不息,代码不止;大家抽空可以看看今天分享的效果,有好的意见和想法,可以在留言板随意留言;我看到后会第一时间回复大家,多谢大家的一直默默的关注和支持!如果觉得不错,那就伸出您的小手点个赞并关注一下!


 126
126


 被折叠的 条评论
为什么被折叠?


