


预备知识: 学习Identity Server 4的预备知识
本文内容基本完全来自于Identity Server 4官方文档: https://identityserver4.readthedocs.io/
官方文档很详细的.
使用OAuth可以更安全, 这里我们的authorization server和web api 以及网站将分别独立运行.
建立authorization server
建立asp.net core 项目使用空模板.
项目建立后, 运行方式改为使用控制台运行而不是IISExpress, 以便查看各种debug信息.
打开launchSettings.json:

{
 "profiles": {
  "AuthServer": {
  "commandName": "Project",
   "launchBrowser": true,
   "environmentVariables": {
     "ASPNETCORE_ENVIRONMENT": "Development"
      },

      "applicationUrl": "http://localhost:5000/"
    }
  }
}
把IISExpress相关的内容删掉, 然后端口改为5000.
Program.cs里的BuildWebHost也应该加上Url:
        public static IWebHost BuildWebHost(string[] args) =>
            WebHost.CreateDefaultBuilder(args)                .UseUrls("http://0.0.0.0:5000")
                .UseStartup<Startup>()
                .Build();
其实不加也好用.
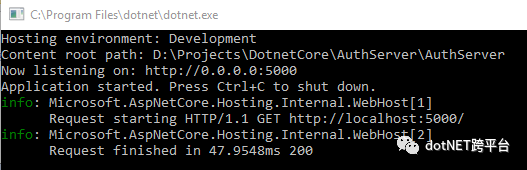
运行就会弹出控制台:
安装Identity Server4:
打开nuget, 搜索 identityserver4:
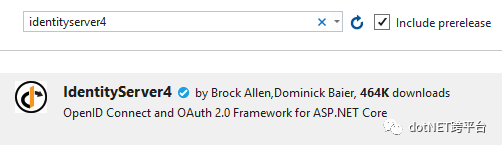
安装即可.
配置asp.net core 管道
打开startup.cs, 编辑Configure方法:
        public void Configure(IApplicationBuilder app, IHostingEnvironment env)
        {
            app.UseDeveloperExceptionPage();            app.UseIdentityServer();
        }
就是使用上面这个中间件.
配置Identity Server
还是Startup.cs,编辑ConfigureServices方法:
这里不仅要把IdentityServer注册到容器中, 还要至少对其配置三点内容:
1. 哪些API可以使用这个authorization server.
2. 那些客户端Client(应用)可以使用这个authorization server.
3. 指定可以使用authorization server授权的用户.
首先需要把上面这些做成一个配置文件:
建立Configuration/InMemoryConfiguration.cs:
namespace AuthServer.Configuration
{
     public class InMemoryConfiguration
     {
        public static IEnumerable<ApiResource> ApiResources()
        {
           return new[]
            {                new ApiResource("socialnetwork", "社交网络")
            };
        }

        public static IEnumerable<Client> Clients()
        {            return new[]
            {                new Client
                {
                    ClientId = "socialnetwork",
                    ClientSecrets = new [] { new Secret("secret".Sha256()) },
                    AllowedGrantTypes = GrantTypes.ResourceOwnerPasswordAndClientCredentials,
                    AllowedScopes = new [] { "socialnetwork" }
                }
            };
        }

        public static IEnumerable<TestUser> Users()
        {            return new[]
            {                new TestUser
                {
                    SubjectId = "1",
                    Username = "mail@qq.com",
                    Password = "password"
                }
            };
        }
    }
}
ApiResources: 这里指定了name和display name, 以后api使用authorization server的时候, 这个name一定要一致, 否则就不好用的.
Clients: Client的属性太多了, 这里就指定几个. 其中ClientSecrets是Client用来获取token用的. AllowedGrantType: 这里使用的是通过用户名密码和ClientCredentials来换取token的方式. ClientCredentials允许Client只使用ClientSecrets来获取token. 这比较适合那种没有用户参与的api动作. AllowedScopes: 这里只用socialnetwork
Users: 这里的内存用户的类型是TestUser, 只适合学习和测试使用, 实际生产环境中还是需要使用数据库来存储用户信息的, 例如接下来会使用asp.net core identity. TestUser的SubjectId是唯一标识.
然后回到StartUp的ConfigureServices:
前一篇文章讲过, 我们需要对token进行签名, 这意味着identity server需要一对public和private key. 幸运的是, 我们可以告诉identity server在程序的运行时候对这项工作进行设定: AddDeveloperSigningCredential(), 它默认会存到硬盘上的, 所以每次重启服务不会破坏开发时的数据同步. 这个方法只适合用于identity server4在单个机器运行, 如果是production farm你得使用AddSigningCredential()这个方法.
 public void ConfigureServices(IServiceCollection services)
{
            services.AddIdentityServer()
                .AddDeveloperSigningCredential()
                .AddTestUsers(InMemoryConfiguration.Users().ToList())
                .AddInMemoryClients(InMemoryConfiguration.Clients())
                .AddInMemoryApiResources(InMemoryConfiguration.ApiResources());
}
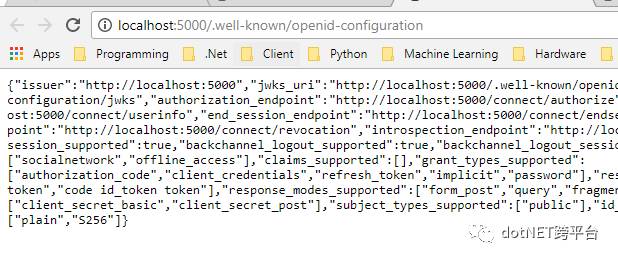
然后运行一下:
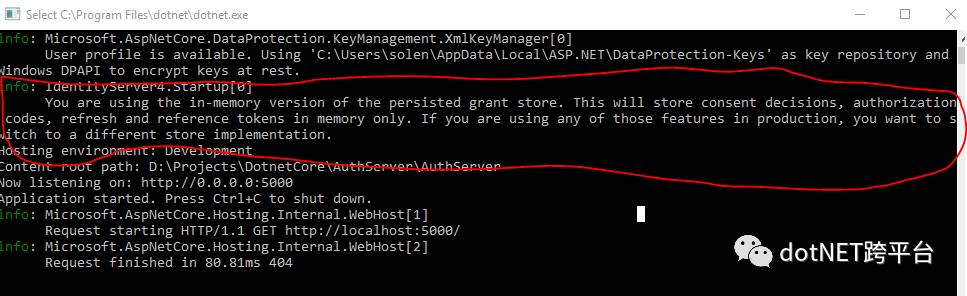
没报错, 红线部分是内存配置版的一些解释.
获取Token
打开postman, 如果你无法安装postman, 也无法进入Chrome商店, 那么你可以买一个海外服务器, 使用shadowsocks服务器和客户端进行代理, 然后就可以访问google了.
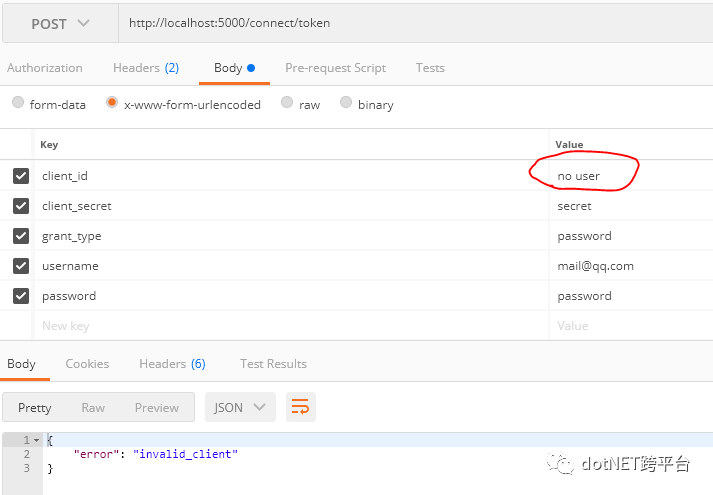
首先我们发送一个错误的client_id, 然后得到的结果是: invalid_client. 控制台的信息如下:

然后我们再发送一个正确的数据:
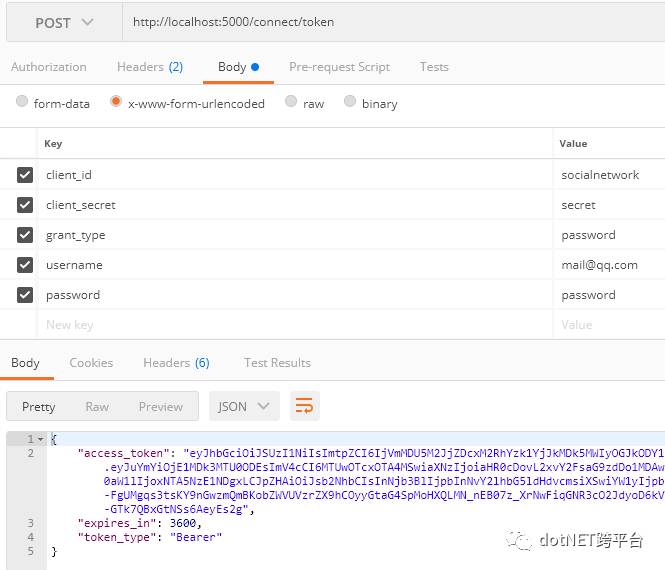
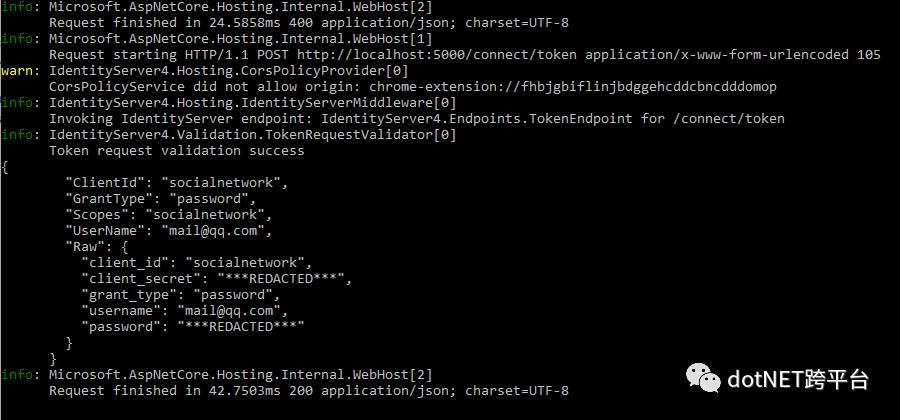
这次获取到了token. 控制台信息如下:
由于identity server我们设置的是 ResourceOwnerPasswordAndClientCredentials 这个GrantType, 所以使用用户名密码以及使用ClientCredentials都可以. 那我们把用户名和密码去掉, 只发送Client Credentials:
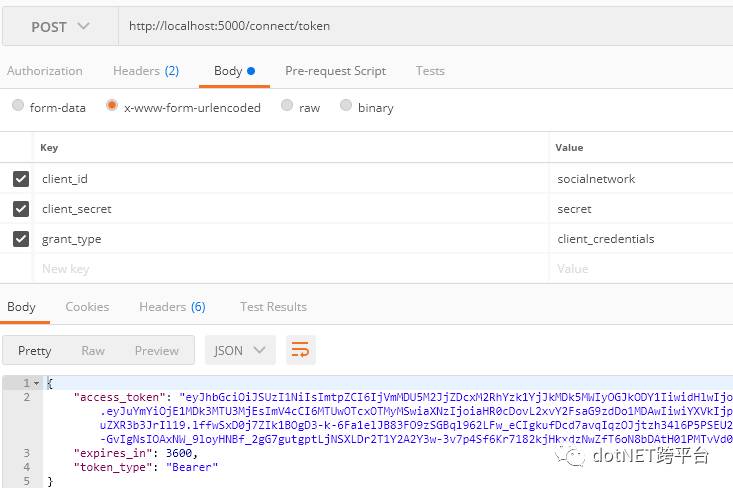
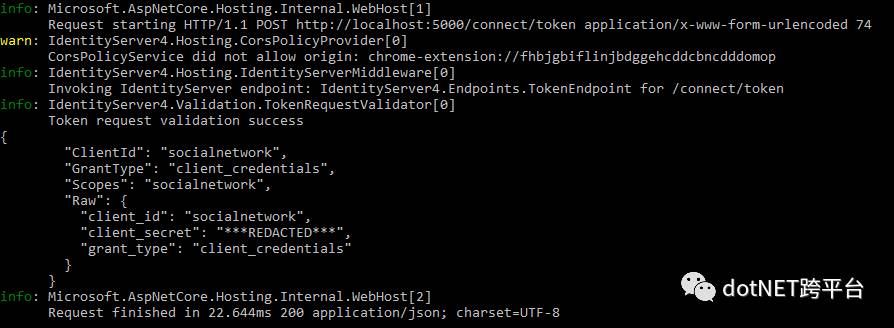
仍然获取到了token. 控制台上的信息与上一个稍有不同, 没有user相关的信息了:
使用正经的证书:
证书可以通过几种渠道获得, 可以购买, 可以使用IIS生成, 也可以使用Openssl这样的工具生成证书. 我就使用openssl吧.
去openssl的windows官网: https://slproweb.com/products/Win32OpenSSL.html
下载 1.1.0版: https://slproweb.com/download/Win64OpenSSL-1_1_0f.exe
安装后, 打开命令行.
openssl req -newkey rsa:2014 -nodes -keyout socialnetwork.key -x509 -days 365 -out socialnetwork.cer
具体的信息就不管了. 这个证书的有效期是365天, 命令参数里面设定的.
这是生成的文件:

一个证书和一个key, 然后我们需要给他们俩封装成一个文件, 以便identity server可以使用它们去正确的签名tokens. 这就需要使用另一个命令:
openssl pkcs12 -export -in socialnetwork.cer -inkey socialnetwork.key -out socialnetwork.pfx

这里发生了错误...那就使用管理员打开命令行:

输入密码和确认密码后, 没问题了.

pfx就是我们需要的文件.
然后修改一个Startup的ConfigureServices:
 public void ConfigureServices(IServiceCollection services)
{
            services.AddIdentityServer()                // .AddDeveloperSigningCredential()                .AddSigningCredential(new X509Certificate2(@"D:\Projects\test\socialnetwork.pfx", "password"))
                .AddTestUsers(InMemoryConfiguration.Users().ToList())
                .AddInMemoryClients(InMemoryConfiguration.Clients())
                .AddInMemoryApiResources(InMemoryConfiguration.ApiResources());
}
现在运行程序的话, 啥也不显示. 那么接下来, 就
添加像样的UI
Identity Server 4 提供了一套QuickStart UI : https://github.com/IdentityServer/IdentityServer4.Quickstart.UI/tree/release
在项目根目录打开Powershell(可以在项目根目录, 按住shift, 点击右键的Powershell)
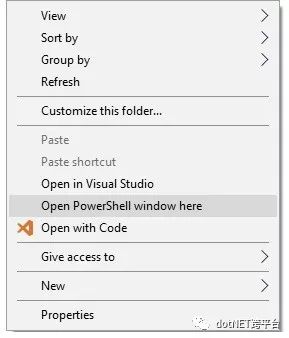
然后输入命令:
iex ((New-Object System.Net.WebClient).DownloadString('https://raw.githubusercontent.com/IdentityServer/IdentityServer4.Quickstart.UI/release/get.ps1'))
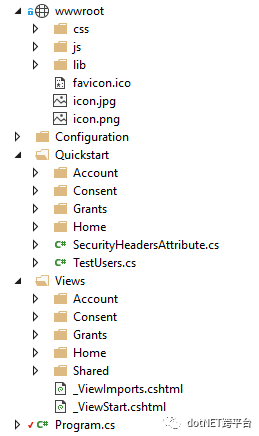
然后就把UI下载到项目了.
看看生成的文件, 很多:
由于有wwwroot下很多静态文件, 所以asp.net core 需要启用服务静态文件的功能: 修改Startup的Configure方法:
        public void Configure(IApplicationBuilder app, IHostingEnvironment env)
        {
            app.UseDeveloperExceptionPage();
            app.UseIdentityServer();            app.UseStaticFiles();
            app.UseMvcWithDefaultRoute();
        }
使用静态文件, 并且使用了MVC.
别忘了在ConfigureServices里面注册MVC:
public void ConfigureServices(IServiceCollection services)
        {
            services.AddIdentityServer()                // .AddDeveloperSigningCredential()
                .AddSigningCredential(new X509Certificate2(@"D:\Projects\test\socialnetwork.pfx", "Bx@steel"))
                .AddTestUsers(InMemoryConfiguration.Users().ToList())
                .AddInMemoryClients(InMemoryConfiguration.Clients())
                .AddInMemoryApiResources(InMemoryConfiguration.ApiResources());            services.AddMvc();
        }

然后运行一下试试:
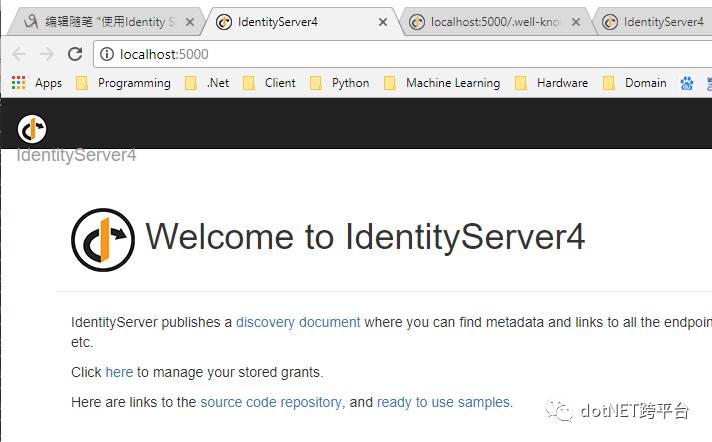
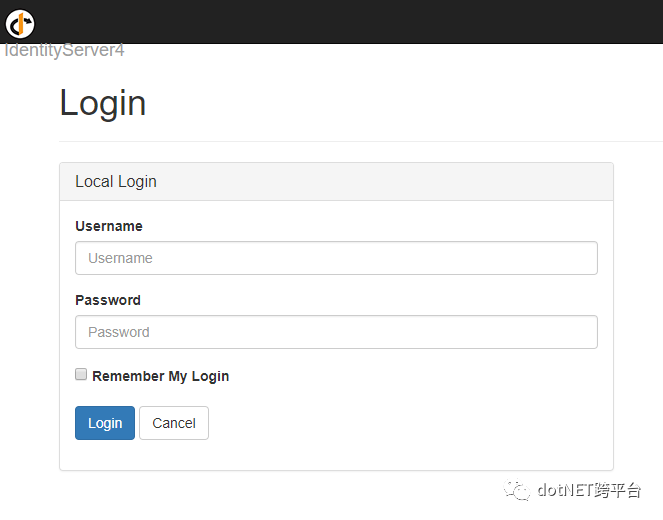
它现在已经具备了这些功能!
使用TestUser也可以登陆成功:
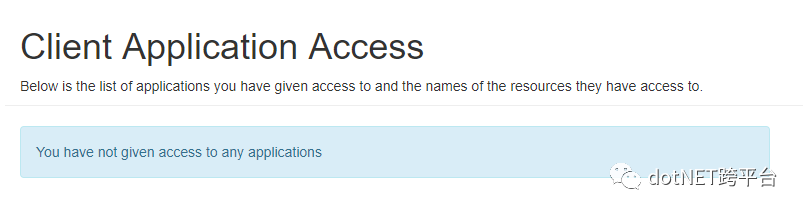
当然这个UI可以根据情况自行定义.
相关文章:
原文地址:http://www.cnblogs.com/cgzl/p/7780559.html
.NET社区新闻,深度好文,微信中搜索dotNET跨平台或扫描二维码关注


 1万+
1万+


 被折叠的 条评论
为什么被折叠?
被折叠的 条评论
为什么被折叠?
 到【灌水乐园】发言


