


目录
一、前言
1、什么是Turbine?
Turbine是Netflix开源的将Server-Sent Event(SSE)的JSON数据流聚合成单个流的工具。我们可以通过Turbine将Hystrix生产的监控数据(JSON)合并到一个流中,方便我们对存在多个实例的应用进行监控。
Turbine can be used with any data source that fits the supported JSON format of key/value pairs delivered via Server Sent Events. However, it is specifically intended for aggregating streams output by Hystrix so that will be used in all examples.
2、本篇环境信息
| 框架 | 版本 |
|---|---|
| Spring Boot | 2.0.0.RELEASE |
| Spring Cloud | Finchley.RELEASE |
| JDK | 1.8.x |
3、准备工作
参考上一篇:https://ken.io/note/spring-cloud-hystrix-dashboard-quickstart
基于源码:https://github.com/ken-io/springcloud-course/tree/master/chapter-05
- 准备Eureka Server、服务提供者
启动Eureka Server: http://localhost:8800
启动Test Service:http://localhost:8602
- 服务消费者+Hystrix Dashboard准备
修改feignclient项目:支持Turbine
上一篇中提到,Hystrix Dashboard是通过指定的URL查看监控信息。
例如:http://localhost:8605/hystrix.stream 可以查看单个应用单个实例的Hystrix监控信息。
也可以通过 [ http://turbine-hostname:port/turbine.stream ] 这样的URL查看聚合的监控信息。
其中Turbine.stream实际上是Turbine(version 1.0)通过访问对应服务每个实例的 http://hystrix-app:port/actuator/hystrix.stream 地址,然后把监控信息聚合起来。所有我们需要添加对应的Servlet注解,以支持通过该URL访问hystrix.stream信息
修改 HystrixConfiguration.java
增加 servletTurbineRegistrationBean() 满足Turbine的读取规则
package io.ken.springcloud.feignclient.configuration;

import com.netflix.hystrix.contrib.metrics.eventstream.HystrixMetricsStreamServlet;
import org.springframework.boot.web.servlet.ServletRegistrationBean;
import org.springframework.context.annotation.Bean;
import org.springframework.context.annotation.Configuration;

@Configuration
public class HystrixConfiguration {

    @Bean(name = "hystrixRegistrationBean")
    public ServletRegistrationBean servletRegistrationBean() {
        ServletRegistrationBean registration = new ServletRegistrationBean(
                new HystrixMetricsStreamServlet(), "/hystrix.stream");
        registration.setName("hystrixServlet");
        registration.setLoadOnStartup(1);
        return registration;
    }

    @Bean(name = "hystrixForTurbineRegistrationBean")
    public ServletRegistrationBean servletTurbineRegistrationBean() {
        ServletRegistrationBean registration = new ServletRegistrationBean(
                new HystrixMetricsStreamServlet(), "/actuator/hystrix.stream");
        registration.setName("hystrixForTurbineServlet");
        registration.setLoadOnStartup(1);
        return registration;
    }
}
启动FeignClient:http://localhost:8605,http://localhost:8606,http://localhost:8607
为了满足测试需要,这次我们启动三个实例。
二、监控数据聚合:Turbine
1、创建Turbine项目
按照惯例,使用maven-archtype-quickstart模板创建项目
| 项 | 说明 |
|---|---|
| GroupId | io.ken.springcloud.turbine |
| ArtifactId | turbine |
修改pom.xml 引入相关依赖
<?xml version="1.0" encoding="UTF-8"?>

<project xmlns="http://maven.apache.org/POM/4.0.0" xmlns:xsi="http://www.w3.org/2001/XMLSchema-instance"
         xsi:schemaLocation="http://maven.apache.org/POM/4.0.0 http://maven.apache.org/xsd/maven-4.0.0.xsd">
    <modelVersion>4.0.0</modelVersion>

    <groupId>io.ken.springcloud.turbine</groupId>
    <artifactId>turbine</artifactId>
    <version>1.0-SNAPSHOT</version>

    <name>turbine</name>
    <url>http://ken.io</url>

    <properties>
        <project.build.sourceEncoding>UTF-8</project.build.sourceEncoding>
        <maven.compiler.source>1.8</maven.compiler.source>
        <maven.compiler.target>1.8</maven.compiler.target>
    </properties>

    <parent>
        <groupId>org.springframework.boot</groupId>
        <artifactId>spring-boot-starter-parent</artifactId>
        <version>2.0.0.RELEASE</version>
    </parent>

    <dependencyManagement>
        <dependencies>
            <dependency>
                <groupId>org.springframework.cloud</groupId>
                <artifactId>spring-cloud-dependencies</artifactId>
                <version>Finchley.RELEASE</version>
                <type>pom</type>
                <scope>import</scope>
            </dependency>
        </dependencies>
    </dependencyManagement>

    <dependencies>

        <dependency>
            <groupId>org.springframework.cloud</groupId>
            <artifactId>spring-cloud-starter-netflix-turbine</artifactId>
        </dependency>

        <dependency>
            <groupId>org.springframework.boot</groupId>
            <artifactId>spring-boot-starter-actuator</artifactId>
        </dependency>

        <dependency>
            <groupId>org.springframework.cloud</groupId>
            <artifactId>spring-cloud-starter-netflix-hystrix-dashboard</artifactId>
        </dependency>

        <dependency>
            <groupId>junit</groupId>
            <artifactId>junit</artifactId>
            <version>4.11</version>
            <scope>test</scope>
        </dependency>

    </dependencies>

    <build>
        <finalName>turbine</finalName>
    </build>

</project>
2、配置启动类
修改\src\main\java\io\ken\springcloud\turbine\App.java
@EnableTurbine:启用Turbine
@EnableHystrixDashboard:启用Hystrix Dashboard
package io.ken.springcloud.turbine;

import org.springframework.boot.SpringApplication;
import org.springframework.boot.autoconfigure.SpringBootApplication;
import org.springframework.cloud.client.discovery.EnableDiscoveryClient;
import org.springframework.cloud.netflix.hystrix.dashboard.EnableHystrixDashboard;
import org.springframework.cloud.netflix.turbine.EnableTurbine;

@EnableHystrixDashboard
@EnableTurbine
@EnableDiscoveryClient
@SpringBootApplication
public class App
{
    public static void main(String[] args) {
        SpringApplication.run(App.class, args);
    }
}
3、配置Turbine
在\src\main下创建文件夹resources文件夹并设置为Resources Root
在resources文件夹下创建application.yml文件并配置Turbine
server:
  port: 8801

spring:
  application:
    name: turbine

eureka:
  client:
    serviceUrl:
      defaultZone: http://localhost:8800/eureka/

turbine:
  app-config: feignclient
  cluster-name-expression: new String("default")
  combine-host-port: true
参数说明:
| 参数 | ken.io的说明 |
|---|---|
| turbine.app-config | 指定需要监控的servicename,多个service以,间隔 |
| turbine.cluster-name-expression | 指定集群名称,默认为default,当设立了多个集群时,可以在Hystrix指定集群名称来查看监控 |
| turbine.combine-host-port | 合并同一个host多个端口的数据 |
4、Turbine测试
启动项目后,访问 http://localhost:8801/hystrix
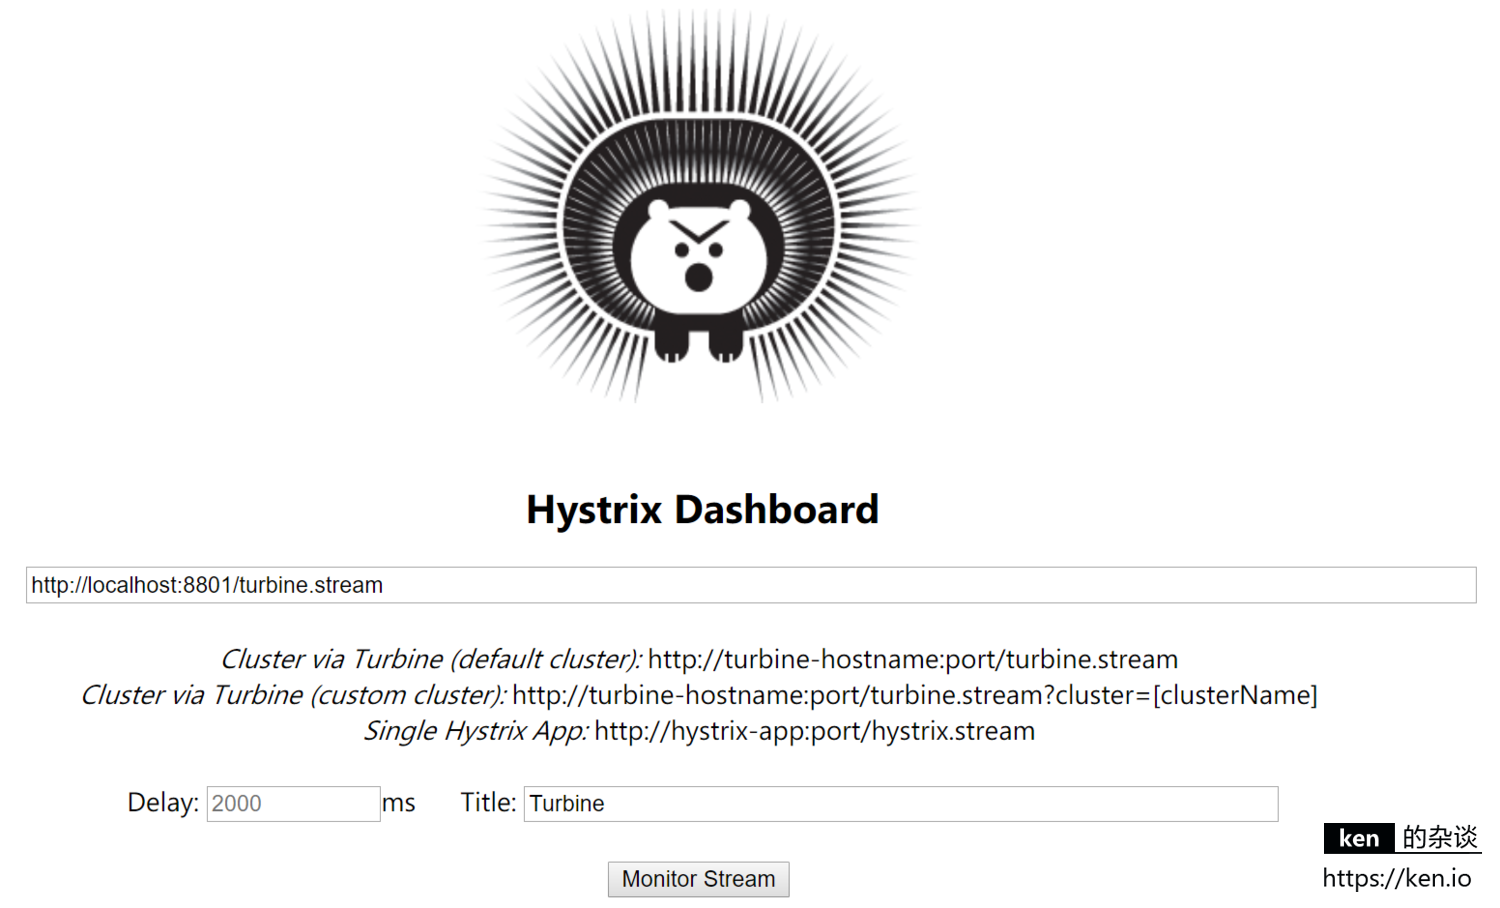
输入指定连接:http://localhost:8801/turbine.stream
Delay(查询监控信息的延迟时间),Tile可以自定义,也可以默认。填写完毕点击 Monitor Stream 即可查看合并后的监控图表。
然后分别开启:http://localhost:8605/hystrix.stream ,http://localhost:8606/hystrix.stream ,http://localhost:8607/hystrix.stream
三个hystrix.stream的监控
接着分别访问:http://localhost:8605/ti ,http://localhost:8606/ti ,http://localhost:8607/ti
监控面板某个瞬间的截图如下:

通过对比发现,右上角的Tuebine聚合视图已经把三个实例的Hystrix全部聚合到了一起。
三、备注
- 本篇代码示例
https://github.com/ken-io/springcloud-course/tree/master/chapter-06
- 延伸阅读
https://ken.io/note/netflix-hystrix-intro-principle
- 本文参考
https://eacdy.gitbooks.io/spring-cloud-book/content/2%20Spring%20Cloud/2.4.3%20Turbine.html


 107
107


 被折叠的 条评论
为什么被折叠?
被折叠的 条评论
为什么被折叠?
 到【灌水乐园】发言


