


三种方法检测:“热狗还是不是热狗”(OpenCV+Cascades+Hash)+ 爬虫(下载训练集)
所有代码请到我的github中下载,欢迎star,谢谢。
https://github.com/sileixinhua/HotdogOrNotHotdog
前言
在美剧《硅谷》中国,有一个华裔的演员,演绎了一个普通开发者的故事,做了一个识别热狗的APP,然后被大公司收购用来做色情识别。

APP的效果图如下图所示:
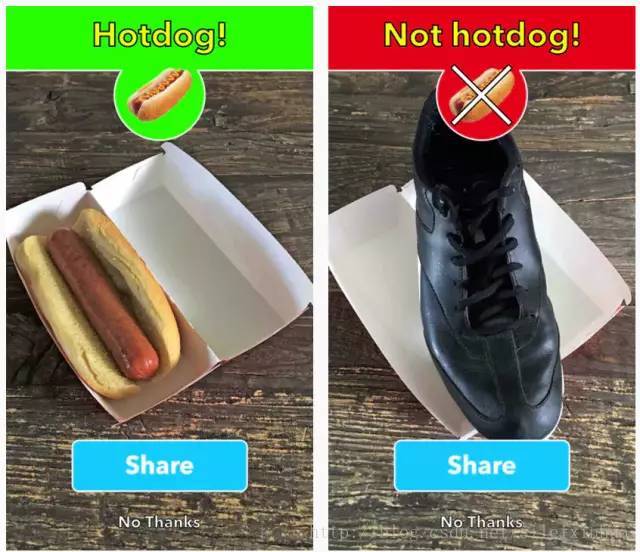
那今天我就展示用
1.原始的Hash的图像处理方法
2.用OpenCV+numpy一张照片作为正面数据的方法
3.用OpenCV的Cascades方法
来检测热狗,我们就叫它“热狗还是不是热狗”,HotdogOrNotHotdog。
开发环境
windows10
Python3.5
https://www.python.org/downloads/

OpenCV-Python
OpenCV的window安装直接官网https://opencv.org/下载源码,把bin路径添加到系如变量即可
在Ubuntu上的安装比较繁琐,我找到的最简单的方式是:
https://www.youtube.com/watch?v=2Pboq2LFoaI
http://www.daslhub.org/unlv/wiki/doku.php?id=opencv_install_ubuntu
整个过程安装比较耗时,大概一刻钟左右。
在Python中安装OpenCV开发包需要如下命令:
pip3 install opencv-python这里如果是Python2就把“pip3”改成“pip”即可。
如果只用Python的话可以不用下载源码安装,直接pip安装opencv-python即可。
numpy
https://docs.scipy.org/doc/numpy-dev/user/quickstart.html
安装numpy使用下列命令,pip安装
pip3 install numpy
matplotlib
安装numpy使用下列命令,pip安装
pip3 install matplotlib
第一部分:用Hash方法检测
实验步骤设计
首先下载百度图片里的图片,搜索关键字为热狗。
用OpenCV来读取图片内容,用numpy来将图片数据数组化并挨个对比分析图像灰度图的直方图。
这里用到的验证算法是汉明距离。
代码分析
DownLoadImages.py
# -*- coding:utf-8 -*-
# coder:橘子派_司磊
# 2017年10月30日 23点58分
# 下载百度图片里的图片,搜索关键字为热狗
import os
import re
import urllib
import json
import socket
import urllib.request
import urllib.parse
import urllib.error
import time

# 设置延迟时间
timeout = 5
socket.setdefaulttimeout(timeout)

class Crawler:
    __time_sleep = 0.1
    __amount = 0
    __start_amount = 0
    __counter = 0
    headers = {'User-Agent': 'Mozilla/5.0 (Windows NT 6.1; WOW64; rv:23.0) Gecko/20100101 Firefox/23.0'}

    def __init__(self, t=0.1):
        self.time_sleep = t

    def __save_image(self, rsp_data, word):

        if not os.path.exists("./" + word):
            os.mkdir("./" + word)

        self.__counter = len(os.listdir('./' + word)) + 1
        for image_info in rsp_data['imgs']:
            try:
                time.sleep(self.time_sleep)
                fix = self.__get_suffix(image_info['objURL'])
                urllib.request.urlretrieve(image_info['objURL'], './' + word + '/' + str(self.__counter) + str(fix))
            except urllib.error.HTTPError as urllib_err:
                print(urllib_err)
                continue
            except Exception as err:
                time.sleep(1)
                print(err)
                print("产生未知错误,放弃保存")
                continue
            else:
                print("已有" + str(self.__counter) + "张图")
                self.__counter += 1
        return

    @staticmethod
    def __get_suffix(name):
        m = re.search(r'\.[^\.]*$', name)
        if m.group(0) and len(m.group(0)) <= 5:
            return m.group(0)
        else:
            return '.jpeg'

    @staticmethod
    def __get_prefix(name):
        return name[:name.find('.')]

    def __get_images(self, word='火锅'):
        search = urllib.parse.quote(word)
        pn = self.__start_amount
        while pn < self.__amount:

            url = 'http://image.baidu.com/search/avatarjson?tn=resultjsonavatarnew&ie=utf-8&word=' + search + '&cg=girl&pn=' + str(
                pn) + '&rn=60&itg=0&z=0&fr=&width=&height=&lm=-1&ic=0&s=0&st=-1&gsm=1e0000001e'
            try:
                time.sleep(self.time_sleep)
                req = urllib.request.Request(url=url, headers=self.headers)
                page = urllib.request.urlopen(req)
                rsp = page.read().decode('unicode_escape')
            except UnicodeDecodeError as e:
                print(e)
                print('-----UnicodeDecodeErrorurl:', url)
            except urllib.error.URLError as e:
                print(e)
                print("-----urlErrorurl:", url)
            except socket.timeout as e:
                print(e)
                print("-----socket timout:", url)
            else:
                rsp_data = json.loads(rsp)
                self.__save_image(rsp_data, word)
                print("下载下一页")
                pn += 60
            finally:
                page.close()
        print("下载任务结束")
        return

    def start(self, word, spider_page_num=1, start_page=1):
        self.__start_amount = (start_page - 1) * 60
        self.__amount = spider_page_num * 60 + self.__start_amount
        self.__get_images(word)

if __name__ == '__main__':
    crawler = Crawler(0.05)
    crawler.start('火锅', 5000, 1)
ClassificationBypHash.py
# -*- coding:utf-8 -*-
# coder:橘子派_司磊
# 2017年10月31日 时间
# 用OpenCV来识别图片是否是热狗
# 热狗图片一共11582张
# 火锅照片一共1043张
# 效果十分不理想!!
import cv2
import numpy as np
# 计算单通道的直方图的相似值
def calculate(image1,image2):
hist1 = cv2.calcHist([image1],[0],None,[256],[0.0,255.0])
hist2 = cv2.calcHist([image2],[0],None,[256],[0.0,255.0])
# 计算直方图的重合度
degree = 0
for i in range(len(hist1)):
if hist1[i] != hist2[i]:
degree = degree + (1 - abs(hist1[i]-hist2[i])/max(hist1[i],hist2[i]))
else:
degree = degree + 1
degree = degree/len(hist1)
return degree
# 通过得到每个通道的直方图来计算相似度
def classify_pHash(image1,image2):
image1 = cv2.resize(image1,(32,32))
image2 = cv2.resize(image2,(32,32))
gray1 = cv2.cvtColor(image1,cv2.COLOR_BGR2GRAY)
gray2 = cv2.cvtColor(image2,cv2.COLOR_BGR2GRAY)
# 将灰度图转为浮点型,再进行dct变换
dct1 = cv2.dct(np.float32(gray1))
dct2 = cv2.dct(np.float32(gray2))
# 取左上角的8*8,这些代表图片的最低频率
# 这个操作等价于c++中利用opencv实现的掩码操作
# 在python中进行掩码操作,可以直接这样取出图像矩阵的某一部分
dct1_roi = dct1[0:8,0:8]
dct2_roi = dct2[0:8,0:8]
hash1 = getHash(dct1_roi)
hash2 = getHash(dct2_roi)
return Hamming_distance(hash1,hash2)
# 输入灰度图,返回hash
def getHash(image):
avreage = np.mean(image)
hash = []
for i in range(image.shape[0]):
for j in range(image.shape[1]):
if image[i,j] > avreage:
hash.append(1)
else:
hash.append(0)
return hash
# 计算汉明距离
def Hamming_distance(hash1,hash2):
num = 0
for index in range(len(hash1)):
if hash1[index] != hash2[index]:
num += 1
return num
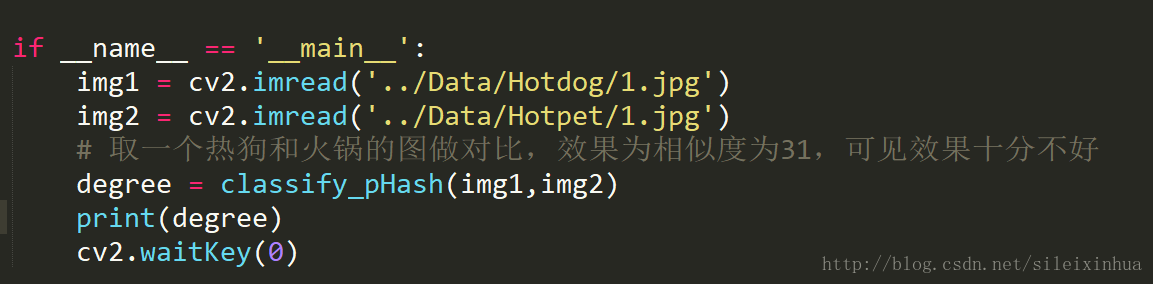
if __name__ == '__main__':
img1 = cv2.imread('../Data/Hotdog/1.jpg')
img2 = cv2.imread('../Data/Hotpet/1.jpg')
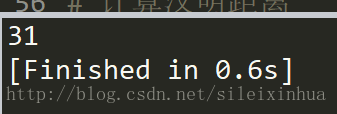
# 取一个热狗和火锅的图做对比,效果为相似度为31,可见效果十分不好
degree = classify_pHash(img1,img2)
print(degree)
cv2.waitKey(0)
实验结果
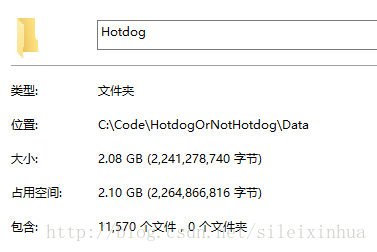
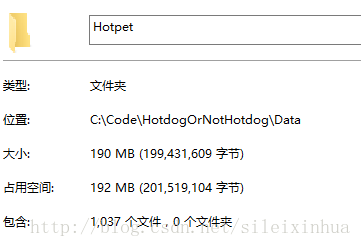
这里从百度图片上下载了11570张热狗的数据当作正面数据,下载了1037张火锅的图片当作负面数据。
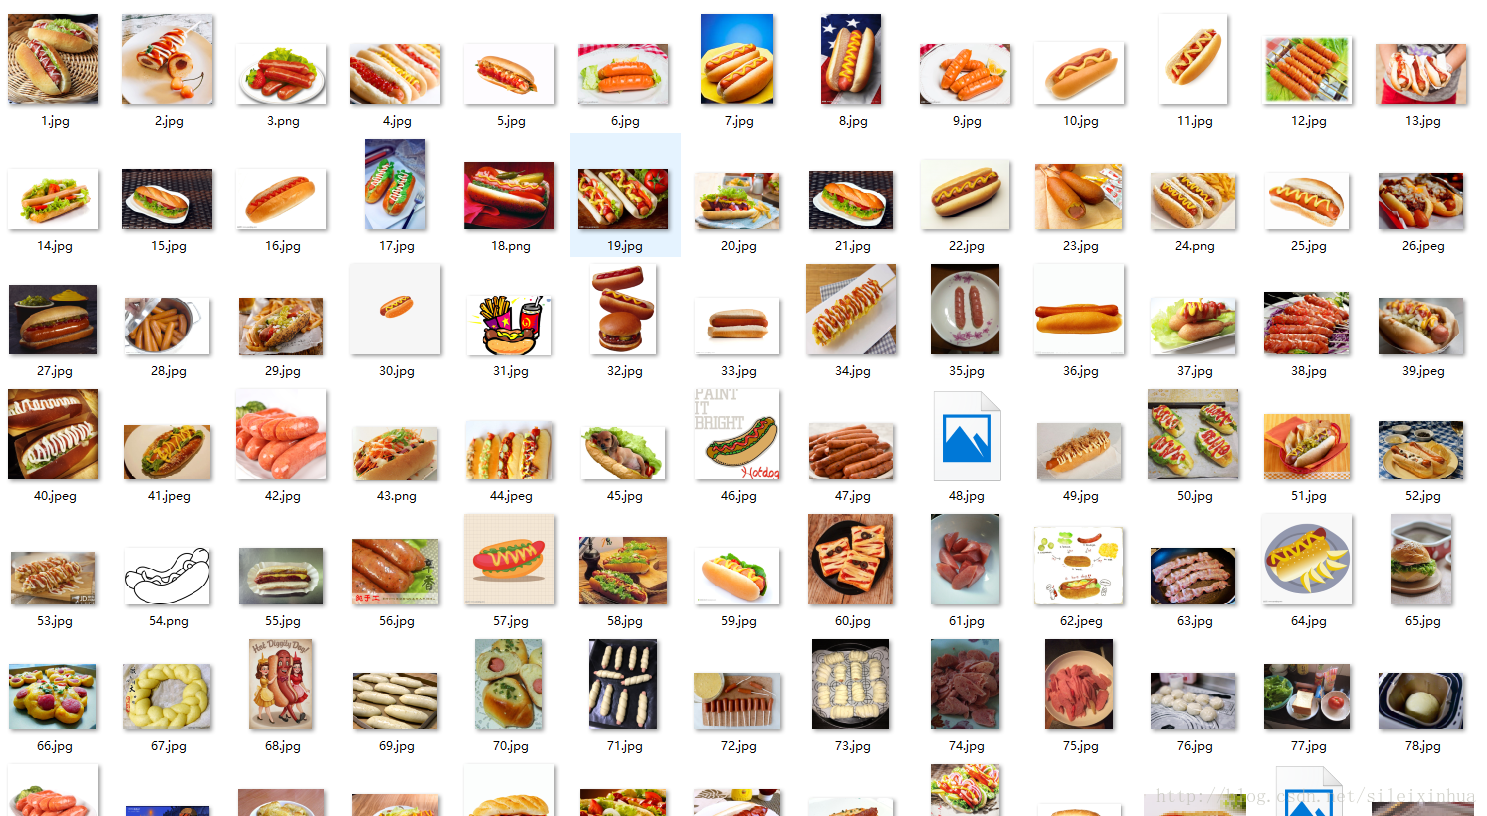

实验结果用一张热狗的图和一张火锅的图做对比,可能红色和白色的底比较对应,所以相似度高了点。
第二部分:用一张照片作为正面数据的方法检测
实验步骤设计
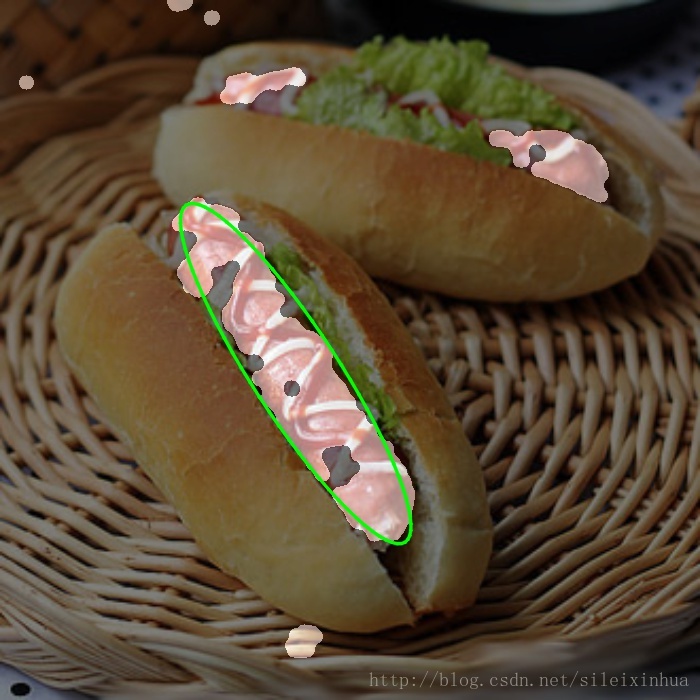
这一部分用OpenCV先检测热狗图像的轮廓,然后和原图像透明重叠,找到相似的部分并绘制圆圈标注出来。
代码分析
ClassificationOpenCVClassifierByOneImage.py
from __future__ import division
import cv2
from matplotlib import pyplot as plt
import numpy as np
from math import cos, sin

green = (0, 255, 0)
# 设置绿色

# 用matplotlib制作绘图函数
def show(image):
    plt.figure(figsize=(10, 10))
    # 设置图像大小
    plt.imshow(image, interpolation='nearest')
    # 绘制展示图像

def overlay_mask(mask, image):
    rgb_mask = cv2.cvtColor(mask, cv2.COLOR_GRAY2RGB)
    img = cv2.addWeighted(rgb_mask, 0.5, image, 0.5, 0)
    # 叠加图像并设置图像透明度
    return img

def find_biggest_contour(image):
    image = image.copy()
    image,contours, hierarchy = cv2.findContours(image, cv2.RETR_LIST, cv2.CHAIN_APPROX_SIMPLE)
    # 设置图像的一个拷贝,并绘制图像的轮廓
    # cv2.findContours为图像的轮廓检测

    contour_sizes = [(cv2.contourArea(contour), contour) for contour in contours]
    biggest_contour = max(contour_sizes, key=lambda x: x[0])[1]

    mask = np.zeros(image.shape, np.uint8)
    cv2.drawContours(mask, [biggest_contour], -1, 255, -1)
    # cv2.drawContours 填充轮廓的颜色
    return biggest_contour, mask

def circle_contour(image, contour):
    image_with_ellipse = image.copy()
    ellipse = cv2.fitEllipse(contour)
    cv2.ellipse(image_with_ellipse, ellipse, green, 2, cv2.LINE_AA)
    # 将对应的部分画圈
    return image_with_ellipse

def find_hotdog(image):
    image = cv2.cvtColor(image, cv2.COLOR_BGR2RGB)

    max_dimension = max(image.shape)
    scale = 700/max_dimension
    image = cv2.resize(image, None, fx=scale, fy=scale)

    image_blur = cv2.GaussianBlur(image, (7, 7), 0)
    image_blur_hsv = cv2.cvtColor(image_blur, cv2.COLOR_RGB2HSV)

    min_red = np.array([0, 100, 80])
    max_red = np.array([10, 256, 256])
    mask1 = cv2.inRange(image_blur_hsv, min_red, max_red)

    min_red2 = np.array([170, 100, 80])
    max_red2 = np.array([180, 256, 256])
    mask2 = cv2.inRange(image_blur_hsv, min_red2, max_red2)

    mask = mask1 + mask2

    kernel = cv2.getStructuringElement(cv2.MORPH_ELLIPSE, (15, 15))
    mask_closed = cv2.morphologyEx(mask, cv2.MORPH_CLOSE, kernel)
    mask_clean = cv2.morphologyEx(mask_closed, cv2.MORPH_OPEN, kernel)

    big_strawberry_contour, mask_strawberries = find_biggest_contour(mask_clean)

    overlay = overlay_mask(mask_clean, image)

    circled = circle_contour(overlay, big_strawberry_contour)
    show(circled)

    bgr = cv2.cvtColor(circled, cv2.COLOR_RGB2BGR)

    return bgr

image = cv2.imread('1.jpg')
result = find_hotdog(image)
cv2.imwrite('2.jpg', result)
实验结果
原图像:

结果图像:
第三部分:用OpenCV的Cascades方法检测
实验步骤设计
这一部分步骤比较复杂,相似的任务可以参考我的另一篇博文中的第二部分关于识别的部分。
《写真美女套图:爬虫+美女脸部识别+DCGAN脸部自动生成》
http://blog.csdn.net/sileixinhua/article/details/78816683
接下来的步骤较复杂,请仔细阅读。
在以下代码用运行GrayResizePictures()和Create_pos_n_neg()函数,用把数据集处理成灰度图数据集,然后创建正面的数据获得数据的列表在bg.txt文件中。
再当前目录下用cmd或者terminal执行opencv_createsamples两个命令,创建和整理训练集
opencv_createsamples -img watch5050.jpg -bg bg.txt -info info/info.lst -pngoutput info -maxxangle 0.5 -maxyangle 0.5 -maxzangle 0.5 -num 1106这里是用一张原始的照片创建很多很多数据集。
原始的图片:
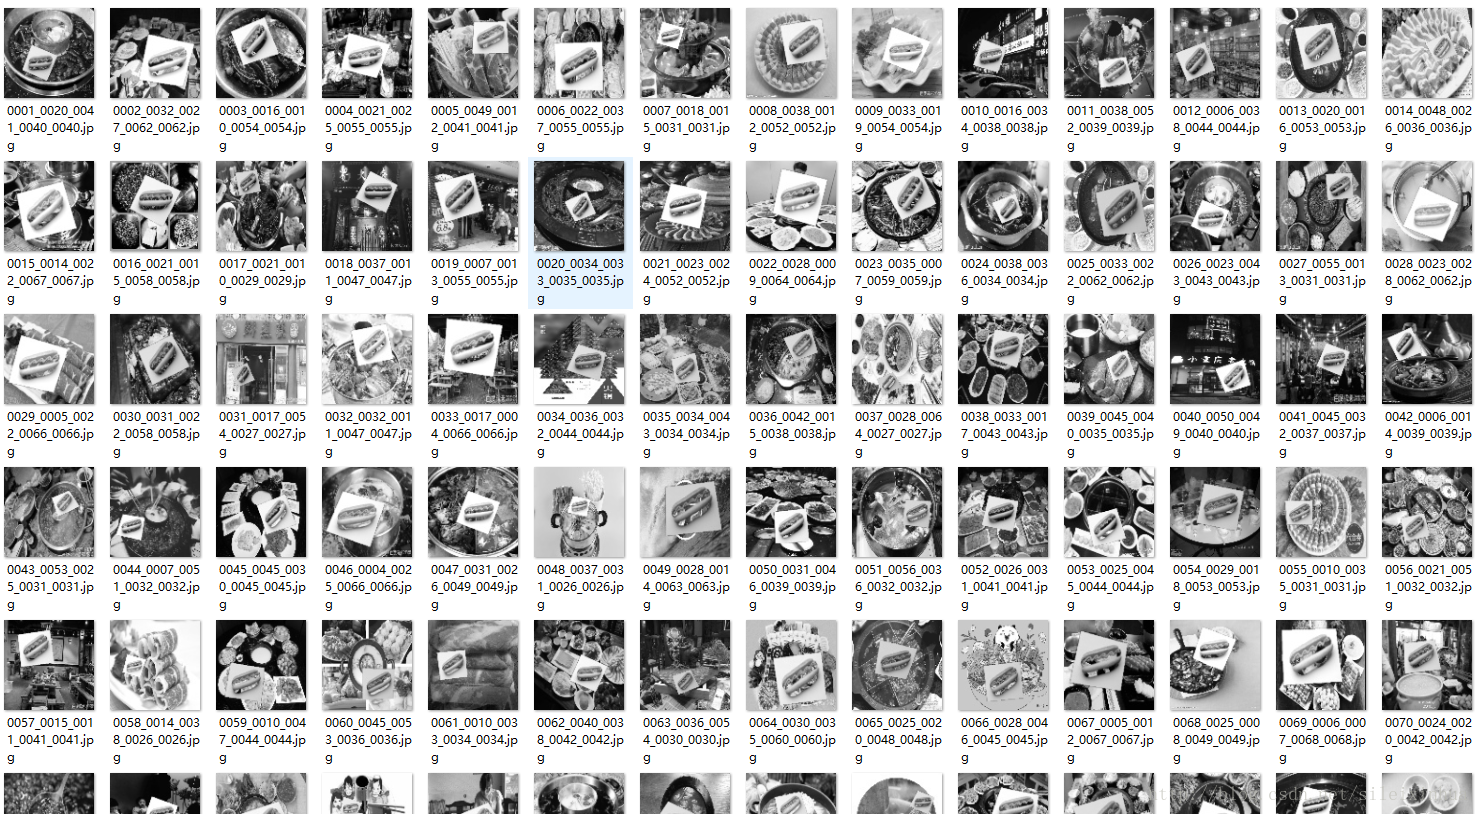
创建的数据集:
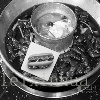
仔细看,负面火锅图像数据里有热狗的图片数据,这就是我们创建的数据集,这样我们有1000多张数据集了。
opencv_createsamples -info info/info.lst -num 1106 -w 20 -h 20 -vec positives.vec这里是获取数据集的positives.vec文件,文件里是正面数据集的特征。
并创建一个data文件夹,或者命令行来创建
mkdir data创建.xml识别器数据文件。
opencv_traincascade -data data -vec positives.vec -bg bg.txt -numPos 1000 -numNeg 500 -numStages 6 -w 20 -h 20运行完毕之后再次运行如下命令行,虽然和上面的一样,但是还要运行一下,将data文件夹中分块的的.xml合并成一个
opencv_traincascade -data data -vec positives.vec -bg bg.txt -numPos 1000 -numNeg 500 -numStages 6 -w 20 -h 20然后将data文件夹里生成的.xml文件名字改为cascade_hotdog.xml。
代码分析
ClassificationOpenCVClassifier.py
# -*- coding:utf-8 -*-
# coder:橘子派_司磊
# 2017年11月5日 17点34分
# 训练你自己的类OPENCV HAAR CLASSIFIER分类器
# TRAIN YOUR OWN OPENCV HAAR CLASSIFIER
# http://coding-robin.de/2013/07/22/train-your-own-opencv-haar-classifier.html
# 热狗图片一共11582张
# 火锅照片一共1043张
# Make Your Own Haar Cascades
# https://pythonprogramming.net/haar-cascade-object-detection-python-opencv-tutorial/
# 处理后的热狗图片一共11488张
# '..\Data\HotdogResize'
# 处理后的火锅照片一共1016张
# '..\Data\HotpetResize'

# 结果热狗的图片一张都没有用到
# 测试的时候记得用手机打开图片watch5050.jpg
# 笔记本运算的,所以训练集就用黑白的,样本也少,测试的时候多上下左右运动下
# 这次用的opencv3.6的cascade处理流程,的确比tensorflow之类方便点,但是要求的样本要大
# 效果没有tensorflow好,小的需求和在移动设备上可以用这种方法

# 代码说明在下方主函数

import cv2
import os
import numpy as np

def GrayResizePictures():
    if not os.path.exists('..\Data\HotdogResize'):
        os.makedirs('..\Data\HotdogResize')
    if not os.path.exists('..\Data\HotpetResize'):
        os.makedirs('..\Data\HotpetResize')

    for HotpetRoot,HotpetDirs,HotdogFiles in os.walk('..\Data\Hotdog'):
        #print(HotpetRoot)
        #print(HotpetDirs)
        #print(HotdogFiles)
        j = 0
        for i in HotdogFiles:
            j=j+1
            img = cv2.imread('..\Data\Hotdog\\'+str(HotdogFiles[j]),cv2.IMREAD_GRAYSCALE)
            if img is  None:
                continue
            resized_image = cv2.resize(img, (100, 100))
            cv2.imwrite('..\Data\HotdogResize\\'+str(HotdogFiles[j]),resized_image)
    for HotpetRoot,HotpetDirs,HotpetFiles in os.walk('..\Data\Hotpet'):
        #print(HotpetRoot)
        #print(HotpetDirs)
        #print(HotpetFiles)
        j = 0
        for i in HotpetFiles:
            j=j+1
            img = cv2.imread('..\Data\Hotpet\\'+str(HotpetFiles[j]),cv2.IMREAD_GRAYSCALE)
            if img is  None:
                continue
            resized_image = cv2.resize(img, (100, 100))
            cv2.imwrite('..\Data\HotpetResize\\'+str(HotpetFiles[j]),resized_image)

def Create_pos_n_neg():
    for file_type in ['HotpetResize']:

        for img in os.listdir(file_type):

            if file_type == 'pos':
                line = file_type+'/'+img+' 1 0 0 50 50\n'
                with open('info.dat','a') as f:
                    f.write(line)
            elif file_type == 'HotpetResize':
                line = file_type+'/'+img+'\n'
                with open('bg.txt','a') as f:
                    f.write(line)

def Dectctive():
    face_cascade = cv2.CascadeClassifier('C:\\OpenCV\\opencv\\build\\etc\\haarcascades\\haarcascade_frontalface_default.xml')
    eye_cascade = cv2.CascadeClassifier('C:\\OpenCV\\opencv\\build\\etc\\haarcascades\\haarcascade_eye.xml')

    watch_cascade = cv2.CascadeClassifier('C:\\Code\\HotdogOrNotHotdog\\Script\\cascade_hotdog.xml')

    cap = cv2.VideoCapture(0)

    while 1:
        ret, img = cap.read()

        gray = cv2.cvtColor(img, cv2.COLOR_BGR2GRAY)
        faces = face_cascade.detectMultiScale(gray, 1.3, 5)

        watches = watch_cascade.detectMultiScale(gray, 10, 10)
        # 这里参数可改成 5
        # detectMultiScale()
        # https://docs.opencv.org/2.4/modules/objdetect/doc/cascade_classification.html
        # minSize – Minimum possible object size. Objects smaller than that are ignored.
        # maxSize – Maximum possible object size. Objects larger than that are ignored.

        for (x,y,w,h) in watches:
            cv2.rectangle(img,(x,y),(x+w,y+h),(255,255,0),2)

        for (x,y,w,h) in faces:
            cv2.rectangle(img,(x,y),(x+w,y+h),(255,0,0),2)

            roi_gray = gray[y:y+h, x:x+w]
            roi_color = img[y:y+h, x:x+w]
            eyes = eye_cascade.detectMultiScale(roi_gray)
            for (ex,ey,ew,eh) in eyes:
                cv2.rectangle(roi_color,(ex,ey),(ex+ew,ey+eh),(0,255,0),2)

        cv2.imshow('img',img)
        k = cv2.waitKey(30) & 0xff
        if k == 27:
            break

    cap.release()
    cv2.destroyAllWindows()

if __name__ == '__main__':

    # 1.先执行GrayResizePictures()和Create_pos_n_neg()函数
    # 2.再当前目录下用cmd或者terminal执行
    # opencv_createsamples两个命令,创建和整理训练集
    # 3.执行opencv_traincascade,根据训练集的数量再data文件夹下不同生成的结果
    # 4.然后再执行一次opencv_traincascade,记得把最后数字改成data文件夹下生成的数字
    # 5.执行Dectctive()函数

    # GrayResizePictures()
    # Create_pos_n_neg()

    # opencv_createsamples -img watch5050.jpg -bg bg.txt -info info/info.lst -pngoutput info -maxxangle 0.5 -maxyangle 0.5 -maxzangle 0.5 -num 1106
    # opencv_createsamples -info info/info.lst -num 1106 -w 20 -h 20 -vec positives.vec
    # mkdir data

    # opencv_traincascade -data data -vec positives.vec -bg bg.txt -numPos 1000 -numNeg 500 -numStages 6 -w 20 -h 20
    # opencv_traincascade -data data -vec positives.vec -bg bg.txt -numPos 1000 -numNeg 500 -numStages 5 -w 20 -h 20

    # 这里主要的方法就是用一张图片做正例和很多张反例图片,把整理图片缩小加入到反例图片中
    # 就形成了正例,然后traincascade

    Dectctive()
实验结果
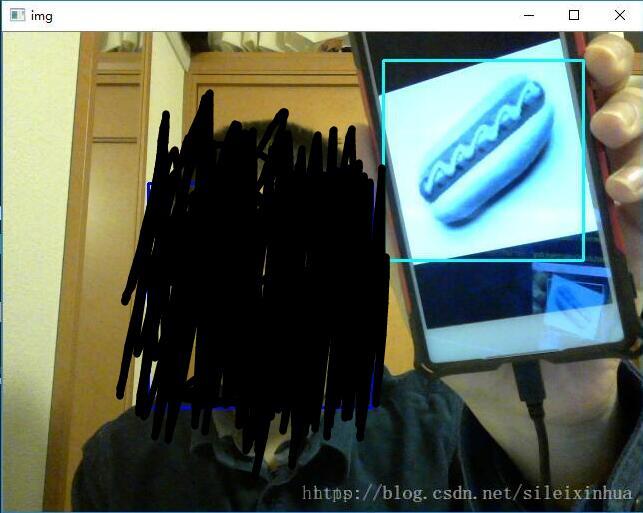
这里大家不要误解把我的脸和眼睛也识别成热狗了,这里是三个识别器,用了不同的颜色的框展示了出来,热狗是淡蓝色的框,看来识别效果还是很好的。
——————————————————————————————————-
有学习机器学习相关同学可以加群,交流,学习,不定期更新最新的机器学习pdf书籍等资源。
QQ群号: 657119450


 1054
1054


 被折叠的 条评论
为什么被折叠?
被折叠的 条评论
为什么被折叠?
 到【灌水乐园】发言


