


docker和docker-compose安装不再赘述
在安装gitlab之前需要确认安装的版本,选择stable稳定版
docker pull gitlab/gitlab-ce:14.9.3-ce.0
新部署建议安装新版本,通过https://about.gitlab.com/releases/categories/releases/
查找,小版本越大越稳定
docker-compose.yml
web:
  image: 'gitlab/gitlab-ce:14.9.3-ce.0'
  restart: always
  tty: true
  hostname: 'gitlab'
  ports:
    - '8000:8000'
    - '2222:22'
  environment:
    TZ: "Asia/Shanghai"
    GITLAB_OMNIBUS_CONFIG: |
      external_url "http://172.24.224.20:8000"
      postgresql['shared_buffers'] = "256MB"
      sidekiq['concurrency'] = 4
      prometheus_monitoring['enable'] = false
      gitlab_rails['gitlab_shell_ssh_port'] = 2222
  volumes:
    - '/data/gitlab/config:/etc/gitlab'
    - '/data/gitlab/logs:/var/log/gitlab'
    - '/data/gitlab/data:/var/opt/gitlab'
配置说明
hostname 容器主机名
ports:容器的8000映射到宿主机8000,容器的22映射到宿主机的2222
gitlab_rails[‘gitlab_shell_ssh_port’] 代码拉取端口2222
volumes 将配置文件 日志 数据映射到宿主机木楼
gitlab.rb
# gitlab中显示的访问地址,重要的地方
external_url 'http://gitlab.xx.com'
# gitlab中显示的代码ssh拉取地址,重要的地方
gitlab_rails['gitlab_ssh_host'] = 'gitlab.xx.com'
# gitlab配置
gitlab_rails['ldap_enabled'] = true
gitlab_rails['ldap_servers'] = YAML.load <<-'EOS'
  main: # 'main' is the GitLab 'provider ID' of this LDAP server
    label: 'LDAP'
    host: '172.24.30.89'
    port: 389
    uid: 'uid'
    bind_dn: 'cn=admin,dc=xx,dc=com'
    password: 'PASSWORD'
    encryption: 'plain' # "start_tls" or "simple_tls" or "plain"
    verify_certificates: false
    active_directory: true
    allow_username_or_email_login: false
    lowercase_usernames: false
    block_auto_created_users: false
    base: 'dc=xx,dc=com'
    user_filter: 'privilege=gitlab'
    ## EE only
    group_base: ''
    admin_group: ''
    sync_ssh_keys: false
EOS
# 生效配置 会重启服务
gitlab-ctl reconfigure
# 检查ldap 默认返回100条记录
gitlab-rake gitlab:ldap:check
# 更改返回条数
rake gitlab:ldap:check[50]
nginx反向代理gitlab
alb、nginx都可以配置,另外域名挂靠在cloudflare可以申请源服务器证书
root@newvpn-16-12:vhosts# cat gitlab.conf
server {
    listen 80;
    server_name gitlab.xx.com;
    server_tokens off;
    client_max_body_size 5000m;

    location / {
        proxy_pass http://172.24.224.20:8000;
        proxy_buffering off;
        proxy_request_buffering off;
        proxy_http_version 1.1;
        proxy_set_header Host $host;
        proxy_set_header X-Forwarded-For $proxy_add_x_forwarded_for;
        proxy_set_header Upgrade $http_upgrade;
        proxy_set_header Connection $http_connection;

        proxy_ignore_client_abort on;
        proxy_connect_timeout 600;
        proxy_send_timeout 600;
        proxy_read_timeout 600;
        send_timeout 6000;
    }
}
配置gitlab备份
按照之前的部署方式,gitlab.rb映射在宿主机的/data/gitlab/config/gitlab.rb
打开的都是默认配置,主要为了配置三天的备份保留时间,以秒为单位
 605 gitlab_rails['backup_path'] = "/var/opt/gitlab/backups"
 606 # gitlab_rails['backup_gitaly_backup_path'] = "/opt/gitlab/embedded/bin/gitaly-backup"
 607 ###! Docs: https://docs.gitlab.com/ee/raketasks/backup_restore.html#backup-archive-permissions
 608 gitlab_rails['backup_archive_permissions'] = 0644
 609 # gitlab_rails['backup_pg_schema'] = 'public'
 610 ###! The duration in seconds to keep backups before they are allowed to be deleted
 611 gitlab_rails['backup_keep_time'] = 259200
最后reconfig让配置生效
docker exec gitlab_web_1 gitlab-ctl reconfigure
备份脚本
#!/bin/bash
TIME=`date +%F`
BACKUP_LOG="/data/gitlab/backup_info/backup_info_${TIME}"
BACKUP_RESULT_FILE="/data/gitlab/backup_info/backup_results"
docker exec  gitlab_web_1 gitlab-rake gitlab:backup:create 2>&1 >${BACKUP_LOG}
BACKUP_FILE=`ls  -lrth /data/gitlab/data/backups/*.tar|awk 'END{print $9}'`
if [ $? -eq 0 ];then
    echo "${TIME} backup succeed --------${BACKUP_FILE}" >>${BACKUP_RESULT_FILE}
else
    echo "${TIME} backup failed -------${BACKUP_FILE}" >>${BACKUP_RESULT_FILE}
fi
定时任务
20 15 * * * sh /data/gitlab/gitlab_backup.sh > /dev/null 2>&1
16.x gitlab变化
需要进入容器中重置root密码
日中中给出如下url
https://docs.gitlab.com/ee/security/reset_user_password.html?tab=Linux+package+%28Omnibus%29
gitlab-rake "gitlab:password:reset[root]"
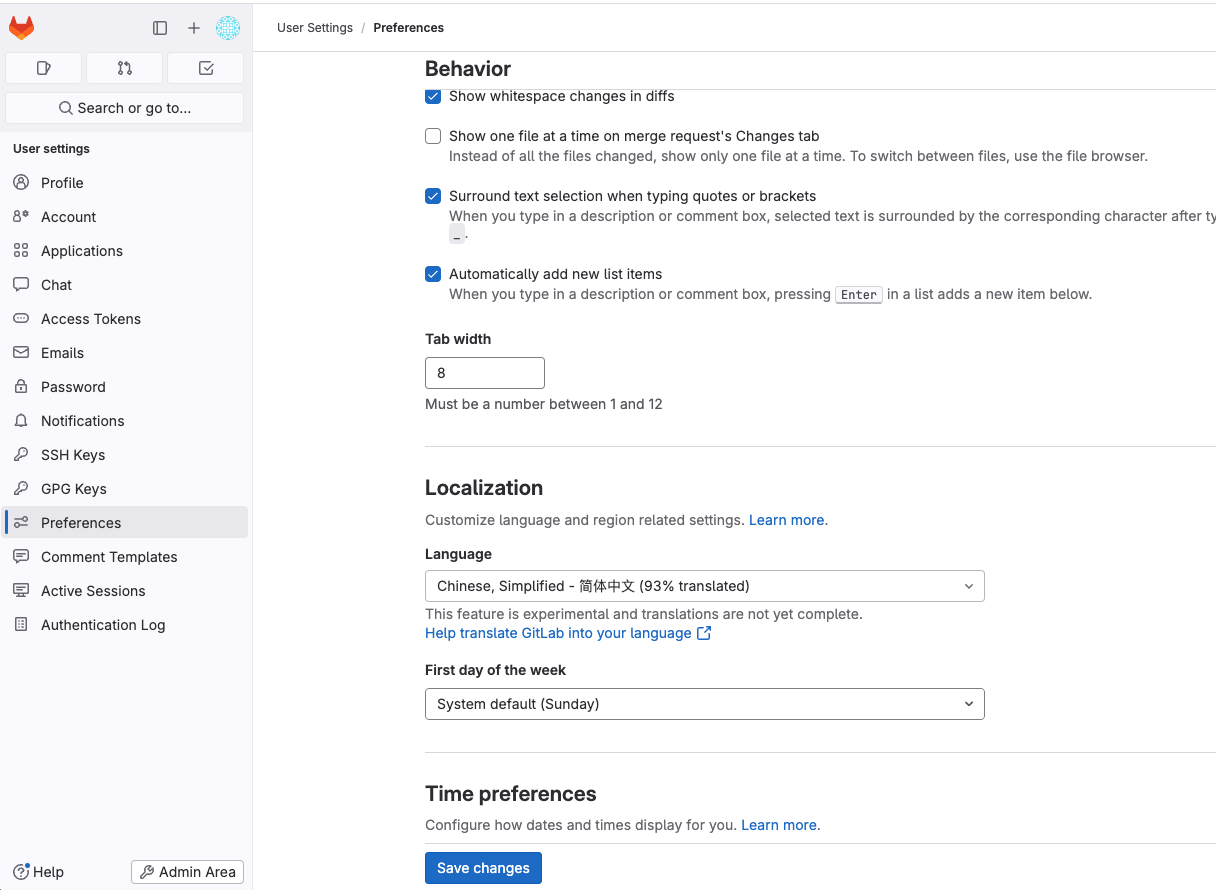
修改默认语言


 1935
1935

 被折叠的 条评论
为什么被折叠?
被折叠的 条评论
为什么被折叠?
 到【灌水乐园】发言


