


登录实现
就目前的进度来看,是没有实现token验证的,所以所有的登录也只是简单的验证账密,即使账密的复写也只是存在localstorage内存中的,所以关于更加安全的登录不知道后面会不会修改。
切换弹窗页面
开始实现的default页面只是用来判断登录还是注册,所以说这一步的操作还是要更换弹窗内的渲染内容的。
将创建好的登录模块和注册模块添加到
app.component.html中的wy-layer-modal标签内。
- app.component.html
<app-wy-layer-modal>
    <app-wy-layer-login name="login" [wyRememberLogin]="wyRememberLogin" (onChangeModalType)="onChangeModalType($event)" (onLogin)="onLogin($event)"></app-wy-layer-login>
    <app-wy-layer-default name="default" (onChangeModalType)="onChangeModalType($event)"></app-wy-layer-default>
    <app-wy-layer-register name="register" (onChangeModalType)="onChangeModalType($event)"></app-wy-layer-register>
</app-wy-layer-modal>
这样在选择弹框子页面时根据name值来判断。
- app.component.html
 <ul>
	<li nz-menu-item (click)="openModalByMenu('loginByPhone')">
		<i nz-icon nzType="mobile" nzTheme="outline"></i>手机登录
	</li>
	<li nz-menu-item (click)="openModalByMenu('register')">
		<i nz-icon nzType="user-add" nzTheme="outline"></i>注册
	</li>
</ul>
- app.component.ts
    private memberBatchActionsServer: MemberBatchActionsService,

    openModalByMenu (type: 'loginByPhone' | 'register') {

        if (type === 'loginByPhone') {

            this.openModal(ModalTypes.LoginByPhone);
        } else {

            this.openModal(ModalTypes.Register);
        }
    }

    // 打开弹窗
    openModal (type: ModalTypes) {

        this.memberBatchActionsServer.controlModal(true, type);
    }
当点击登录或者注册时,就会通过参数的不通来判断当前需要设置哪一种状态,当wy-layer-modal中的Store监听到状态的改变就会根据当前改变后的状态改变渲染内容。因此在占位处使用ngSwitch指令。
- wy-layer-modal.component.html
 <ng-container [ngSwitch]="currentModalType">

    <ng-container *ngSwitchCase="'loginByPhone'">
        <ng-content select="[name=login]"></ng-content>
    </ng-container>

    <ng-container *ngSwitchCase="'register'">
        <ng-content select="[name=register]"></ng-content>
    </ng-container>

    <ng-container *ngSwitchDefault>
        <ng-content ></ng-content>
    </ng-container>

  </ng-container>
有关ngSwitch指令的使用可以点击浏览
实现接口
- member.service.ts
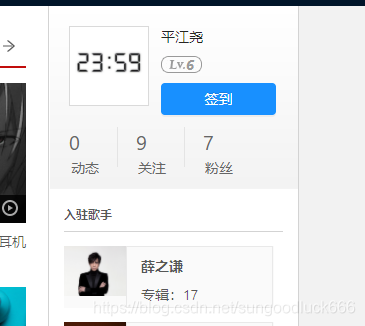
登录后需要显示当前登录人的一些信息,所以也需要获取当前登录人的个别数据。
 最低0.47元/天 解锁文章


 2021
2021


 被折叠的 条评论
为什么被折叠?
被折叠的 条评论
为什么被折叠?
 到【灌水乐园】发言


